Chicken Crescent Ring
I made this recipe just recently for a birthday party where the menu consisted of appetizers, finger sandwiches and desserts. I’ve had this recipe for a long time and had completely forgotten about it until I read a blog posting over at the Rantings of an Amateur Chef where he describes this sandwich. I suddenly knew it would be perfect for the birthday party we were going to. So, thank-you to Pat for his post and for reminding me of this great sandwich idea.
Many years ago I went to a Pampered Chef house party. The hostess was preparing baked items on a pizza stone, and talking about how useful the stone is in addition to making pizza on it. I was one of many who purchased the pizza stone that evening. I’ve used it often and always have success in getting a nice crispy crust on my pizzas, but I don’t think to use it for much else, until I made this sandwich. It is not essential to have a pizza stone, so if you don’t have one don’t worry, you can use a metal pizza pan just as well.
When you serve this, your guests will be impressed with your creativity, and how delicious the sandwich is.
CHICKEN CRESCENT RING
SERVINGS: about 16
INGREDIENTS
- 1 can chicken, broken up ( about 1 cup )
- 4 slices bacon, cooked crisp and crumbled
- 1 cup Monterey Jack cheese, shredded
- 1 cup mayonnaise
- 2 Tablespoons Dijon mustard
- 1 Tablespoon dried parsley
- 1 1/2 Tablespoon green onions, sliced
- 2 Roma tomatoes, sliced vertically into wedges
- 1 medium red pepper
- 2 cups lettuce, shredded
- 2 rolls, refrigerated crescent rolls
1. Preheat oven to 375*F. Lightly grease a pizza pan or stone,
2. Mix mayonnaise, mustard, parsley, and sliced green onion. Set aside.

Make the dressing with mayo, mustard, parsley and green onions.
3. Mix chicken, bacon, 3/4 cup cheese and 1/3 cup mayonnaise mixture.

Mix together, chicken, bacon and shredded cheese.
4. Unroll crescent dough, separating into triangles. Arrange in a circle, overlapping wide ends in and points hanging out over the edge. Leave a 5 – 6 inch circle empty in the center. ( see picture )
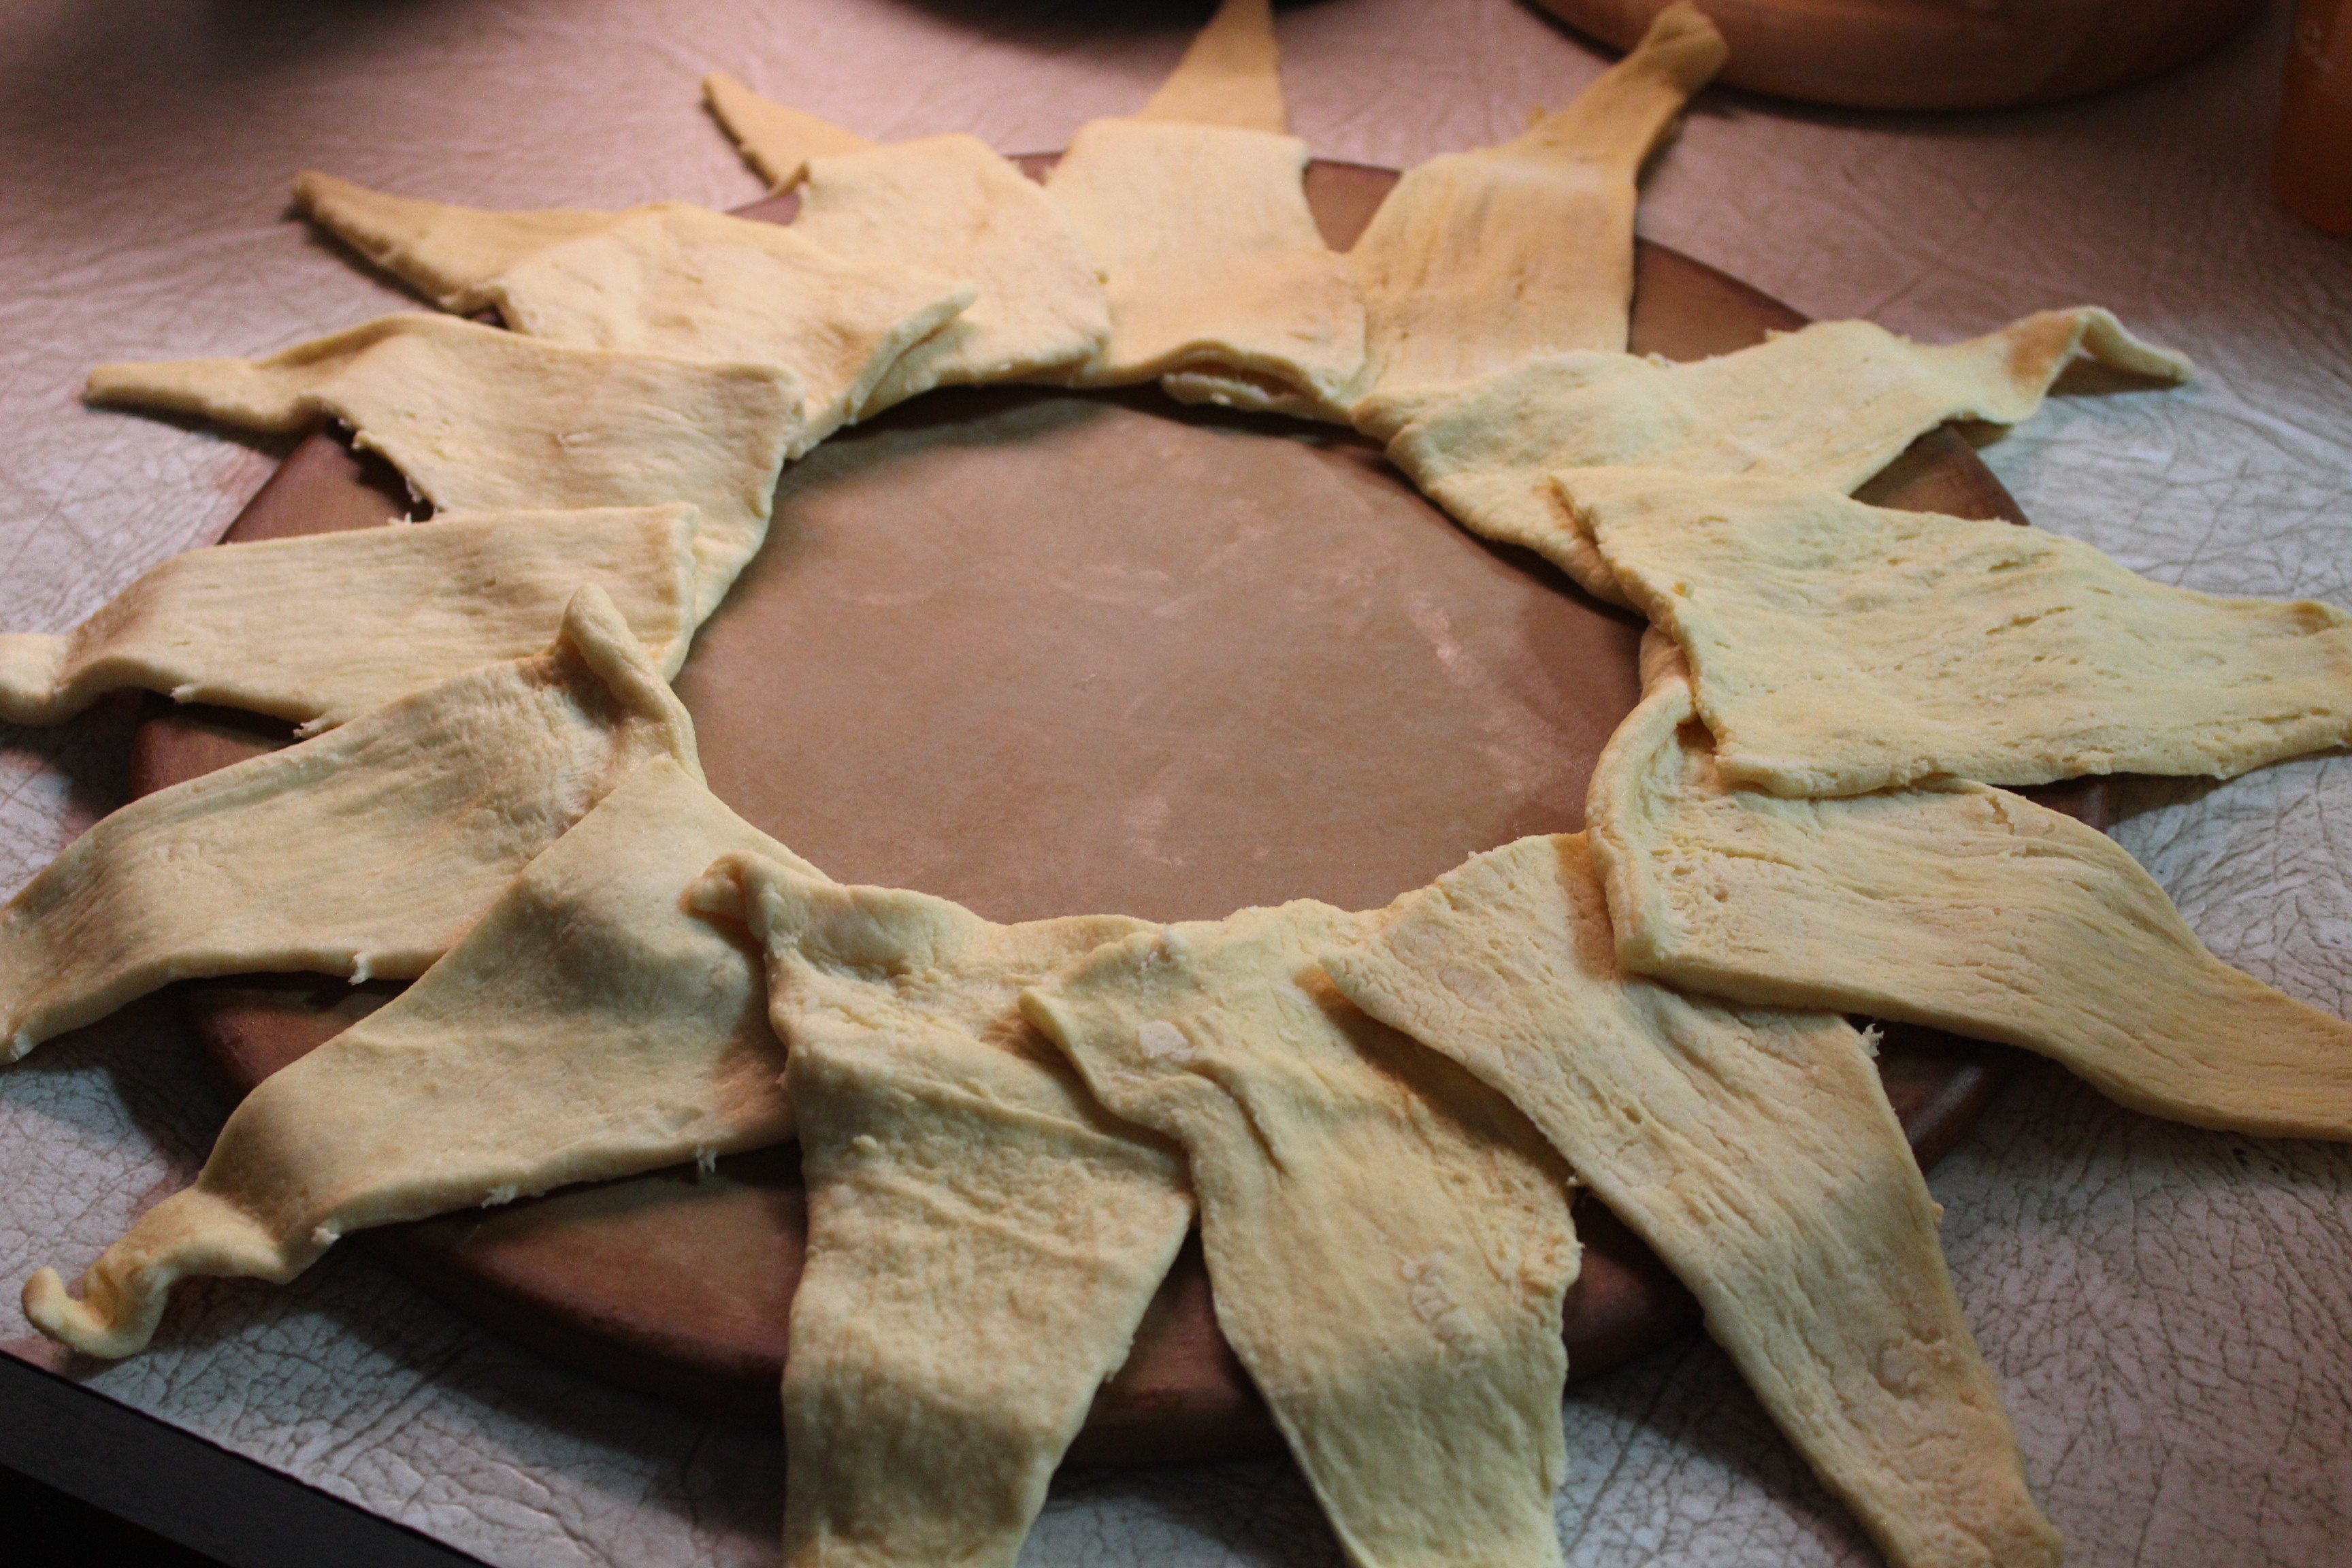
Lay out triangles in a circle with wide ends toward the middle, and points out.
5. Spoon chicken salad onto rolls at the wide ends.

Spoon chicken salad onto wide ends of triangles.
Wrap the points over and tuck underneath.

Wrap points over and tuck under.
6. Slice tomatoes into wedges and tuck one piece into each open space in the ring.
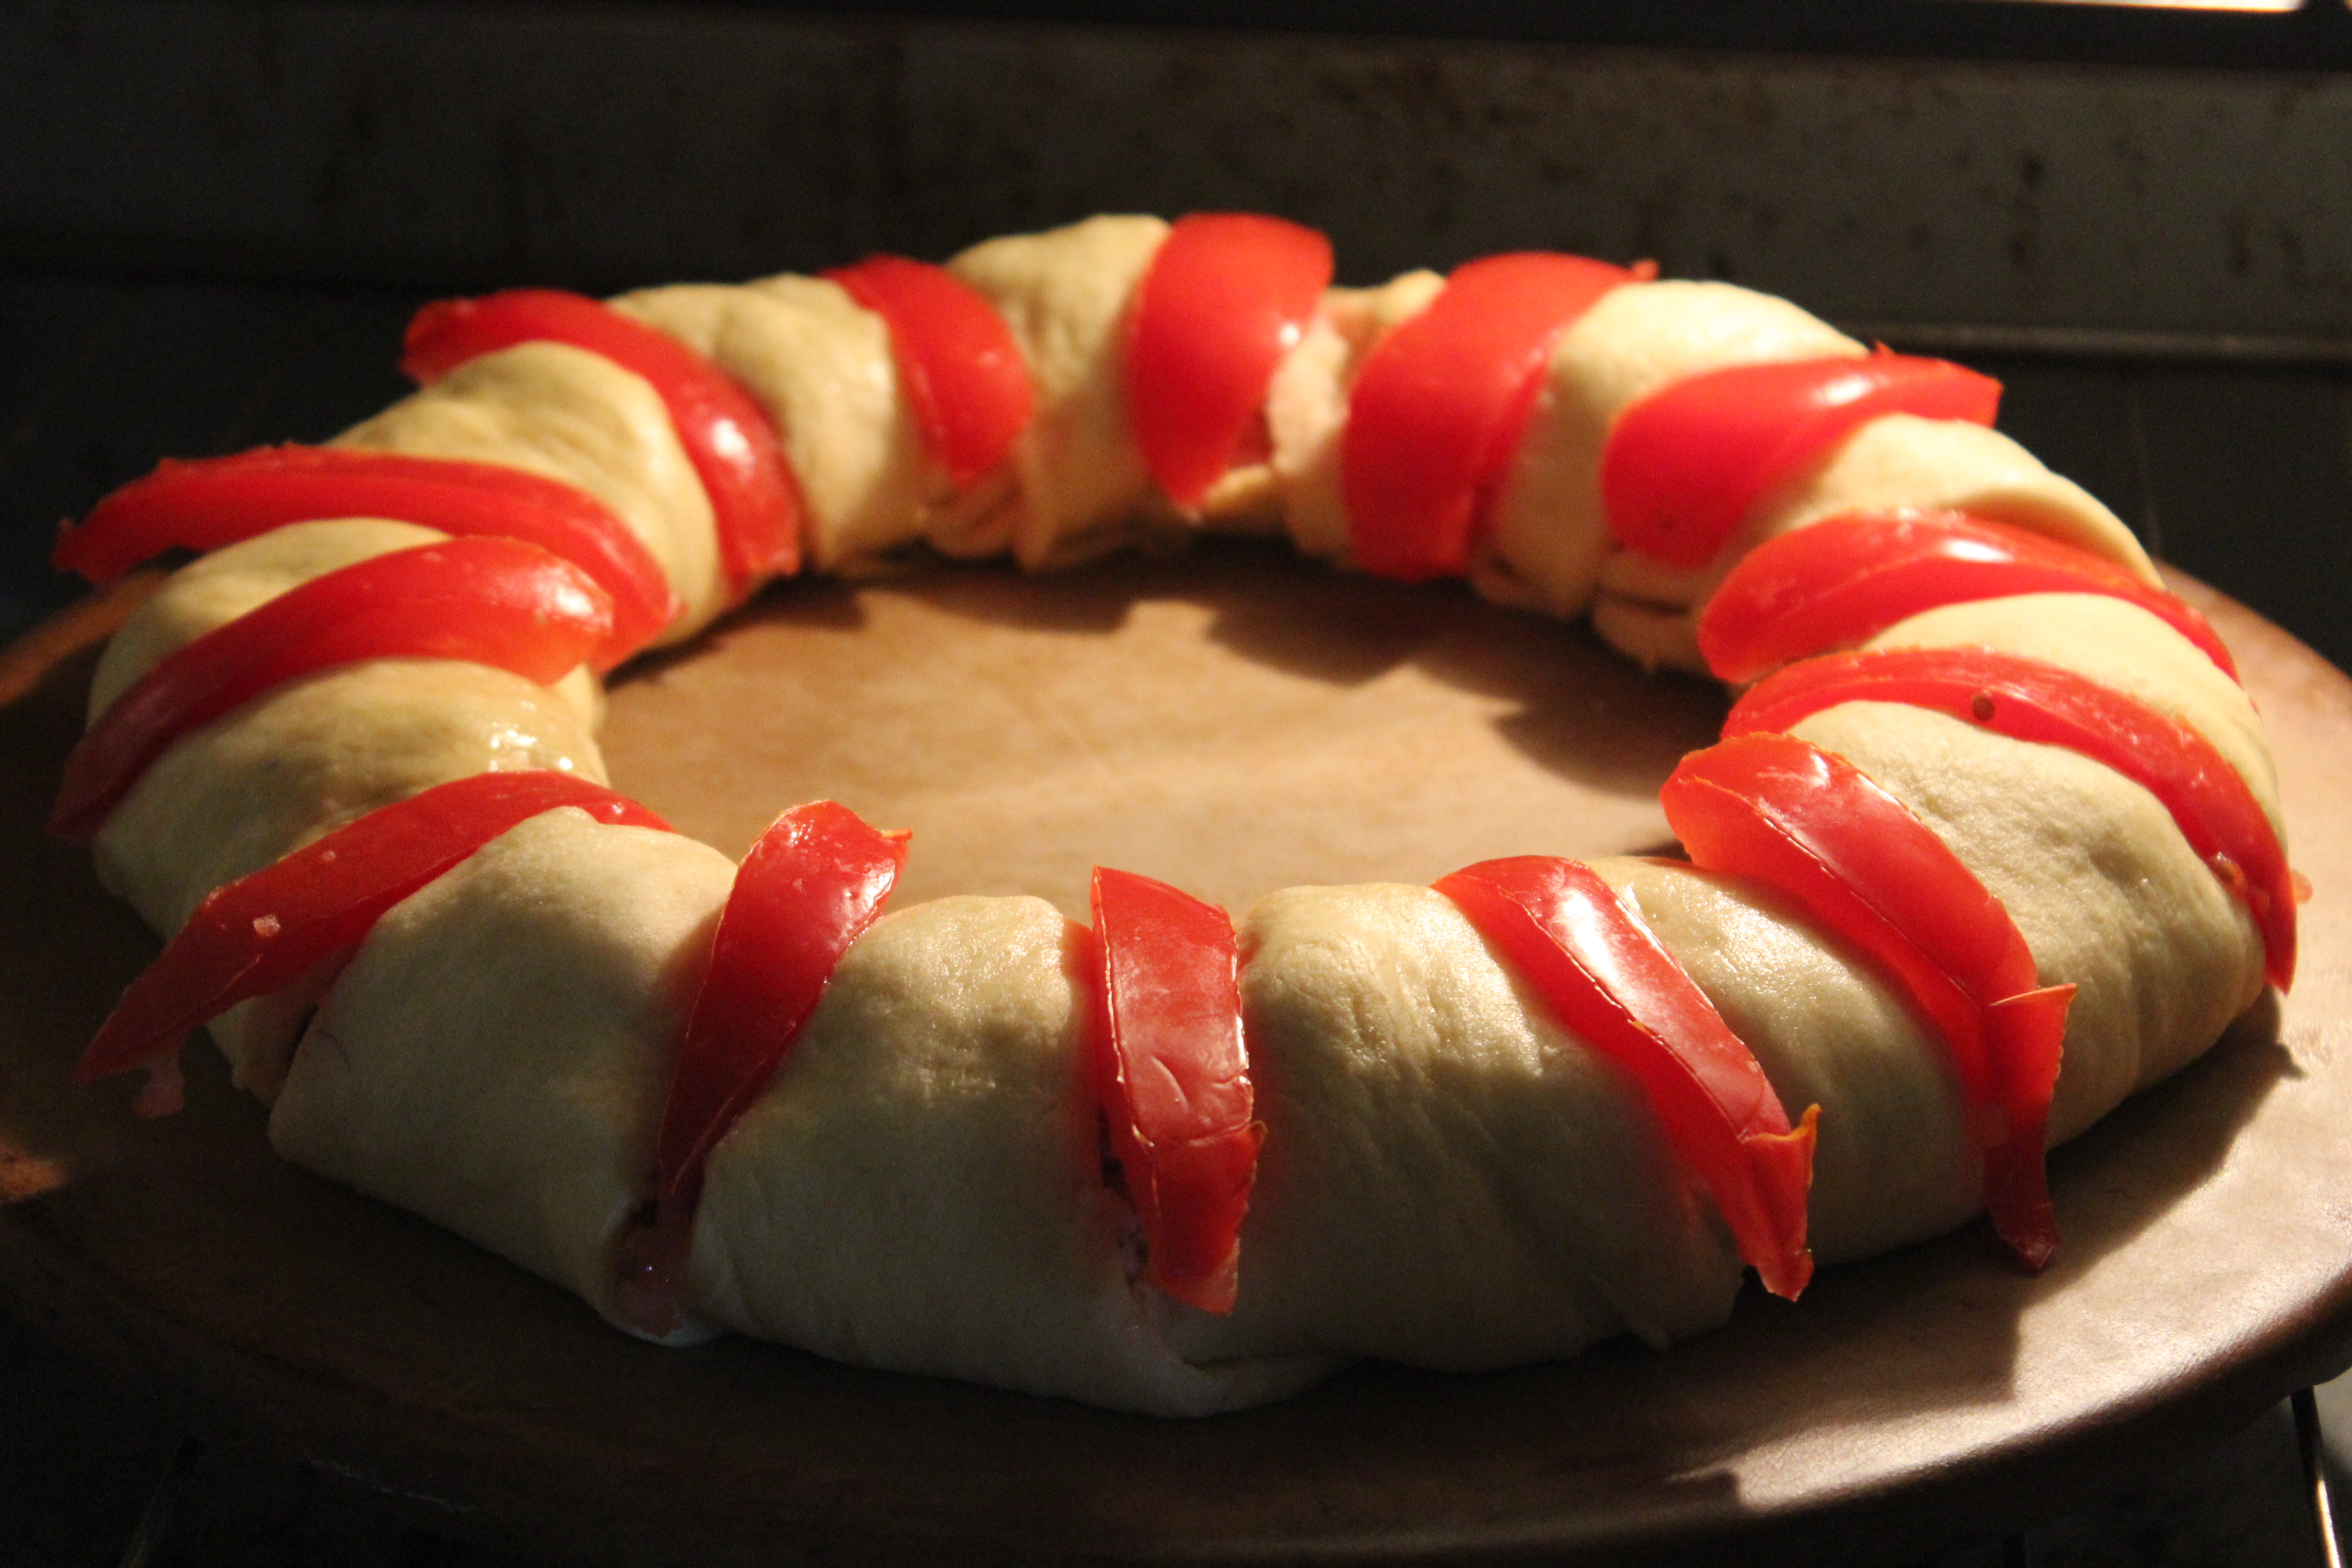
Tomato wedges tucked into each open space.
7. Bake 20 – 25 minutes. Just before end of baking time, sprinkle remaining cheese on top and allow to melt. Remove from oven to cool slightly.
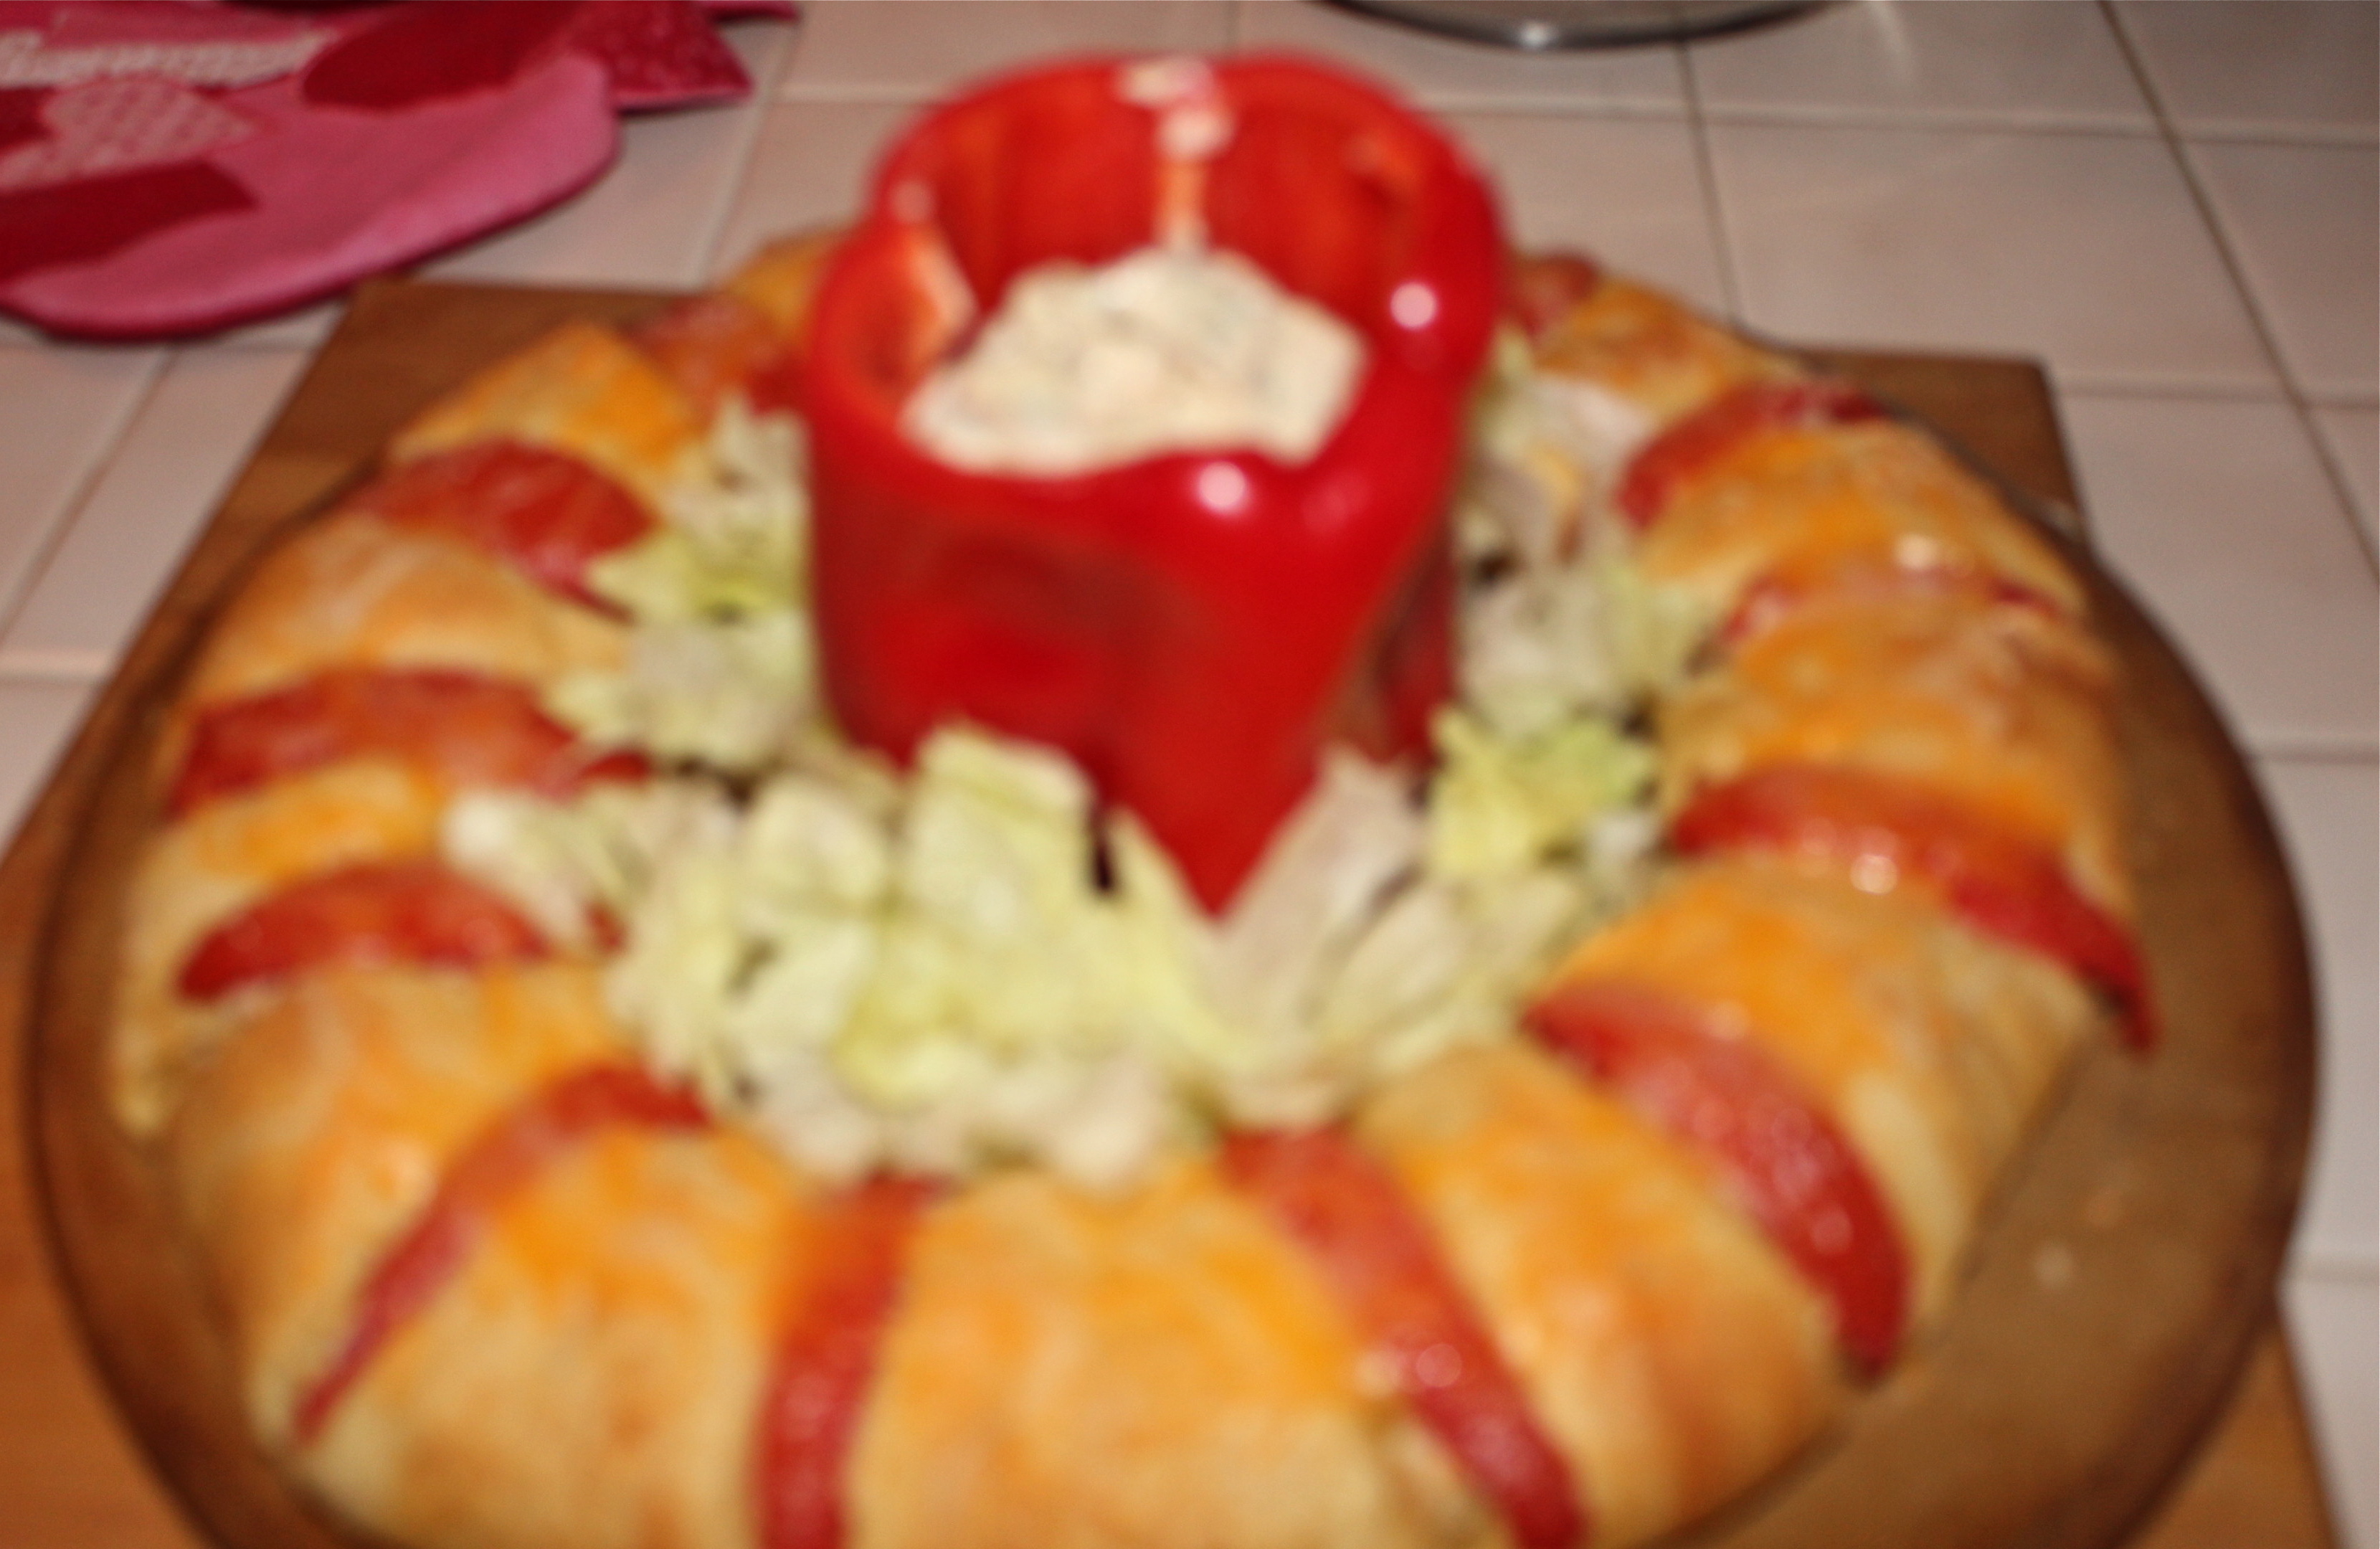
8. To serve: Cut top off red pepper, remove ribs and seeds. Spoon in remainder of dressing. Place pepper in center of ring, and garnish around pepper with shredded lettuce. Cut into servings so that each one has a piece of tomato.
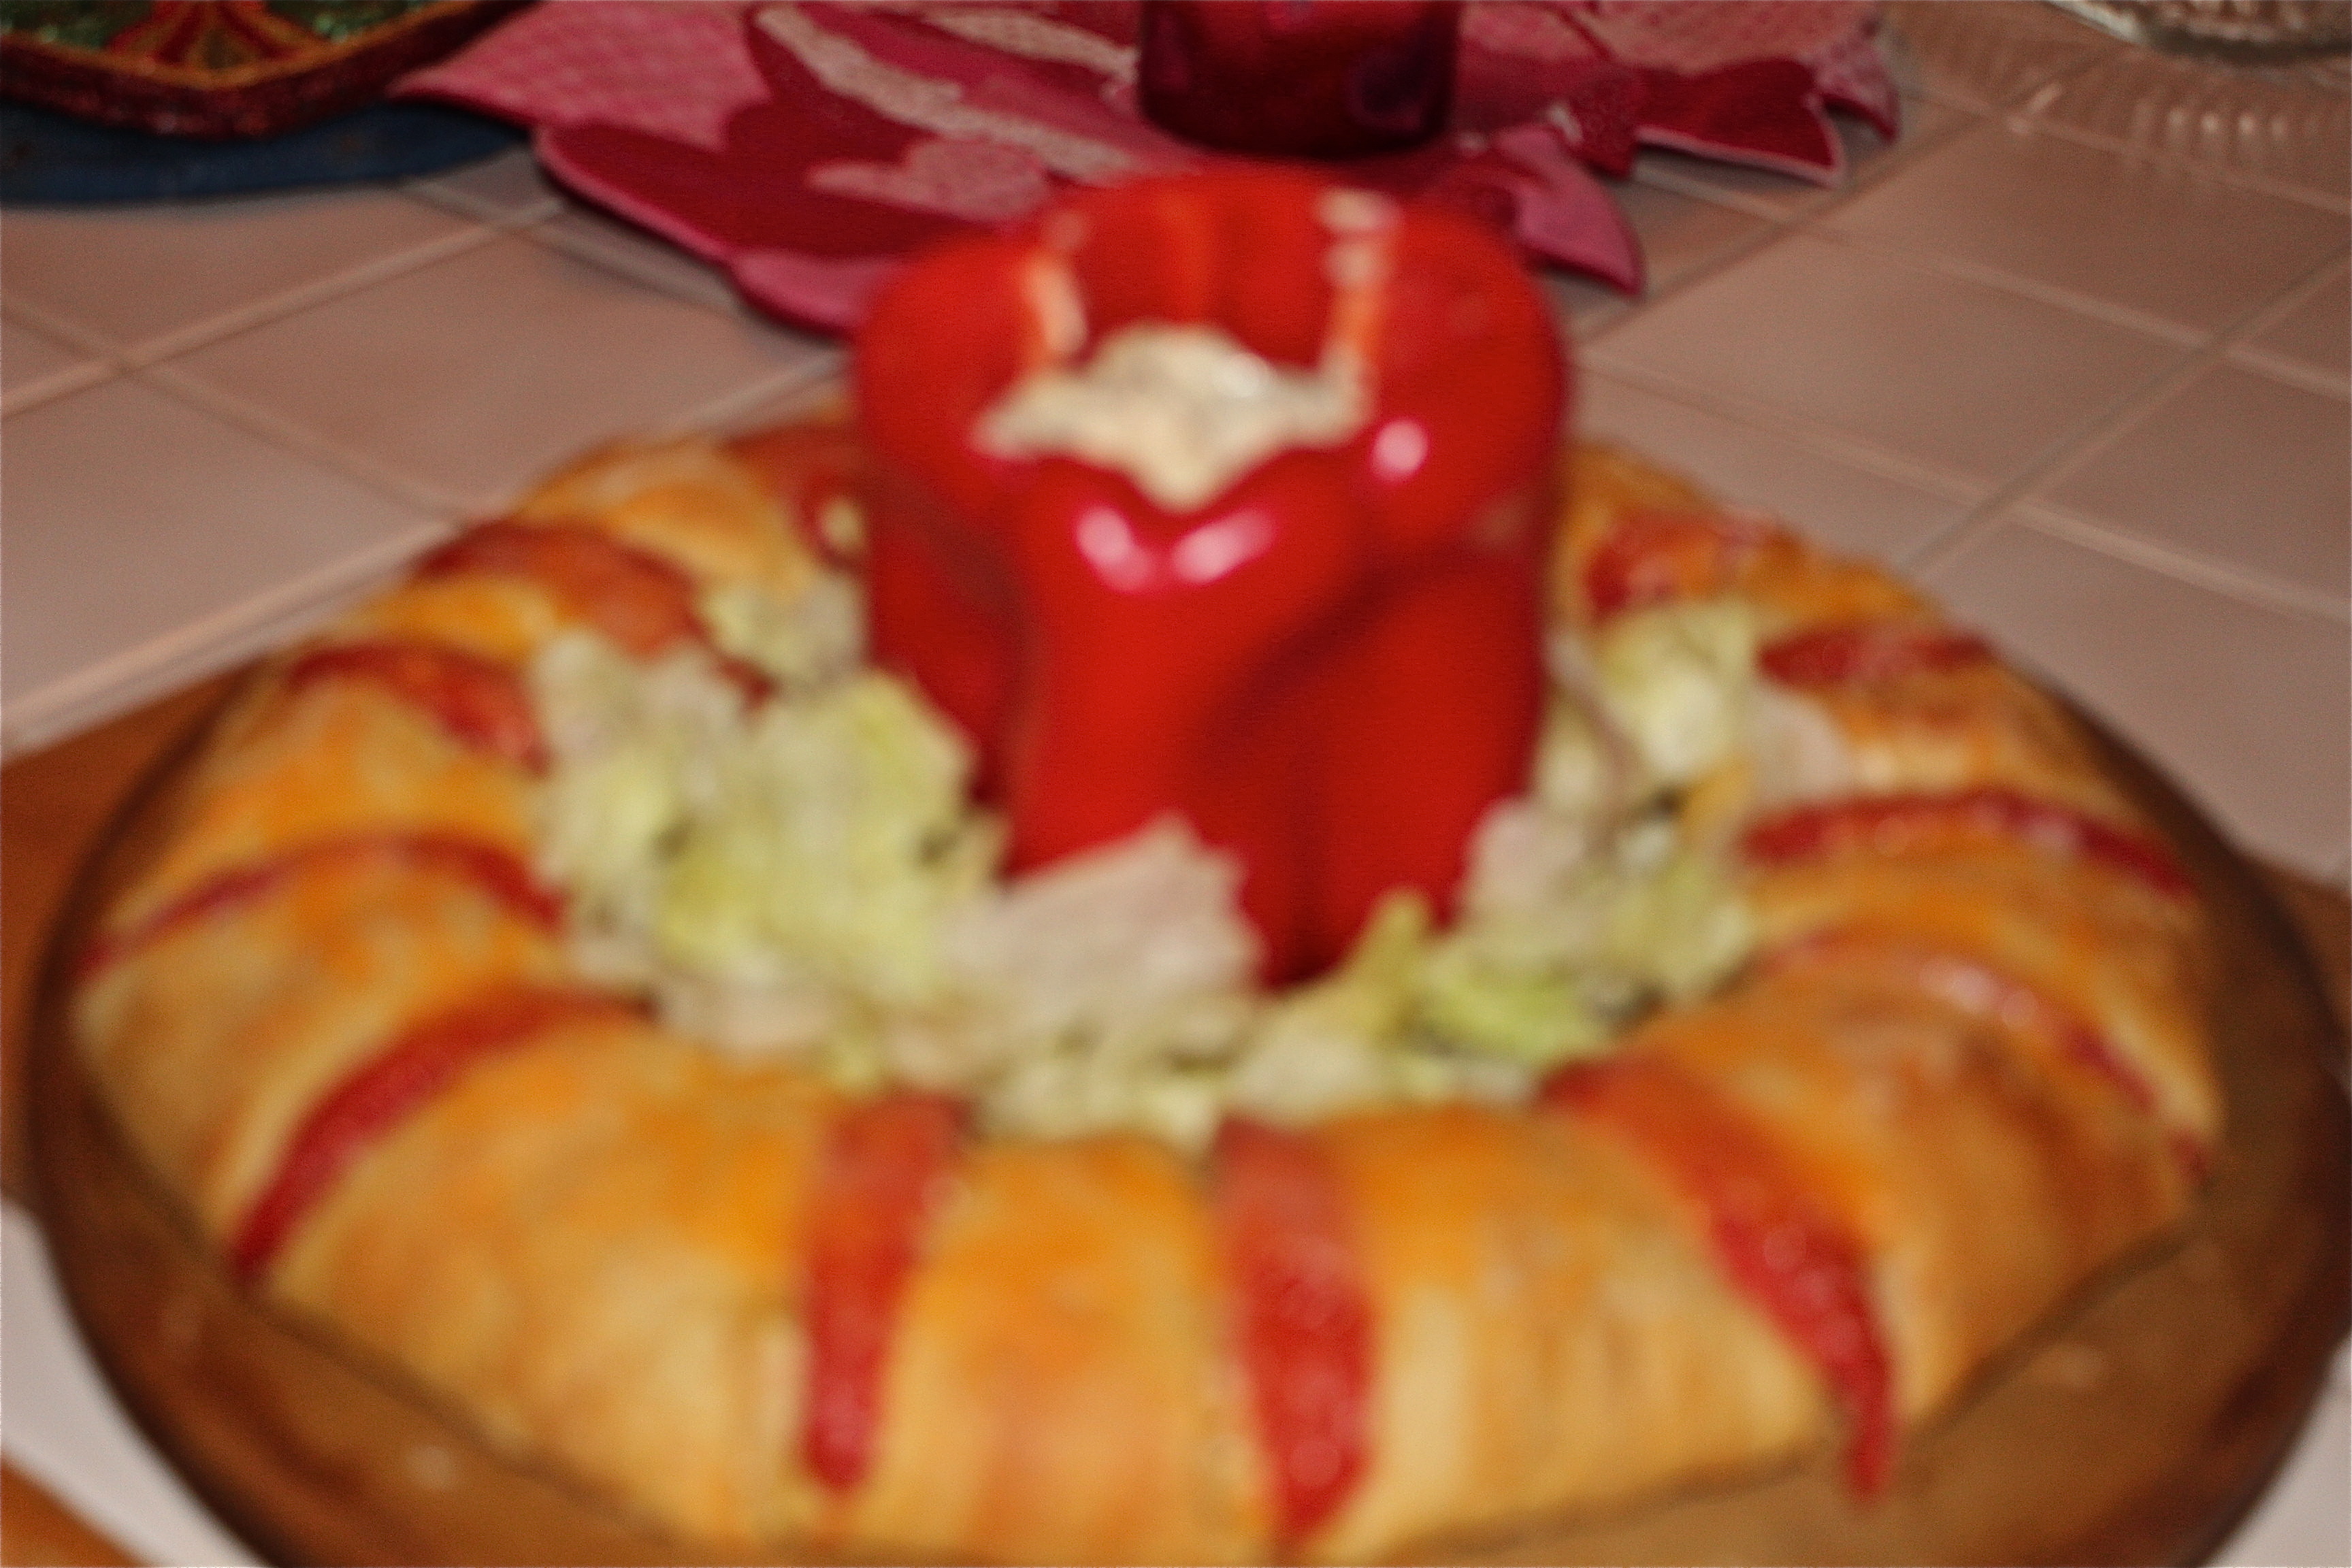
Serve with red pepper in the center and garnished with shredded lettuce.
I must apologize for the poor quality of the pictures of the finished dish. In my hurrying I forgot to bring my camera, and so these pictures were taken by someone else with their camera and then sent to me via e-mail. I think you can still get the idea of how attractive this is to serve, however.
SOURCE: Pampered Chef, via The Ranting Chef.com