Watermelon Lemonade

Watermelon Lemonade

Watermelon Lemonade

Can we talk about lemonade today?  I got a bargain on lemons;  gi-gan-tic lemons, and you know that saying—“When life hands you lemons, make lemonade”.    So I did!

At some point during this holiday weekend you are probably going to be drinking something cold and refreshing.  This lemonade is just a little bit different, and would be perfect to serve either with or without some “spiritus fruementi” added.

IMG_7906

Has anyone noticed that if you reverse just one syllable, lemonade becomes melonade.   Melonade, a punchy, pink, seedless, cool, refreshing beverage that celebrates the best of the season.   If you’re planning a celebration, or even if you’re not, you will want to make this icy, pink drink.  It’s so cool!

Icy cold and refreshing!

Icy cold and refreshing!

I know you’re thirsty, so let’s make some.  Here’s how…..

Beautiful big lemons, produced lots of juice.

Beautiful big lemons, produced lots of juice.

WATERMELON LEMONADE

Yield:   makes 8 servings

Ingredients:

  • 2 lemons, quartered
  • 1 cup fresh mint leaves
  • 1/2 cup light brown sugar
  • 1/2 medium watermelon, rind removed, flesh cut into chunks
  • 1 cup vodka (optional)

IMG_7874

Directions:

1.  Squeeze lemons into a large pitcher;  add the squeezed lemon quarters. (Alternately, cut lemons in half, and squeeze, then cut halves into smaller wedges.)  Add mint and sugar;  mash with a wooden spoon until mint is bruised and sugar is dissolved.

2.  In a blender, puree watermelon in batches until smooth; pour through a fine-mesh sieve into pitcher with lemon mixture.  (You should have about 8 cups juice.  Stir to combine.   Refrigerate, covered, up to 3 days.   Before serving, add vodka, if using;  serve over ice.

IMG_7889

IMG_7905

SOURCE:   MarthaStewart.com


Advertisement

Homemade Limoncello

Limoncello

Limoncello

Limoncello, that delightful after dinner drink, is generally served in Italy as a digestive. Limoncello was first made on Italy’s Amalfi coast, with several different villages and islands claiming it as their own, from Sorrento to Capri.  Some say it was first served as a special treat to guests by wealthy families of Sorrento.  Others say it dates back much further  to monks -as was Chartreuse, in France–or to fishermen who drank it to ward off the cold.  An Italian businessman trademarked the name in 1988.

I love to have a tiny glass of it after a big meal for its digestive benefits, but also because I love its citrusy flavor.  Most bottles of this liqueur are quite pricy, so when I saw this recipe for making it at home in my local newspaper, I decided to try making my own.  For those of you who have been reading this blog for a while, you probably know that I have been successful at making various flavors of fruit liqueurs.  I make them when the fresh fruits are in season and save them to give as Christmas gifts. Some of the flavors I’ve had success with are peach, rhubarb, orange, cranberry, raspberry,  and mixed berries.  Therefore I was eager to try out this recipe for lemon.

Making liqueur at home is so simple, really.  The essential ingredients are: a large glass jar for soaking the fruit, vodka, fruit of choice, and a simple sugar syrup.  That’s it!   Once made, a liqueur is lovely on its own to sip on, but can also be used in various cocktails especially flavored martinis.  The same is true of Limoncello.  It is so good ice cold on its own, in a lemon drop martini, mixed with sparkling wine, or poured over vanilla ice cream as a parfait.

LIMONCELLOIMG_5898

Yield:  Makes about 7 cups.  Serving size is 1/4 cup.

Ingredients:

  • 4 cups clear grain alcohol, such as vodka
  • 1/2 cup lemon rind strips (about 7 lemons)**
  • 3 cups water
  • 1 1/2 cups sugar

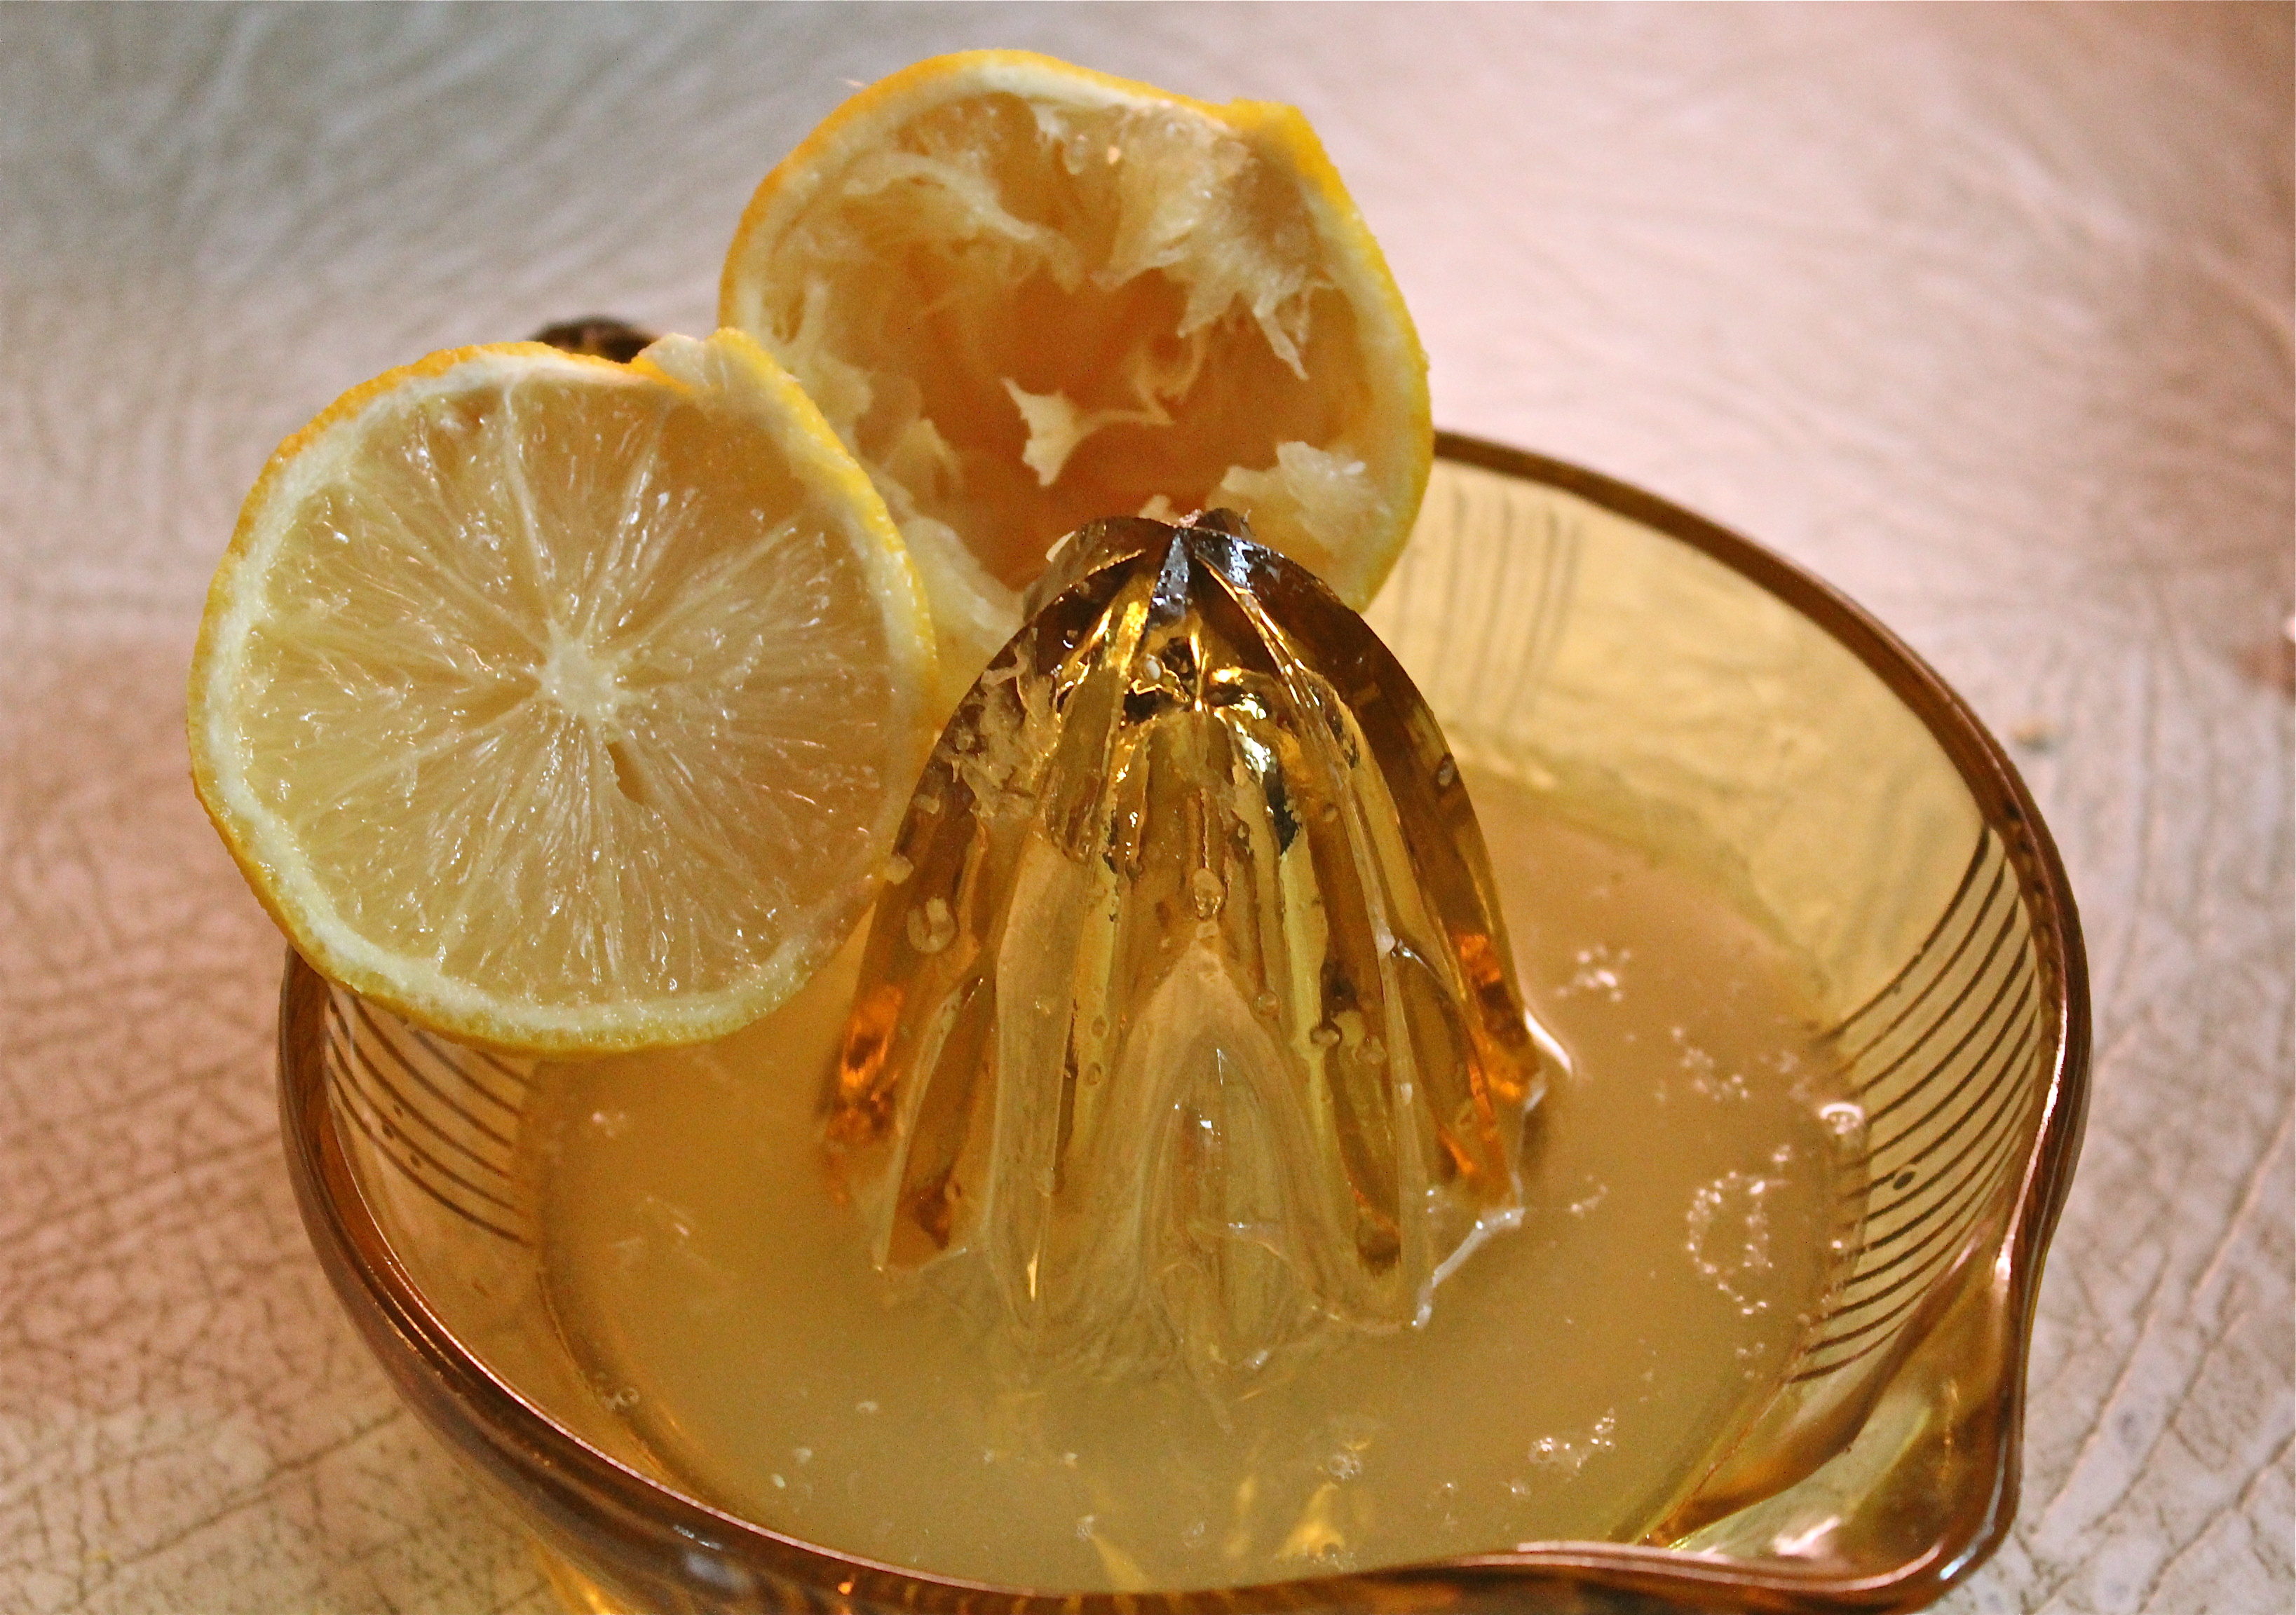
**Peel the lemons carefully with a potato peeler, taking care not to include the white pith which is bitter.  After this is done, I like to juice the lemons, freeze the juice in an ice cube tray, then store the cubes in a zip-lock bag in the freezer for when I need lemon juice.  Most ice cube trays hold about 2 Tablespoons liquid/cube.  Adding a cube of lemon juice into whatever you’re cooking is easy, and they melt quickly.

Directions:

1.  Pour the vodka into a large glass jar.  Something bigger than the bottle it came in.  You can save that bottle, remove the labels, and use it to store the completed limoncello.

2.  Add the lemon rinds to the vodka.  Cover the jar, and place in a cool, dark place for at least a week.  Shake the jar at least once a day.  The rind will turn white as the lemon oils are absorbed into the vodka.

3.  Strain the mixture through a fine sieve; discard the solids, and pour the vodka back into the jar.  Set aside while you make the sugar syrup.

4.  Make the simple syrup:  Place the 3 cups water and 1 1/2 cups sugar in a medium sauce pan.  Cook over medium heat until the sugar dissolves, stirring occasionally.  Remove from heat and cool to room temperature before adding to vodka.  The color of this mixture will not be as yellow as the commercial product, but you may add a few drops of yellow food color if you wish.

5.  Bottle as desired with a good seal.  Label, and store in the refrigerator or freezer for up to 1 year.  Serve chilled and enjoy!

IMG_5903

Please stop back next week when I’ll be sharing a recipe for cookies that use some of this limoncello for flavoring.  You won’t want to miss those!!

SOURCE:  old newspaper clipping from The Hartford Courant

When Life Hands You Lemons

Citrusy, smooth lemon curd.

Citrusy, smooth lemon curd.

When life hands you lemons, don’t just make lemonade, make lemon curd!….  Fresh lemons are a must in this recipe and they give it unbeatable flavor. When lemons are so plentiful in the marketplace, this is the time of year to make it.   For a lime-curd variation, substitute lime rind and juice.

Curd is a common tea-time treat, usually slathered on toast or scones.  It is so versatile.  British cooks also use it as a filling in trifles, tarts and cakes.   Lemon meringue pie is, essentially, lemon curd wearing a crown of meringue.

Traditionally curds are made with egg yolks and plenty of butter.  This recipe uses whole eggs and cornstarch, then you stir in a couple of tablespoons of butter at the end to achieve the velvety texture expected from curd, but with less fat and fewer calories.  Homemade curd will keep in the refrigerator for up to one week, you also can freeze it in a lidded container or zip-lock bag.  Thaw frozen curd in the refrigerator and use it within one week of thawing.

LEMON CURD

YIELD:   2 1/2 cups

Few ingredients, but big flavor!

Few ingredients, but big flavor!

  • 1 cup plus 2 tablespoons sugar
  • 1 Tablespoon cornstarch
  • 1/8 teaspoon salt
  • 1 cup fresh lemon juice, from about 5 medium lemons
  • 3 large eggs, lightly beaten
  • 2 Tablespoons butter
  • 1 teaspoon grated lemon rind

1.  Combine sugar, cornstarch and salt in a medium heavy saucepan, stirring with a whisk.  Stir in juice and eggs;  bring to a boil over medium heat, stirring constantly with a whisk.  Reduce heat, and simmer 1 minute or until thick, stirring constantly.  Remove from heat;  add butter and lemon rind, stirring gently until butter melts.

2.  Spoon mixture into a medium bowl to cool.  Cover and chill at least 6 hours or overnight (mixture will thicken as it cools).

I wish you could scratch and taste this picture!

I wish you could scratch and taste this picture!

I had a plan in mind when I made this curd.  Be sure to stop back next week to see what I did with it…….

Serving size:   1 Tablespoon      Calories, 35;  Fat, 1 g.  Carb., 6.4 g.

SOURCE:    Cooking Light Annual Recipes, 2007

A Breath of Sunshine

IMG_3142

We are growing tired of winter winds whipping, snow piled up in hugh mountains, and very little green(ery) to be seen.  So along comes a breath of sunshine in the form of citrus fruits to remind us of warm weather and sunnier times.  The bright colors of oranges, lemons, limes, and grapefruits, are so cheerful, and they show up in the produce isles just when we need them most.  I don’t know about you, but I am ready for a little warm weather fling.

IMG_3149

Citrus fruits are an equal opportunity ingredient, happy in either savory dishes or sweet.  For example, I use orange segments in green salad to brighten it up and give the salad a little interest and of course I bake with citrus, especially lemons. This post is not going to be using words like zippy, zingy, tangy and tart to describe the flavors of citrus.   You don’t need me to tell you what a lemon tastes like, or how frequently a recipe calls for lemon juice.  In fact I don’t know of a cuisine that does not use citrus in one way or another.  It’s the citric acid that brightens food and makes it come alive.  Often its there,  you don’t know it, but it provides balance.

IMG_3173

One of my favorite uses for lemons is to make lemon squares.  With the abundance of  all this citrus, I decided to indulge myself and make a batch.   This recipe uses oatmeal as one of the ingredients in the cookie base and the topping, so you get a nice little crunch in every bite.  Paired with the smooth creaminess of the lemon filling, this makes a very satisfying dessert or snack.

LEMON CREME SQUARES

YIELD:   12 squaresIMG_3154

INGREDIENTS

  • 1 1/3 cups flour
  • 1/2 teaspoon salt
  • 1 teaspoon baking powder
  • 1/2 cup butter, slightly softened
  • 1 cup brown sugar, lightly packed
  • 1 cup oats
  • 1 can sweetened condensed milk
  • 1/2 cup lemon juice
  •  zest of 1 lemon

1.  Preheat oven to 350*F,  and lightly grease a 9″ x 9″ pan

2.  In a large bowl cut butter into brown sugar until they are well combined.

3.  In a separate bowl, whisk together the flour, salt and baking powder.  Add this mixture and the oats to the butter mixture and mix to combine.  This will be quite dry and crumbly.

4.  Press half the crumb mixture into the bottom of the prepared pan, and press down lightly.

5.   In a small bowl mix together the condensed milk, lemon juice and zest.

IMG_3157

Spread evenly on top of the oat mixture in the pan.  Top with the remaining oat mixture.

IMG_3161

6.  Bake for 20 – 25 minutes or until the top is golden brown.  Let cool and refrigerate for 30 minutes or until set.  Cut into bars and store in the refrigerator.

IMG_3169

IMG_3172

SOURCE:   TASTE OF HOME BAKING