Hot Chocolate Cookies
Hi, folks, How are you? Are you doing all of those things that winter offers? Snowball fights? Mittens? Ski Caps? Building snow men? Hot chocolate?
I’d like to tell you that I’m frolicking in the snow, but I’m afraid of flying ice balls, afraid of skiing, especially the lift part, and very afraid of falling down and breaking an important bone somewhere in my body. So I’m indoors looking out, watching the icicles hanging from the roof grow longer and longer every day. Since today is a Monday (as I write this), it’s snowing again.
This winter has become so predictable. You know, like, “if it’s Monday it must be snowing”. Schools are closed, Mr. D. home from work, and all appointments cancelled. I’m getting used to it!
One thing I really like to do on a day like this, is make myself a cup of hot chocolate, with a marshmallow, or cream on top and a sprinkle of shaved chocolate. Mmmmmm, so warming, so good. But that fits into the predictable routine, what I want is something unpredictable, like these cookies.

Let’s have our hot chocolate and eat it too!!
These cookies incorporate all the ingredients you expect to find in a cup of hot chocolate. They are rich, chocolaty and delicious. They are great for any time of year, but I think wintertime is perfect, and especially for Valentine’s Day. Change the colored sprinkles for any other holiday or special occasion. They are always a hit.

HOT CHOCOLATE COOKIES
Yield: Makes about 50 cookies
Ingredients:
For the cookies:
- 1/2 cup ( 1 stick) unsalted butter

- 12 oz. semi-sweet chocolate chips
- 1 1/2 cups flour
- 1/4 cup unsweetened cocoa powder
- 1 1/2 tsp. baking powder
- 1/4 tsp. salt
- 1 1/4 cups brown sugar
- 3 eggs
- 1 1/2 tsp. vanilla extract
- 25 (aprox) large marshmallows
For the icing:
- 2 cups powdered sugar

- 4 Tbsp. unsalted butter, melted
- 1/4 cup unsweetened cocoa powder
- 1/4 cup hot water
- 1/2 tsp. vanilla extract
- assorted sprinkles
Directions:
1. In a medium saucepan, or a microwave safe bowl, melt the butter and chocolate, stirring frequently.

Choc. chips and butter in microwave safe bowl.
In the microwave, at 50% power, this takes approximately 1 1/2 minutes. Heat for 1 minute, stir, and reheat for another 30 seconds if needed. Stirring will help the chocolate to blend with the butter and become thick and smooth. Once melted, set aside to cool slightly.

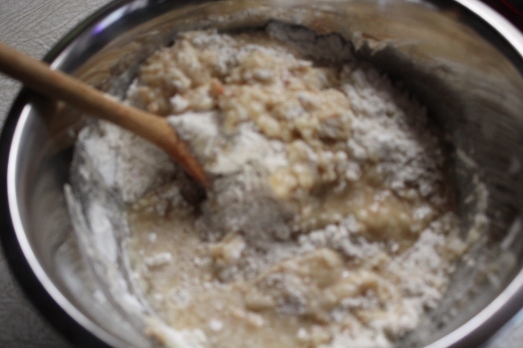
2. In a medium bowl, whisk together the flour, cocoa powder, baking powder and salt.

3. In the bowl of an electric mixer, beat the sugar, eggs and vanilla on low speed until well combined.

4. Add the cooled chocolate mixture and blend until just combined.

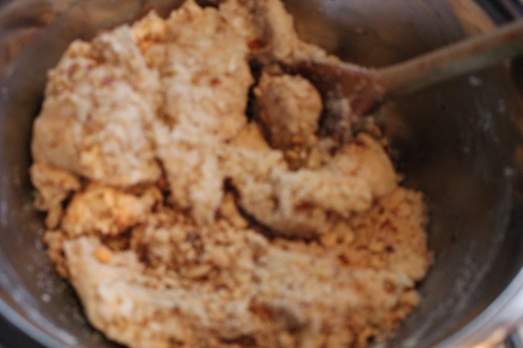
5. While mixing, add the flour mixture slowly and blend until all is incorporated.

Scrape down the bowl, then cover and refrigerate about 1 hour. If making the dough a day ahead, let it sit at room temperature for 30 minutes before shaping.
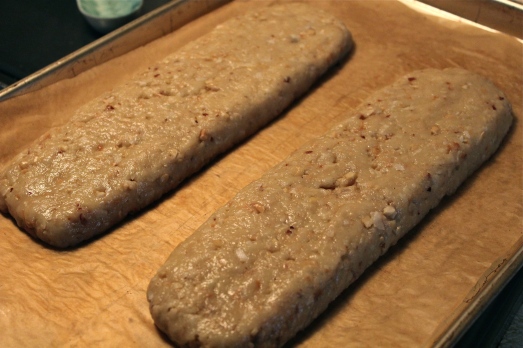
6. Preheat the oven to 325*F. Line 2 baking sheets with parchment paper or a silpat type liner. Use a tablespoon (or a tablespoon sized scoop) to scoop the dough, then roll with your hands to create balls. Arrange the balls about 2-inches apart on the baking sheets, then flatten slightly. Bake cookies for about 12 minutes.

7. While the cookies bake, cut the marshmallows in half crosswise. This will be easier to do if you dip the knife blade into a glass of hot water after every marshmallow. Cuts easily, with no sticking.

When the cookies have baked, remove from oven and press one marshmallow half -cut side down- into the center of each cookie.

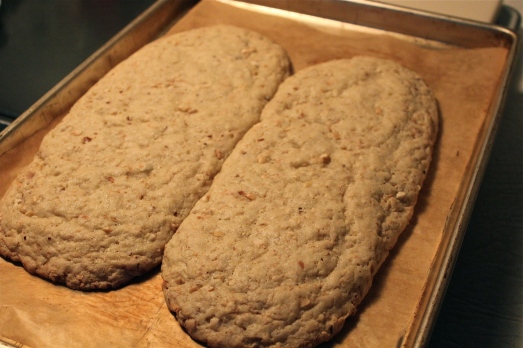
Cookies after baking.

Return the cookies to the oven and bake for another 2 – 3 minutes. Allow the cookies to cool on the baking sheet for a few minutes, then transfer to a wire cooling rack.

After baking the marshmallows will puff a little but do not turn brown.
8. Make the icing: combine melted butter, sugar and cocoa in a medium bowl add vanilla and gradually add the water, mixing as you go, until the icing reaches a smooth consistency and is thick but still able to drizzle. Place wire cooling rack with cookies on it over a baking sheet–to catch any icing drips. Spoon a small amount of icing onto the top of each marshmallow, and use the back of the spoon to spread it a bit. Let the icing run over the edges of the marshmallow, onto the cookie. After icing just a couple of cookies, top with sprinkles before the icing dries. Continue icing the remainder of the cookies in the same way.


9. Allow icing to set up about 30 minutes before serving, or storing in an airtight container.

SOURCE: The basic cookie is an adaptation of a chocolate cookie from Rachael Ray