Mini Cheesecakes, (or what I brought to Easter dinner)

Mini Cheesecakes

Mini Cheesecakes

Good morning, folks,  Happy Spring,  Welcome to Monday, and here I am back….did you miss me?  I certainly missed you!

Last week was a whirlwind of busy-ness, and I didn’t spend a lot of time in the kitchen, so our meals devolved into left overs and quick and easy ones that are already on these pages somewhere.  Can you believe one evening we even had Chinese Takeout?   Well, what can I say?  We like it every so often (in a pinch).   The point to all this being …I didn’t have anything new to share with you,  until Easter weekend rolled around, that is.

IMG_9541

The family gathered at my niece’s house–she wanted to try being the hostess for the first time.  I like to encourage our younger family members to try hostessing and entertaining,  and so I said,  “what can I do to help with dinner?”   The answer:  “Oh, Aunt Carolyn, will you please make dessert?”   YES!

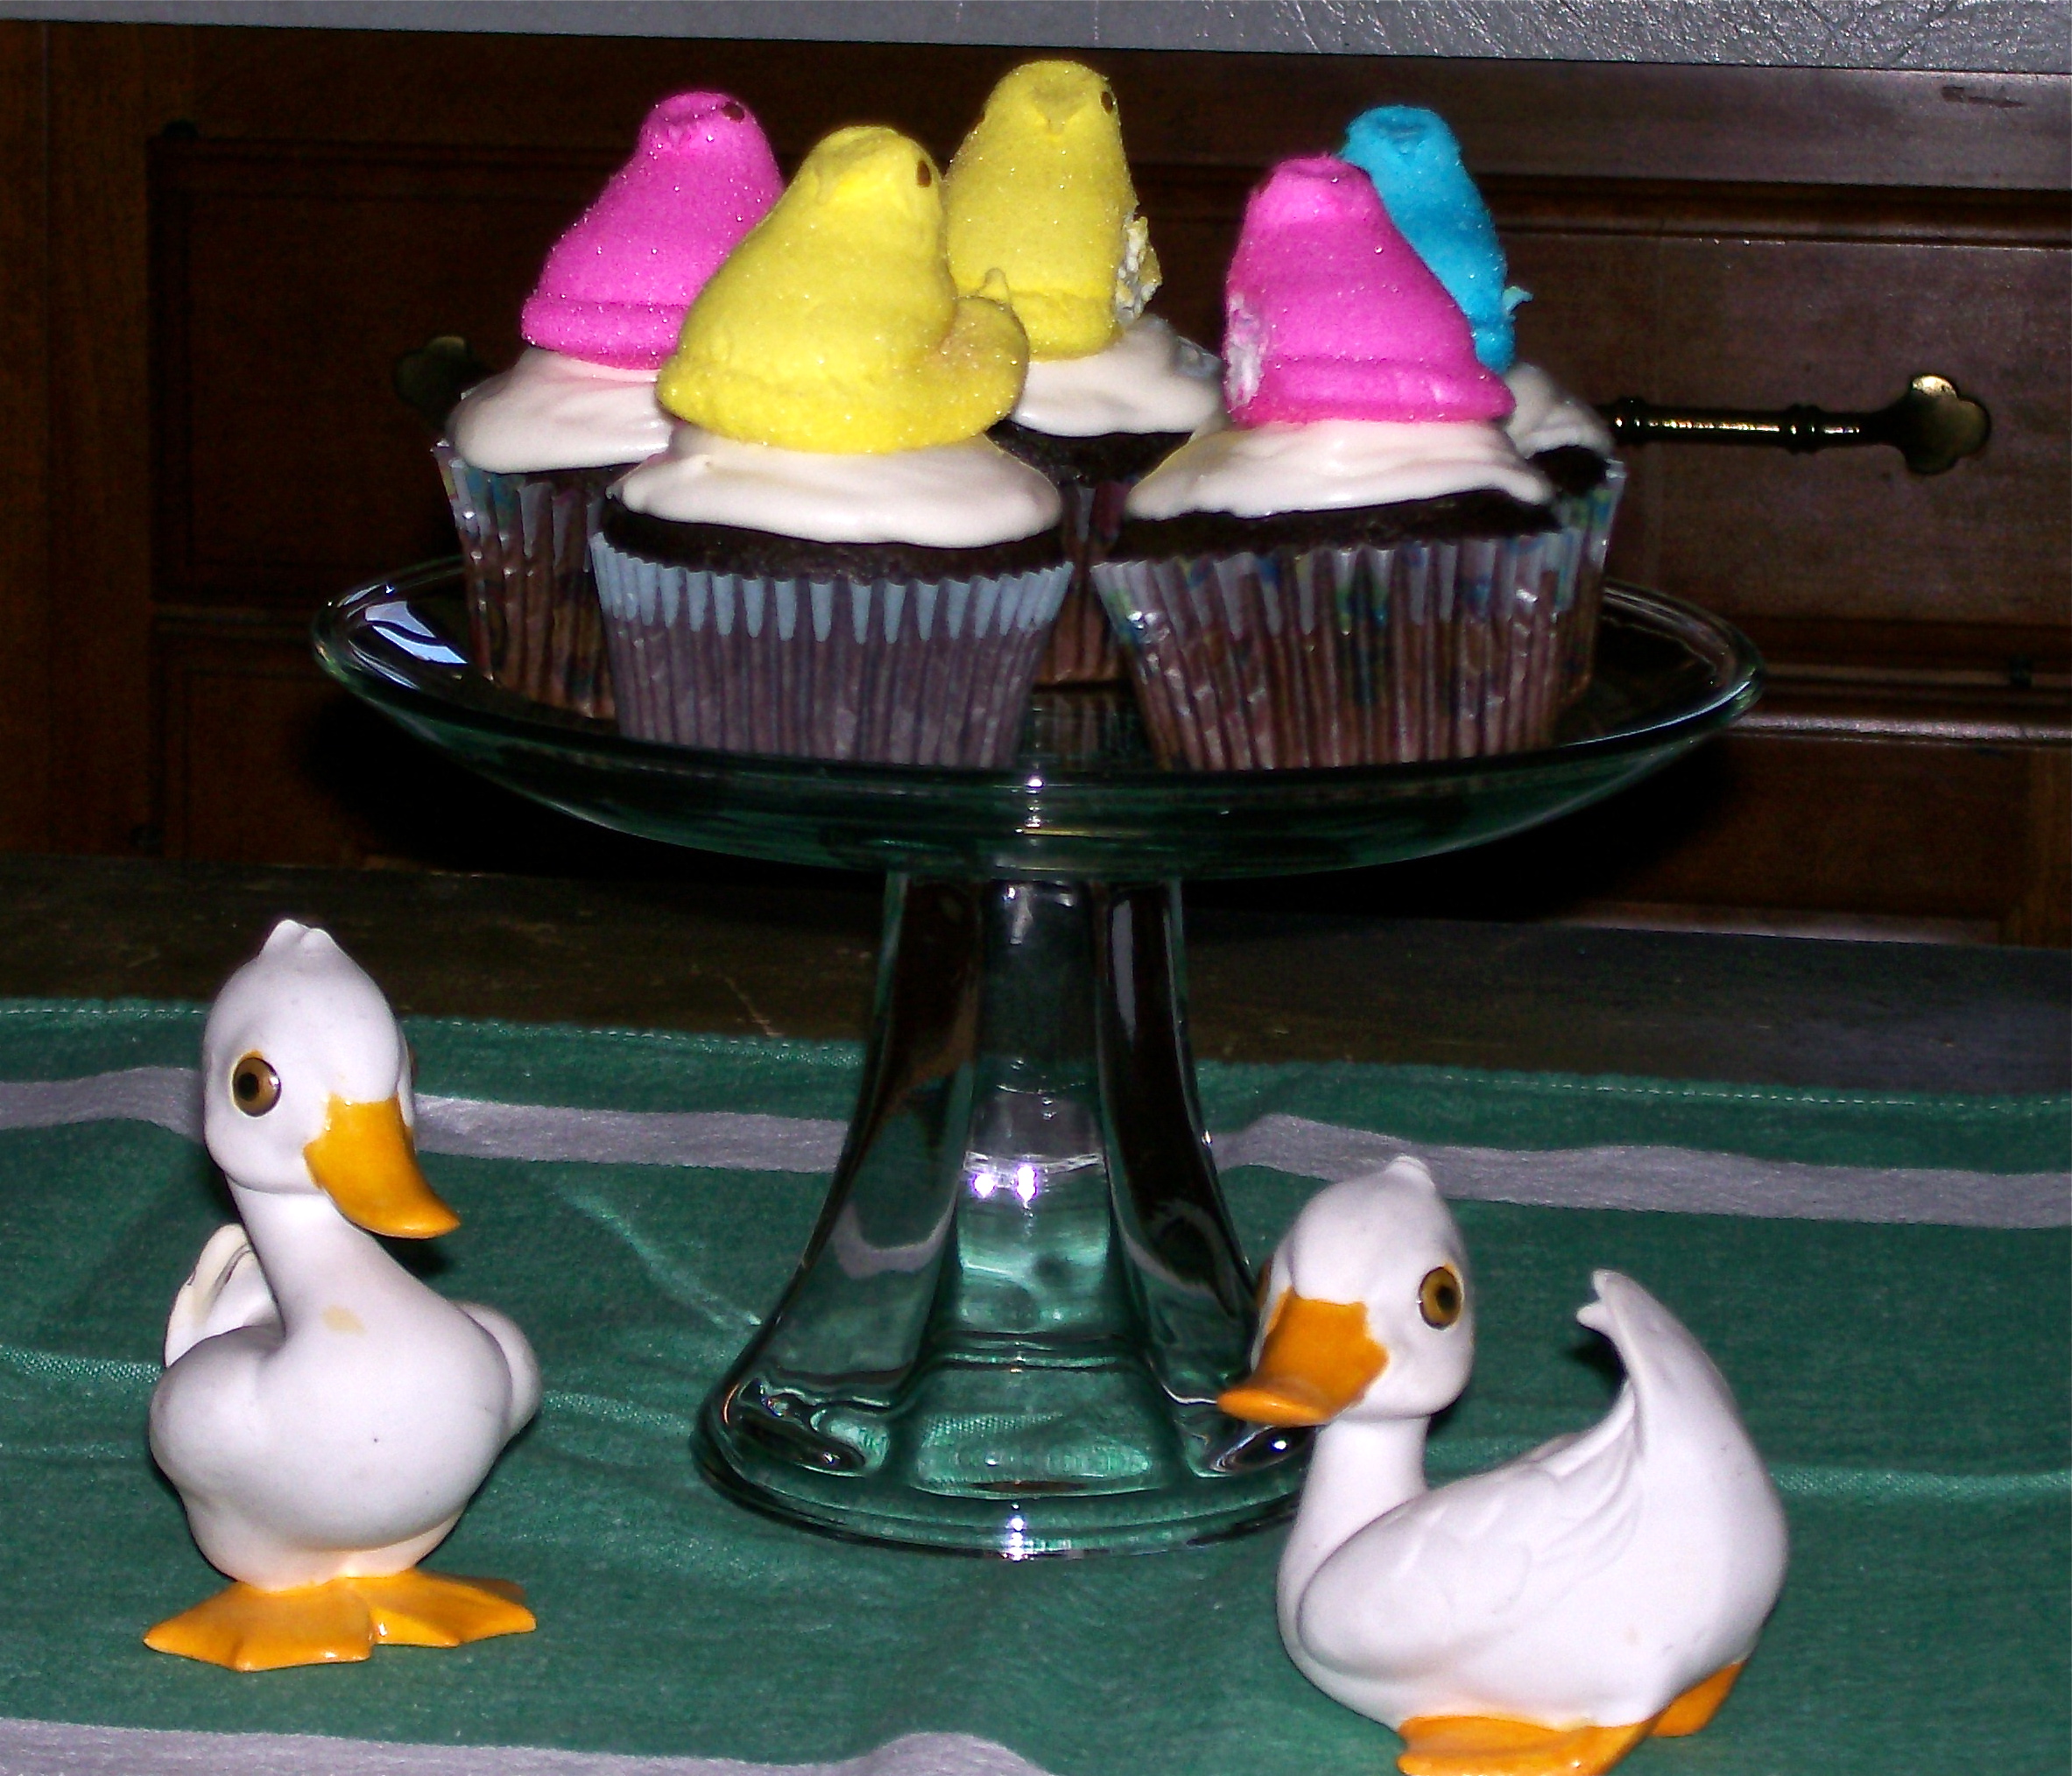
I had seen a picture of miniature cheesecakes in a magazine that were so cute, I really wanted to try them.  They were individual ones, made in muffin tins, with the tops decorated with toasted coconut and mini chocolate eggs to look like little nests.  I knew the children would really like them…and the adults too!  They were super easy to make and came out just right.  I was so pleased.  Those pictured below were decorated with help from a 3-year-old, so they may not look perfect.  A few extra “eggs” may have been eaten along the way, but it was fun doing it with a little girl to help me!

IMG_9556

The crust under the cheese filling is meant to be made with graham cracker crumbs, but in our family we have an allergy to graham crackers, so I always use a shortbread cookie instead.  In this case I used Nilla Wafers, crushed to replace the graham crumbs.  I also used a low-fat cream cheese in place of the regular, for a reduction of some fat and calories.  It all worked out beautifully.

As the cheesecakes bake, the tops of them get cracked, but as they cool, and the tops sink a bit, the cracks close up, and they are covered by the toasted coconut “grass”, so don’t worry about that small detail.

IMG_9533

It has occurred to me that these little cakes would be a perfect dessert for a buffet.  With Mother’s Day coming up soon, bridal showers and graduations too, just change out the type of little candies in the “nest” to fit the occasion.  So cute!!

MINI CHEESECAKES

Yield:  Makes 18 servings

Ingredients:

  • 1 cup graham cracker crumbs (or other type of cookie crumb)IMG_9528
  • 3/4 cup + 2 Tbsp. sugar, divided
  • 3 Tbsp. butter, melted
  • 3 pkg. cream cheese, softened (8-oz. each)
  • 1 tsp. vanilla extract
  • 3 eggs
  • 1 cup + 2 Tbsp. coconut
  • 54 tiny speckled chocolate eggs

Directions:

1.  Preheat oven to 325*F.  Line 18 muffin cups with paper liners.

2.  Mix graham crumbs, 2 Tbsp. sugar and melted butter in a small bowl until uniformly moistened and crumbly.  Press 1 Tbsp. crumbs into the bottoms of muffin cups.

Crumbs in the bottom of the cups.

Crumbs in the bottom of the cups.

3.  Beat cream cheese, vanilla and remaining sugar with mixer until smooth.  Add eggs, 1 at a time, mixing on low speed after each just until blended.

IMG_9530

Spoon over crusts.  (Each cup takes about 2 Tbsp. filling)

IMG_9531

4.  Bake at 325*F. for 25 to 30 minutes or until centers are almost set.  Cool completely.  Refrigerate for at least 2 hours.

IMG_9533

To toast coconut:  pour the 1/2 cup + 2 Tbsp. coconut onto a baking sheet and bake at 325*. for 5 minutes.  Watch carefully to prevent over browning.

Toasted Coconut.

Toasted Coconut.

5.  Top each cheesecake with 1 Tbsp. toasted coconut shaped into a nest.

Fill each one with 3 tiny speckled chocolate eggs.

IMG_9543

IMG_9557

SOURCE:   Food Network Magazine


Advertisement

In the Summertime

I have a cute new short haircut for the summer in preparation for the upcoming dance competition.  I bought some bright pink lipstick and nail polish to go with my rhythm dress–the hot pink one with all the fringes on it.   Ooh LaLa!

My vacation is on hold until after the competition, then we are going SOUTH– in a good way.  I hope you are on a vacation or going on one,  sitting on a dock by a bay, or climbing every mountain.  Have lots of laughs,  super casual Fridays, and extra lazy Sundays.

If you’re still at home ( like me), and if you’re in the kitchen ( also, like me), I wish for you fizzy beverages with lots of ice, and super delicious Summer Flavors.

Here is a collection of some of my favorite summer-inspired recipes.


Brown Sugar Toffee Bars

You know those hard little nuggets of sugar you sometimes get in a bag of brown sugar?   Ya know what I do with them?  I eat them!!   Yup!  In fact whenever I open a new bag of brown sugar I look for them first, so I can give myself a little treat.  Around here I do all the cooking and baking so a girl’s got to reward herself once in a while.

Brown Sugar Toffee Bars

Brown Sugar Toffee Bars

Today I was wishing for something made with brown sugar so I came up with  this idea for brown sugar bars with toffee bits mixed in.  Thus….. Brown Sugar Toffee Bars.  These bars are so simple really, but they have flavors that are so outstanding.  Chewy, buttery, and rich.  They are deceptively delicious.

IMG_5609

The Leaning Tower of Toffee Bars 😀

If you’re not as nuts-o for dark brown sugar as I am then by all means use light brown sugar, you’ll get a somewhat milder flavor, and lighter colored bar.  All the other usual pals go into these bars like butter, eggs, vanilla, etc, but you’ll also need a bag of toffee bits.  I wanted to use the kind that are covered in milk chocolate but didn’t have any on hand.  Went to my grocery store but they didn’t have them so I used the plain toffee bits, and added about 1/2 cup chocolate chips.  You can use  the plain toffee bits, chocolate covered bits, or add chocolate chips as I did.  It’s totally up to you.

This is what I used.

This is what I used.

The batter mixes up quickly, stir in the toffee, spread in a baking pan and pop into the oven.  Before long your tummy will be thanking you in a big way.

Here’s what your bars will look like……

IMG_5603

BROWN SUGAR TOFFEE BARS

Yield:  Makes approximately 30 bars

All this good stuff goes into these fab bars.

All this good stuff goes into these fab bars.

Ingredients:

  • 1 cup butter ( 2 sticks), at room temperature
  • 1 1/2 cups dark brown sugar, packed
  • 2 eggs
  • 1 Tbsp. vanilla
  • 2  1/2 cups flour
  • 1 tsp. baking soda
  • 1 tsp. kosher salt
  • 1 (8oz)bag of Toffee Bits (Heath Toffee Bits, with or without chocolate covering)

Directions:

1.  Preheat the oven to 350*F.   Spray a 9″ x 13″ baking pan with cooking spray.

2.  With an electric mixer, cream the butter and brown sugar together, about 2 minutes on medium speed until combined and fluffy…..

Cream together the brown sugar and butter.

Cream together the brown sugar and butter.

Add in eggs and vanilla and continue mixing until incorporated.

3.  Turn mixer to low speed and add in baking soda, salt and flour, mixing until incorporated.

4.  Pour in the toffee bits and stir until evenly combined…..

Add in all those yummy toffee bits and chocolate chips.

Add in all those yummy toffee bits and chocolate chips.

5.  Spread batter in prepared pan and bake for 20 – 25 minutes until golden and center is just set.  Don’t over bake.

6.  Cool pan on wire rack and cut into squares when ready to serve.

IMG_5607

IMG_5610

SOURCE:   A major adaptation of a recipe for Toffee Squares from Taste of Home Baking Book

Hidden Egg Cupcakes

Happy First Day of Spring, Everyone!

In celebration of the first day of Spring, I thought I would bring you an Easter/Springtime recipe to get you in the mood if you’re not already.  We are preparing for yet another snow storm as I write this, and most everyone I know has had it up to HERE with cold, winter weather.  So let’s all think of green grass, daffodils, tulips, bright spring clothes and no more jackets and coats.

Hidden Egg Cupcakes with Peeps.

Hidden Egg Cupcakes with Peeps.

We know that Easter egg hunts are great fun for children (of all ages).     Another thing we know is that everyone loves cupcakes, and chocolate-filled eggs.  Two delish things in one cupcake?  Yes, mam!  This recipe combines a Cadbury egg baked inside a chocolate cupcake, topped with vanilla buttercream.  To take this concept one step further, after I had frosted the cupcakes I topped each one with a “peep” to give the idea of a bird or chicken sitting on an egg.

These were made and photographed last Easter just after I started writing this blog.  My photography skills were not very good back then and I have since improved quite a bit,  but I’m sure you will get the idea of what they looked like.  For the eggs I used Cadbury Eggs, the regular size ones, not the minis, and the cupcakes are a fudge chocolate recipe that I like a lot.

Chicks and ducks make us think of Easter and Spring.

Chicks and ducks make us think of Easter and Spring.

There are two secrets to these cupcakes.  They get their rich, extra-chocolaty flavor from a combination of unsweetened cocoa powder and bittersweet chocolate, and their soft, moist texture from a simple hand-mixing method.  The frosting is a butter cream which I have written about before and you can find the recipe here.

EASTER EGG CUPCAKES    (aka Fudgey Chocolate Cupcakes)

SERVINGS:    Makes  12  cupcakes

Count off by color!

Count off by color!

INGREDIENTS

  • 2/3 cup all-purpose flour
  • 2  1/2 Tablespoons unsweetened cocoa powder
  • 1/4 teaspoon baking powder
  • 1/4 teaspoon salt
  • 3 oz. bittersweet chocolate, chopped
  • 1/2 cup plus 3 Tablespoons unsalted butter, cut into pieces
  • 3/4 cup plus 2 Tablespoons sugar
  • 3 large eggs at room temperature
  • 1 teaspoon vanilla extract
  • 12 Cadbury eggs, regular size
  • Vanilla Buttercream Frosting
  • 12  candy “Peeps”,  your choice of color

1.  Preheat oven to 350*F.   Line a standard 12-cup muffin pan with paper liners.

2.  In a bowl, whisk together the flour, cocoa powder, baking powder, and salt.  Place the chocolate and butter in a large heatproof bowl set over (but not touching) simmering water in a saucepan.  Stir frequently until melted and smooth, about 5 minutes.  Remove the bowl from the saucepan;  let the mixture cool to room temperature,  10-15 minutes.

3.  Using a wooden spoon, stir the sugar into the chocolate mixture until combined.  Stir in the eggs one at a time, beating until combined after each addition, and then beat in the vanilla.  Gently fold in the flour mixture just until no traces of flour remain;  do not over mix.

4.  Spoon about 1/4 – 1/3 cup batter into each muffin cup.  Place a Cadbury Egg in each cup large end down.  Continue to fill the muffin cups with the remaining batter.  Bake  22 – 24 minutes or until the tops seem set and “spring back” when touched lightly.  A toothpick inserted a little off-center may come out with a few moist crumbs attached.

5.  Let the cupcakes cool in the pan on a wire rack for 5 minutes.  Transfer the cupcakes to the wire rack and let cool completely before frosting.

6.  Frost cup cakes with vanilla buttercream, and place a “Peep” on top of each one.   CUTE!

Chicks of a feather-----

Birds of a feather—–

SOURCE:  cupcake recipe from Cupcakes, by Shelly Kaldunski

Pistachio Cupcakes

Pistachio Cupcakes

Pistachio Cupcakes

This is a very good recipe for cupcakes that just happen to be green.  If you’re looking for something to bake for that St Patrick’s Day event, or just for your family, these might be what you’re looking for.

The inclusion of Pistachio pudding mix into the cupcake batter is what gives them the green color, plus a mild flavor of pistachio.  I wanted a stronger flavor in mine so I added a tiny bit of almond flavoring, and that, for me, was just enough.  The frosting is a white butter cream that I tinted green and then sprinkled the tops with green decorating sugar.  The cupcake itself is very moist because of the addition of sour cream or yogurt.

IMG_3362

I plan to keep this recipe handy because I think I will try substituting other flavors of pudding mix for the pistachio, and varying the frosting to match the cupcake.  It has the potential for being a basic cupcake recipe that lends itself to many variations.

PISTACHIO CUPCAKES

SERVINGS:     Makes  12

INGREDIENTS  and  DIRECTIONS:

You will need to have ready 3  mixing bowls;   a large mixer bowl,  and 2 other smaller bowls.  A muffin pan with paper liners, or well sprayed.  Preheat oven to 350*F.

1.  In your large mixer bowl, beat together all the following till thoroughly combined.

  • 3/4 cup sugar
  • 1/2 cup vegetable oilIMG_3359
  • 2 eggs
  • 3/4 teaspoon salt
  • 2 teaspoons baking powder
  • 1/2 teaspoon baking soda
  • 1/4 teaspoon almond or pistachio flavoring, optional

2.  In a medium bowl, whisk together—

  • 1  ( 3  1/8 oz. ) package pistachio instant pudding mix.  Sugar free is OK.
  • 1  2/3 cup flour

3.  In a small bowl, whisk together

  • 1/2 cup plain or vanilla yogurt,  or sour cream
  • 1/2 cup milk

4.  3/4 cup chopped pistachio nuts,  optional

5.  Starting and ending with flour, alternately beat in flour and yogurt/milk mixtures, scraping down the bowl several times.

6.  Stir in chopped nuts, if using.

7.  Spoon into paper-lined muffin pans, and bake at 350*F for 18 – 22 minutes, until a toothpick inserted into the center of one comes out clean.

8.  Remove from oven and allow to cool 10 minutes in pan, then remove to a wire rack for complete cooling before frosting.

Butter cream frosting tinted green.

Butter cream frosting tinted green.

BUTTER CREAM FROSTING

  • 1/2 cup  ( 1 stick) unsalted butter, softened
  • 1/2 teaspoon flavoring;  vanilla, almond, or pistachio
  • 2  1/4 cups confectioners’ sugar
  • 1 – 2 Tablespoons milk
  • 2-3 drops green food coloring

1.  With an electric mixer, beat the butter till very soft and pale.  Beat in flavoring.

2.  Gradually sift in the confectioners’ sugar, beating well after each addition.  The more you beat at this stage, the lighter and fluffier the frosting will be.  Add milk a little at a time to achieve desired consistency for spreading or piping.

3.  To color, add drops of food coloring, and beat in to achieve desired level of color.

4.  Cover frosting with plastic wrap and put in refrigerator for at least an hour to firm up.  It will keep up to a week stored in the refrigerator.  Bring to room temperature before using.

IMG_3371

Decorating Tips:  Green decorating sugar is a nice touch for green/ St Patrick’s Day cupcakes; or, if using pistachio nuts in the cupcake batter, a few chopped pistachio nuts sprinkled on top would also be nice.

IMG_3364

SOURCE:   The Cupcake,  by Angela Drake,   for Paragon Books

Chocolate Festival, 2013

Visitor are greeted by this cheerful sight on the grand piano.

Visitors are greeted by this cheerful sight on the grand piano.

In the small town of Portland, Ct. the first Saturday of February is now well-known as Chocolate Festival day.  We are “the little church that could”, because we accomplish big things.  There is a spirit of togetherness, cooperation, and fun in all that we do.

This was our sixteenth time producing this annual event, and each time it seems to get better and better.  The people come early and stand in line outside in the cold until the doors open, and then swarm inside trying to get to their favorite booth(s) for baked goods or candy or gifts.  Some folks head right to the “Chocolate Moose Cafe” for a choice seat and first dibs on the mouth-watering desserts being served fresh and warm from the kitchen.

Chocolate Moose Cafe

Chocolate Moose Cafe

If you asked me what my favorite part of it is, I wouldn’t be able to choose.  Just walking into the room makes you smile and you feel happy and warm, because everything is so brightly decorated, and the booths are filled with gifts that are unique, and beautifully presented. The colors of red, pink and white are everywhere, even the people working there are dressed in these colors.

Gifts for all ages.

Gifts for all ages.

Grab bags for children.

Grab bags for children.

Greeting Cards

Greeting Cards

The greeting cards are all hand-made from actual photographs;   a bargain at 3/ 5.00,   centers are blank for your own message.

This event is the main fund-raiser of the year put on by the Women’s Fellowship, but many men also join in and contribute their services by helping with setting-up, taking down, clean-up, parking cars, and other services as needed.  So many people pitch in to create this wonderful day,  a lot of work, but so rewarding.

Over view of the candy booth.

Over view of the candy booth.

For my part,  since the very first year, I have made truffles for the candy booth and I help to package them in their hand-made decorative boxes. Below are some pictures of our specialty candies and “pops”.

Ice cream cone pops

Ice cream cone pops

Dump truck  pops

Dump truck pops

Rose bud pops

Rose bud pops

Rosebud bouquets

Rosebud bouquets

I also bake several different items for the baked goods booth.

Cardamom Breads

Cardamom Breads

These cardamom breads are one of the earliest baked items to sell out.  They are baked by a gentleman member, who looks forward to making them for us each year.

George's famous chocolate chip cookies.

George’s famous chocolate chip cookies.

Another gentleman provides us with chocolate chip cookies,  recipe closely guarded,  that are out-of-this-world!

Swedish breads and coffeecakes.

Swedish breads and coffeecakes.

Another of our specialties are the Swedish breads and coffeecakes.  Pies and cakes, brownies, cookies, jams, crunchy snacks, etc, etc.  We never know what we will have, but regardless, it all sells out.

This year I made two kinds of cookies.  The pink sandwich hearts that I posted here yesterday, and some cookies made with Nutella that will be coming up on the blog very soon. So watch for them, they are scrumptious!    Compared to what many others do my part is relatively small, but I enjoy the whole event immensely, especially those chocolate desserts that the kitchen crew creates and serves in the cafe.

Team leader in the kitchen, making hot chocolate sauce.

Team leader in the kitchen, making hot chocolate sauce.

Raspberry ripple cheesecake.

Raspberry ripple cheesecake being cut.

Not everything sold or served is chocolate.  This is a raspberry ripple cheesecake being cut with dental floss.  Did you know that dental floss makes nice clean cuts for perfect servings?

Last, but not least, are the raffle baskets.  Many people take on the task of creating a basket of theme-related items, and these baskets are raffled off at the end of the day.  Here are a few of the baskets that were on display.

Go, UCONN Huskies!

Go, UCONN Huskies!

At this time of year, Huskie fever runs high, so we always have a UCONN Huskies basket.

Cupcake in the Kitchen basket.

What’s up, Cupcake?  basket.

All things "Cat"

The Cat’s Meow, devoted to all things “cat”

Over 20 raffle baskets were on display.

Over 20 raffle baskets were on display.

So many baskets to take a chance on.  Which one would you choose if you could?  At the end of the day I received a phone call telling me that I had won the “Bucket of Books” basket.  I was so happy,  I love to read and a BIG bucket filled with books is just great.

I do hope you have enjoyed this glimpse of a wonderful day, and if you live within driving distance perhaps you can think about coming next year.  Remember:  the first Saturday in February.   Mark you calendar, now!   For further information, please e-mail me.  ( see Contact page, above.)     XOXO

Sweet Potato Cookies

Sweet Potato Cutout Cookies

These cookies share one of the traditional flavors of Fall and Thanksgiving:  sweet potatoes.  I like to make them for any children who may be at my Thanksgiving Table, as not all of them like pie, preferring ice cream and cookies instead.  This year I have added two new cookie cutters to my collection; a turkey and a pumpkin, and I wanted to try them out, and since I am cooking sweet potatoes for a side dish, the small amount needed for this recipe allows me to make two things at once.  I like that!

These cookies are a kind of takeoff on the traditional Thanksgiving casserole of Baked Sweet Potatoes with Marshmallow Topping.  I have made some minor adaptations to make them less sweet, and don’t usually frost them with the Marshmallow Frosting, but if calories are not a concern by all means top the cookies with the frosting.  You may also brush the tops with a little egg white before baking,  sprinkle with sugar and add a pecan or other piece of nut to garnish them.

What I did for the cookies pictured here is make an Ornamental frosting with egg white, confectioners’ sugar, and a little vanilla.  Then lightly frost them, like a glaze, and sprinkle with decorative sugar.

They are not a sweet cookie so they can take a small amount of frosting.  Children will like them for the shapes, and the frosting, not realizing they are getting some good nutrition from the sweet potatoes.   I haven’t tried it yet, but I think you could make them with pumpkin instead of sweet potatoes, since both are so similar as to be interchangeable .

SWEET POTATO COOKIES

Type of cookie:  Rolled cutout.   Makes about 15 large cookies

Ingredients:

  • 2 1/2 cups all-purpose flour
  • 2 teaspoons baking powder
  • 1/2 teaspoon salt
  • 1 Tablespoon cinnamon  (Seems like a lot of spices, but this is no mistake.)
  • 1 Tablespoon ginger
  • 1/4 teaspoon black pepper
  • 1/2 cup ( 1 stick) butter, softened
  • 1/2 cup light brown sugar
  • 1 large egg
  • 1/2 cup cooked and mashed sweet potato
  • 1 egg white lightly beaten with a little water
  • 1/2 cup pecan halves, or other nut pieces
  • Marshmallow Frosting, (optional.)   Recipe follows.

1.  Combine the flour, baking powder, salt, cinnamon, ginger and pepper in a medium bowl; set aside.

2.  Cream the butter and brown sugar until light and fluffy.  Add the egg and sweet potato and beat well.

3.  Add the flour mixture and blend well.  Form the dough into a flat disk, cover with plastic wrap, and refrigerate for 30 minutes.

4.  Preheat the oven to 325 degrees.  Grease 2 cookie sheets or line with parchment paper.

5.  Roll the dough out on a floured work surface to 3/8 inch thick.  Cut with a 3-inch cookie cutter.  Place the shapes on the cookie sheets 2 inches apart.

6.  Brush the cookies with the egg white mixture, and press a nut piece into the center of each cookie.

7.  Bake for 15 – 18 minutes, until lightly browned.  Let cool on the pans for 5 minutes, then transfer to cooling racks to finish cooling.

Turkey Cutout Cookies

Pumpkin Cutout Cookies

MARSHMALLOW FROSTING

  • 2 Tablespoons milk
  • 6 Tablespoons sugar
  • mini-marshmallows
  • 2 Tablespoons boiling water
  • 1/2 teaspoon vanilla extract

1.  In a saucepan over medium-low heat, heat the milk and sugar for 6 minutes without stirring.

2.  In a double boiler heat the marshmallows.  When they are very soft add boiling water, stirring until smooth.

3.  Remove from heat.  Add the vanilla.  With an electric mixer on medium speed beat in the hot sugar, keep beating until partly cool.  Use at once.

Pretty and Inviting. Garnished with a pistachio nut and decorative sugars.

SOURCE:   Crazy about Cookies by Krystina Castella