

Homemade Irish Cream
What better way to start the first week of March than with a recipe for Irish Cream Liqueur. I for one love Bailey’s Irish Cream in my coffee. This is not an indulgence I have often because of the added calories. The recipe for the original B.I.C. is closely guarded but I love the fact that people try to duplicate some of these products and come pretty close to the originals. That gives us at home the opportunity to try them out, maybe tinker with the recipe a little and even improve upon it, or match it to our own taste buds. This being the month for all things Irish, I decided to try making my own Bailey’s.

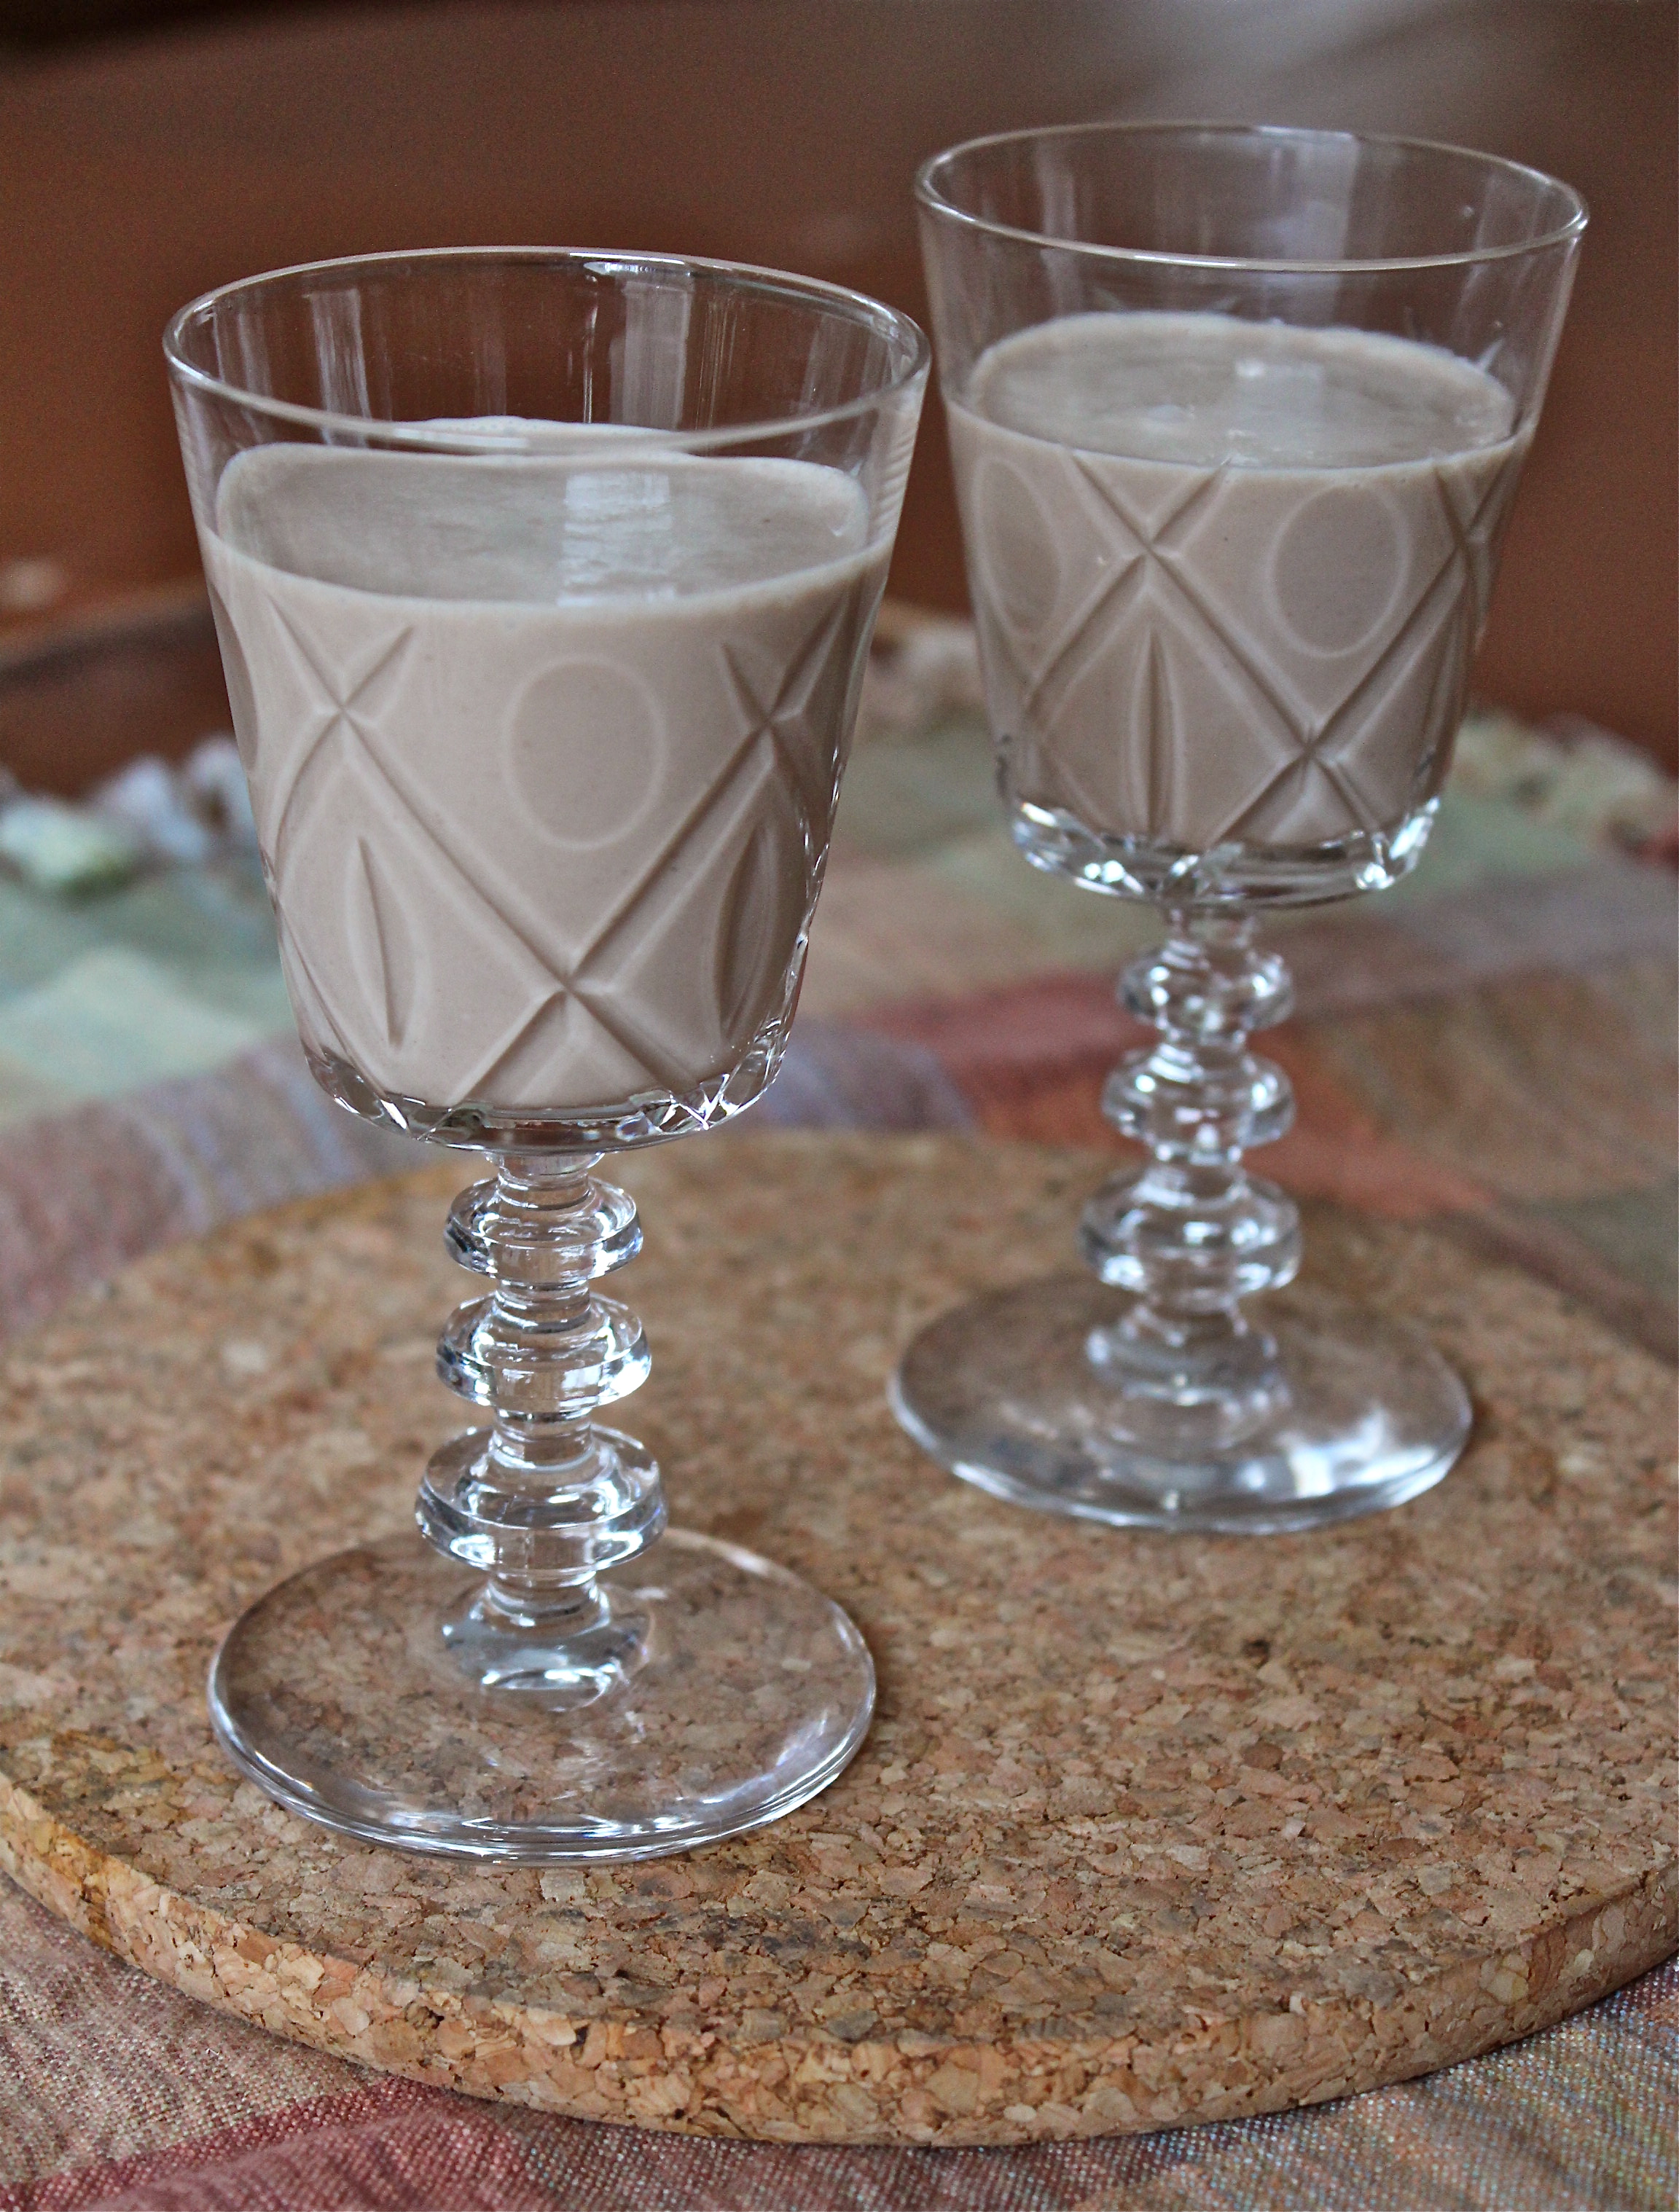
If you have never had Bailey’s, it is a creamy, mocha-kissed, drink that can be enjoyed poured over ice, or added to coffee. It is seriously delicious. One sip will leave you wanting more, and before you know it, a bottle full will be gone. So it pays to know how to make your own. It is very easy to make– takes about 30 minutes–from readily available ingredients. It contains none of the artificial flavorings or coloring agents or preservatives used in commercially prepared Irish creams. Serve or give this to someone you know and make them very happy. Irish eyes will be smiling when they’re drinking this!

Some recipes call for mixing all the ingredients in a blender, but made that way it doesn’t stay thick very long. This recipe, on the other hand, takes a slower approach, warming it over low heat. As the cream heats up the mixture thickens and seems to remain that way a longer time. Also it is important to use a good quality Irish whisky. It’s flavor comes through in the finished drink. Using an inexpensive whisky, will not give you the same flavor. Please be aware of the alcohol content in this drink. If it is too strong for your taste, feel free to decrease the amount of alcohol called for.
IRISH CREAM LIQUEUR
YIELD: Makes about 6 cups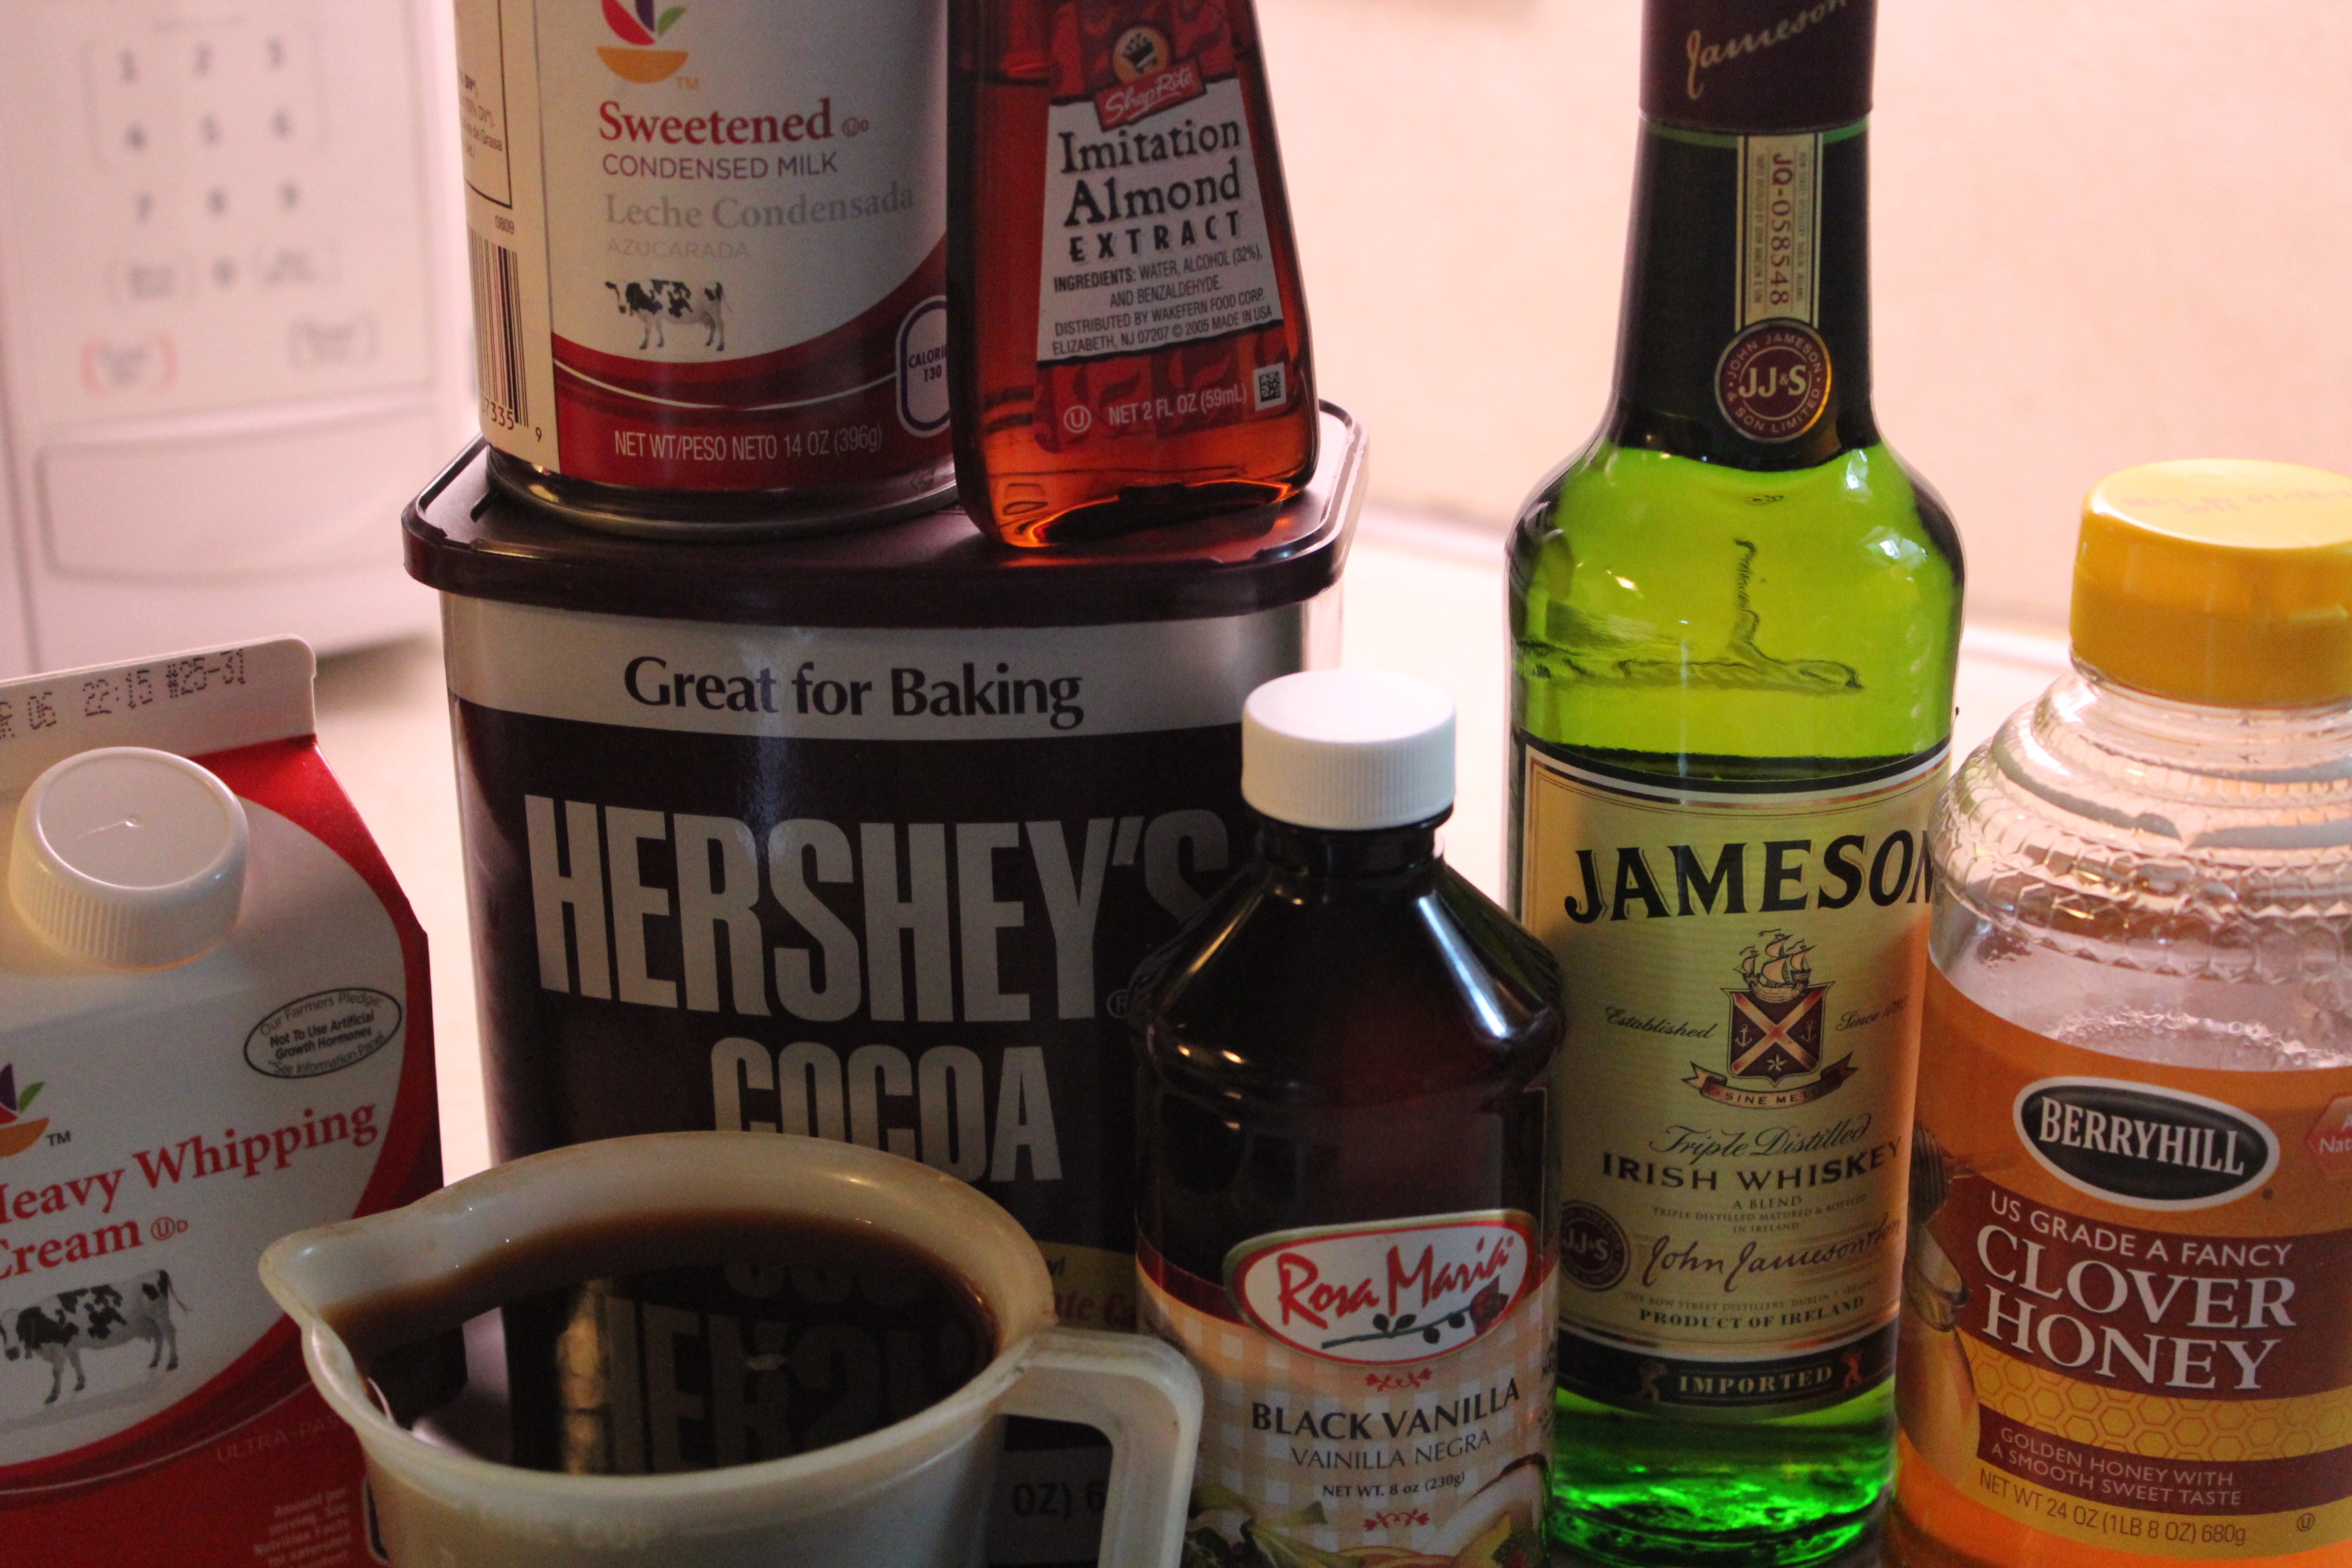
- 1 cup strong coffee
- 1 1/2 cups heavy cream
- 1 Tablespoon dark cocoa
- 1 Tablespoon sugar
- 1 teaspoon honey
- 1/2 teaspoon vanilla extract
- 1/2 teaspoon almond extract
- 1 14-ounce can sweetened condensed milk
- 2 cups Irish whiskey
1. Bring the coffee to a gentle simmer in a medium saucepan.
2. Add the cream, cocoa, sugar, honey and extracts, and whisk thoroughly.
3. Simmer over low heat for about 20 minutes, whisking frequently, until the mixture begins to thicken.
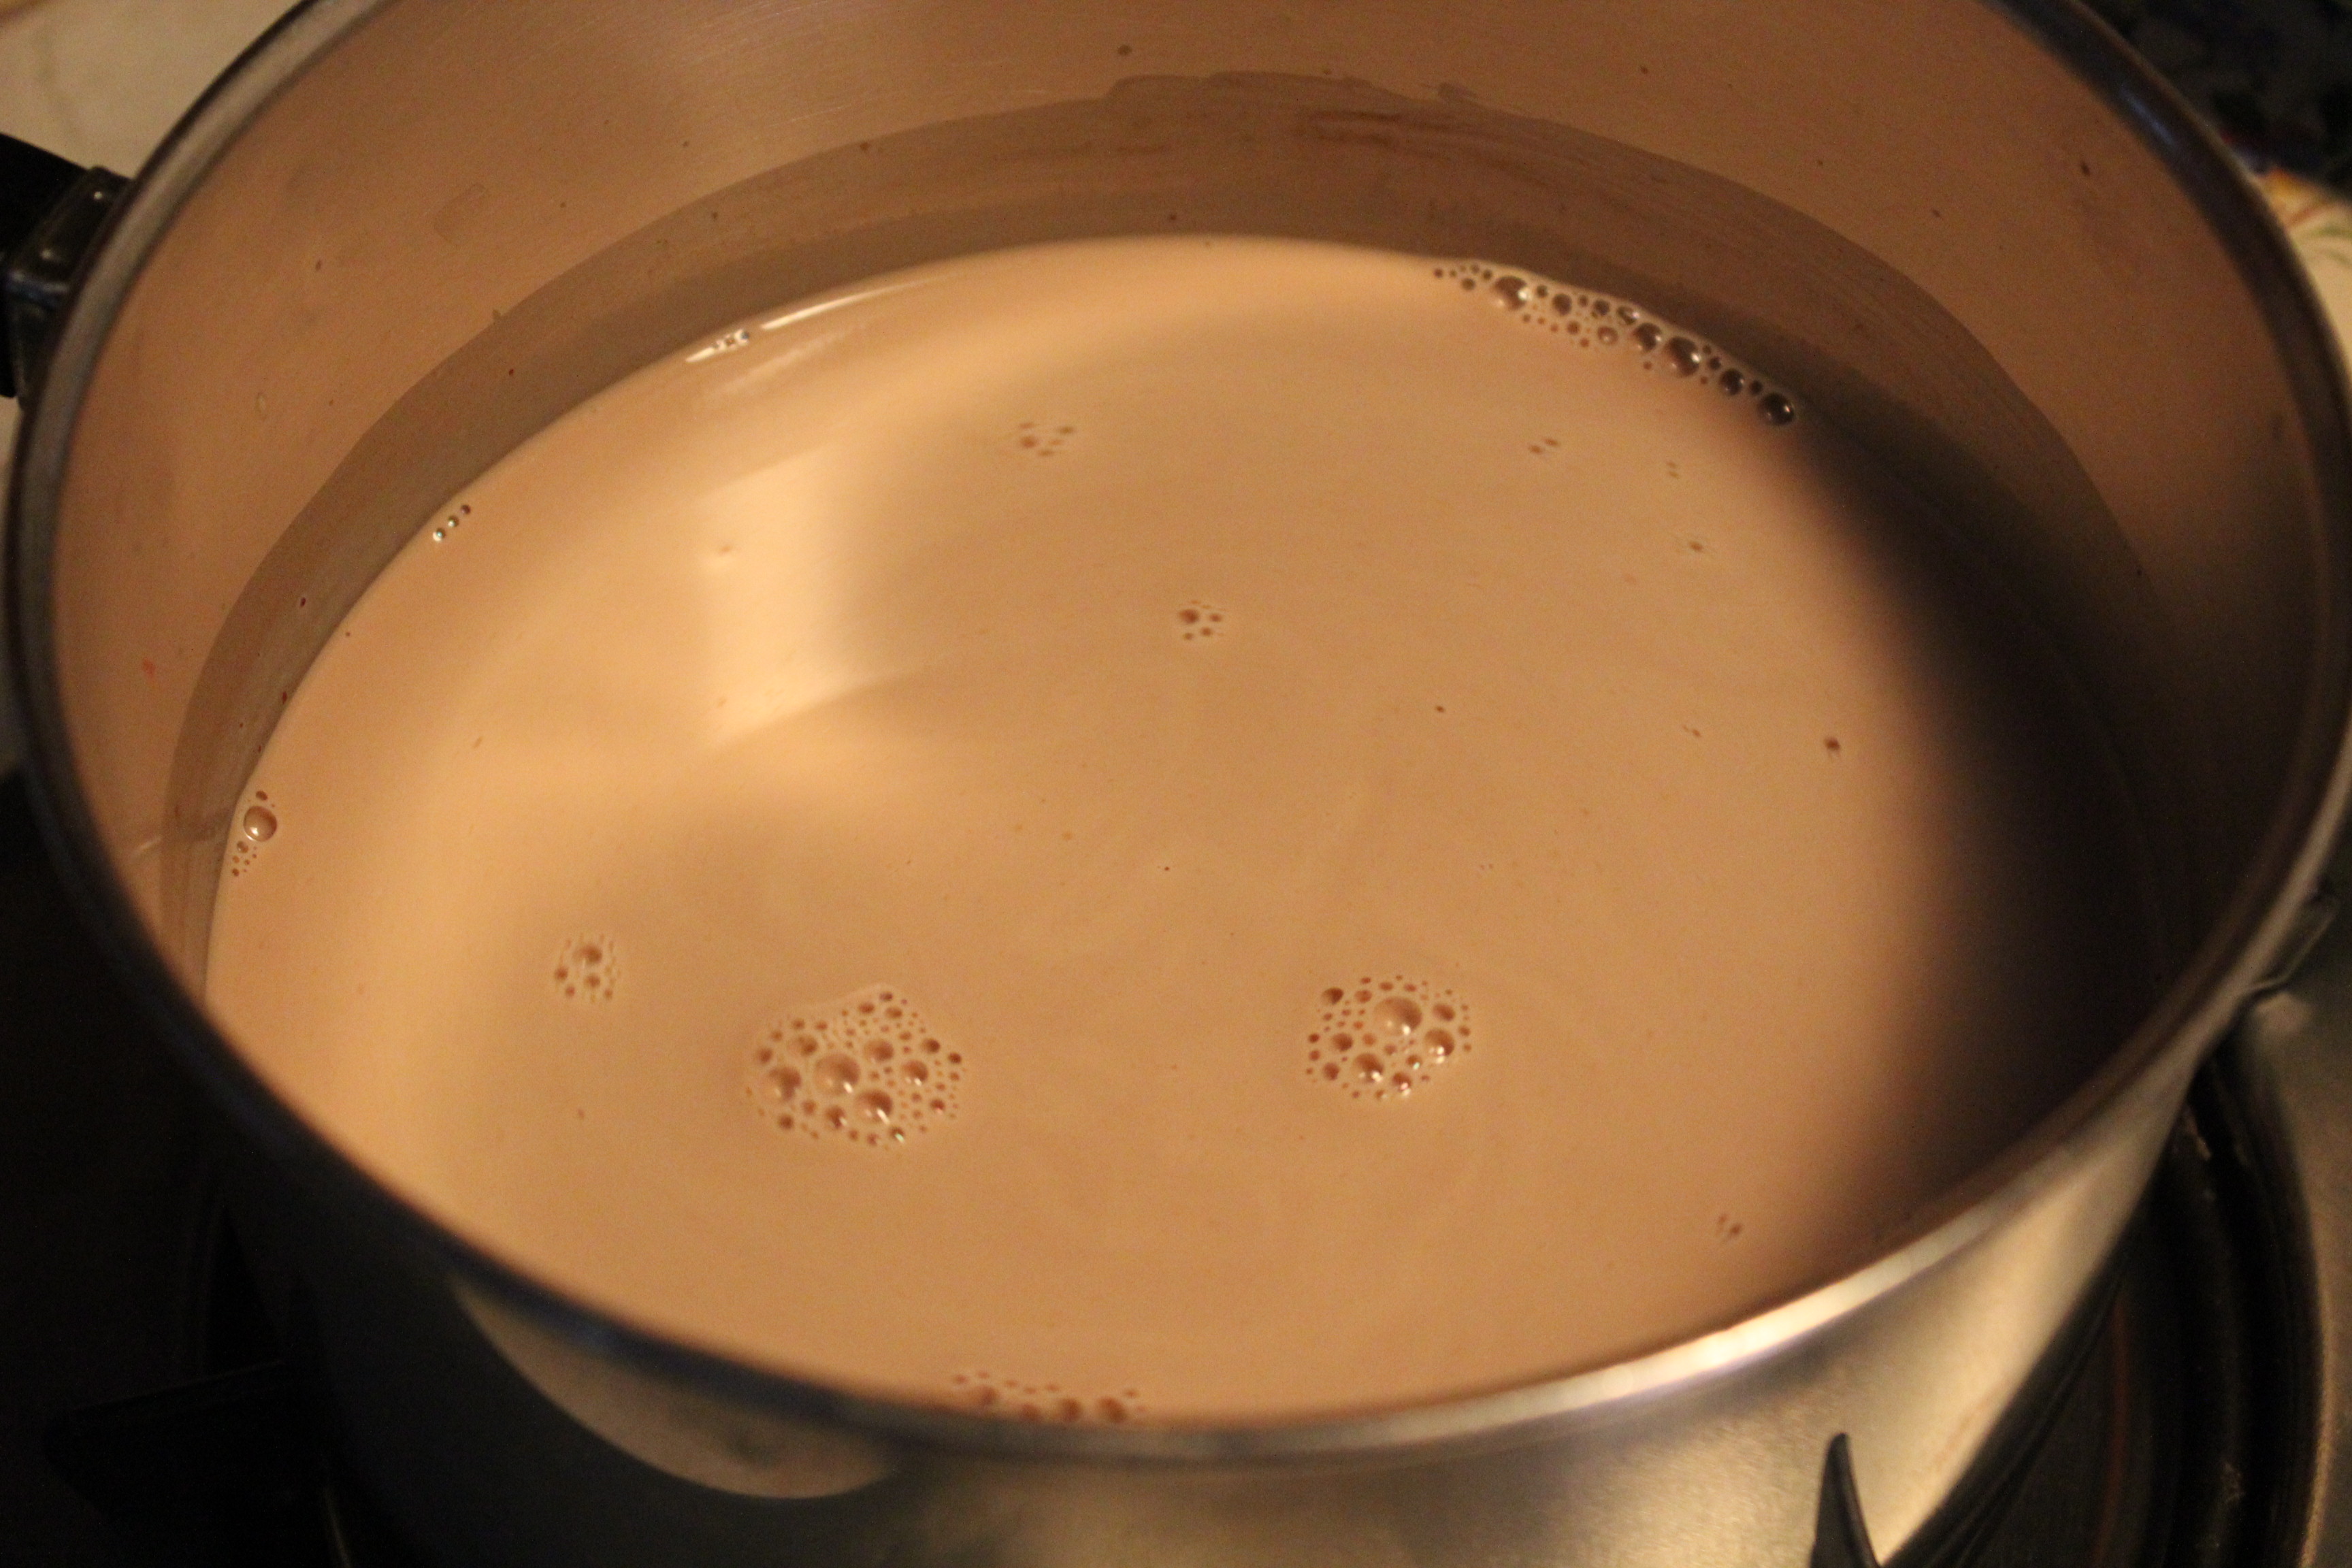
Bring ingredients to a simmer.
4. Remove the saucepan from the heat; whisk in the sweetened condensed milk.
5. Transfer the mixture to a heat-safe bowl, and set aside to cool for a while.
6. Whisk in the whiskey until completely blended.
7. Store in the refrigerator in a lidded container or decorative bottle. Serve over ice.
Reminder: This beverage has no preservatives and isn’t shelf stable. It must be kept refrigerated. Remind any recipient of that, if it lasts that long. 🙂
SOURCE: designsponge.com


