Good Morning Breakfast Cake

Pumpkin Crumb Cake

Pumpkin Crumb Cake

In the morning there are often “sleepy-heads” who take their time about getting to breakfast.  If it’s your job to marshall the troops in the morning, this cake might just be the magic that gets everybody up and on their feet.  What, cake for breakfast, you’re asking?  Yes!  This one has all good things in it to jump start the day.

IMG_2823

Starting with pumpkin providing carotene and fiber, add eggs for protein, some walnuts with their heart-healthy oil, a topping that’s heavy on the oatmeal (but I won’t tell if you won’t), and milk.  The flavor is outstanding–not sweet, just right– and the crumb will melt in your mouth especially if served warm.

I baked this cake on a Saturday afternoon intending it for Sunday morning, but we could not ignore the wonderful aroma of it baking.  When I asked Mr. D. if he would like a piece with coffee he replied, “I thought you would never ask.”   It was as flavorful and satisfying as the aroma promised and we both wanted another piece.   (But we didn’t).

IMG_2821

PUMPKIN CRUMB CAKE

SERVINGS:   About 12

INGREDIENTS  for the cake:

  • 1 3/4 cups all-purpose flour
  • 1 1/2 teaspoon pumpkin pie spice
  • 1/4 teaspoon cloves
  • 1 teaspoon baking soda
  • 1 teaspoon baking powder
  • 3/4 teaspoon salt
  • 1/2 cup ( 1 stick ) unsalted butter (If you use salted butter, cut back on the salt.)
  • 1 cup sugar
  •  3 large eggs
  • 1 cup pumpkin puree
  • 1 teaspoon vanilla
  • 1/3 cup milk
  • 3/4 cup chopped walnuts

    Making the crumb topping

    Making the crumb topping

For the TOPPING:

  • 2/3 cup plus 2 Tablespoons rolled oats
  • 1/2 cup flour
  • 1/2 cup packed brown sugar
  • 1/2 teaspoon cinnamon
  • 6 Tablespoons unsalted butter

DIRECTIONS

1.  Preheat oven to 350*,   grease or spray a 8″ x 11″ baking dish.

2.  In a medium bowl whisk together all the dry ingredients  (flour through salt) and set aside.

3.  In a large mixer bowl, cream the butter till light and fluffy.  Gradually add in the sugar and continue creaming.  Add the eggs one at a time scraping down the sides of the bowl after each.

4.  Add the pumpkin and vanilla and mix in well.

5.  Add in the dry ingredients alternately with the milk just till incorporated.

6.  With a spoon, stir in the nuts.    Pour into the prepared baking dish.

Cake batter in the baking dish.

Cake batter in the baking dish.

7.  Prepare the crumb topping:  In the medium bowl, measure out the oats, flour, brown sugar and cinnamon.  Whisk together. Cut in the butter using a pastry cutter or two knives.   Sprinkle over the cake batter in the pan.

Sprinkle on the crumb topping.

Sprinkle on the crumb topping.

8.  Bake at 350* for 45 – 50 minutes.  Test with a toothpick or cake tester for doneness.

Just out of the oven.

Just out of the oven.

Please have a piece while it is still warm to fully appreciate this wonderful cake!

So good warm with a cup of coffee.

So good warm with a cup of coffee.

Advertisement

Baby, It’s Cold Outside

Frigid, but beautiful.

Frigid, but beautiful.

Right about now, the thermometer reads 7 degrees, with a wind-chill factor of –18*!.   We are in a deep freeze and this is day number 6 of it.  Brrrrr!  What’s a body to do to keep warm?  First and foremost, stay indoors.  If that’s not possible dress in multiple layers, covering ears, nose and fingertips.

What I love to do in this kind of weather is Make Soup.  There is something soothing and warming just in making it, and then simmering away, it promises more warmth and comfort later when you eat it.  Since I live in the Northeast, and this area is  well known for its creamy New England style clam chowder,  what I am making today is a variation of it called Fish Chowder (chowda, as we say).

Creamy New England Fish Chowder

Creamy New England Fish Chowder

New England style chowder is a cream or milk based soup that always contains potatoes, onions, and clams or other kinds of seafood.  You can make it rich and thick using cream, or lighten it up with light cream or milk.  I usually make mine with milk to reduce some of the fat, so that I can use bacon and its drippings for additional flavor and to sauté the onions and celery.  You may have heard of another kind of chowder that is popular here.  It is a clear broth soup served mostly in Rhode Island and parts of southeastern Connecticut.  Rhode Island style  chowder contains potatoes, clams, onions, lot of seasonings and a clear broth made from clam juice.  Everyone seems to have their favorite kind and their own way of making it, believing that theirs is the best.

My recipe is one that I have had for a long time and  I think it came from a community cookbook put out by one of the churches in the area.  This version is easy to make and we all love it.  Top each serving with some crisp bacon bits and a shake or two of hot sauce to add a little spice.

CREAMY FISH CHOWDER

Seafood. potatoes, and bacon crisped.

Seafood. potatoes, and bacon crisped.

SERVINGS:  about 8

INGREDIENTS:

  • 3 strips of bacon
  • 1 Tablespoon butter
  • 1 Tablespoon olive oil
  • 1 large onion, chopped
  • 1 large or 2 medium stalks celery
  • 4 cups chicken broth
  • 4  medium potatoes, peeled and diced
  • 2 pounds cod or other firm white fish, cut into 1/2″ pieces***
  • 1/4 teaspoon Old Bay Seasoning, or to taste
  • salt to taste
  • ground black pepper
  • 1 ( 8 0z.) bottle clam juice
  • 1/2 cup all-purpose flour
  • 1 1/2 cups cream, light cream or milk

***I use 1 pound cod or other white fish and then add a can of clams with their juice, some bay scallops and small-medium shrimp to make the other pound of fish.

DIRECTIONS

1.  In a skillet, cook the bacon crisp.  Remove and drain on paper towels.  Set aside till serving.

2.  In a large soup pot melt the butter and olive oil, add bacon drippings.   Add the chopped onion and celery.  Sauté until tender.

Saute onions and celery.

Saute onions and celery.

3.  Add chicken stock and potatoes; simmer for about 10 minutes.

4.  Add the fish, and simmer another 10 minutes.

5.  Season to taste with the Old Bay, salt and pepper.  Mix together the clam juice and flour till smooth.  Stir into the soup.  Add the cream or  milk and heat but do not boil.  When heated through, serve in bowls, topped with bacon bits.  Shake on a dash of hot sauce if you like a little spiciness.

Sprinkle with bacon  bits to serve.

Sprinkle with bacon bits to serve.

Enjoy a bowl of hearty hot chowder and stay warm, everyone.

Hearty fish chowder.

Hearty fish chowder.

Not My Mother’s Meatballs

Swedish Meatballs

Swedish Meatballs

I grew up in a household where meatballs were served regularly.  Mostly they were the kind made by church ladies for potluck suppers–my mother being one of them.  I remember gobbling up tiny sweet and sour meatballs made as appetizers,  giant-sized Italian meatballs balancing on top of a plate of spaghetti, and then there were the Swedish meatballs, floating in a gravy rich with sour cream.  So with a foot in both the Swedish and Italian heritage  communities, I think I know something about meatballs.

As I grew older and had a family of my own I developed my own meatball-making style.  They’re still a comfort food to me, but I’ve tried to make them healthier by using leaner meats, less fats in the sauce or gravy, and more spices to increase flavor.  Meatballs make a satisfying meal and can almost always be made ahead and frozen.  I like to make twice the amount I need for a meal and freeze the extras.  It’s reassuring to know you have the basis for a meal that can be prepared quickly when you don’t have time to cook.

These are the six principles I keep in mind when making meatballs:

1.  Keep it lean.  Opt for meat that is 90% lean.  If you want to use a fattier meat, such as pork for flavor, combine it with something leaner like turkey breast which is 99%lean.

2.  Use whole grain binders.  Typically meatballs use bread or breadcrumbs as a binder.  Use wholegrain versions or brown rice to add fiber and nutrients.

3.  Use plenty of herbs and spices.  The saying “fat equals flavor” is true, but if you cut back on fat you must make up for its flavor by adding dried or fresh herbs and spices to bump up the flavor.

4.  Change how you serve them.  A healthier meatball is great but not very  appetizing if served over a pile of white rice.  So think of other sides to pair them with like polenta, whole wheat noodles, or brown rice.  If you’re making a meatball sub use a whole grain roll.

5.  Don’t overmix.   Be careful to mix the ingredients just till they’re combined and handle gently when forming the meatballs, otherwise they will be tough.

6.  Cook smarter.  There is no need to cook meatballs in tons of oil… If cooked in a skillet , just a tablespoon of olive oil will provide enough lubrication to get them started.  The advent of non-stick pans has been a great help in this regard.  Meatballs can also be baked on a baking sheet lined with foil for easy cleanup.

In the weeks ahead I would like to share with you a few of my recipes for meatballs, so today we will start with Swedish meatballs.

IMG_2732

SWEDISH MEATBALLS

SERVINGS:   about 5

INGREDIENTS

  • 1/2 cup finely chopped onion
  • 1/4 cup dry breadcrumbs, whole wheat if possible
  • 1/4 teaspoon ground nutmeg
  • 1/4 teaspoon allspice
  • 1 egg
  • 1/4 cup milk or beef broth
  • 1 lb. lean ground beef
  • 1 can condensed cream of mushroom soup
  • 1 12 oz. can evaporated milk
  • 1 Tablespoon chopped parsley for garnish

1.  Preheat oven to 350* and spray a 2-quart baking dish with non-stick spray.

2.  In a large mixing bowl whisk together the egg and the milk ( or beef broth).  Add the dry breadcrumbs and spices, and mix with the egg mixture.  Allow to stand a few minutes to allow the breadcrumbs to absorb the liquid.  Add the chopped onion and crumbled  beef.

Gently mix together all the ingredients.

Gently mix together all the ingredients.

3.  Mix all together lightly, and shape into 1 inch balls.  Place on a lightly greased baking sheet.

Meatballs are about the size of golf balls.

Meatballs are about the size of golf balls.

4.  Bake at 350* for about 20 minutes.  Remove from the oven and drain the meatballs if needed.  Place in the greased baking dish.  In a separate bowl, whisk the soup with the evaporated milk until smooth.  Pour over the meatballs.

5.  Return to the oven and bake for another 15 – 20 minutes to heat through.  Sprinkle with parsley before serving.

Meatballs served over whole wheat egg noodles.

Meatballs served over whole wheat egg noodles.

SOURCE:   This is a major modification of my mother’s recipe.

Funfetti Truffles

Funfetti Truffles for Valentines Day.

Funfetti Truffles for Valentines Day.

It’s that time of year again when the church we belong to hosts a Chocolate Festival.  This will be our 16th. year doing this, and over the years it has grown and become known and looked forward to by many people.  In fact we get visitors from out of state who come every year.  Of course a chocolate festival would not be complete without a candy booth.

IMG_2796

Since the very first year, a group of us makes truffles that we package in pretty boxes.  They sell “like hotcakes”.  Since I first began making truffles I have made quite a few different kinds, and this year I found this recipe for Funfetti Truffles.  They were different from anything we’ve had before and I thought that with their white chocolate coating they would look really pretty in amongst the dark chocolate ones.

This is another of those recipes that starts with a cake mix, and turns into something else.  In this case, candy.  They were very easy to make, and lend themselves to different holidays by changing the sprinkle colors that you use.  This recipe makes about 24 truffles.  I doubled everything and got a total of 54 truffles.  One box of white cake mix is enough to make a double recipe and still have some cake mix left over.   Here’s what you do:

FUNFETTI TRUFFLES

YIELD:   about 24

Just a few ingredients needed.

Just a few ingredients needed.

INGREDIENTS

  • 1 cup of white cake mix
  • 1/2 cup flour
  • 1/2 cup sugar
  • 1/4 cup butter, melted
  • 1/2 teaspoon vanilla
  • 2 Tablespoons milk
  • 1 Tablespoon sprinkles (match color to holiday or occasion )
  • 1 1/2 cup white chocolate chips or vanilla almond bark for coating

In a large bowl, whisk together the cake mix, flour, and sugar.  Stir in the melted butter, vanilla, milk, and sprinkles.  Mix well so all the dry ingredients are moistened.  It should stick together and hold its shape when formed.  If necessary, add milk in small amounts until this is achieved.

A dough that  sticks together.

A dough that sticks together.

Use a small cookie scoop or teaspoon to form even balls.  Roll between hands to shape.  Place on a wax paper lined baking sheet.  Refrigerate for 20 – 30 minutes.

Roll  into balls and place on lined baking sheet.

Roll into balls and place on lined baking sheet.

Meanwhile, melt white chocolate or almond bark, in a double boiler.  Drop each truffle into the chocolate and roll around to coat.  Tap off the excess.  Place on a wax paper-lined baking sheet.  Top with a few sprinkles,  the same ones used in the dough.

Dip into melted white chocolate, decorate with sprinkles.

Dip into melted white chocolate or almond bark, decorate with sprinkles.

Place in a cool place to harden.  These will keep for a long time if kept cool.  Makes a nice addition to a plate of cookies or by themselves in a candy dish for Valentines Day.

Pretzels dipped into white chocolate and decorated.

Pretzels dipped into white chocolate and decorated.

I had enough melted white coating left after dipping the truffles, so I also dipped some pretzels and decorated them with sprinkles and M & M’s.

IMG_2788

Sweets for your sweetie!

Sweets for your sweetie!

SOURCE:      laurenslatest.com

A Super Bowl of Dip

Pimiento-Cheese Dip

Pimiento-Cheese Dip

This is just the thing for your Super Bowl Party!  Pimiento cheese dip is one of those comfort foods that can serve as a really delicious appetizer or as a cheese spread.  If you’re looking for a whole lot of comfort, use the spread to make a sandwich on white bread and grill it like grilled cheese. (Sublime!)  If it’s an appetizer you’re after, put it in a small bowl or serving dish, and surround it with chips, crackers, toast points, or celery sticks.

Whenever I’ve been served this dip I found that if you don’t get to it when it’s first put on the table, there won’t be any left in a few minutes.  Everyone seems to really like it, and its extremely easy to make.

PIMIENTO-CHEESE DIP

INGREDIENTS

  • 2 cups shredded sharp Cheddar cheese
  • 1/4 cup mayonnaise
  • 1/4 cup butter or cream cheese, softened  (Ease your conscience a little, use the low-fat variety.)
  • 1 ( 4 ounce ) jar chopped pimientos, drained
  • 1/2 tsp. garlic powder, or to taste
  • 1/4 tsp. salt or to taste
  • 1/4 tsp. white sugar
  • 1/2 cup chopped pecans, optional


Beat the shredded cheddar cheese, mayonnaise and softened butter or cream cheese in a mixing bowl with a mixer on low speed until well blended.

Add the pimientos, garlic powder, salt and sugar; mix to combine.  Stir in the pecans if using.

Additional notes:   This recipe can become too salty, if using salted butter, so taste before adding the salt and adjust amount accordingly.  This becomes particularly important if serving with salty chips or crackers.  Another nice addition is chopped black olives especially if serving with finger-cut raw veggies.

This does not last long once put out on the table.

This does not last long once put out on the table.

SOURCE:   All-Recipes.com

It All Started with a Craving

Chocolate Chip Cream Cheese Dessert

Chocolate Chip Cookie and Cream Cheese Dessert

Today I was craving for something.  I didn’t know exactly what I wanted;  something a little chewy, maybe something a little creamy.  I was in luck because I had on hand a roll of refrigerated chocolate chip cookie dough, AND a package of low-fat cream cheese that was just about at it’s “use by” date.  The question was how to combine those two ingredients into some kind of a dessert that would satisfy my craving.

Full disclosure:  I have never made this dessert before and in fact I couldn’t find a recipe for guidance, so what I am about to describe was purely an experiment.  As with any good mystery you won’t find out how it all turned out until the end,  so hang in there with me.

I started by slicing the cookie dough just like you do to make cookies,

Cookie Dough sliced as if to make cookies.

Cookie Dough sliced as if to make cookies.

but then decided to use them to make a crust in a shallow baking dish. I placed the slices close together on the bottom of the bake dish, pressing them with my fingers so they completely covered the bottom,  then I cut some of the remaining slices in half and stood them up around the sides,  so the baking dish now had a shell of cookie dough.

Line a baking dish with the cookies to make a shell.

Line a baking dish with the cookies to make a shell.

When this was completed I still had some slices of dough left.

Cream cheese, egg, sugar and vanilla;  ingredients for the filling.

Cream cheese, egg, sugar and vanilla; ingredients for the filling.

Next I placed the block of cream cheese in a mixer bowl and with my hand mixer, whipped it smooth, adding an egg, some sugar and vanilla.

Beat filling ingredients with a beater till smooth.

Beat filling ingredients with a beater till smooth.

Then I poured this mixture into the lined baking dish.  On top of this I placed as many of the remaining cookie slices as I could fit, snug against each other, and where there were small openings I broke up the remaining few slices and put them into the spaces.

Cover filling with remaining sliced cookies.

Cover filling with remaining sliced cookies.

What I had now was shell of chocolate chip cookie dough with a cream cheese center.   Into the oven it went at 350* for 30 minutes.  At the end of that time the center tested “wet” and was jiggly, so I gave it another 10 minutes.  Testing it again indicated that it was cooked.  Oh, I must tell you that the aroma coming from the oven was wonderful.  My husband asked  “what are you making?—–when will it be ready to have some?”   I too was anxious to cut into it and give it a taste,  but I was a little too anxious;  the pieces were still soft, and they broke.  This dessert needs to cool completely before cutting.  It firmed up and cut more cleanly after I chilled it in the refrigerator.

Mouth-watering aromas came from the oven while this was baking.

Mouth-watering aromas came from the oven while this was baking.

The verdict ?     We loved it!    I got just what I had been craving:  a chewy cookie crust with a creamy cheesecake-like center.  Because I made it in an 8-inch round baking dish I cut it into wedges for serving.  I think it could also be made in an 8 – inch square pan in which case you would cut it into squares for serving.

This cut nicely after chilling.

This cut nicely after chilling.

CHOCOLATE CHIP COOKIE AND CREAM CHEESE DESSERT

YIELD:   Serves 6 – 8

INGREDIENTS

  • 1 package refrigerated slice and bake chocolate chip cookie dough
  • 1 8 ounce package reduced fat cream cheese
  • 1 egg
  • 1 teaspoon vanilla
  • 3 – 4 Tablespoons sugar

Grease or lightly spray an 8 – inch round or square baking dish.

Slice the cookie dough as directed on the package  (about 1/4 inch thick slices).  Place as many slices as will fit in the bottom of the baking dish, pressing with your fingers, to make a solid bottom crust.  Next cut some of the slices in half and stand them up around the edges of the dish, rounded edges up.

In a small mixer bowl, beat the cream cheese, egg, vanilla and sugar till smooth. Pour over the cookie crust base.

Using the remaining cookie slices place them over the filling, and cut some into halves and quarters to fill the spaces.  If there are small openings where the filling shows through, that ‘s OK.  It looks nice when its baked.

Place into a preheated 350*F  oven and bake for 40 minutes.   Test with a toothpick for doneness.  Let cool at room temperature, then chill before serving.

IMG_2762

Who’s to say you can’t top this with a dollop of whipped cream?

SOURCE:   A Carolyn Original

Cheeseburger Pizza

Cheeseburger Pizza

Cheeseburger Pizza

“Two all beef patties, lettuce, cheese,…….. on a sesame seed bun”.  Sound familiar?   Today, I’m going to show you a fun way  to recreate this fast food burger without a trip to the drive-in.

I was somewhat doubtful that the sauce would come close to tasting like the one on the well-known burger, so I made up a half-recipe just to try it.  My gosh, it is spot on!   This is a great sauce to have made up ready to top off your burgers even if you don’t use all the other toppings.  You could surprise your friends/family this summer with a cookout, serving this “secret” sauce on the burgers.

With that piece of the recipe having proven itself, I was ready to make the whole thing.  Included here is  a good recipe for the dough, but if you don’t want to make you own dough or don’t have the time, a one pound package of pizza dough purchased at the supermarket will do just fine, and it’s a great time saver.

CHEESEBURGER PIZZA

YIELD:   1 large pizza,  8 – 12 pieces

For the crust:

  • 3 cups all purpose flour
  • 1 1/4 teaspoon salt
  • 2 teaspoons instant yeast
  • 2 tablespoons olive oil
  • 3/4 cup + 2 Tablespoons lukewarm water
  • 1-2 Tablespoons sesame seeds

1.  Combine all the above ingredients (except sesame seeds) and mix and knead to make a smooth, soft dough, using a stand mixer, bread machine, or your hands.

2.  Place dough in a lightly greased bowl ( or leave it in the bread machine to rise) and let it rise until it’s very puffy, about 1 1/2 – 2 hours.

3.  Spray a large rimmed baking pan ( 15″ x 10″ is good ) with non-stick cooking spray.  Sprinkle sesame seeds into the pan, if desired;  they’re there to mimic the burger’s ” sesame seed bun.”

4.  Deflate the risen dough, and stretch it into and oval with your hands.  Plop the oval onto the baking sheet, and then press it towards the edges.  When it starts to fight back, walk away for 10-15 minutes.  When you come back, you should be able to continue pressing it to the edges, nearly to the corners.  If you can’t, give it another rest and try again.  The dough should cover as much of the pan as possible—without making yourself crazy over it.

Spread dough in the baking pan.

Spread dough in the baking pan.

5.  Cover the dough, and let it rise until puffy, about 90 minutes.  While the dough is rising, prepare the toppings.

TOPPINGS

  • 1 pound ground beef
  • 1 medium onion, peeled and diced
  • dill pickle slices
  • 10 -12 slices American cheese
  • shredded lettuce

6.  Season the ground beef with 3/4 teaspoon salt, and fry until brown;  drain off the fat.  Dice the onions, and shred the lettuce.  If using whole dill pickles, slice 1-2 large pickles.

Brown the ground beef.

Brown the ground beef.

Chop the onions and slice the dill pickles.

Chop the onions and slice the dill pickles.

SAUCE

Sauce ingredients.

Sauce ingredients.

  • 1 cup mayonnaise
  • 1/3 cup green pickle relish
  • 2 Tablespoons yellow mustard
  • 1 teaspoon white vinegar
  • 1 teaspoon garlic powder
  • 1 teaspoon onion powder
  • 1 1/2 teaspoon sweet paprika (can substitute smoked or hot paprika, if desired)

7.   Combine all the ingredients, mixing until smooth.  Refrigerate  until you’re ready to use.

Mixing up the sauce.

Mixing up the sauce.

8.  Towards the end of the rising time, preheat the oven to 425 *F.    Bake the crust for 10 minutes, or until very light brown.

9.  Remove crust from the oven, and top it with the diced onion, then the ground beef.  Return pizza to the oven, and bake for 10 minutes.

First layer:  chopped onions and ground beef.

First layer: chopped onions and ground beef.

10. Remove from the oven, and top with the pickle slices, then the sliced cheese.  Return to the oven, and bake for 10 minutes, or until the cheese is melted and the edges of the crust are brown.

Second layer:  sliced pickles and melted cheese.

Second layer: sliced pickles and melted cheese.

11. Remove the pizza from the oven, and spread with the sauce.  Finally, sprinkle with the shredded lettuce.  Cut into 8 – 12 pieces and serve immediately.

IMG_2629

This size pizza was more than two of us could eat, so we spooned some sauce and then some lettuce on each piece as we ate it.  This tasted just like the famous burger it mimics.   The next day I wrapped the remaining piece in foil and heated it in a low oven,  spooning sauce and topping it with lettuce as we had before.   We loved it and I will definitely be making it again.

It tastes just like the burger, without going to the drive-in.

It tastes just like the burger, without going to the drive-in.

SOURCE:    King Arthur Flour

Cardamom Banana Bread with Pistachios

Cardamom Banana Bread with pistachios.

Cardamom Banana Bread with pistachios.

I like to use a variety of herbs and spices in my cooking.  I love the way they enhance or give subtle flavor to a dish.  They can turn the ordinary or mundane into something exotic and interesting at very little expense.  So following on the heels of yesterday’s post on ginger, today I want to focus on cardamom.

Cardamom is a pod consisting of a pale outer shell which has tiny seeds inside it.  It is the seeds that have an intense flavor, but they need to be crushed or ground before use. Ground cardamom is used mostly in baking where its flavor is readily recognized in the baked goods of Scandinavian countries, especially breads, stollen, cookies and buns.

Two varieties of cardamom:  whole pods and ground.

Two varieties of cardamom: whole pods and ground.

Cardamom is available in white, black and green forms. It is the white form that we are most familiar with and that which is commonly used in baked goods.  In India, however, the black and green forms are important ingredients in meat and vegetable dishes.  Black cardamom has a unique smokey flavor, and it is used mainly in curries.

If you have never used cardamom, this recipe will provide an introduction, without being overwhelming.  The bread will taste like the banana bread you know, but the cardamom will be a stand-in for vanilla.  Finely chopped pistachio nuts will provide the crunch.  This bread is not a very sweet bread so it is pleasant with coffee or tea for breakfast.  Keep this recipe in mind when you are faced with 2 or 3 really ripe (read, black ) bananas—the best kind for baking!  I love this recipe because you can mix it all by hand….no need to get out the mixer.   It’s so quick to mix up and pop in the oven while dinner is cooking,  and be cooled and ready for a snack before bedtime.  OOPS,  I’m giving away my secrets!

CARDAMOM BANANA BREAD WITH PISTACHIOS

YIELD:    1  9″ x 5  loaf

INGREDIENTS

  • 1 3/4 cups all-purpose flour

    Mix together the dry ingredients.

    Mix together the dry ingredients.

  • 1 cup to 1 1/2 cups sugar  (I used 1 cup, but if you like a sweeter bread use the 1 1/2 cups)
  • 1/2 teaspoon ground cardamom    If you like cardamom, this amount can be increased up to 1 teaspoon.
  • 1/2 teaspoon baking soda
  • 1/2 teaspoon baking powder
  • 1/2 teaspoon salt
  • 2 eggs
  • 1/4 cup canola oil
  • 1/3 cup reduced fat sour cream
  • 1 cup mashed ripe banana
  • 1/3 cup finely chopped pistachio nuts

1.  Preheat oven to 350*   Lightly grease or spray a 9″ x 5″ loaf pan.

2.  In a large bowl combine the first six ingredients.  ( flour through salt )

3.  In another bowl whisk together the eggs, oil, sour cream and banana.

Everything in two bowls; mix by hand.

Everything in two bowls; mix by hand.

4.  Add the wet ingredients to the dry ones and mix partially.  Add in the pistachios and finish mixing, without over mixing.  This keeps the bread light instead of heavy and dense.

5.  Pour batter into the prepared pan and bake at 350* for an hour or until a toothpick inserted in the center comes out clean.  Cool for about 10 minutes in the pan, then remove from pan and finish cooling on a wire rack.

Banana bread, perfect with a cup of tea or coffee.

Banana bread, perfect with a cup of tea or coffee.

SOURCE:   adapted from a recipe in Cooking Light.

Ginger, a Powerhouse in Your Pantry

As many of you know by now I really like the flavor of ginger and I use it often but mostly in baked goods.  Ginger, however, comes in many forms and has many uses, so I decided to do a little reading about this interesting spice and was amazed to find out how widely used it is and for so many different reasons.

Fresh ginger:  a knobby, fleshy, root.

Fresh ginger: a knobby, fleshy, root.

Ginger is a rhizome,  the part of the plant that grows underground.  It has a pale yellow-ivory flesh that is pungent, peppery, and sometimes a little sweet.  The outside is covered with a thin tan skin, that is usually peeled away for most recipes.  When fresh ginger is called for in a recipe, this is what you use.  Ground ginger, mostly used in baking, has a very different flavor, so don’t substitute one for the other.

Ground ginger, a sweet-hot, peppery powder.

Ground ginger, a sweet-hot, peppery powder.

The history of ginger goes back over 5000 years when ancient Chinese herbalists first used it’s root as a digestive and remedy for countless ailments.   Since that time consuming ginger as a natural remedy has endured up to the present time.   Since antiquity, the tropical areas of China have successfully grown ginger.  Today, China follows India as the world’s second largest ginger producer.  Approximately two- thirds of all Chinese herbal medicines contain ginger as a key component.

As the world’s top ginger producing country, India cultivates ginger as both a vegetable and as a dried spice.  Mostly used in lentil-based curries and vegetable dishes, ginger was also used to spice coffee, especially in the winter to help warm the internal organs and enhance digestion.

Indonesia is another country where ginger is grown widely and stands in the third spot of ginger-producing countries.  Indonesia has attracted spice traders throughout history, and with its tropical islands location and weather it is well known for its production of many spices, i.e. nutmeg/mace, cloves, galangal are all native to Indonesia.  You are probably aware that Indonesia also has thriving sugar cane and coffee industries.  One of the more interesting Indonesian coffee facts is the country’s common use of ginger in coffee drinks to ward off colds and fevers.  Most restaurants in Indonesia offer a sizable list of coffee-ginger drink options.  To make your own version of this drink, melt a few pieces of crystalized ginger in a cup of hot coffee.

Coffee with ginger, a warming drink.

Coffee with ginger, a warming drink.

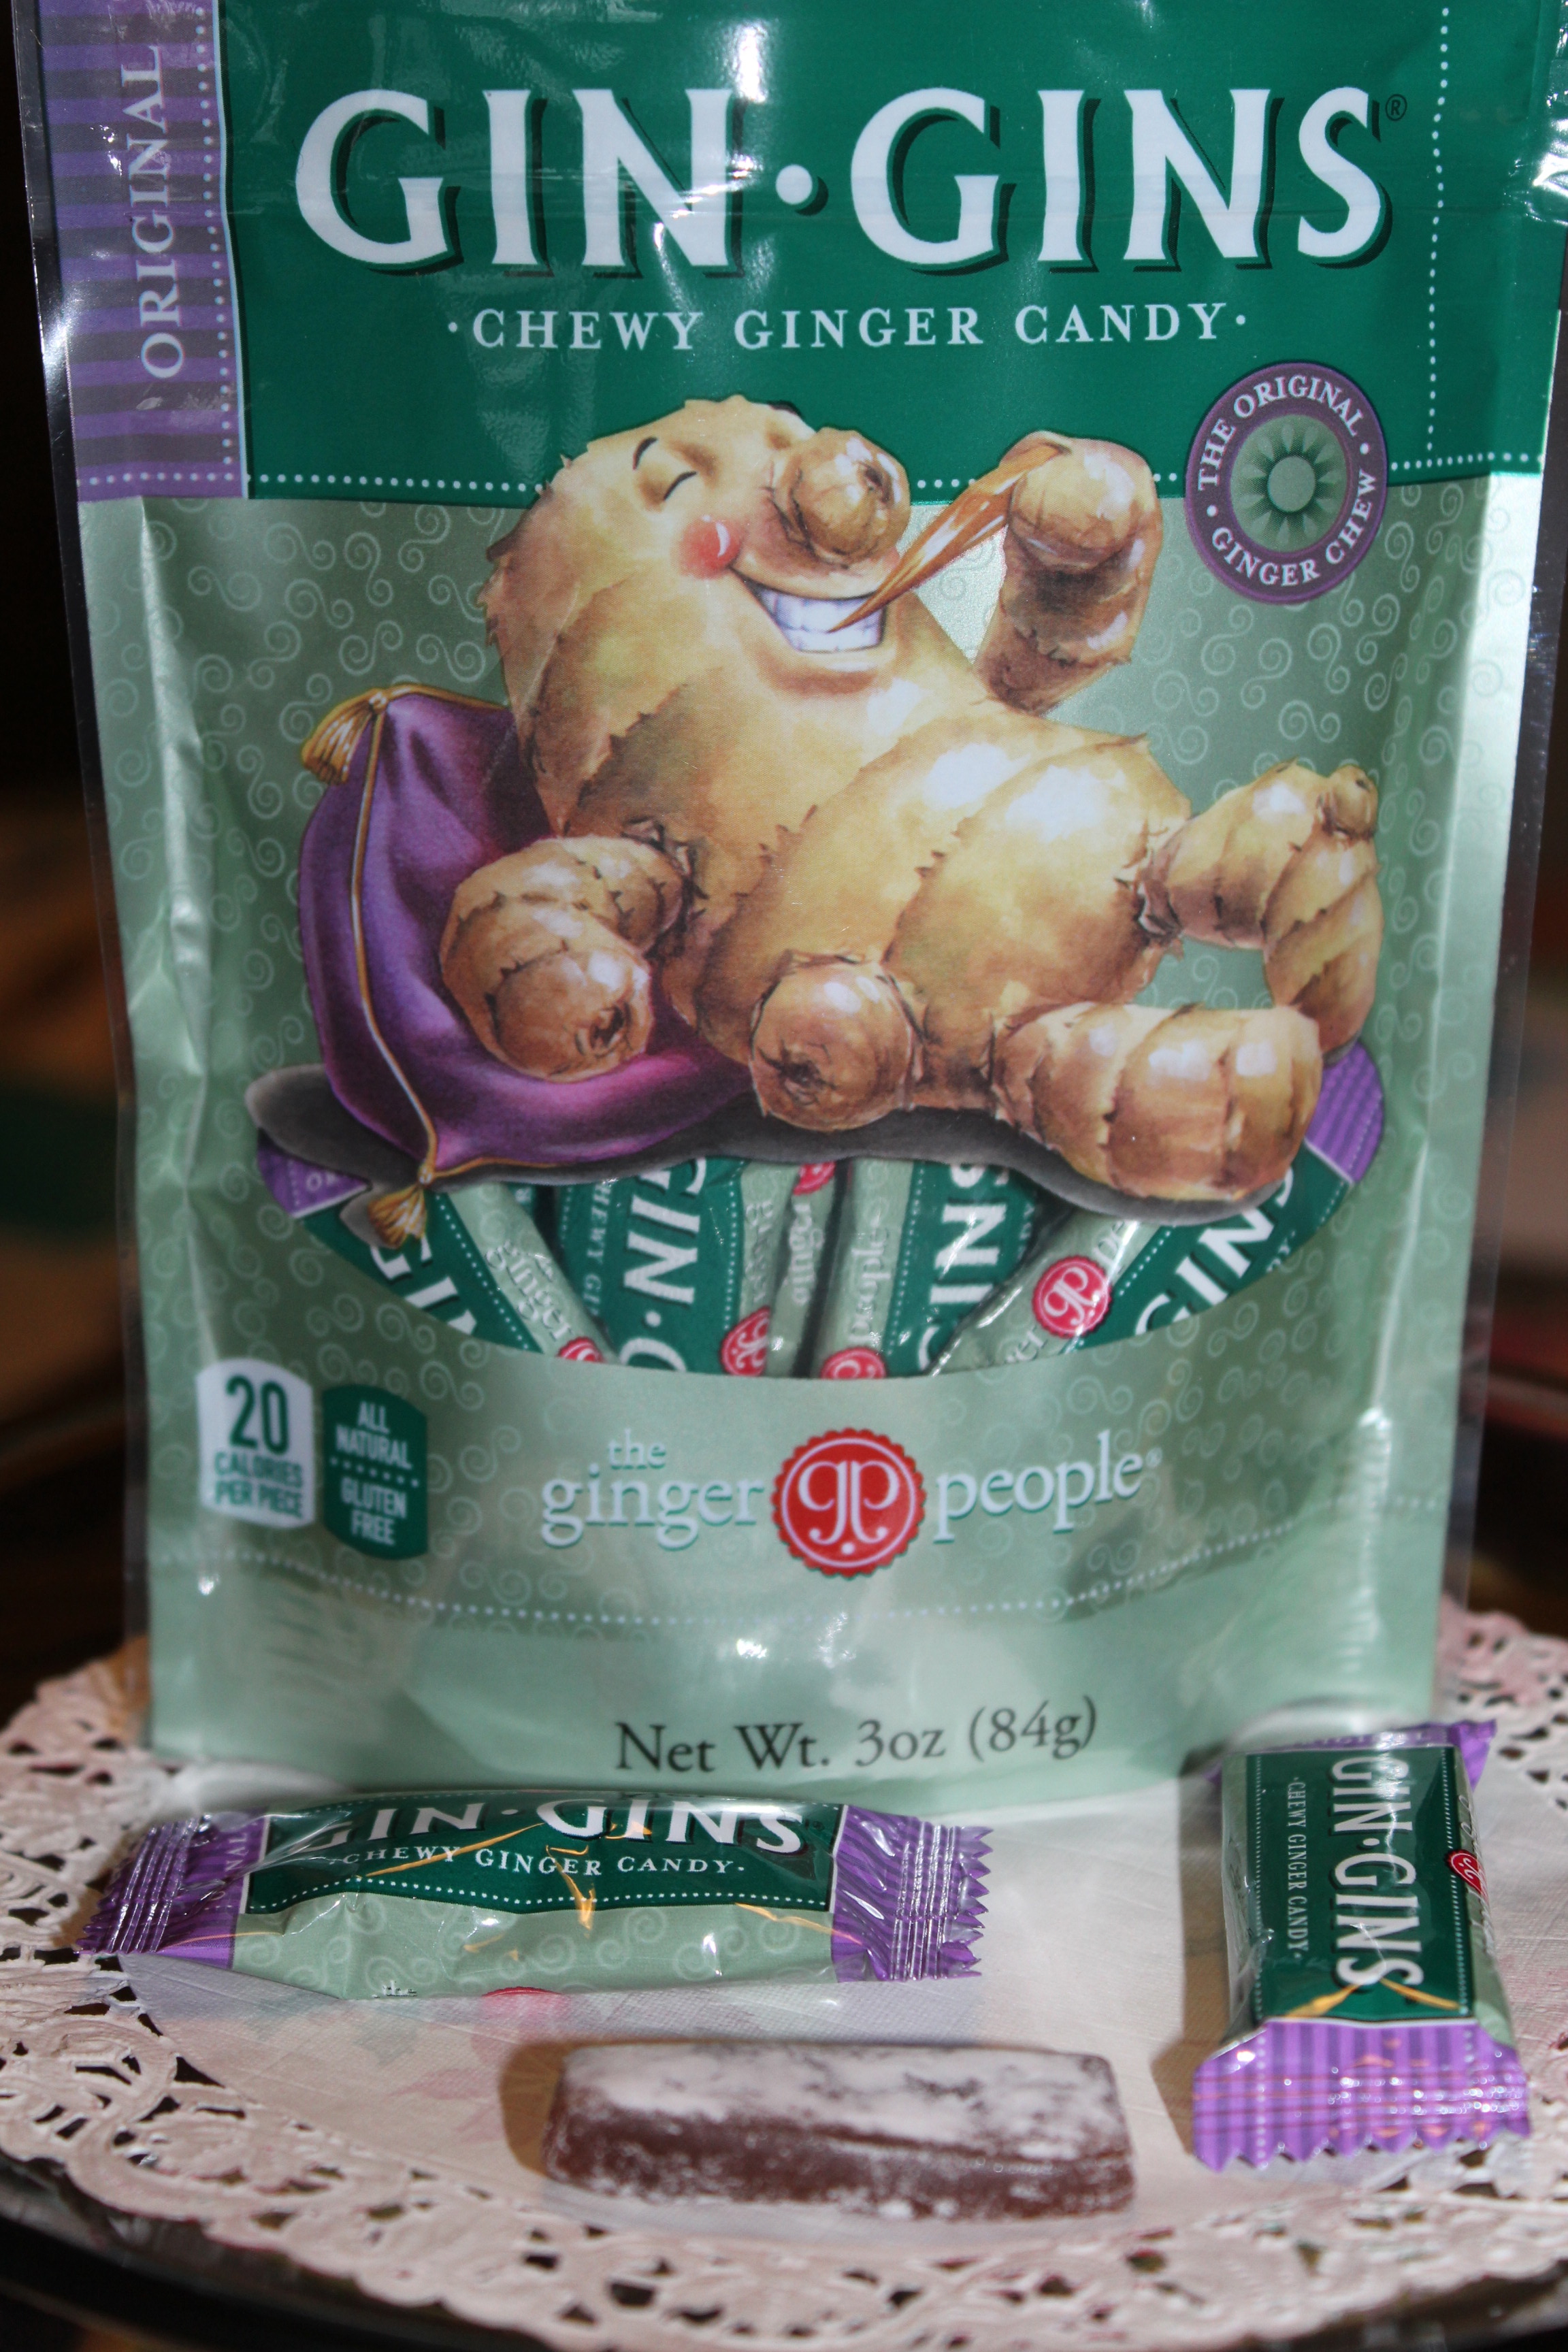
Indonesia is also home to ginger candy.  Indonesian candy makers produce multiple varieties of candy made with fresh ginger and other natural flavors, such as coffee and peanut.  One such candy variety that I have received as a gift is called GinGins.  There are two varieties; one kind are small hard candies strongly flavored with ginger, the other kind are chewy, and also strongly ginger flavored.  Many people travel with ginger candy using it to ward off travel sickness, because it is believed to settle the stomach, and thus aid in digestion.

The hard candy variety.

The hard candy variety.

The chewy variety.

The chewy variety.

Each country has its own interpretation of how to use ginger.  Throughout Asia, ginger is used in many different ways.  In Japan ginger is traditionally served freshly grated or pickled and served with sushi to cleanse the palate between tasting different types of fish.  Ginger clarifies and heightens the flavor of all foods it is paired with, particularly fish.  Pickled ginger (Gari) is made in Japan by preserving the root in rice vinegar brine. Used in this way it is either thinly sliced or grated and often artificially colored pink using natural materials, such as flowers or beet juice.  Medicinally, ginger is used in Japan as the active compound in hot compresses to ease joint pain and  increase circulation.

Here are two recipes that I found in the Food Network Magazine.    They give you the opportunity to include ginger in your everyday meals:

Ginger Dipping Sauce

Mix 2 Tablespoons each grated ginger, finely chopped ginger, and chopped scallions in a small bowl.  Add 1/2 teaspoon kosher salt and 1/4 teaspoon white pepper.  Heat 3 Tablespoons vegetable oil in a small saucepan until smoking; pour over the ginger mixture and stir.  Add a splash of water if the sauce is too thick.  Season with salt.  Serve this dipping sauce with roast chicken or grilled meats.

Pickled Ginger

Peel and thinly slice a 4-inch piece of ginger; put in a small jar.  Pierce 1 or 2 Thai chilies with the tip of a knife;  add to the jar.  Bring 1/2 cup each rice vinegar and water, 2 Tablespoons sugar, 1 teaspoon kosher salt and 2 star anise pods to a simmer n a saucepan;  cook 5 minutes, then pour over the ginger and let cool slightly.  Cover and refrigerate overnight.  Will keep up to 2 weeks.  Can be used as a condiment or topping on burgers, hot dogs, or sandwiches.

Ginger has both antioxidant and anti-inflamatory properties.  During this cold season, ginger may be used to boost immunity, or if you are already in the clutches of a winter cold, then ginger can be taken to relieve many of its symptoms.  Where colds are concerned, the active components in ginger that are helpful are the volatile  oils and pungent phenol compounds.  These elements are believed to have natural healing properties that may help reduce cold symptoms.

Here’s how it works:

  • Warming properties in ginger act as an expectorant, helping to clear nasal passages.
  • Ginger also contains antipyretic properties, an agent that helps reduce fever.
  • Ginger’s natural anti-inflammatory elements help relieve sore throats.
  • Ginger is anti-fungal, meaning that it inhibits the growth of yeasts and molds.
  • As an antitussive, ginger is a cough reliever.

Some ways to take ginger if you have a cold:

1.  Make a ginger soother;  steep a piece of fresh ginger in boiling water with a tea bag;  add honey and lemon.  Drink hot for added comfort.  This is also a good remedy for an upset stomach.

2.  Melt 1 – 2  hard ginger candies or generous piece of crystalized ginger in a cup of boiling water.  Let steep to desired strength, and drink while hot.

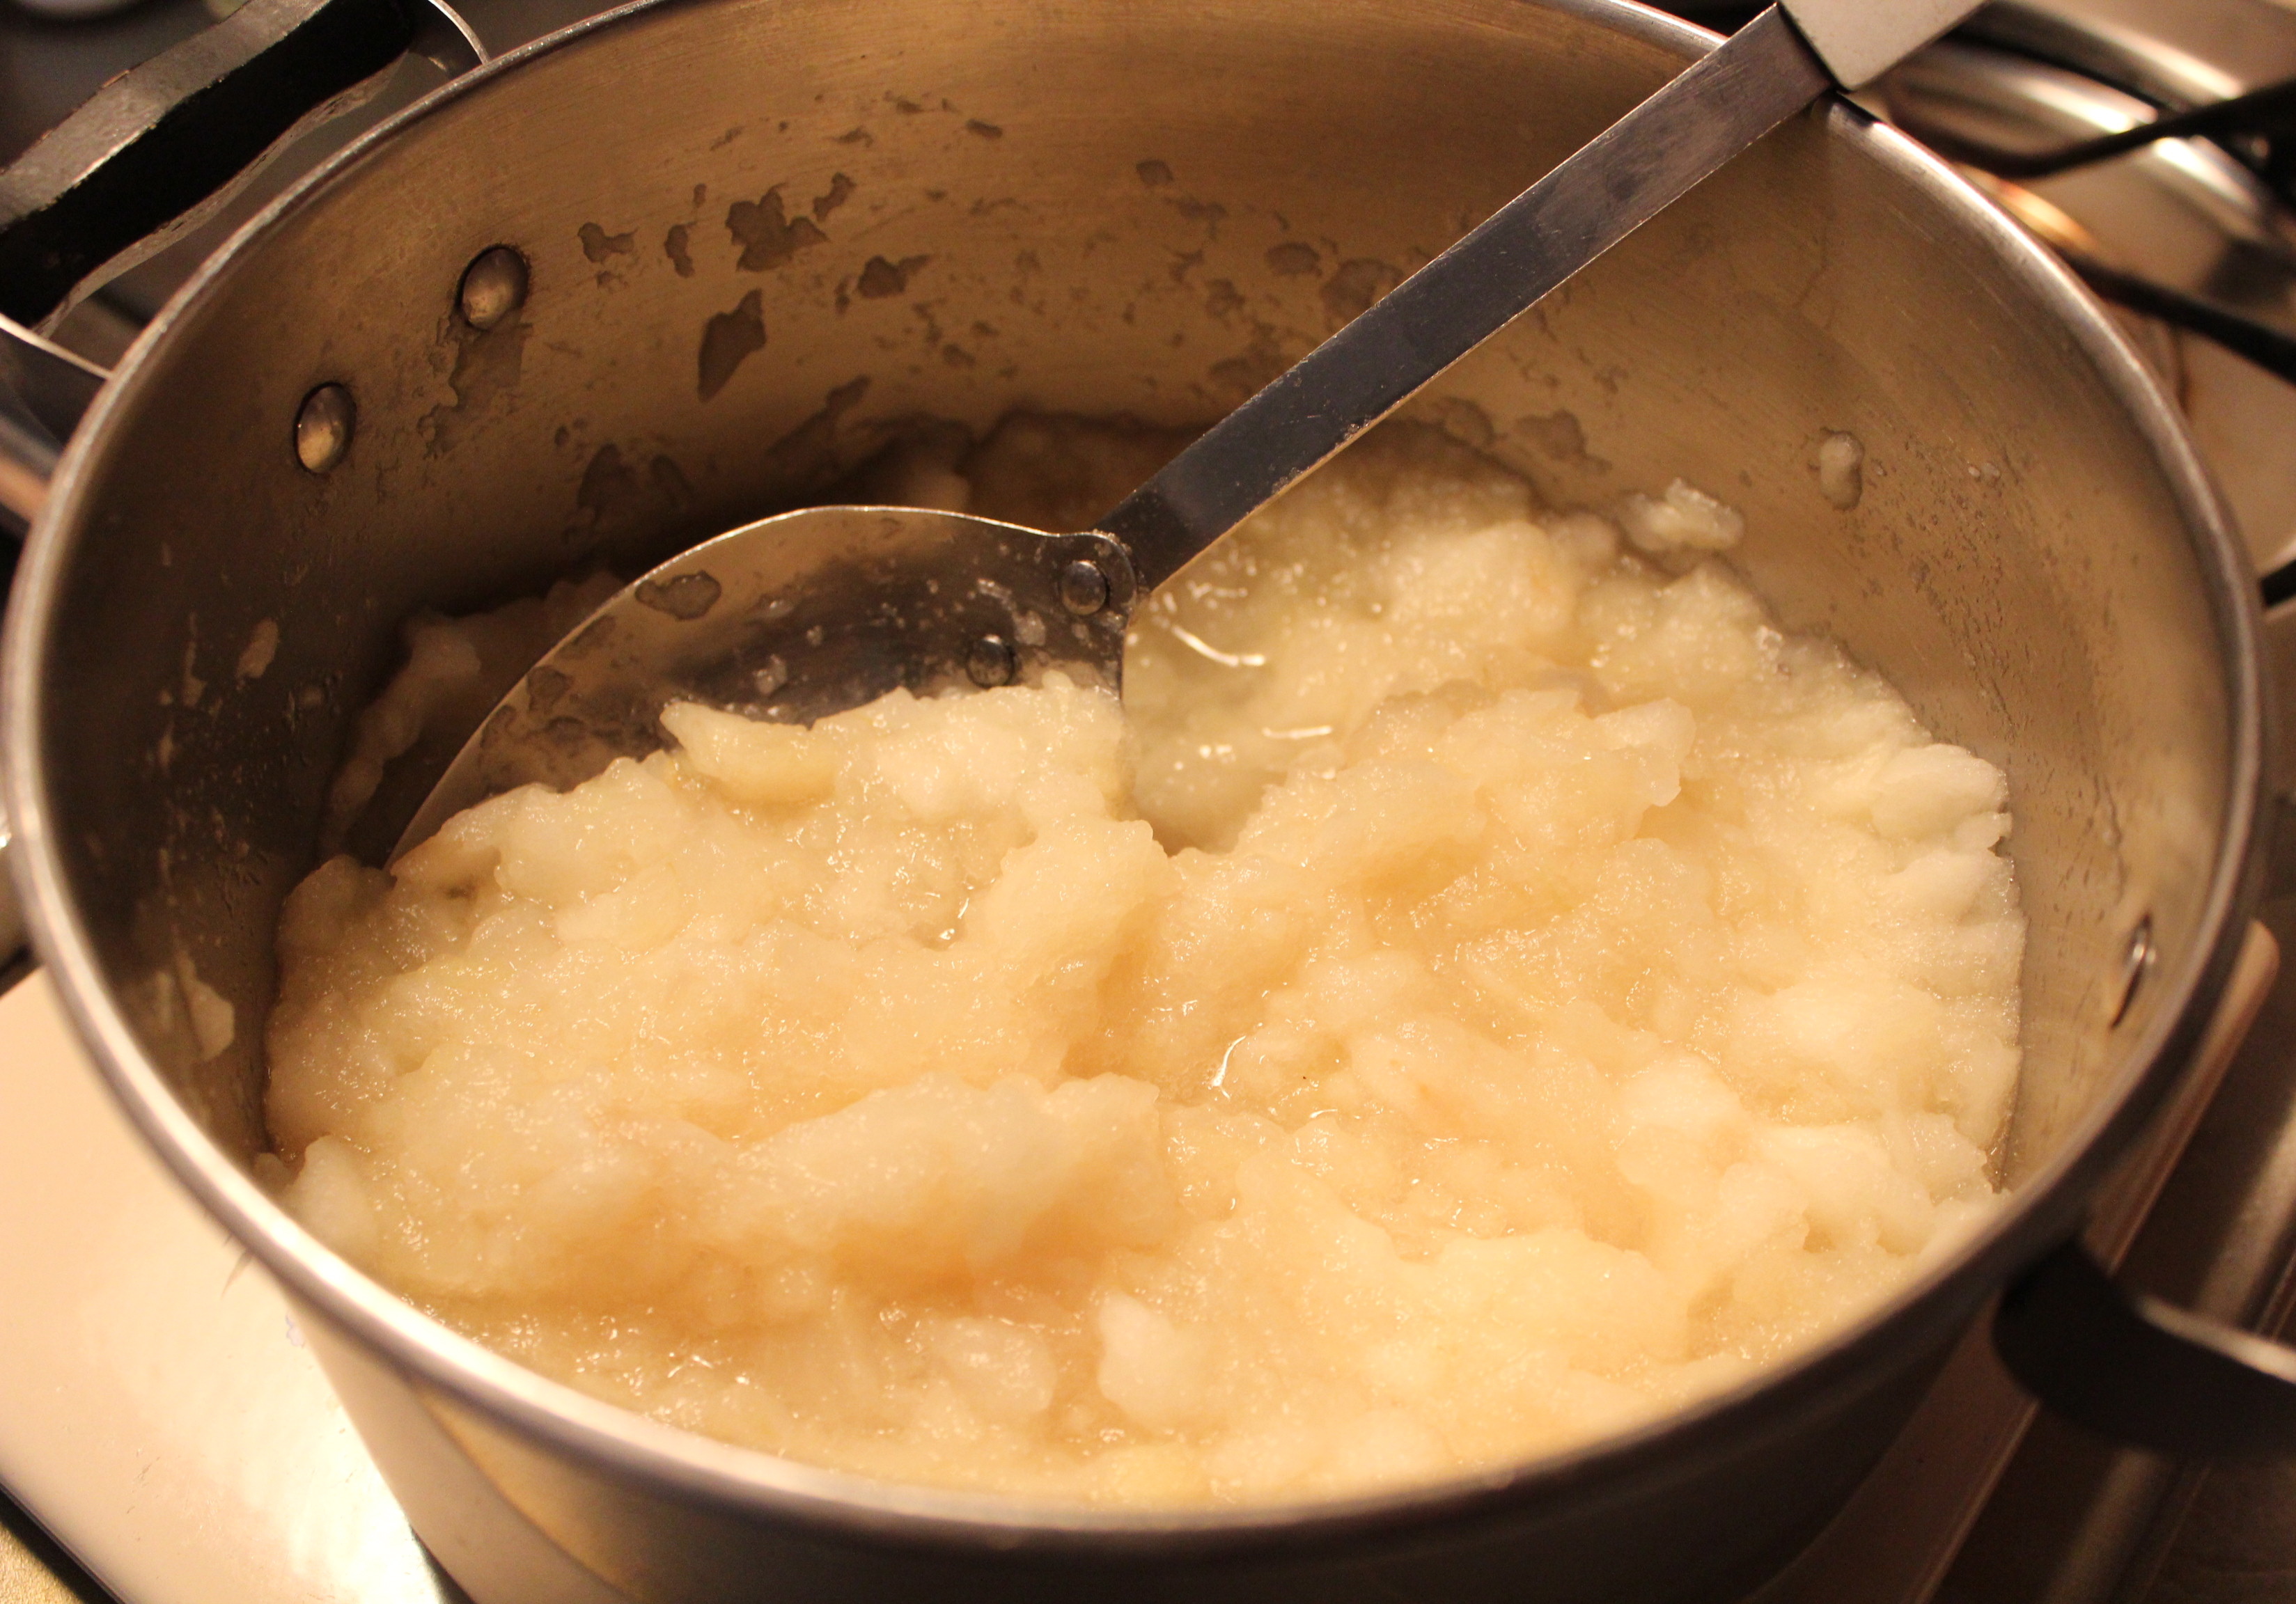
3.  Ginger Tea:  Bring 8 cups of water and 1 cup thinly sliced ginger to a simmer until reduced to about 5 cups ( takes about 25 minutes).  Sweeten with 1/4 cup honey, strain and pour into a mug (s).  This tea is great also as iced tea.  Chill first and serve on the rocks.

How much ginger to take and in what form can be confusing.  Remember this:  fresh ginger preparations (ginger juice, minced fresh ginger, for example), are stronger in concentration than ginger found in supplement form.   Most pill forms of ginger may only contain isolated compounds in ginger, whereas  fresh versions contain all compounds found naturally in the ginger rhizome.

My research on this subject has enlightened me to the fact that ginger is available in more forms than I was previously familiar with. The best place to purchase it is at natural food stores, where such items as beverages, candies, condiments of pickled ginger, cooking sauces, and crystalized as well as ground ginger are widely available.

Ginger juice, Ginger soy sauce, minced ginger all readily available for cooking.

Ginger juice, Ginger soy sauce, minced ginger all readily available for cooking.

Be adventurous and try the many useful and beneficial ways of using this versatile spice.  A powerhouse in your pantry!

Rustic Applesauce

Homemade cinnamon applesauce.

Homemade cinnamon applesauce.

Fairly often during the winter months I like to make homemade applesauce.  The fresh apples from the nearby orchards aren’t available any longer, so as a substitute I make applesauce with what’s available at the supermarket, and put it in my husband’s lunch.

Now to make applesauce like this I don’t want to purchase premium apples just to cut them up, cook and mash them.  So I keep an eye out for apples that have been reduced in price and placed on the shelves where slightly bruised but still useful produce is displayed.  Many times there will be a package of 4 – 6 apples at a very good price.  And also these packages may contain two or three different kinds of apples.  Just what I want for my applesauce, because for my taste, the most flavorful applesauce, like the most flavorful cider, is made from a variety of apples.

It all starts with the apples.

It all starts with the apples.

I call this “rustic” applesauce because I mash the apples to create a chunky sauce.  You can certainly make it smooth, if that’s your preference, by processing all or part of it in a processor or blender.  Lastly I tint the applesauce pink with my “secret” ingredient:  cinnamon  heart candy.

The secret ingredient.

The secret ingredient.

Stay with me here as I show you how to make it.

RUSTIC APPLESAUCE

YIELD:   about 6  cups

Prepare the apples:  Collect about 8 medium to large apples, a mixed variety is good. Keep in mind that not all apples cook-out the same.  Some retain their form, while others mash easily; so use apples that are compatible.  Two kinds I like to mix are Empires and Cortlands. Generally, if they are good pie-apples, they will make good applesauce, too.  Peel, core and slice the apples into a large saucepan.   Add a very small amount of water to the pan,  just enough to cover the bottom.

Slice the apples into a large saucepan.

Slice the apples into a large saucepan.

Cook the apples:  Over medium heat start the apples cooking.  As the water in the bottom of the pan starts to simmer, turn the heat to low and allow the apples to cook slowly, uncovered, stirring occasionally, so they don’t stick to the bottom.  They will produce more juice as they cook, so don’t cover the pan or it will become too juicy.  This takes anywhere from 20 – 30 minutes, depending on kinds of apples and how thick you cut them.

Making the sauce:   When the apples are very tender ( any maybe falling apart, or becoming “saucy”), remove from the heat.  Mash to desired  consistency with a fork or potato masher.

Cooked apples are tender and "saucy".

Cooked apples are tender and “saucy”.

Flavoring and tinting:  While the sauce is still very hot, add in about 1 Tablespoon of cinnamon hearts red candies.

Add cinnamon candies to hot sauce.

Add cinnamon candies to hot sauce.

Stir in and as they melt they will flavor the sauce and tint it pink.  Now, taste and adjust flavor by adding some sugar;  1-2 Tablespoons, and ground cinnamon to taste.  A pinch of salt will bring out the flavors or a splash of lemon juice will also brighten it up.

Applesauce tinted pink as candies melt.

Applesauce tinted pink as candies melt.

Do yourself a favor and give it a try.  It’s so much better than the bland, smooth stuff you buy in a jar!.  This applesauce is also a very good accompaniment to pork entrees, or serve with potato pancakes.

So good and fresh tasting.

So good and fresh tasting.

SOURCE:   A Carolyn Original