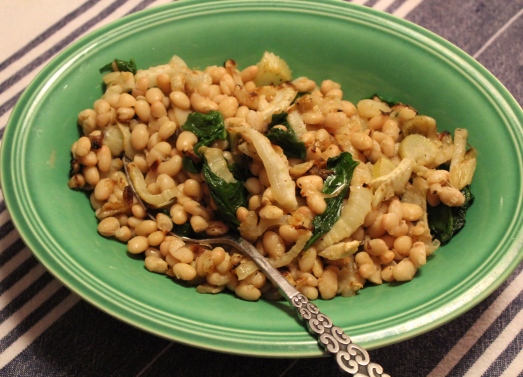
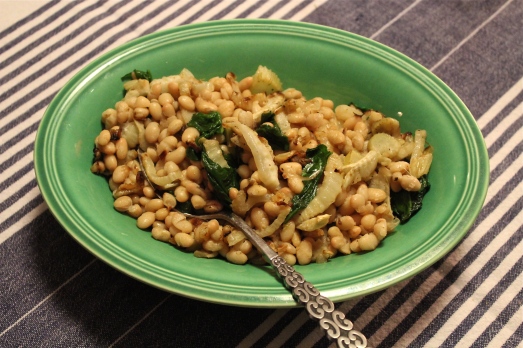
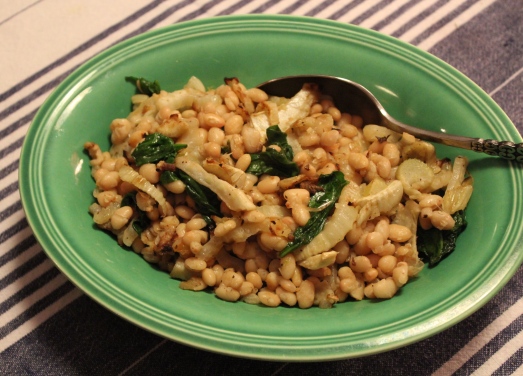
White Beans with Fennel.
Since I’ve cut back sharply on the amount of carbohydrates we are eating, I’ve been leaning pretty heavily on vegetables. We have 2 – 3 veggies at each main meal. In this dish you get three vegetables all getting cozy together. So if you are trying to make healthy choices, this dish might be a good thing to incorporate into your menu plan. It has white beans to provide some protein and complex carbohydrates, fennel for flavor and fiber, and spinach for color, and vitamins.
Lunch is often the most difficult meal for me to get right. I wait until I’m starving, then head for the kitchen to grab what ever is quickest to fill that empty hole, and often that’s peanut butter on toast. ( Oh no, I just revealed my secret vice.) Oh well, it was bound to come out sometime, so now you know I’m not perfect. But I could be if I had a bowl of white beans and fennel in my refrigerator to munch on when I get hungry. Actually a bowl of anything that’s healthy is a very good thing to have on hand when lunch-time hungries strike. Good, hearty, real food that isn’t scrambled eggs, that you can eat right from the fridge….if you’re into that sort of thing, and aren’t we all? This tastes as good cold as it does hot!
All I’m saying is, if you decide to make this dish, make enough so you’ll have some left over for that bowl of real healthy food to munch on whenever hunger strikes.
WHITE BEANS WITH FENNEL
Yield: Makes about 6 servings
Ingredients:
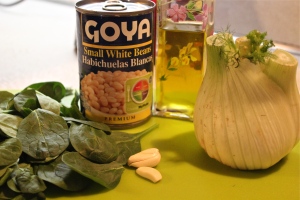
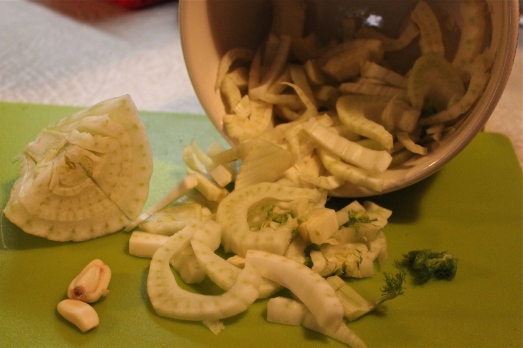
- 1 large fennel bulb, cut in half vertically, core removed
- 2 Tbsp. olive oil, divided
- 1/2 tsp. salt, divided
- 1/2 tsp. pepper, divided
- 1 clove garlic, minced
- 3 Tbsp. grated Parmesan cheese
- 1 can Great Northern beans, rinsed and drained (any white bean will do)
- 2 cups fresh baby spinach
- 1 tsp. fresh lemon juice
Directions:
1. Preheat oven to 450*F. Spray baking sheet with non-stick spray.
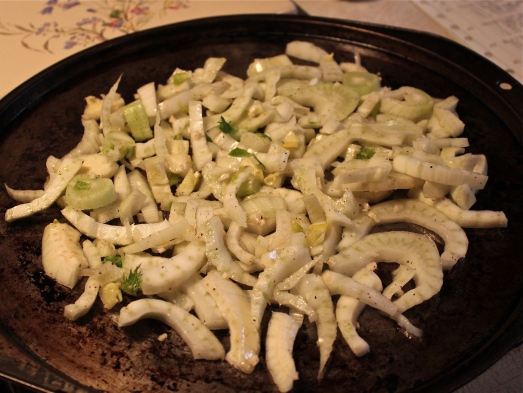
2. Slice fennel into 1/4-inch thick slices. In a medium bowl, toss with 1 Tbsp. olive oil, 1/4 tsp. salt, 1/4 tsp. pepper, and minced garlic.
Arrange on baking sheet and bake at 450*F. for 15 minutes or until it is beginning to brown. Stir. Sprinkle with the Parmesan cheese and bake for 5 minutes more.
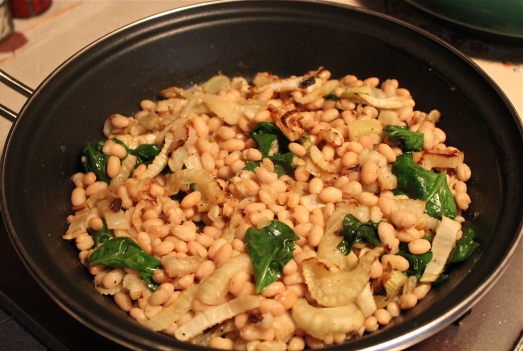
3. In a large skillet heat 1 Tbsp. olive oil over medium heat. Add the beans and cook for 2 minutes. Add the fennel and baby spinach, plus 1/4 tsp. salt and 1/4 tsp. pepper.
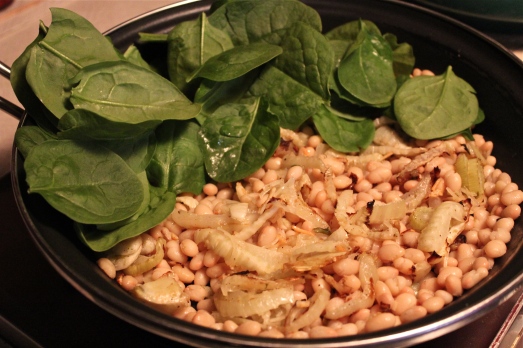
Sauté beans then add fennel and spinach.
Cook 2 minutes to heat through. Add the splash of lemon juice and stir in.
Ready to serve.
Serve with salmon or other fillet of fish. Add a salad and you will have a wonderful meal.
SOURCE: Unknown