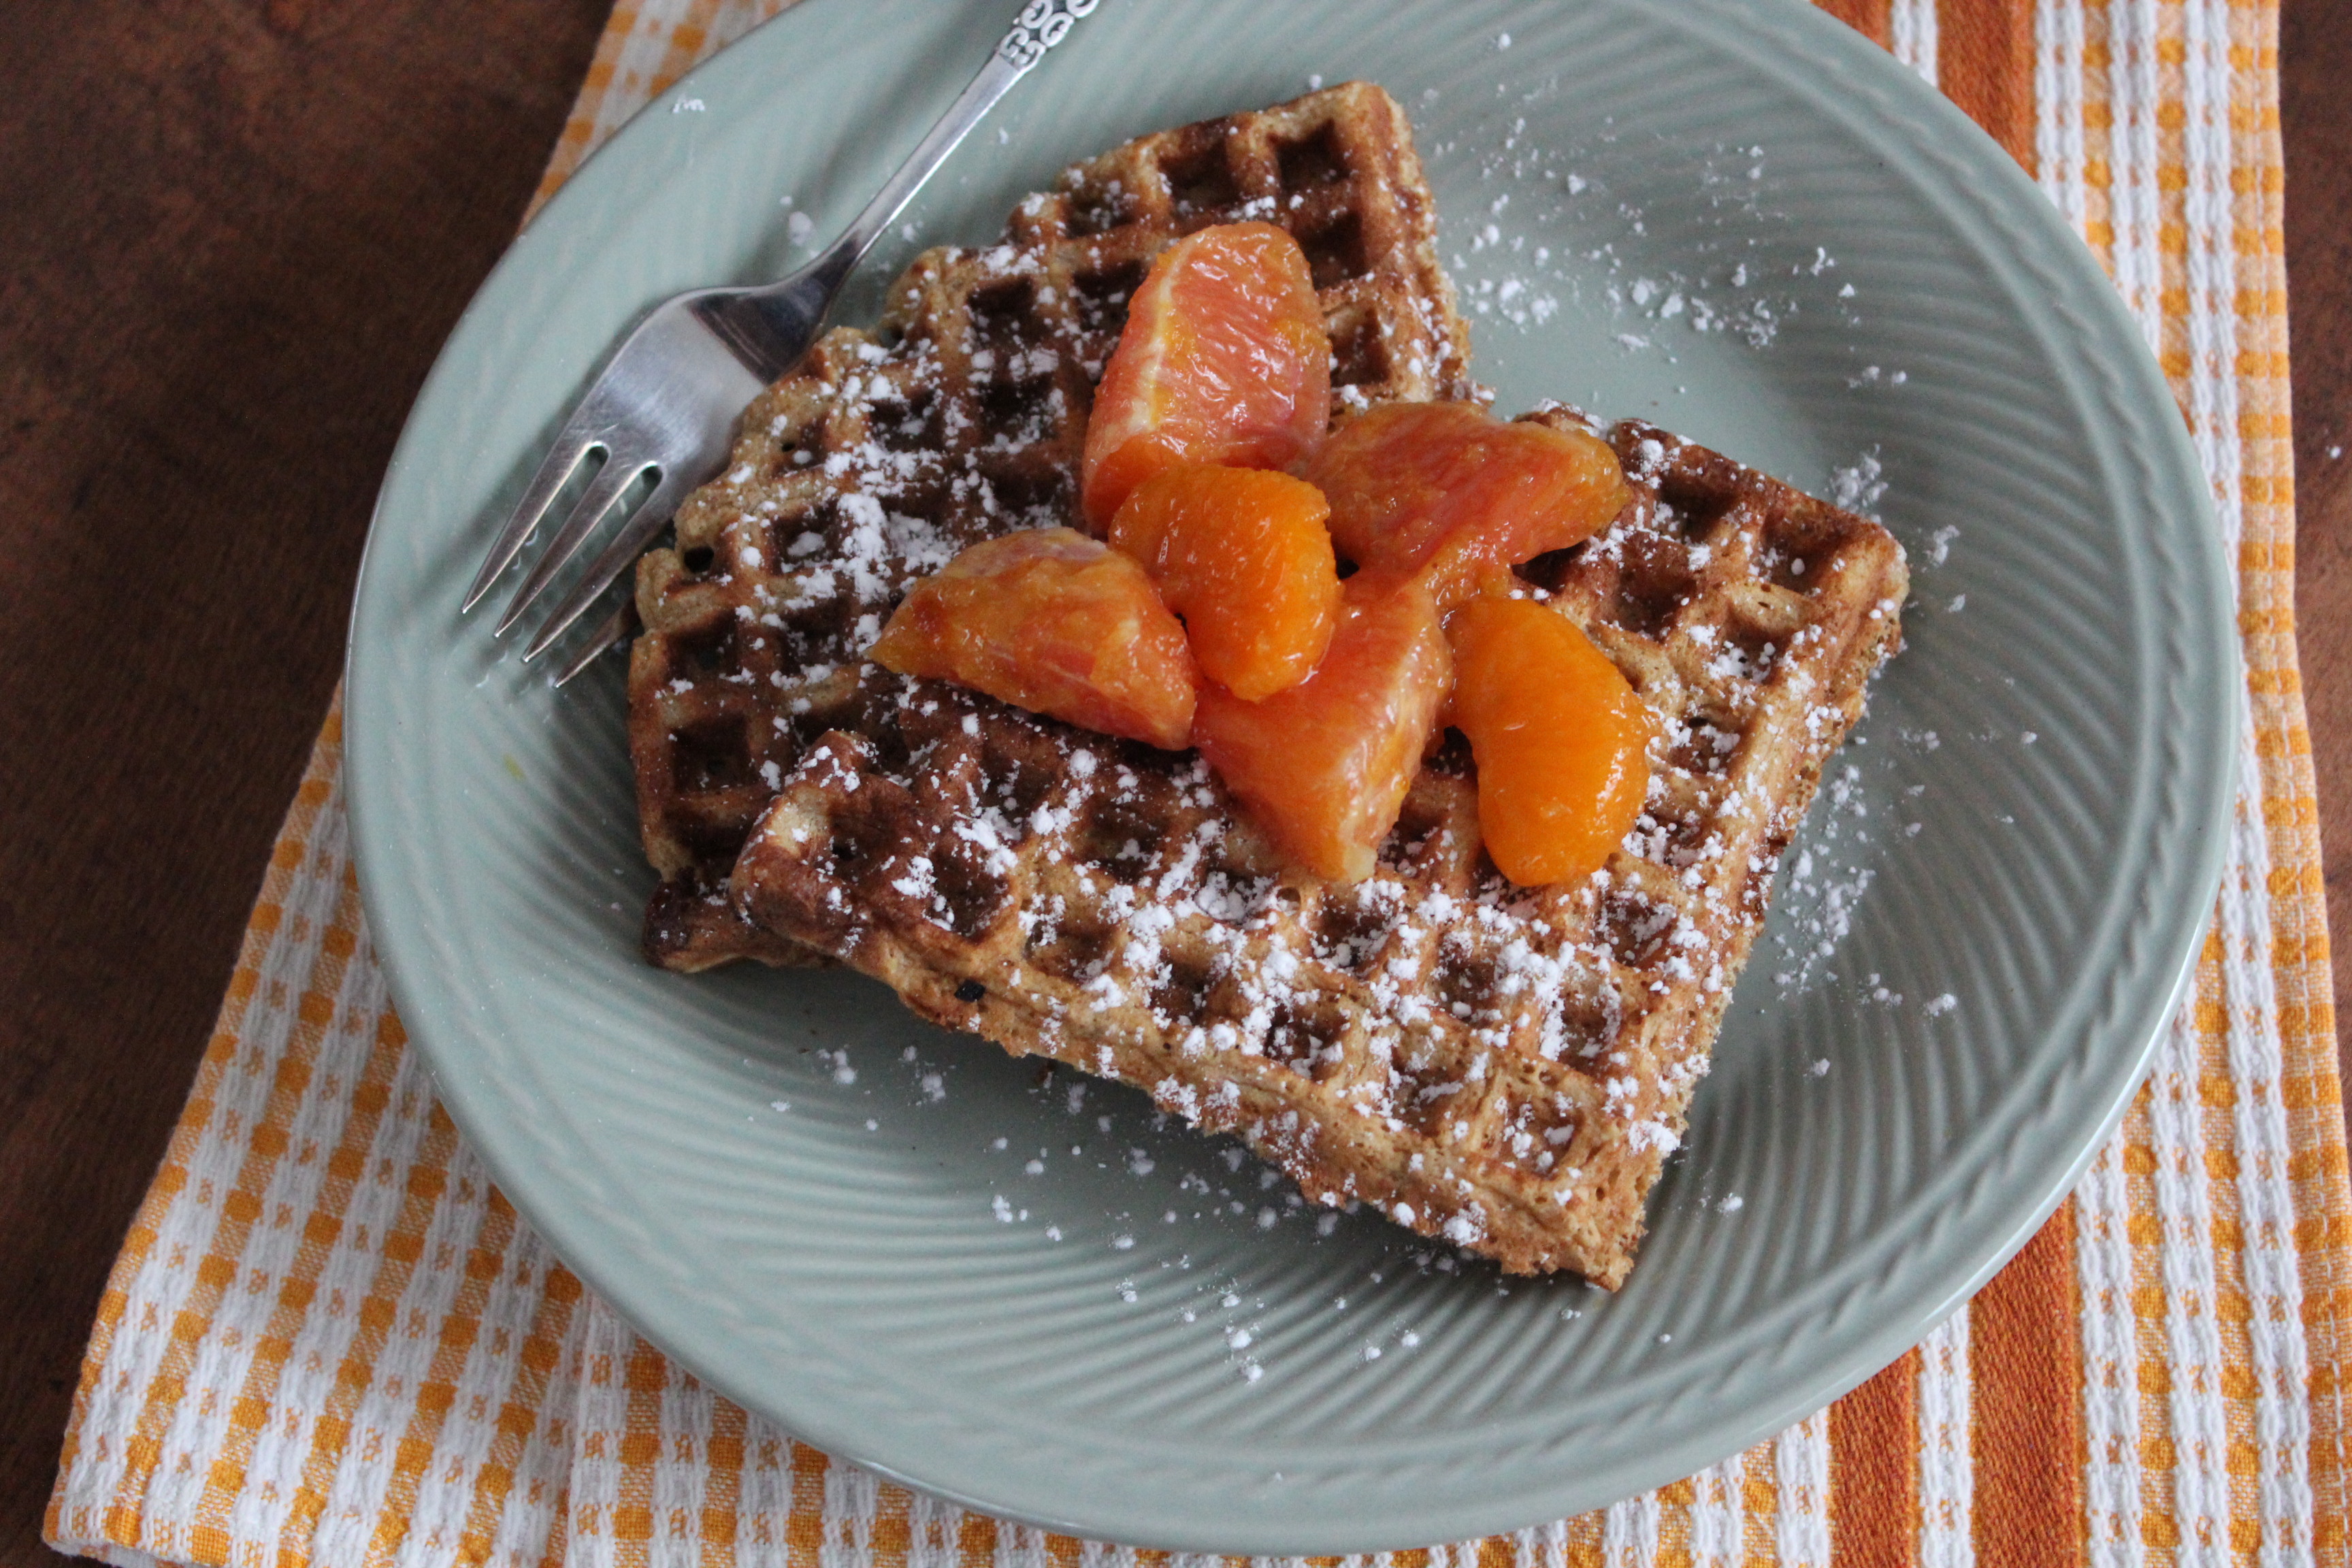
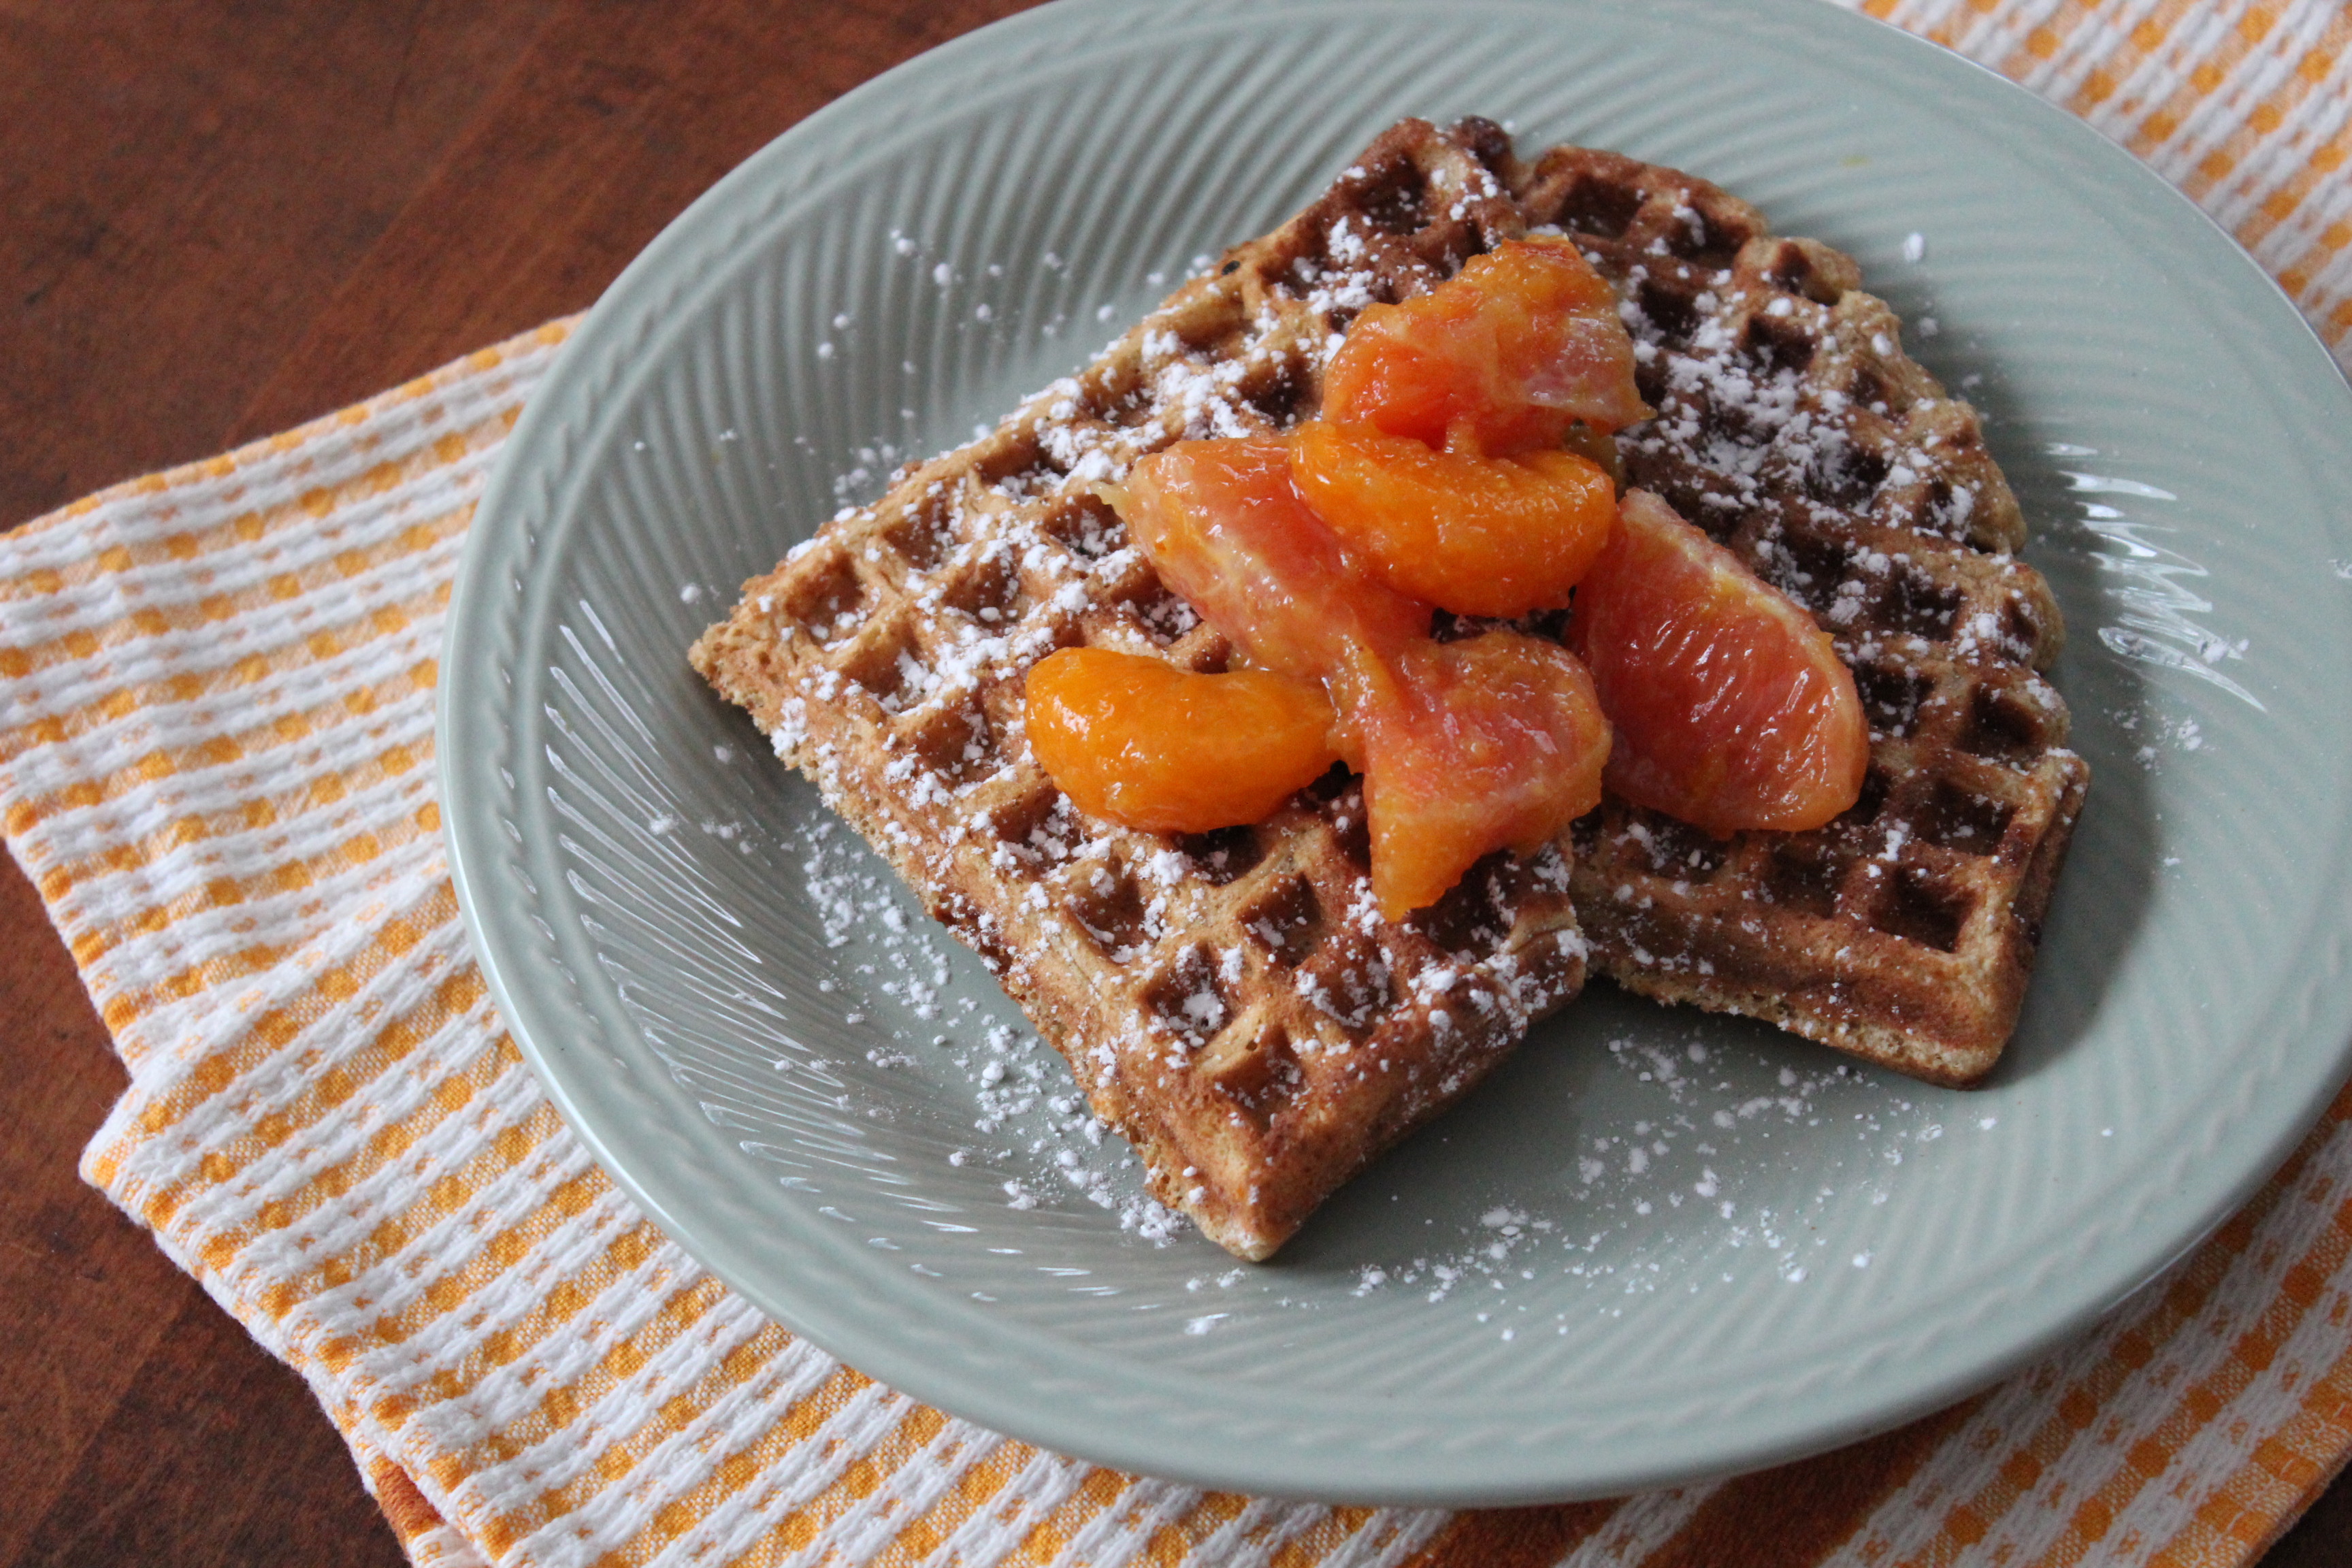
Citrus Waffles with Orange Compote
Every once in a while I pull a surprise meal and we have “breakfast for supper”. The events last weekend provided me with just such an opportunity. We had plans for Sunday that would have included a meal but at the last minute they were unexpectedly cancelled . I was then faced with the need to come up with a meal that I had not planned for. So, breakfast for supper was the perfect solution.
Running in parallel was my desire to incorporate more citrus into our diet. So I came up with this idea for adding grated orange zest to my waffle batter and making an orange compote to spoon over the top. Brilliant, if I do say so myself 🙂 I like to add some whole wheat flour to waffles as another way to get in some fiber, and I also added some wheat germ. Buttermilk makes waffles nice and light if you have some, but you can sour milk and get the same results just by adding a little vinegar to the amount of milk called for. A non-stressful Sunday evening supper that turned out better than I expected.
COMPOTE

Orange Compote
YIELD: Serves 6
Make the compote first and keep warm while you make the waffles.
- 1/4 cup reduced- sugar orange marmalade (such as Smucker’s)
- 1 Tablespoon fresh orange juice
- 1 teaspoon fresh lemon juice
- 1 teaspoon honey
- 2 cups fresh orange sections, or any combination of orange and grapefruit. I used a Cara Cara orange, a navel orange and a clementine.
To prepare compote: place first 4 ingredients in a small saucepan over medium heat; cook 2 minutes until marmalade melts. Reduce heat, and gently stir in orange sections; keep warm.
WAFFLES
- 3/4 cup all-purpose flour

- 3/4 cup whole wheat flour
- 1/2 cup packed brown sugar
- 1/4 cup toasted wheat germ
- 1 1/4 teaspoon baking powder
- 1 teaspoon baking soda
- 1/4 teaspoon salt
- 1/4 teaspoon ground nutmeg
- 1 1/3 cup buttermilk
- 1/3 cup water
- 2 Tablespoons canola oil
- 1 teaspoon grated orange rind
- 1 large egg, lightly beaten
- cooking spray
- powdered sugar

1. To prepare the waffles: lightly spoon both flours into a bowl. Add brown sugar through nutmeg and stir with a whisk.
2. Combine buttermilk and next ingredients through egg. Add this mixture to the flour mixture, stirring just until moist.

Wet and dry ingredients ready to be combined.
3. Coat a waffle iron with cooking spray and preheat it. Spoon batter onto hot waffle iron, spreading out to edges. Cook 5 minutes or until steaming stops. Repeat with remaining batter, keeping waffles warm in a low oven until ready to serve.

4. Sift powdered sugar over tops of waffles and serve with warm orange compote. Maple syrup tastes really good on them as well!
SOURCE: a Carolyn Original