Coconut Lime Scones

Coconut Lime Scones

Coconut Lime Scones

By now it’s no secret how much I like coconut, and I have been having a craving that just won’t quit.  Just when I think I’ve reached the end of my coconut obsession, another recipe pops up,  I start to salivate, and then you know what happens….I bake!


IMG_7133

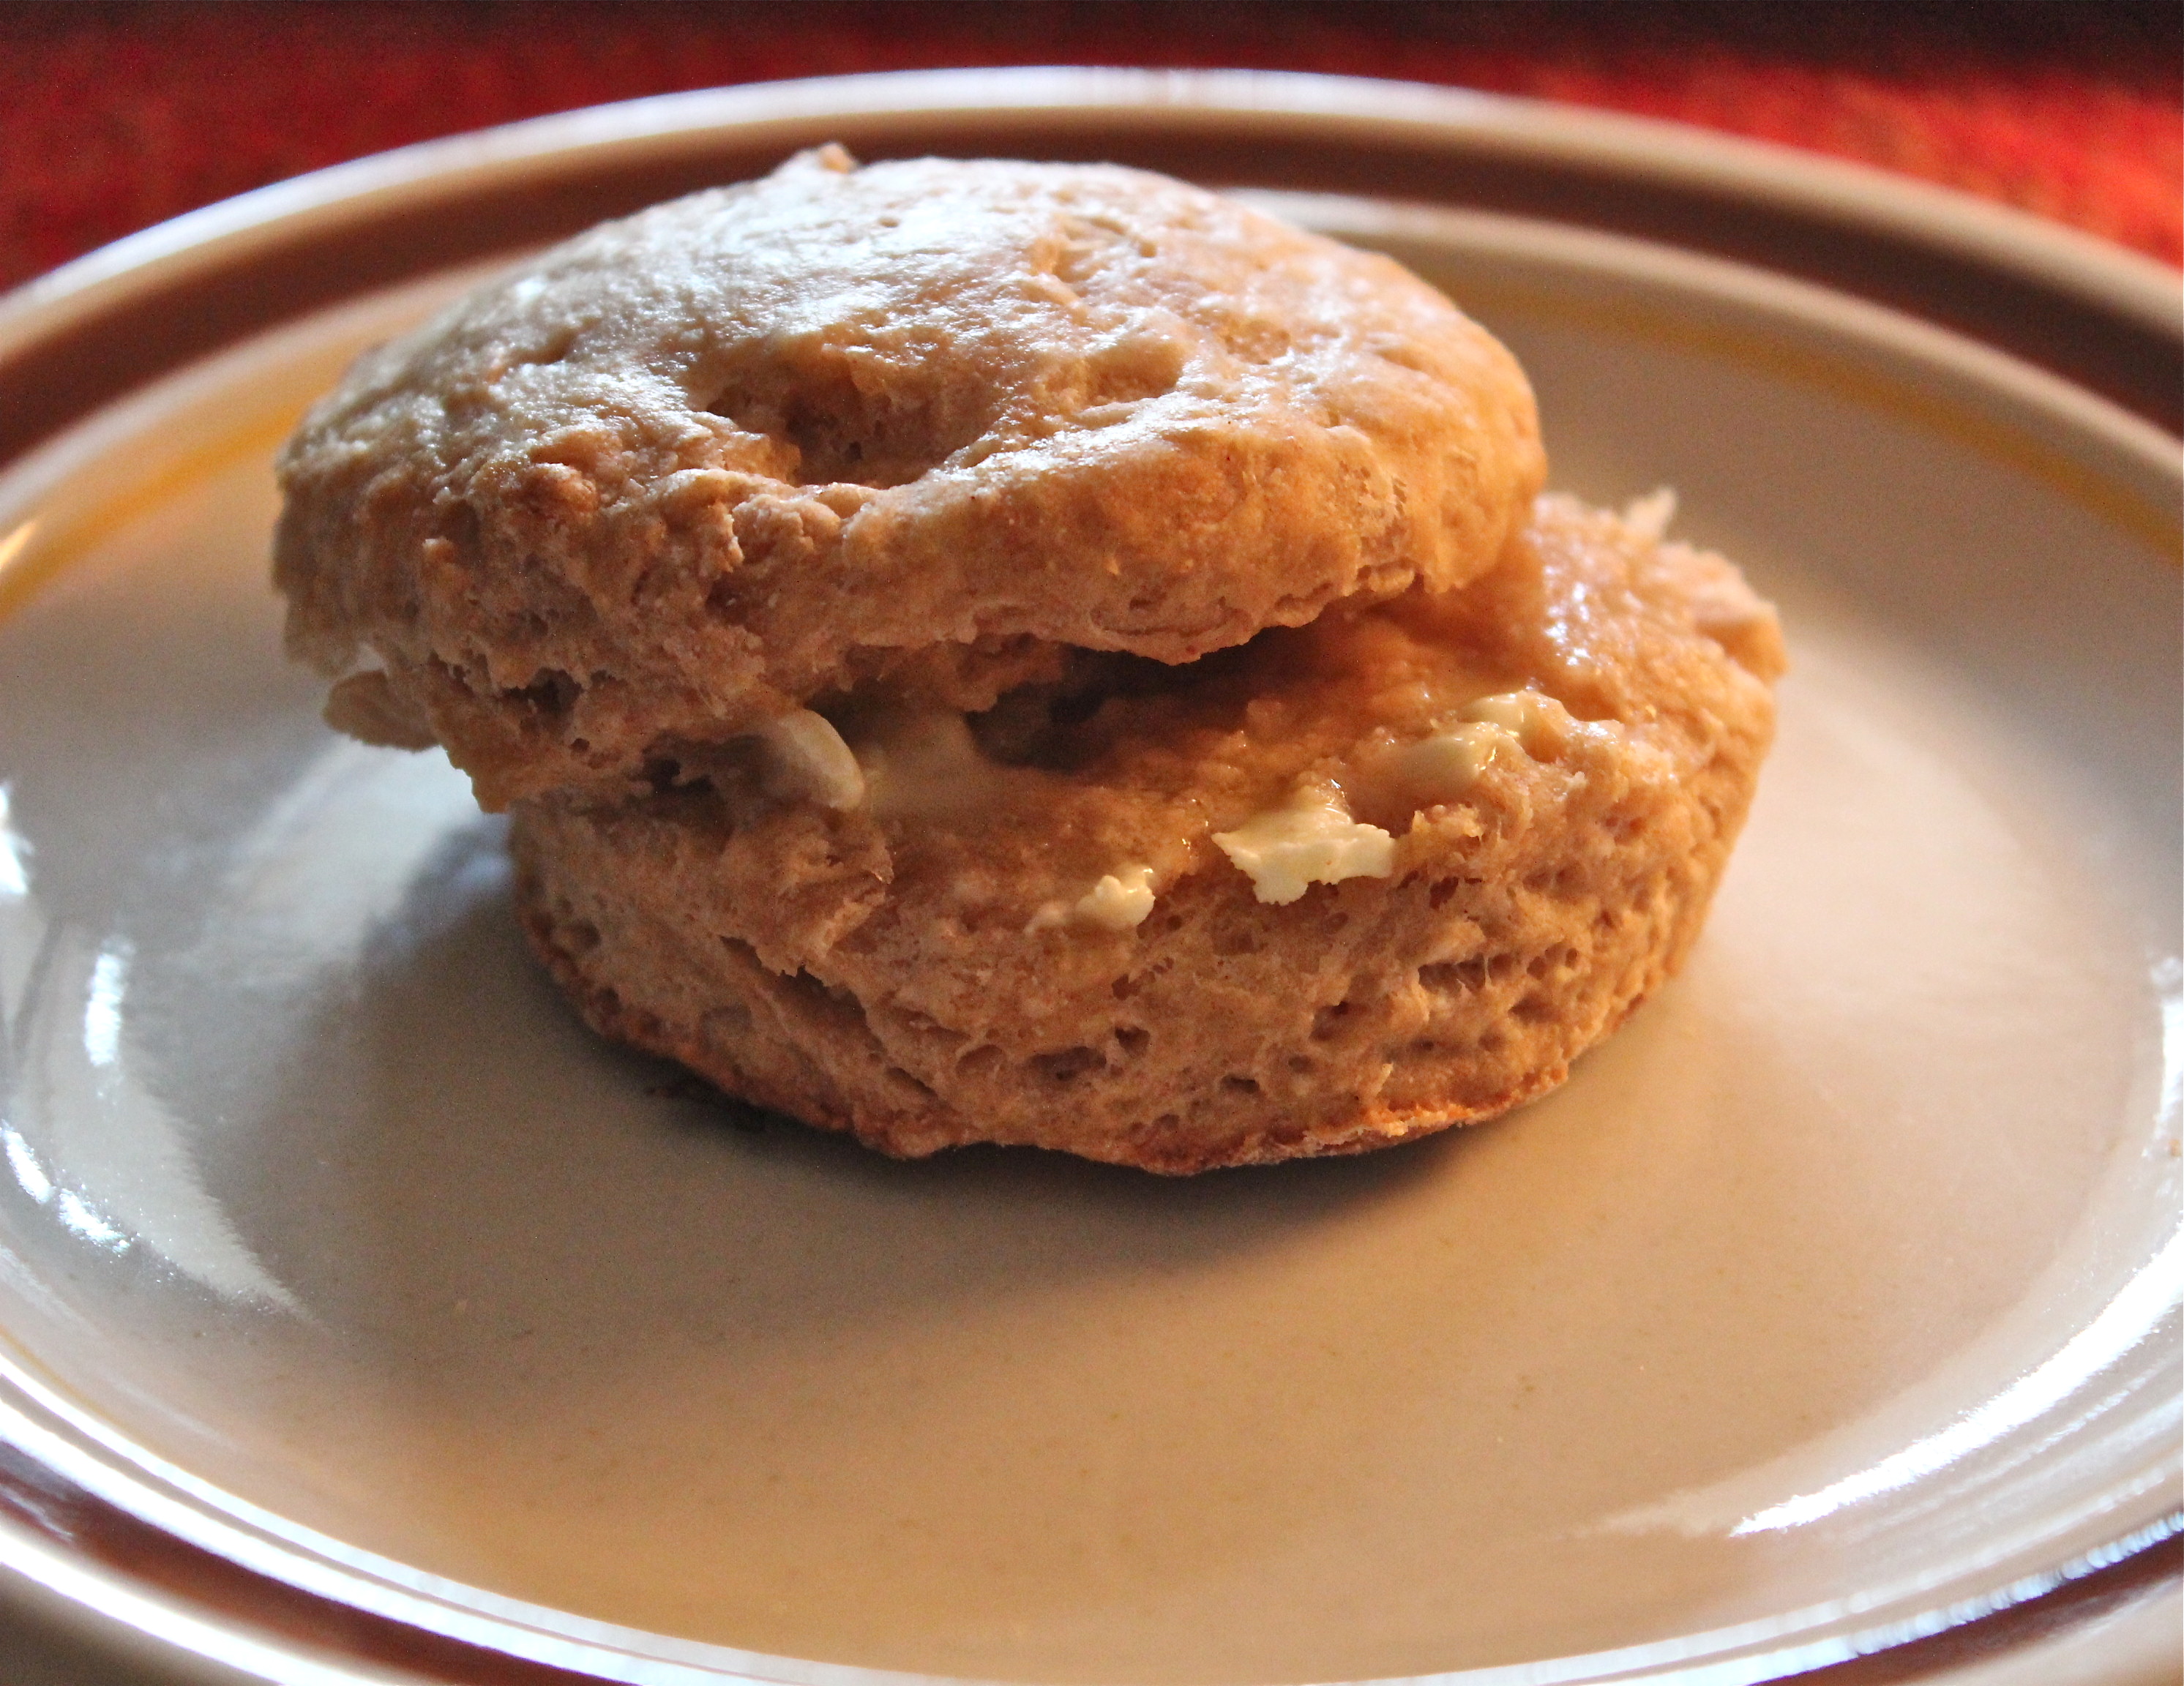
I’m head over heels for coconut and seem to have gone bonkers for it.  I just hope you are not bored by the number of recipes I’ve  posted that contain coconut, because here is another one. These scones contain a match-up of coconut with lime and they are incredibly good.  Their texture is not quite as crumbly as some scones, leaning more toward cake-like, but served warm from the oven, plain or with raspberry jam they are perfect.  You can also serve them for dessert with fresh strawberries or coconut sorbet for a special treat.  My idea for dressing them up was to make a glaze from confectioners’ sugar and lime juice .    I hope you enjoy these scones.

IMG_7130

You will note that the recipe calls for heavy cream in the dough and for brushing the tops.  I thought that with the butter they contain, more fat from the cream was not needed, so I substituted buttermilk and still got a very tender scone.  Since these are made primarily in the food processor, you must be careful not to over-process the dough or the scones will not be tender.  If the dough seems wet, that’s OK, work in extra flour by kneading lightly on a floured surface.

Ingredients:

  • 2  1/2 cups all purpose flour
  • 1/2 cup sugar
  • 1  1/2 cups unsweetened coconut
  • 1 teaspoon baking powder
  • 1/2 teaspoon baking soda
  • 1/2 teaspoon salt
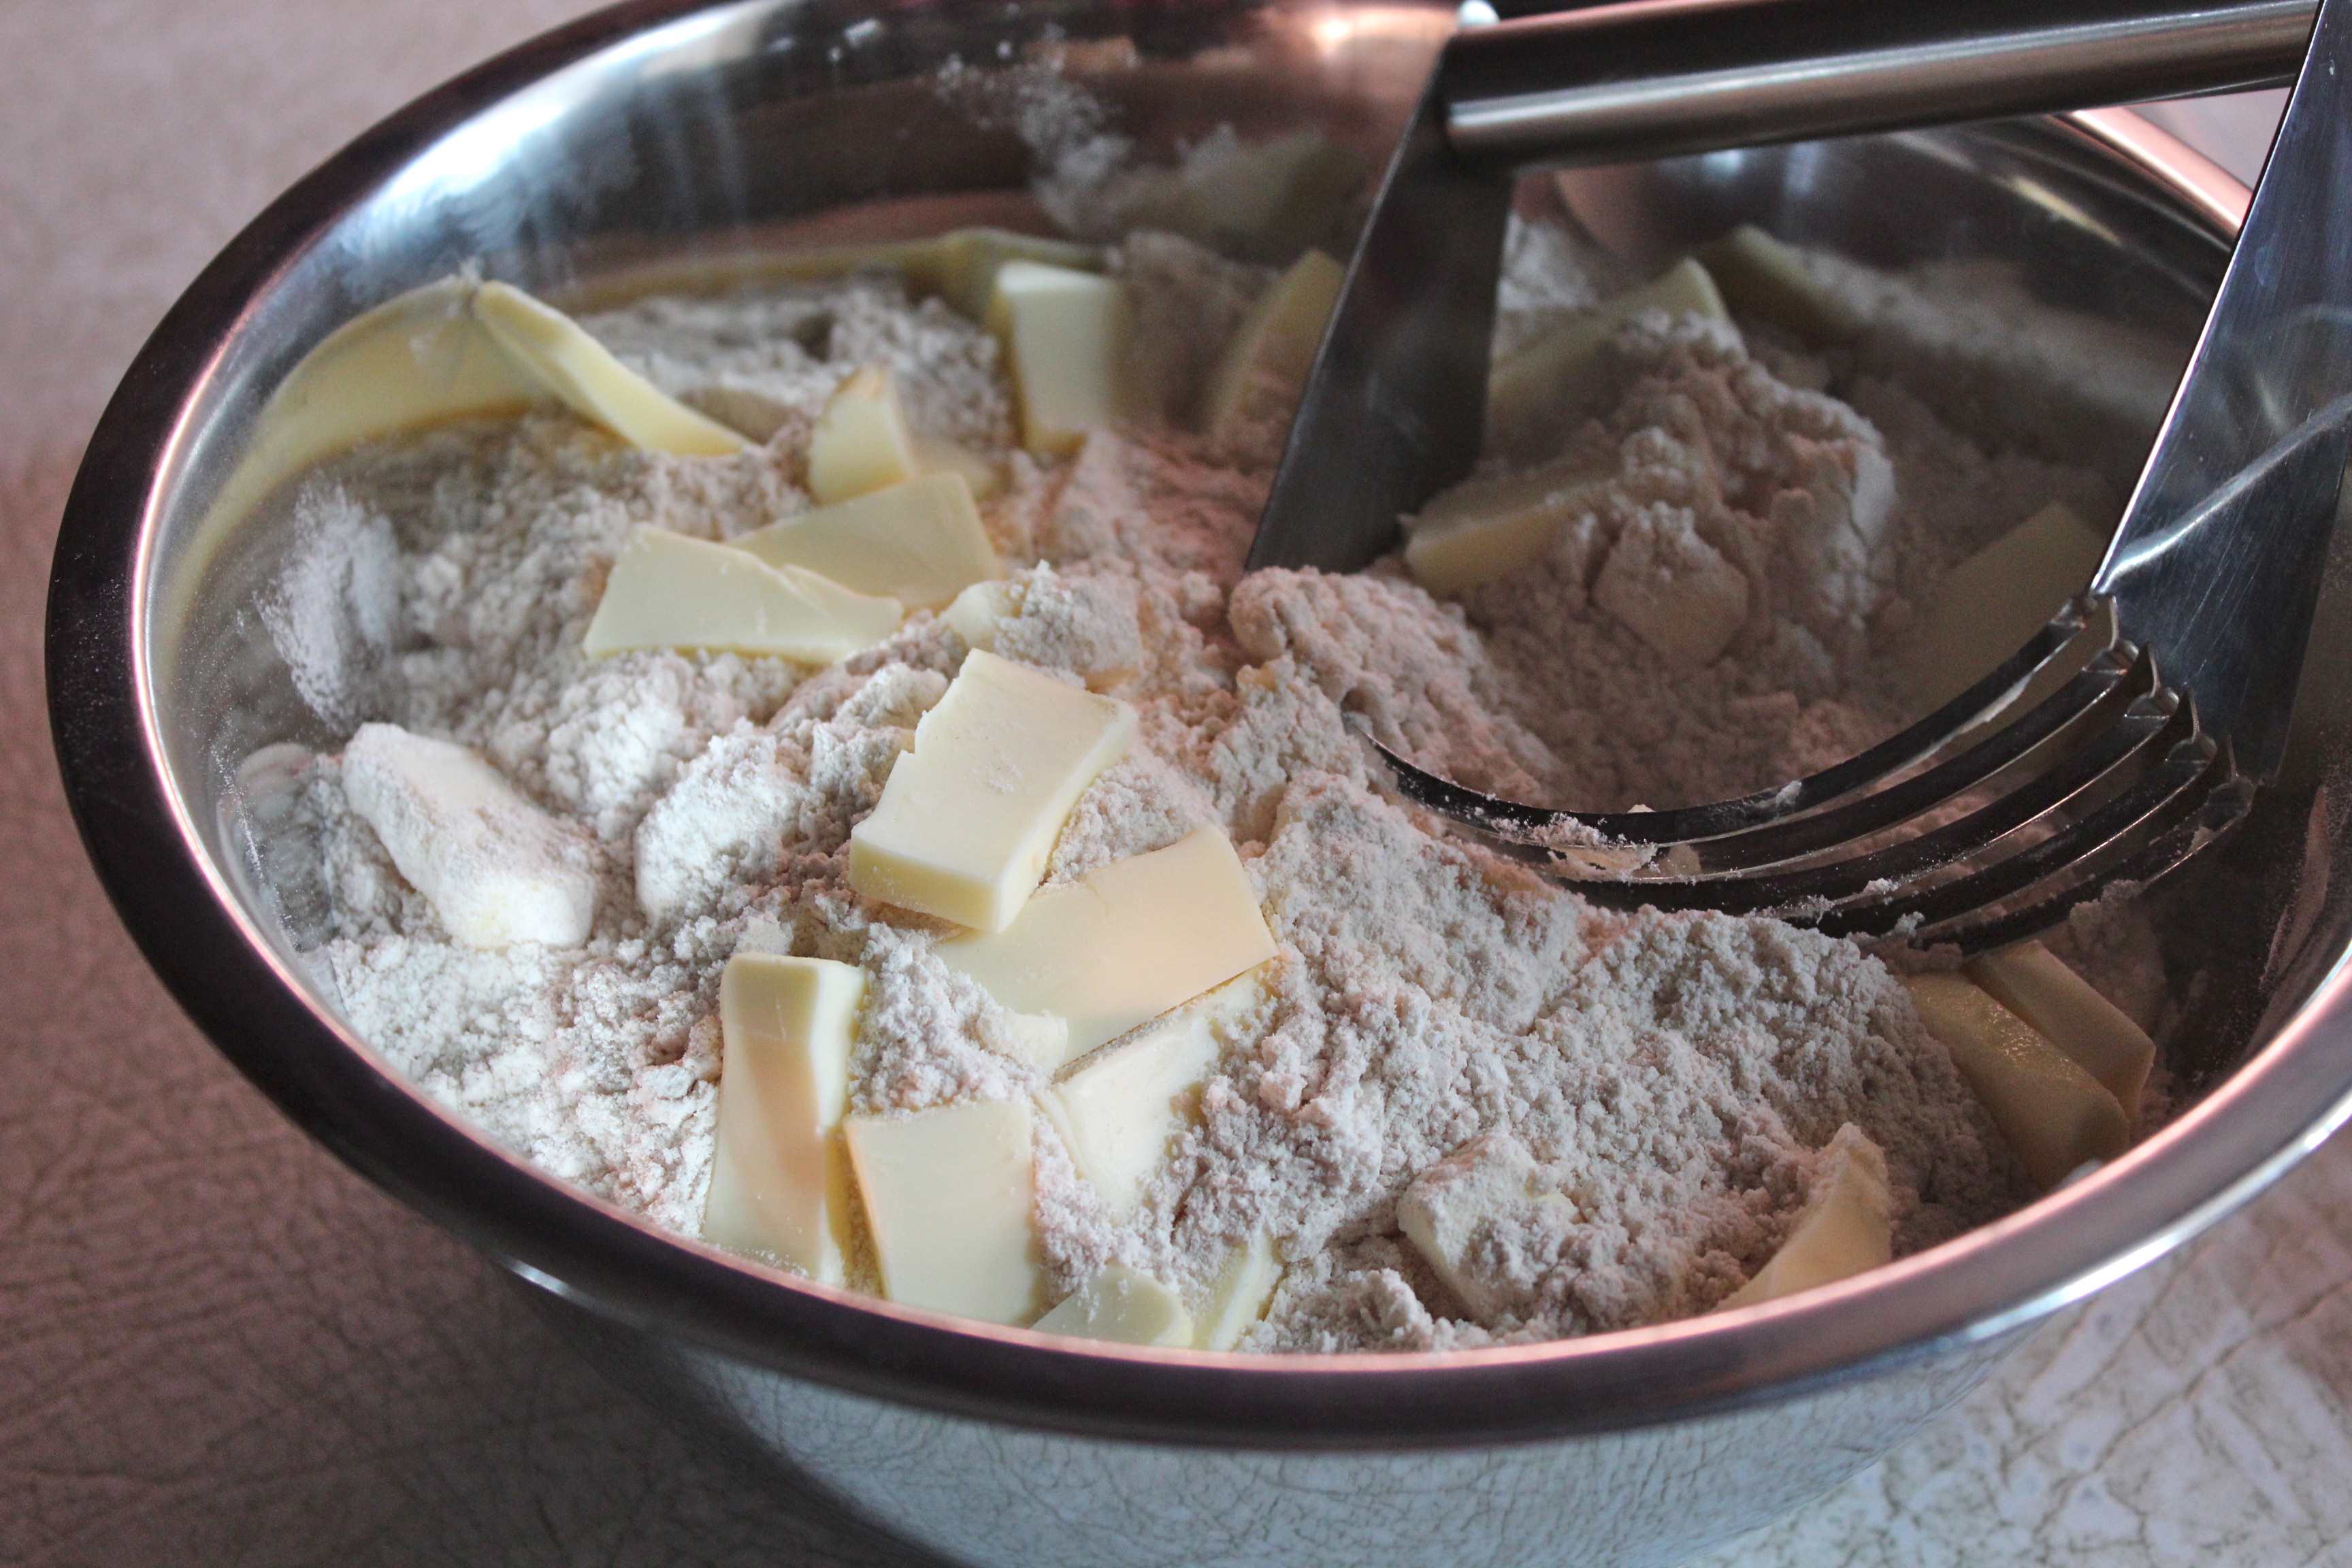
  • 8 tablespoons (1 stick) cold butter, cut into chunks
  • zest of 2 limes
  • 1/4 cup freshly squeezed lime juice
  • 1/2 cup whipping cream (or buttermilk)
  • 1 egg
  • 1 – 2 tablespoons cream for brushing tops

For the glaze:

  • 1 cup powdered sugar
  • 2 tablespoons lime juice

Directions:

Preheat the oven to 425*F. and prepare a baking sheet by lining with parchment paper or silicon mat.

In the bowl of a food processor, combine the flour, sugar, coconut, baking powder, baking soda and salt.  Pulse it together just to mix.  Add the cold butter and pulse until the butter has been cut into the floor and you have a coarse crumb. Add the lime juice and about 2/3’s of the zest and pulse.

In a small bowl or measuring cup, whisk together the 1/2 cup cream (or buttermilk) and egg.  Add it to the mixture and pulse until you have a dough that comes together but is still crumbly and wet.

Turn the dough out onto a well floured surface, and using the extra flour, work it into the dough and pat the dough into a round disc. Using a floured knife cut into 8 wedges.

Brush tops of the scones with the 1-2 tablespoons cream (or buttermilk).  Bake for 10 minutes until slightly golden around the edges.  Let the scones cool for a few minutes and firm up before removing them from the pan.  While they are cooling, make the glaze.

IMG_7125

In a small bowl, combine the powdered sugar  and lime juice   Whisk together to get a thin glaze.  Drizzle over the tops of the warm scones and sprinkle with remaining zest.

IMG_7129


IMG_7127

SOURCE:   adapted from a recipe by Heathercristo. com


Advertisement

Fresh Cranberry and Oat Scones

Once daylight savings time is over and we’re back to Standard time, the days seem shorter with darkness coming before dinner time.  Whose idea was this any way?  I don’t really need the sun shining in my eyes, waking me up at 6am., nor do I appreciate it when it starts getting dark when I want it to stay light outside. Where’s all the day light we’ve been “saving”?   This whole time change thing makes me grouchy.

Fresh cranberry and oat scones.

Fresh cranberry and oat scones.

To get me over this hissy-fit I needed something good to eat.  Something baked, delicate and crumbly.  Something sweet, but not too sweet, with good-for-me-and-you ingredients.   Into my laboratory/kitchen I went and in about 45 minutes we were having these scones with a cup of coffee.  They didn’t bring back more day light but they did help me to get over the “grouchies”.  If you’re having a “mood” these scones just might help you too.

IMG_5576

CRANBERRY AND OAT SCONES

Yield:    Makes 10 scones

Ingredients:

  • 10 Tbsp. frozen butter

    A variety of "healthy" ingredients.

    A variety of “healthy” ingredients.

  • 1/2 cup milk (regular, almond, coconut are all OK)
  • 1 tsp. lemon juice
  • 1 cup fresh cranberries, chopped in a processor
  • 2  2/3 cup flour ( or flour and oats combination)**
  • 1/3 cup natural cane sugar
  • 1 Tbsp. baking powder
  • 1/2 tsp. baking soda
  • 1/2 tsp. coarse salt
  • zest of 1 orange
  • 2 large eggs

**  In place of regular flour I made up this combination:  1 cup whole wheat flour, 2/3 cups oats, 2/3 cups oat flour, 1/3 cup potato flour.  Also I used almond milk instead of regular milk soured with lemon juice.  Either works just fine.  You could also use buttermilk and omit the lemon juice.

Directions:

1.  Preheat oven to 400 *F.   Line a baking sheet with parchment paper or grease lightly.

2.  Mix milk with lemon juice, and keep in refrigerator to chill

3. Coarsely chop cranberries in a food processor and reserve.

Chop 1 cup fresh cranberries.

Chop 1 cup fresh cranberries.

I have a small 2-cup processor that works great for small amounts like this and saves getting out the big processor.

4.  In a large bowl, whisk together the flour (s), baking powder, baking soda, salt and orange zest…..

Mix zest of 1 orange into the dry ingredients.

Mix zest of 1 orange into the dry ingredients.

Grate butter on the large holes of a box grater.  Add to flour and toss gently to integrate.

Use a box grater to add small bits of frozen butter to the dry ingredients.

Use a box grater to add small bits of frozen butter to the dry ingredients.

5.  Whisk 1 large egg into the chilled milk and fold into the flour mixture.  Fold in cranberries.

6.  On a floured surface, knead the dough a few times till it just comes together.  Do not over work it.  Form into a disc.  Roll out to 3/4 – inch thickness.  Cut with a 2-inch round cutter.  Place on parchment lined baking sheet.  Reroll scraps and repeat.

Roll out dough and cut with 2-inch cutter.

Roll out dough and cut with 2-inch cutter.

7.  Brush tops with remaining egg and sprinkle with oat flakes and natural sugar.

Brush tops with egg wash and sprinkle with sugar and  oats.

Brush tops with egg wash and sprinkle with sugar and oats.

8.  Bake till golden, about 18 minutes.  Watch carefully, they brown up quickly.  These freeze well.

Fresh cranberry and oat scones.

Fresh cranberry and oat scones.

SOURCE:   Adapted from Everyday Foods

Pumpkin Cream Cheese Muffins, Lightened Up

Pumpkin Cream Cheese Muffins.

Pumpkin Cream Cheese Muffins.

With the chill that’s been in the air the last few days now, I’m finally getting a desire to eat some of the foods and flavors that we typically associate with fall.  Enjoying a pumpkin latte at Starbucks is pretty high up there on my list of favorite things to do and I have been know to also order a pumpkin spice cream cheese muffin to go with it.  Nothing like a little pumpkin overload.  😀

Now, I know that those muffins contain a whopping number of calories, fat and sugar, but they are so delicious.  As an occasional treat they are OK,  but I would like to enjoy them more frequently in a healthier version.   As luck would have it, I recently came across a recipe on-line for a copycat of the pumpkin muffins, and so with that as a basis, I set out to lighten it up, and see if I could still retain the luscious taste of the original muffin.

IMG_5175

In my opinion these are pretty close to the original.  If not an exact duplicate, they are close enough to be equally enjoyable, and a whole lot healthier.  My makeover included replacing the all-purpose flour with white whole wheat, replacing much of the oil with applesauce, reducing the sugar, and using low-fat cream cheese for the filling.  In addition, I made a crumb topping that includes oats for extra texture and a little more fiber.  These muffins have been a hit with everyone who has had them, and I feel much better about sharing them, knowing that they are not such calorie bombs!.

The on-line recipe makes a total of 24 muffins, which is way too many for me and Mr. D., so I cut it in half and made only 12 muffins.  The full recipe is presented here for those of you who like to make larger quantities, but can easily be halved if you want to.  The muffins freeze very well, and rewarm nicely in the microwave.   In fact, they are more spicy and intensely flavorful when warm.

LIGHTER PUMPKIN CREAM CHEESE MUFFINS

Yield:   24 muffins

Ingredients:

For the filling:

  • 8 oz. reduced-fat cream cheese, at room temperature
  • 2 Tbsp. honey

For the muffins:

Five spices plus cocoa and molasses make them intensely flavorful.

Five spices plus cocoa and molasses make them intensely flavorful.

  • 3 cups white whole wheat flour
  • 1 tsp. ground cinnamon
  • 1 tsp. nutmeg
  • 1 tsp. cloves
  • 1/2  tsp. ginger
  • 4  tsp. pumpkin pie spice
  • 1 Tbsp. cocoa powder
  • 1 tsp. salt
  • 1 tsp. baking soda
  • 4 large eggs
  • 1 1/2 cups sugar
  • 2 cups pumpkin puree
  • 1 Tbsp. molasses
  • 1/2 cup vegetable or canola oil
  • 3/4 cup unsweetened applesauce

For the topping: *

  • 4 Tbsp. white whole wheat flour
  • 7 Tbsp. old fashioned rolled oats
  • 3 Tbsp. turbinado (coarse) sugar or brown sugar
  • 1/2 tsp. cinnamon
  • 3 Tbsp. cold butter, cut into small pieces

Directions:

1.   Make the filling:  combine the cream cheese and honey in a small bowl.  Beat with an electric beater until smooth.  Scrape onto a piece of wax paper, and shape into a long roll (log), not any wider than a muffin cup.  Place into the freezer to chill while you mix up the batter and fill the pans.

Make filling, roll into a log and chill it.

Make filling, roll into a log and chill it.

2.  Make the muffins:  Preheat the oven to 350*F.  Line muffin pans with paper liners.  In a large bowl, whisk together the dry ingredients ( flour through baking soda).

In  another bowl, combine the eggs, sugar, pumpkin puree, oil and applesauce.  Blend well.  Add to dry ingredients, and stir just until incorporated.

3.  Make the topping:  combine all ingredients except butter in a medium bowl.  Whisk to blend.  Cut in the butter using a pastry blender or two forks until mixture is course and crumbly.  Refrigerate until ready to use.

Have the topping all made and ready.

Have the topping all made and ready.

4.  Assemble muffins:  fill each muffin cup with a small amount of batter ( 1 – 2 Tablespoons) just to cover bottom of the liner.

A little batter in the bottom of each cup.

A little batter in the bottom of each cup.

Remove filling from freezer and cut into 24  slices.  Place one slice of filling in each muffin cup.

Put a slice of filling into each cup.

Put a slice of filling into each cup.

Divide the remaining batter among the muffin cups, placing it on top of the cream cheese to cover completely.

Cover with remaining batter.

Cover with remaining batter.

Sprinkle a small amount of the topping mixture over each muffin.

Sprinkle on topping.

Sprinkle on topping.

5.  Bake for 20 – 25 minutes.  A toothpick inserted near the center should test clean. (Avoid the cream cheese filling.) Transfer to a wire rack and let cool completely before serving.

Imagine biting into one of these!

Imagine biting into one of these!

This will be extremely difficult to do, but the filling gets very hot, so please resist temptation.  😀

Pumpkin Cream Cheese Muffins,  unbelievably delicious.

Pumpkin Cream Cheese Muffins, unbelievably delicious.

*  Topping is completely optional.  These muffins are great with or without the topping.  Chopped walnuts or pecans could be mixed into the topping, or sprinkled on top in place of the topping.

P. S.  I wish I had made 24, because now they are all gone and I just have to make more.

SOURCE:   Heavily adapted from Food.com

Harvest Pumpkin Scones

Harvest Pumpkin Scones

Harvest Pumpkin Scones

I do love pumpkin!!!  So I’m wondering why it is that I seem to bake with it only in the fall.  I know fall, October and pumpkins just go together, but pumpkin is available- the canned variety–all year long.  Are you like that, too? I think it might be that pumpkin’s bright splash of color matches the vivid colors of autumn around the country.  And as the landscape turns drab, pumpkin is still there giving us a lift.

Right now I have about six recipes lined up that include pumpkin,  so if they turn out well, I think you’ll be seeing the results of my baking in the coming weeks.

This recipe is one of the first I tried.  Mainly for two reasons:  1) I haven’t made scones in quite a while and these sounded really good to me, and 2) the recipe needs only part of a can of pumpkin, so I can make something else with the remainder.  A sort of two-for-one deal.  I try to match up recipes that each use only part of a can, so no pumpkin goes to waste.  Otherwise I freeze the part I didn’t use for a later date.

IMG_5097

This recipe did not let me down in the least.  I knew that my expectations were met when they came out of the oven, a deep-gold color and with an aroma of all the spices they contain.  Besides the cinnamon, ginger, allspice and nutmeg, I included some crystallized ginger and cinnamon chips to take their flavor over the top.   These are way-good.  :D.  Make them soon and see if you don’t agree.

IMG_5093

HARVEST PUMPKIN SCONES

Yield:   12 scones

Ingredients:

Whole allspice

Whole allspice

  • 2 3/4 cups all-purpose flour
  • 1/3 cup sugar
  • 1 Tablespoon baking powder
  • 3/4 teaspoon salt
  • 3/4 teaspoon cinnamon
  • 1/4 teaspoon ground ginger
  • 1/4 teaspoon nutmeg
  • 1/4 teaspoon allspice**
  • 1/2 cup cold butter
  • 1 to 2 cups minced crystallized ginger, cinnamon chips, or chocolate chips
  • 2/3 cup canned pumpkin
  • 2 large eggs

    Ground fresh allspice

    Ground fresh allspice

  • coarse white sparkling sugar, for topping

**  I use whole allspice and grind it fresh as needed.  The flavor is so much stronger and better than when you purchase the already ground variety.

Directions:

1.  In a large mixing bowl, whisk together the flour, sugar, baking powder, salt and spices.

Mix together all the dry ingredients.

Mix together all the dry ingredients.

2.  Work in the butter using a pastry cutter or your fingers, just until the mixture is unevenly crumbly;  it’s OK for some larger chunks of butter to remain unincorporated.

Some larger pieces of butter are ok.

Some larger pieces of butter are ok.

3.  Stir in the ginger and/or chips, if you’re using them.

Mix in crystallized ginger and cinnamon chips.

Mix in crystallized ginger and cinnamon chips.

4.  In a separate mixing bowl, whisk together the pumpkin and eggs till smooth.  Add to the dry ingredients and stir until all is moistened and holds together.

Mix together the eggs and pumpkin.

Mix together the eggs and pumpkin.

5.  Line a baking sheet with parchment;  or, if no parchment paper on hand, use the baking sheet without greasing it.  Sprinkle a bit of flour atop the parchment or pan.

6.  Scrape the cough onto the floured parchment or pan, and divide it in half.  Round each half into a 5 – 6 inch circle, about 3/4’s-inch thick.

Divide dough into two 6-inch circles.

Divide dough into two 6-inch circles.

7.  Brush each circle with a little milk, and sprinkle with coarse white sparkling sugar or cinnamon sugar, if desired.

Brush with a little milk or cream.

Brush with a little milk or cream.

Coarse sugar (left), cinnamon sugar (right).

Coarse sugar (left), cinnamon sugar (right).

8.  Using a knife or bench knife that you’ve run under cold water, slice each circle into 6 wedges.

Cut each circle into 6 wedges.

Cut each circle into 6 wedges.

9.  Carefully separate the wedges from each other just a little, with about 1/2″ space between them, at their outer edges.

10.  For best texture and highest rise place the pan of scones in the freezer for 30 minutes, uncovered.  While the scones are chilling, preheat the oven to 425*F

11.  Bake the scones for 22 to 25 minutes, or until they’re golden brown and a toothpick inserted into the center of one comes out clean.

Isn't that a beautiful rise?

Isn’t that a beautiful rise?

12.  Remove from the oven and serve warm.  Wrap any leftovers airtight, and store at room temperature.  Reheat briefly in the microwave, if desired.

A pretty golden color.

A beautiful golden color.

P. S.  If you’re making your own pumpkin puree from a fresh roasted pumpkin be aware that fresh pumpkin has a lot more liquid in it than canned, and should be drained throughly.  You may use a colander, lined with coffee filters, or several layers of cheesecloth.

SOURCE:   King Arthur Flour

Sunshine Peach Muffins

Sunshine Peach Muffins

Sunshine Peach Muffins

Looking for something not too sweet to have with morning coffee, I came upon this recipe that features fresh peaches.  Since native peaches are still available in my area of the country, and I’m loving them used in so many different ways,  I decided to give this recipe a trial run.  The recipe’s notes state that there is ” a blast of peach in every bite of these tasty muffins”.

With my mouth watering at the thought of having one of these muffins warm from the oven with a dab of butter melting into it, I got together all the ingredients and mixed them up rather quickly.  They are easy and quick to mix up.  Into the oven they went and in 18 minutes out they came, golden brown, just as the recipe predicted.  The aroma as they baked was extremely promising that they would be delicious.  The recipe states a yield of 12 muffins, but I got only 10, filling each muffin cup 3/4’s full.  That’s OK with me, I’d rather get fewer that are large, than 12 that are small.IMG_5013

Usually when I bake something new, I let Mr. D. taste it first and I kind of watch his reaction, before I have my first bite.  Most times he’s generous with praise and comments on how good it is.  This time there was no reaction,  so I was very surprised.  I tried a bite of my muffin;  I, too, had little reaction.  We just looked at each other waiting for the other one to speak.  Why, you’re asking?  Well. they don’t taste like peach, even though you can see pieces of peach scattered throughout;  they are not sweet,  with only 2 teaspoons of honey in the whole batter I shouldn’t have expected them to be.  On the whole I would say they are rather bland.  What they are, is very light, and non filling.  I could easily eat two for breakfast and not feel full.  They are healthy with the use of whole wheat flour, honey, fresh fruit with the skin left on and low-fat milk.   These would be good for someone on a sugar-restricted diet.IMG_5015

I would say that these muffins did not live up to their promise, and on a scale of 1 – 5,  I rate them at a 3.  I leave this recipe up to you to try or not, depending on your taste and  what you are looking for.   As  cooks we all know that not everything you make is wildly successful.  For me, this is one of those recipes.

SUNSHINE PEACH MUFFINS

Yield:  12 muffins   I got 10

Ingredients:

These are the ingredients .

These are the ingredients .

  • 1 cup all-purpose flour
  • 3/4 cup whole-wheat flour ( I used white whole wheat)
  • 1  1/2 tsp. baking powder
  • 1/2 tsp. baking soda
  • 1/2 tsp. cinnamon
  • 1/4 tsp. nutmeg
  • 1/4 tsp. salt
  • 2 fresh, very ripe peaches, pit removed, skin left on
  • 2 tsp. honey
  • 1 egg, lightly beaten
  • 1/2 cup  1 % milk
  • 1/4 cup vegetable oil

Instructions:

1.  Preheat oven to 400 *F.   Lightly grease 12-cup muffin pan or line with paper bake cups; set aside.

2.  In a large bowl combine flour, baking powder, baking soda, cinnamon, nutmeg, and salt.   Make a well in the center of the flour mixture;  set aside.

Mix dry ingredients, and make a well in the center.

Mix dry ingredients, and make a well in the center.

3.  In another bowl mash peaches well with honey,

Mash the peaches with the honey.

Mash the peaches with the honey.

then stir in egg, milk, and oil.  Add wet mixture all at once to flour mixture.  Stir until moistened.  Batter will be lumpy.

All the "wet" ingredients mixed together.

All the “wet” ingredients mixed together.

4.  Spoon batter into prepared muffin cups, filling each about three-fourths full.

5.  Bake 18 – 20 minutes or until golden.

IMG_5015

6.  Cool in muffin cups on a wire rack for 5 minutes.  Remove from muffin cups.  Cool slightly before serving.

IMG_5012

SOURCE:  relish.com

Strawberry and Cream Scones

Strawberry and Cream Scones.

Strawberry and Cream Scones.

After I finished making my Very Berry Strawberry Cookies, I had a partial package of freeze dried strawberries left, with no plan for how to use them up.  Then I noticed a packaged mix for strawberries and cream scones in a baking catalog.  That gave me the idea I needed for how to use the strawberries.

Warm, tender, and flaky.

Warm, tender, and flaky.

Since fresh strawberries can be difficult to incorporate into baked goods, adding too much moisture to the finished product, I reasoned that the freeze dried berries would provide the color and intense flavor of strawberries without the excess liquid.  I rehydrated the strawberries, squeezed out the extra liquid, chopped them up a little and proceeded with my standard recipe for cream scones.  The bright little bursts of flavor turn these into very delightful scones, especially served warm with some strawberry jam.   It was mid-day when I baked these, so when they came out of the oven I had one with a cup of tea, but they are also great for breakfast, too.

STRAWBERRY AND CREAM SCONES

Yield:   Makes 8 scones

Ingredients:

The essentials for strawberry cream scones.

The essentials for strawberry cream scones.

  • a generous 1/2 cup freeze-dried strawberries
  • 2 cups all-purpose flour ( I use half whole wheat flour)
  • 3 Tablespoons sugar
  • 1 Tablespoon baking powder
  • 1/4 teaspoon salt
  • 4 Tablespoons cold unsalted butter, cut into pieces
  • 2 eggs
  • 1/2 cup heavy cream

1.  Place freeze-dried strawberries in a small bowl and cover them with warm water.  Leave to soften for about 5 minutes.  Drain and pat dry with paper towels.  Chop coarsely and set aside.

2.  Preheat oven to 400*F.  Line a baking sheet with parchment paper, or grease lightly.

3.  Combine the flour, sugar, baking powder, and salt in a medium bowl.  Cut in the butter with a pastry cutter or rub with your fingers until the mixture resembles coarse crumbs.

Cutting in the butter.

Cutting in the butter.

4.  In a small bowl or glass measuring cup, whisk together the eggs and cream.  Add the cream mixture and chopped strawberries to the dry mixture.

Adding in the egg, cream and strawberries.

Adding in the egg, cream and strawberries.

Stir together lightly to make a sticky dough.  Turn the dough out onto a floured surface and knead gently about 6 times, just until it holds together.  Add a little flour if necessary.  Pat the dough into a 6 to 7-inch round, about 3/4-inch thick.  Cut with a sharp knife into 8 wedges.  Transfer to the baking sheet and brush the tops of them with a little cream.

Brush tops with a little cream before baking.

Brush tops with a little cream before baking.

Bake for 15 to 18 minutes until set and golden brown.  (Mine were perfect at 15 minutes).

Serve warm with butter and strawberry jam.  Delicious!!!

Asking for some strawberry jam!

Asking for some strawberry jam!

Heaven in the shape of a scone!

Heaven in the shape of a scone!

SOURCE:  adapted from a recipe for cream scones by Rennie Darling:  Muffins, Scones, and Quick Breads

Honey-Date-Thyme Scones

Honey-Date and Thyme Scones.

Honey-Date and Thyme Scones.

Today I just had to bake something.  It didn’t have to be sweet; I simply wanted something hot and flaky fresh out of the oven.  I rationalized that if there was no sugar in it,  made with part whole wheat flour, and included honey and dates, how could it possibly be bad for me.   And also because they contain the herb thyme, these scones are technically savory, not sweet.  I will have one when they come out of the oven, the rest will be saved for breakfast(s).

IMG_3947

I don’t know why I’m obsessing so much about this and feeling guilty, the weight is coming off as planned, but I don’t want to hit a plateau and then say to myself, “that’s because you ate the scones”. Guess I’ll just have to chance it, because the aroma of these scones baking makes them too good to pass up.  Soooo, if you’re on a diet journey like I am and you’re craving something really good, but also good, i.e.. healthy, for you, give these a try.  And try not to feel guilty!

HONEY-DATE-THYME SCONES

Yield:  12  3″ scones

Ingredients:

  • 3 cups self-rising flour, (see below for a substitute)**
  • 1 stick salt-free butter
  • 1 cup milk
  • 2 Tbsp.  Honey,  overflowing
  • 1 cup chopped dates
  • 2 Tbsp. fresh thyme leaves, plus 12 small sprigs for decorating

**In place of self-rising flour, use 3 cups regular all-purpose flour, plus 1 Tbsp. baking powder and 1/4 tsp. salt.  I used half white flour and half whole wheat flour, i.e. 1 1/2 cups of each.

Directions:

1.  Grease 2  baking sheets or line with parchment paper.  Preheat oven to 350*F.

2.  Measure out flour in a large bowl.  Cut in butter with a pastry cutter till coarse crumbs form.  Stir in thyme leaves.

3.  In a smaller bowl combine milk and honey and stir with a whisk to blend well.

4.  Add liquid ingredients to dry and mix lightly,  do not over mix.  If the dough remains shaggy and doesn’t come together add a drizzle of milk until it just holds together.  Stir in the dates.

5.  Turn out onto a floured board and knead 2 -3 times.  Roll out to  1 -inch thickness.

Roll out to about  1/2-inch thickness.

Roll out to about 1-inch thickness.

Cut out with a 3 – inch biscuit  cutter and place onto prepared baking sheets.

6.  Brush the tops of scones with a little milk or cream and lay a small sprig of thyme on top of each one.

Cut out with biscuit cutter. Brush tops with milk, and garnish with sprig of thyme.

Cut out with biscuit cutter. Brush tops with milk, and garnish with sprig of thyme.

Bake for 20 – 25 minutes at 350*.    My scones were perfectly baked at 20 minutes.

Browned and flaky, fresh out of the oven.

Browned and flaky, fresh out of the oven.

Serve warm with  a little butter to melt into all the crevices.

Serve warm with a little butter to melt into all the crevices.

SOURCE:    slightly adapted from   lepirate.com  (blog)

Banana Scones

Banana Scones

Banana Scones

Weekends are great for having a lovely leisurely breakfast (or brunch) so I’m getting you ready for the weekend with this recipe for some great tasting banana scones.  The flavor of banana is unmistakeable and enhanced by cinnamon and a little nutmeg.  A little like warm comforting banana bread but not so sweet.  I think they are perfect just as they are, but the original recipe I found included a Brown Butter Glaze to put on them after they are baked.  This could elevate them to a dessert if you are so inclined.  We enjoyed them plain, so no glaze for us, but I am including the full recipe here.

The scone dough is tender and lightly seasoned.  It includes mashed banana and yogurt as the moisture source in the dough.  The recipe produces a large yield ( I got 30 small-sized scones), but they freeze well, so you could bake half and freeze half to be baked at a later time, or just make half the recipe for a reduced number of scones.  If you do freeze them, remember to add about  5  minutes to the baking time.  You will have some lovely breakfasts to look forward to in the weeks ahead.

BANANA SCONES WITH BROWN BUTTER GLAZE

YIELD:  about 14 – 16 large or 25 -30 small scones

INGREDIENTS:

Just a few ingredients, including yogurt or sour cream.

Just a few ingredients, including yogurt or sour cream.

For the scones:

  • 2  1/2 cups all-purpose flour
  • 2  1/2 cups white whole wheat flour*
  • 1/2 cup sugar
  • 1 Tablespoon baking powder
  • 2 teaspoons cinnamon
  • 1 teaspoon salt
  • 1/4 teaspoon ground nutmeg
  • 8 Tablespoons  ( 1 stick ) cold butter, cut into small pieces
  • 1  1/2 cup mashed banana  ( about 3 – 4 bananas)
  • 1 cup low-fat greek yogurt or sour cream
  • Buttermilk, if needed, plus more for brushing the tops

For the glaze:

  •  8 Tablespoons,  (4 oz.) butter
  • 1 1 /2 – 2 cups confectioners’ sugar
  • 3 Tablespoons milk, plus more as needed

DIRECTIONS:

1.  Preheat the oven to 400*F.  Line baking sheets with silicone baking mats or parchment paper.

2.  In a very large bowl, combine flours, sugar, baking powder, cinnamon, salt and nutmeg.  Whisk to blend.  Stir in the pieces of cold butter and cut into the dry ingredients using a pastry cutter or two knives until the mixture resembles coarse meal and the largest pieces of butter are the size of peas.

Cut butter into the dry ingredients.

Cut butter into the dry ingredients.

3.  In a second bowl, combine the mashed banana and yogurt and stir to blend.  Add the banana mixture to the bowl with the dry ingredients.

Fold banana mixture into dry ingredients.

Fold banana mixture into dry ingredients.

Fold together gently with a spatula until a dough begins to come together.  (Be careful not to over mix, as it will result in tough, dense scones.)  If some of the dry ingredients are not incorporating into the dough, add a bit of buttermilk 1 tablespoon at a time just until all dry ingredients are moistened and incorporated.

4.  Turn the dough out onto a lightly floured work surface.  Gently knead a few times to ensure even mixing.  pat the dough out into a slab about 3/4 -to-1-inch thick.  Cut out rounds of dough using biscuit/doughnut cutters  (about 3 1/2-inch diameter for large scones or 2 1/2 inch diameter for smaller scones.)  Place dough rounds on the prepared baking sheet at least an inch or two apart.  Lightly brush the tops with buttermilk.**

5.  Bake the scones until the tops are golden brown and scones are just set, about 16 – 18 minutes for large scones and 14 -15 minutes for smaller ones.  Let cool on a wire rack.

Don't they look tender and light?

Don’t they look tender and light?

6.  While the scones are cooling, make the glaze.  Heat the butter in a small skillet over medium heat.  Let melt and continue to cook, swirling occasionally, until the butter is a deep golden brown color,  being careful not to burn it.  Set aside to cool slightly.  Transfer the browned butter to a bowl and whisk in the confectioners’ sugar.  Whisk in the milk a little at a time until the mixture is smooth.  Spoon or drizzle the glaze over the scones and let set before serving.

Scrumptious with a little butter on a warm scone.

Scrumptious with a little butter on a warm scone.

*  I prefer using half white whole wheat flour in as many baked goods as is feasible, but you can use all all-purpose flour if you wish.

** At this point you can place the unbaked scones on a baking sheet, transfer to the freezer and freeze until solid.  Then store in an air-tight container and save for later.  To bake after freezing, just bake as normal but add a few minutes onto the baking time and check to be sure they are fully baked through.

IMG_3694

SOURCE:  Adapted from  The Kitchen, via Annie’s Eats.

Morning Glory Muffins

Morning Glory Muffins

Morning Glory Muffins

Just the name of these muffins puts you in a good mood doesn’t it?  Somehow it feels like you’re going to have a good day.    I like to call them “glorious morning muffins”, and they are one of my favorites.  They can turn the dreariest morning into a glorious one.  : )

IMG_3191

These carrot-flecked whole-grain muffins can be made ahead so you can hit the floor running on a busy morning.  Add a non-fat latte and your day will be off to a healthy start.

COCONUT-CARROT MORNING GLORY MUFFINS

YIELD:  12 muffins

Assemble the ingredients and they go together quickly.

Assemble the ingredients and they go together quickly.

INGREDIENTS

  • 1 cup whole wheat or white whole wheat flour
  • 1/2 cup old-fashioned rolled oats, plus 2 tablespoons for garnish
  • 2 teaspoons baking powder
  • 2 teaspoons ground cinnamon
  • 1/2 teaspoon salt
  • 1/4 teaspoon ground allspice
  • 2 large eggs
  • 1 cup unsweetened applesauce
  • 1/3 cup honey
  • 2 teaspoons vanilla extract
  • 1/4 cup vegetable oil, or coconut oil, melted if necessary
  • 2 cups shredded carrots
  • 1/2 cup shredded coconut, plus 2 tablespoons for garnish
  • 1/2 cup raisins
  • 1/2 cup chopped nuts,  optional

1.  Preheat oven to 350*F.  Coat a 12-cup muffin pan with cooking spray or line with paper liners

2.  Whisk whole-wheat flour, 1/2 cup oats, baking powder, cinnamon, salt and allspice in a medium bowl.

3.  Whisk eggs, applesauce, honey and vanilla in a large bowl.  Whisk in oil.  Gently stir in the flour mixture just until moistened.  Fold in carrots, 1/2 cup coconut, raisins and nuts, if using.

4.  Divide the batter among the muffin cups.  Mix together the remaining oats, and coconut.  Sprinkle on muffin tops.

IMG_3189

5.  Bake at 350* until they spring back when lightly touched and a toothpick inserted in the center comes out with only moist crumbs attached,  30 – 35 minutes.  Let cool in the pan for 10 minutes before turning out onto a wire rack.  Serve warm or at room temperature.

IMG_3197

Delicious as they are when first made and eaten warm, they also seem to improve over night and taste even better the next day, when flavors have had time to blend.

SOURCE:  Eatingwell.com

Lemon Curd Filled Poppy Seed Muffins

Lemon Poppyseed Muffins with lemon curd filling.

Lemon Poppyseed Muffins with lemon curd filling.

Some muffins can be boring, especially if you’re used to making them from a boxed mix, and your choices are somewhat limited.   If I’m putting in the time and effort to bake muffins then I want them to be special and worth the effort that went into making them.  I can say that these little gems are way special and way good.  I will even go so far as to say they are elevated to greatness by the addition of lemon curd baked in the middle of each one and fresh lemon zest in the batter and lemon juice in the icing.

IMG_3308

This is how I used some of the curd that I made and wrote about here.

Is this extra work?   Heck, no!  I like to see the flecks of lemon zest in the dough and taste that deep lemon flavor in every bite.  Most people would probably  agree that muffins are a breakfast ( or brunch) food, but I say eat them anytime you heart desires.  Think afternoon tea and a lemon muffin.  Oh,  yeah,  they’re that good!

LEMON CURD FILLED POPPY SEED MUFFINS

YIELD:    a dozen muffinsIMG_3299

  • 2/3 cup granulated sugar
  • grated zest and juice of 1 lemon
  • 2 cups all-purpose flour
  • 2 teaspoons baking powder
  • 1/4 teaspoon baking soda
  • 1/4 teaspoon salt
  • 3/4 cup sour cream
  • 2 large eggs
  • 1 teaspoon vanilla extract
  • 1 stick unsalted butter, melted and cooled
  • 2 Tablespoons poppy seeds
  • lemon curd

For the icing:

  • 1 cup confectioners’ sugar, sifted
  • 2-3 tablespoons fresh lemon juice

1.  Preheat the oven to 400*F.  Place paper muffin cups in a regular-sized muffin pan.   Place muffin pan on a baking sheet.

2.  In a large bowl, rub the sugar and lemon zest together with your fingers until the sugar is moist.  Whisk in the flour, baking powder, baking soda, and salt.

Thoroughly mix lemon zest with the sugar.

Thoroughly mix lemon zest with the sugar.

3.  In another bowl, whisk the sour cream, eggs, vanilla, lemon juice and melted butter together until well blended.  Pour the liquid ingredients over the dry ingredients and quickly stir to blend.  (Be mindful not to over do it here)  Stir in the poppy seeds.

Add wet ingredients to dry and mix gently.

Add wet ingredients to dry and mix gently.

4.  Fill muffin cups with half of the batter and put a teaspoon full of lemon curd in each one.

Place half the batter in muffins cups and add a teaspoon of lemon curd.

Place half the batter in muffins cups and add a teaspoon of lemon curd.

Fill in with the rest of the batter.

Fill with remaining batter.

Fill with remaining batter.

Bake for 18 – 20 minutes or until the tops are golden and a toothpick inserted into the center of the muffins comes out clean.  Cool muffins on a rack completely before icing them.

5.  When the muffins have cooled, put the confectioners’ sugar in a bowl and add about 1 1/2 Tablespoons of the lemon juice.  Stir together and keep adding small amounts of the juice until you get a drizzly consistency.  Use a spoon to drizzle icing over the tops of the muffins.

Drizzle lemon icing over cooled muffins.

Drizzle lemon icing over cooled muffins.

Just right with a cup of tea.

Just right with a cup of tea.

SOURCE:  adapted from   Baking:  From my home to yours  by Dorie Greenspan