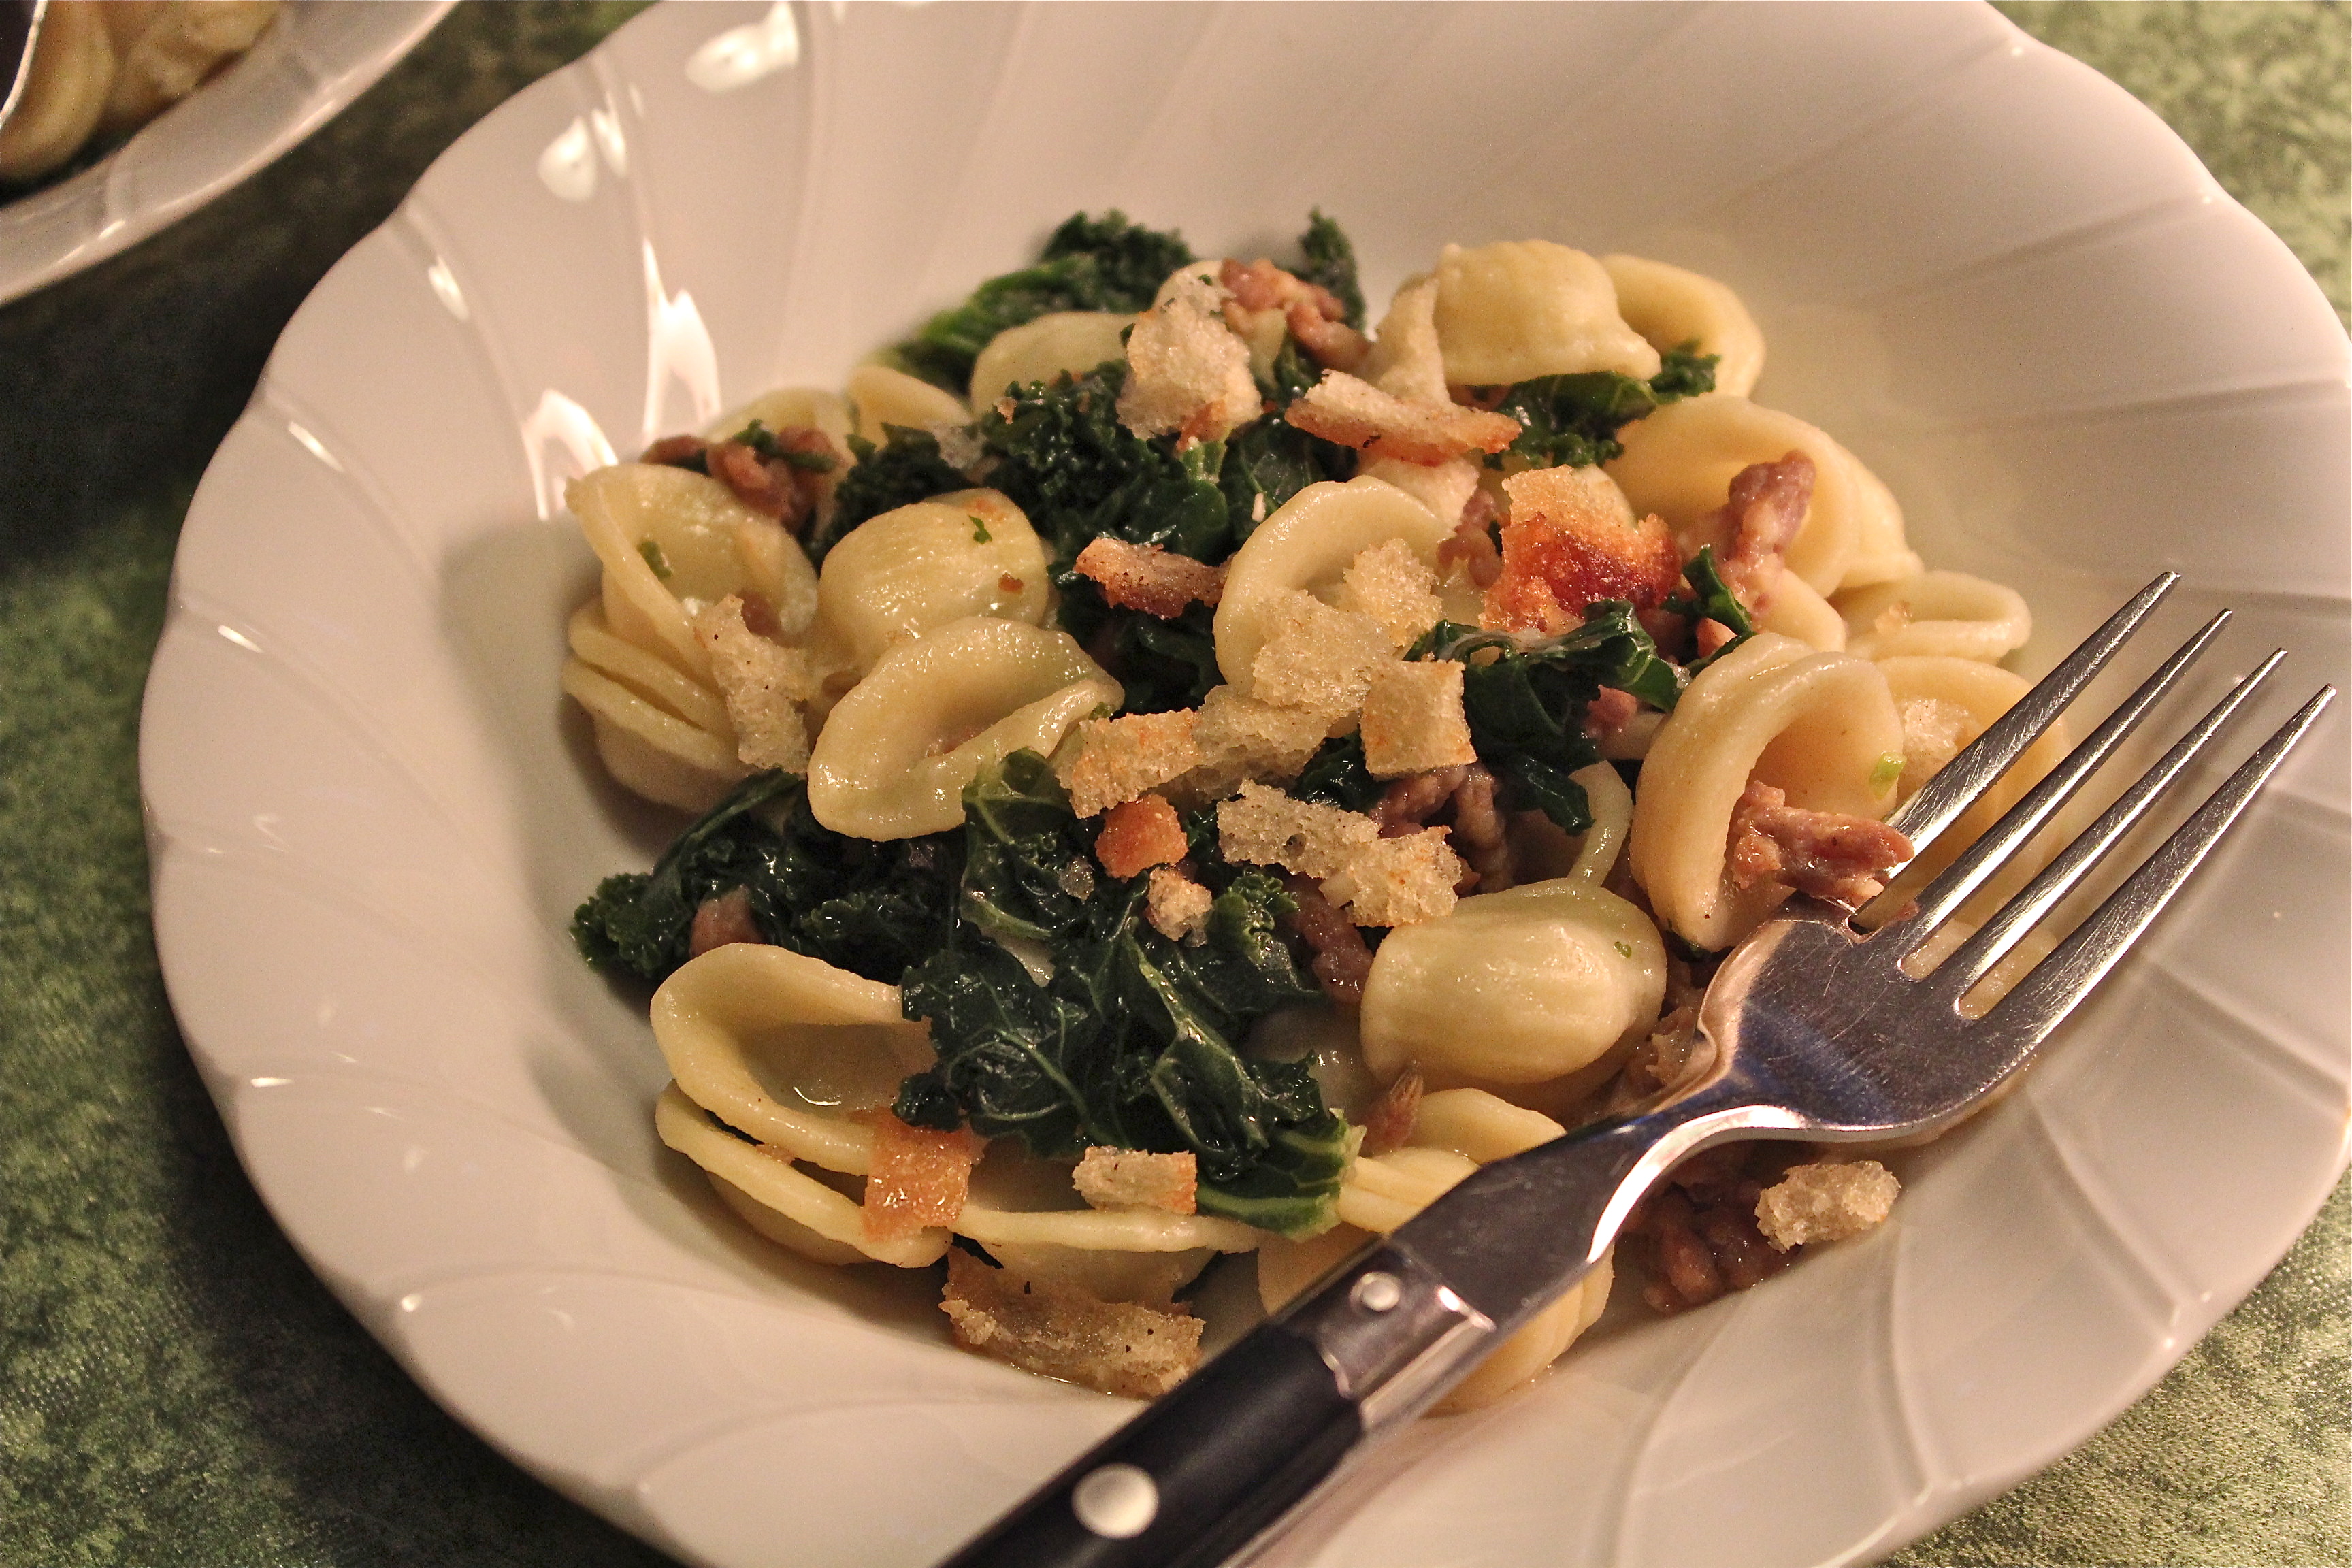
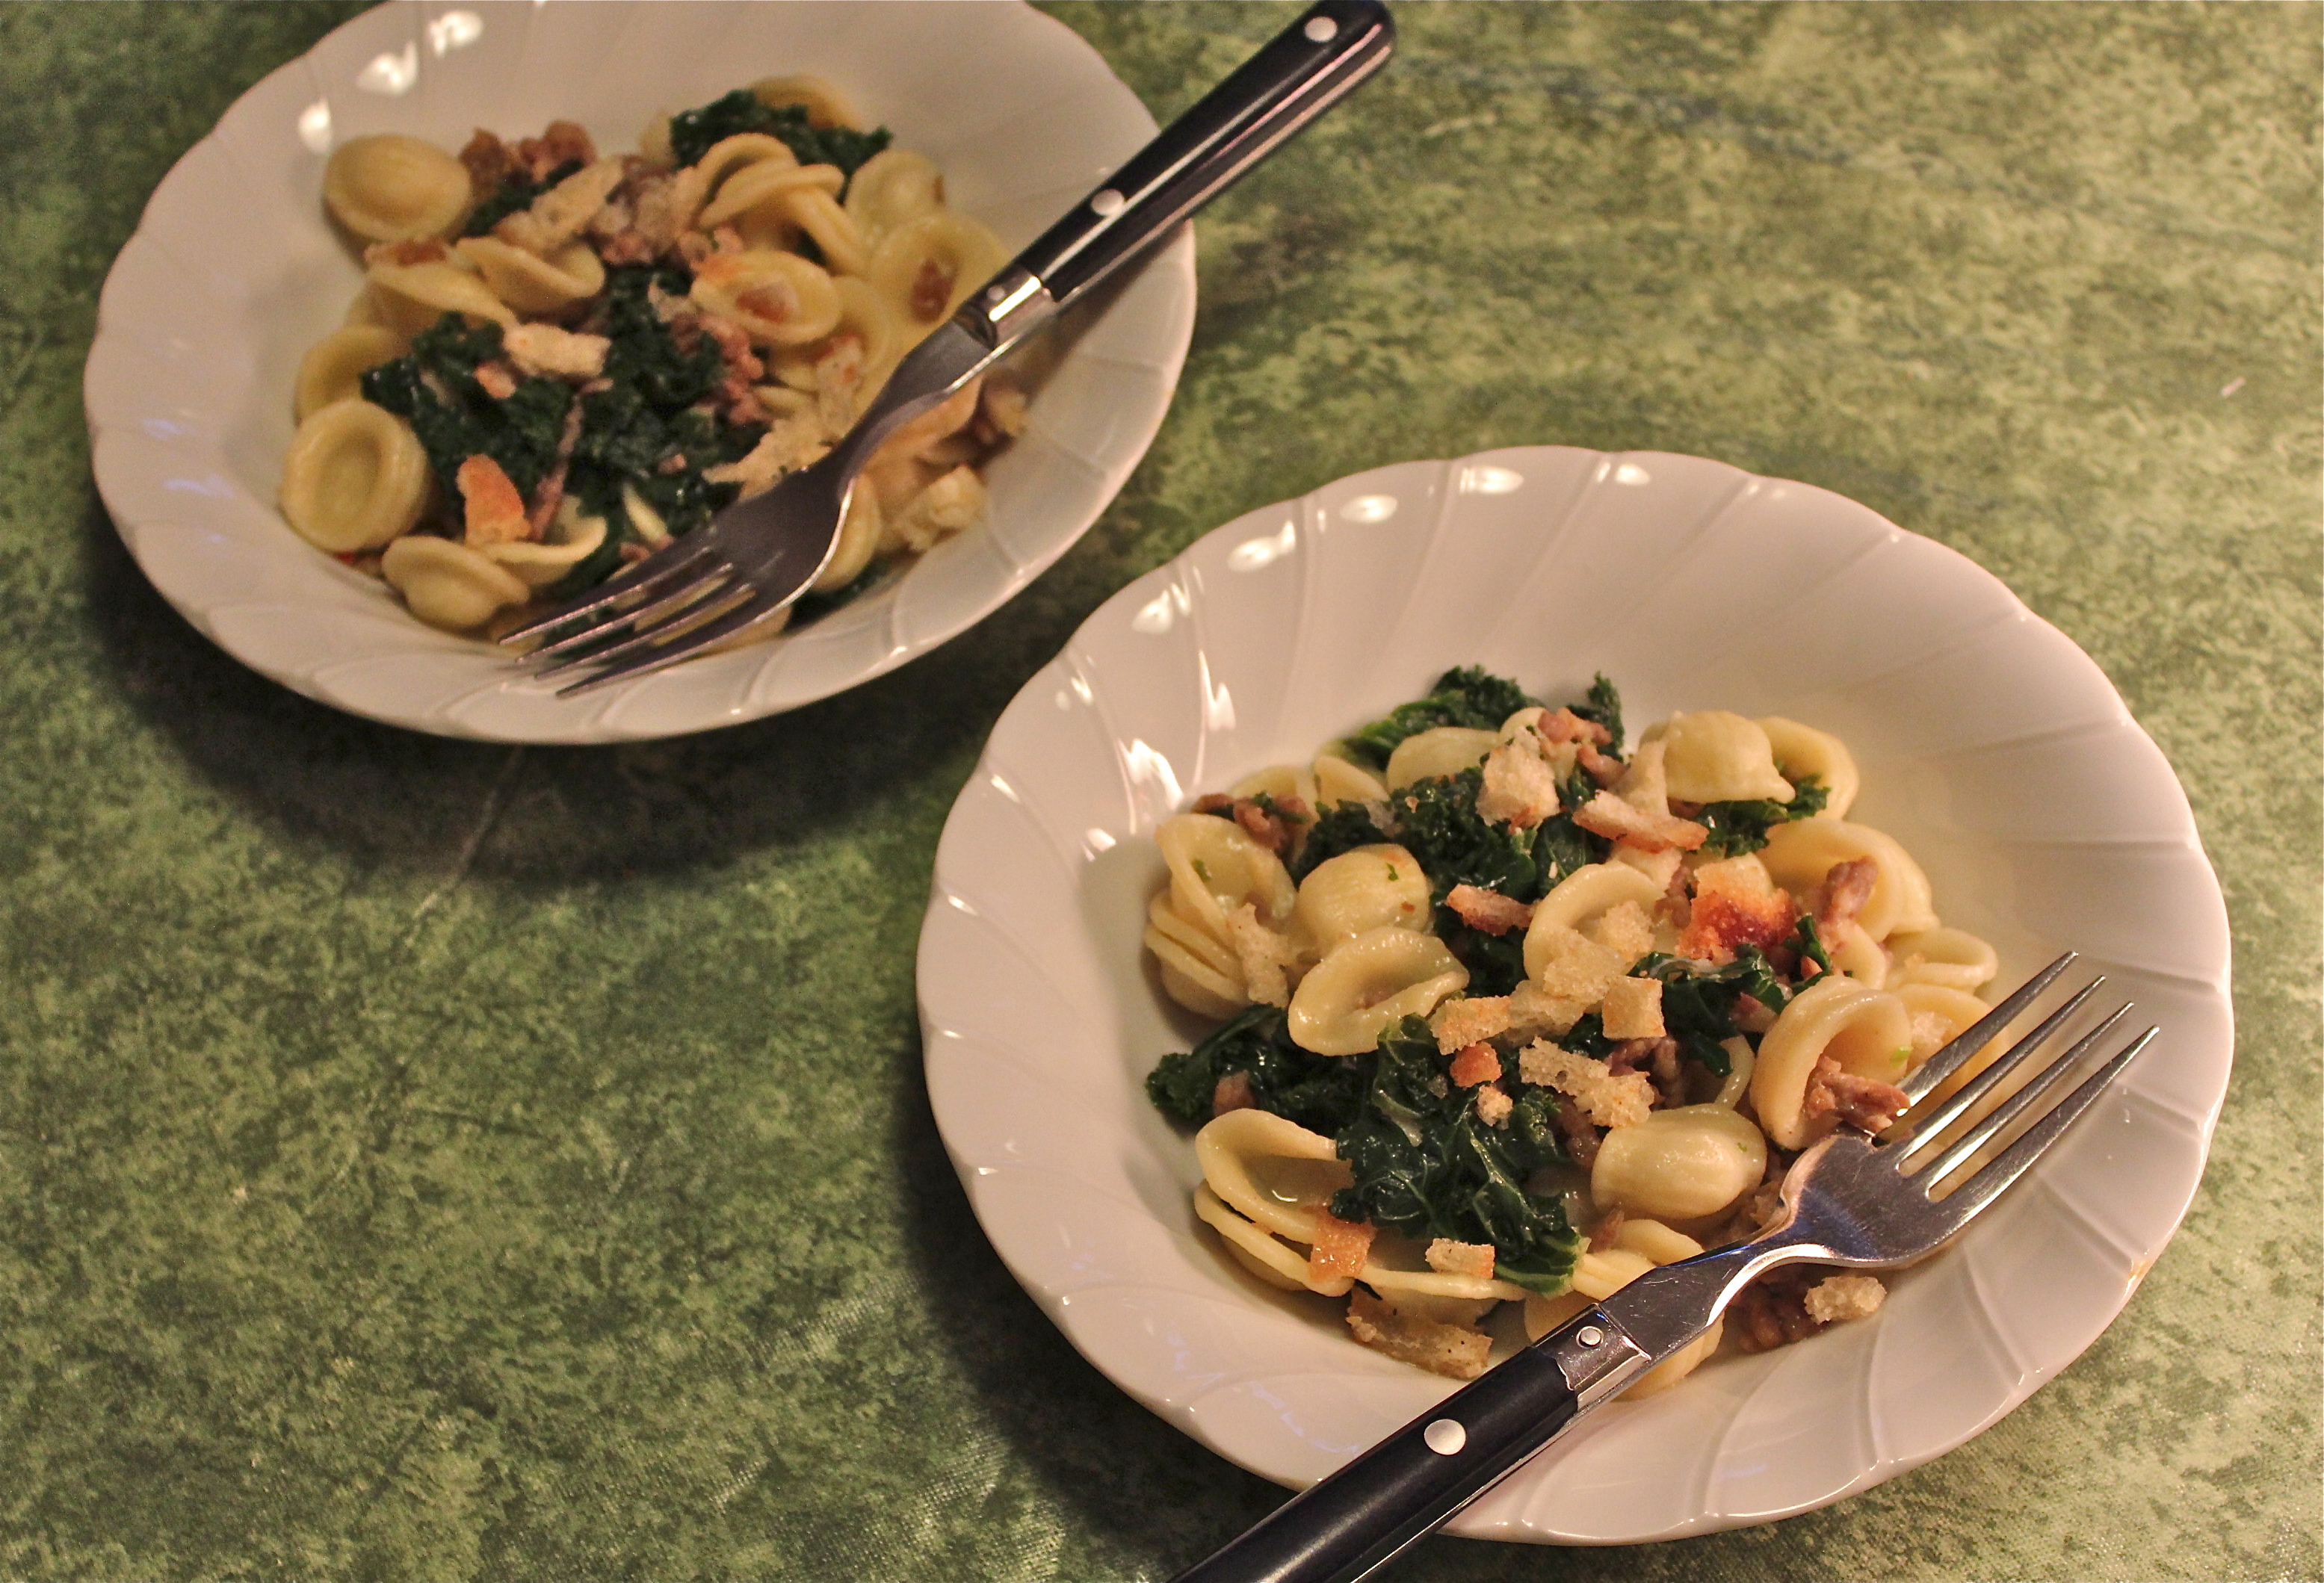
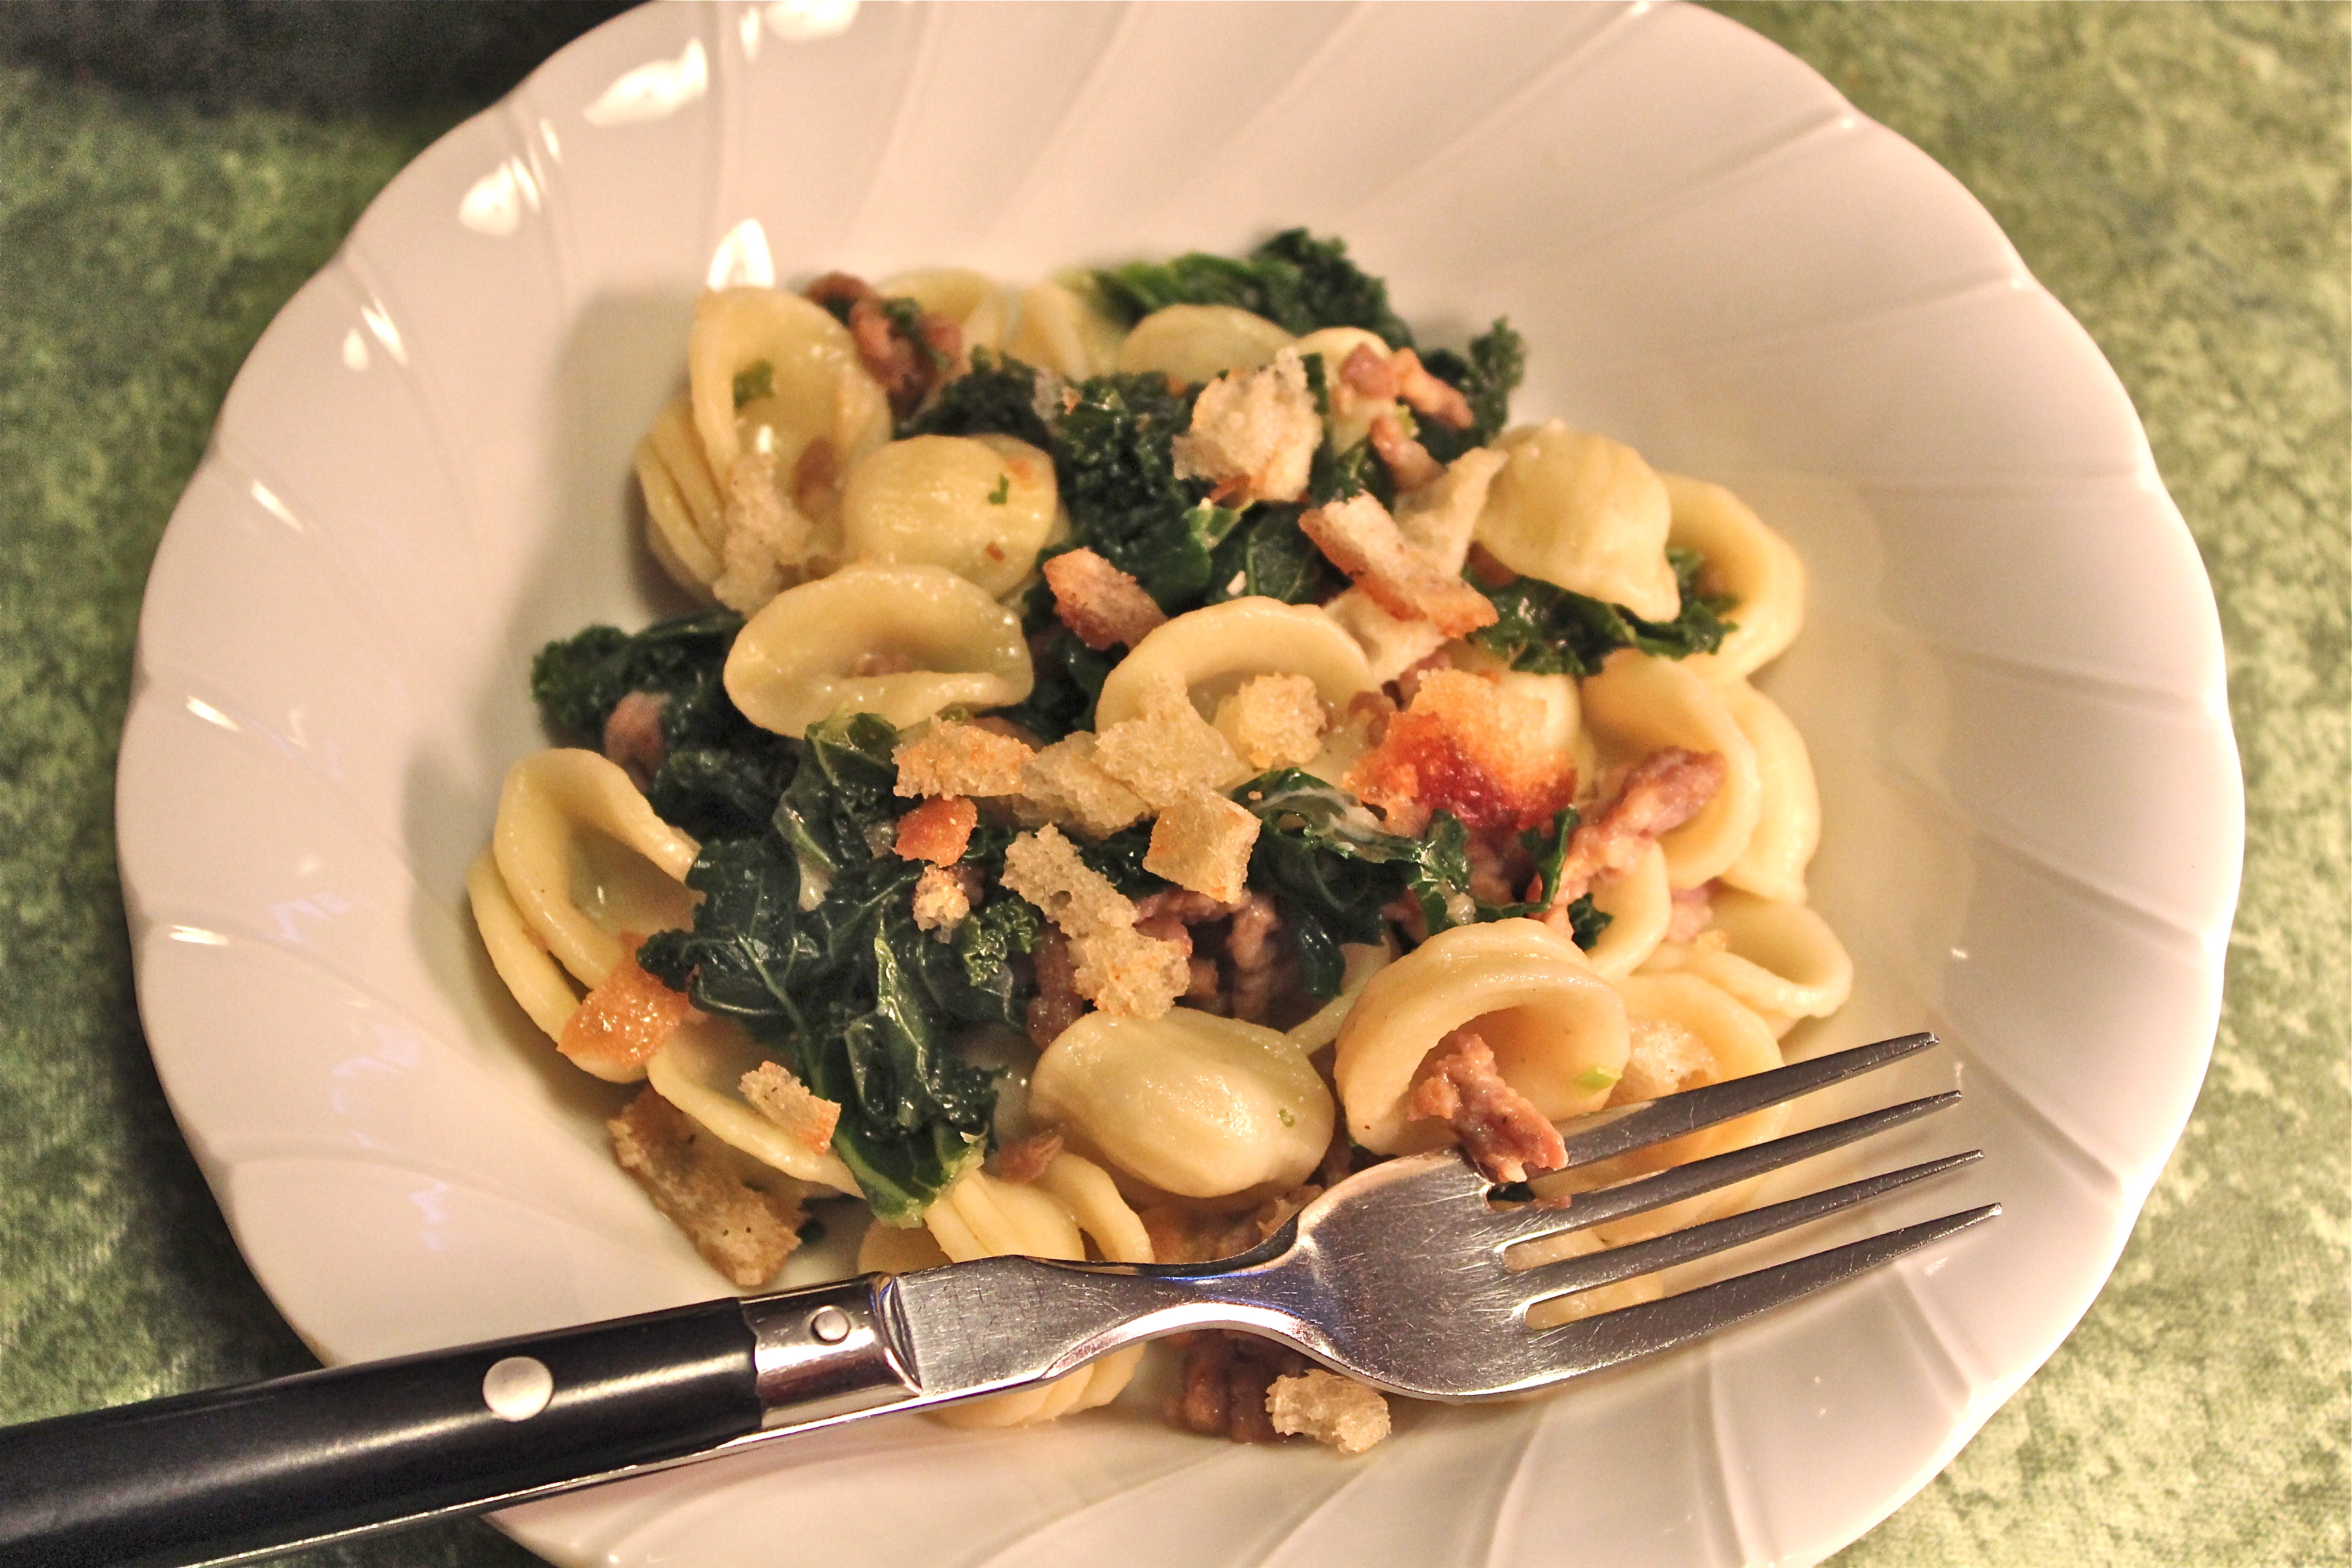
Orecchiette with kale and breadcrumbs.
In Italian, orecchiette means “little ears”, and for this dish that pasta is the perfect shape for holding the kale and bread crumbs. I love the fact that there are so many different shapes of pasta and each of them, or similar ones, are meant for a specific type of sauce. One cannot get bored with pasta when there are so many to choose from.
I had never cooked with orecchiette before, but on reading the recipe, it looked like something I would like (including my newfound fondness for kale). This is a hearty dish that is vegetarian, but accepts the addition of meat -in this case, sausage-very well. I wasn’t sure if a meal consisting of only pasta and kale would be adequate for Mr. D. so I decided on adding crumbled Italian sausage rather than whole links or slices because of the shape of the pasta. In the supermarkets that I go to, this pasta shape was hard to find. The “name brand” pasta companies didn’t seem to have it. I finally found it in the isle with imported foods.

The yield of this recipe is large, probably enough to feed 6 people. I used half a pound of pasta and kept all the other ingredients the same, plus I added half pound of ground Italian sausage (no casings). This was enough for two of us with enough left over for another meal, or for lunches. It is very flavorful; we really enjoyed it, and the homemade bread crumbs are a great addition. Whatever dry bread you may have on hand can be used for the crumbs. I had a piece of baguette that I used and it worked out well.
ORECCHIETTE WITH KALE AND BREADCRUMBS
YIELD: about 6 servings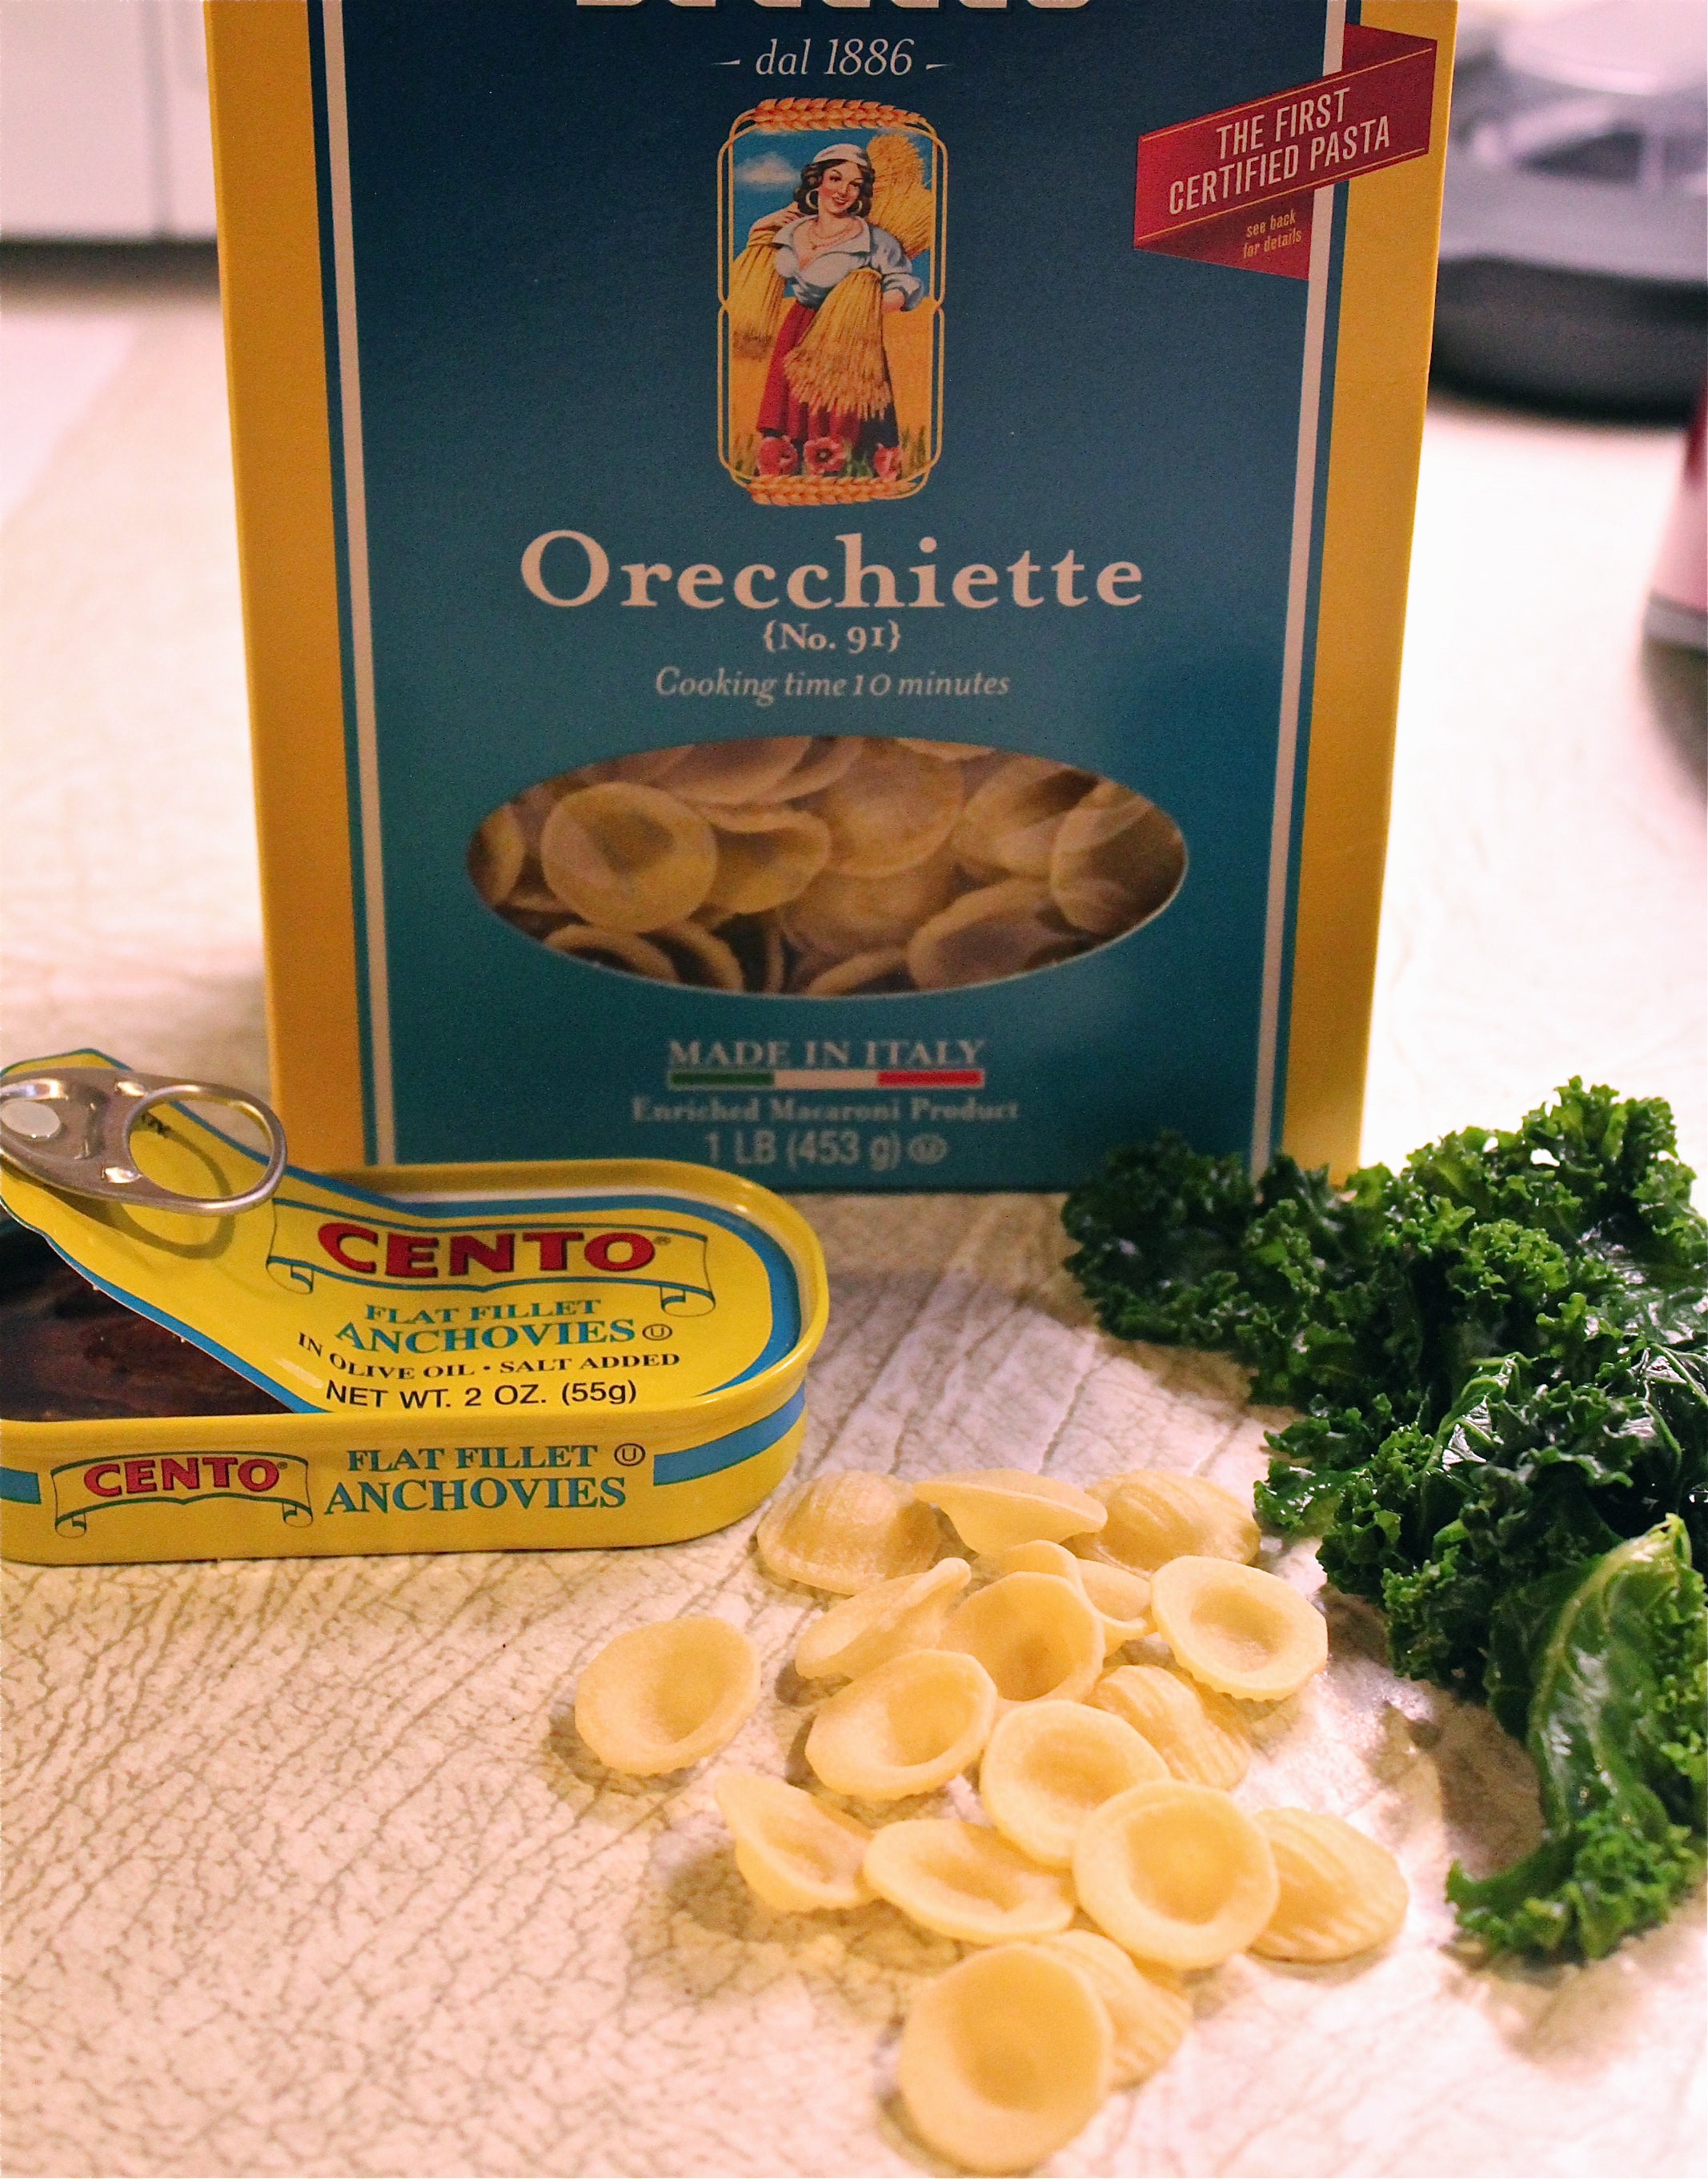
INGREDIENTS
- 1 large bunch of kale, trimmed of thick stems
- kosher salt
- 5 Tablespoons olive oil, divided
- 1 cup coarse fresh breadcrumbs
- 3 garlic cloves, chopped, divided
- 2 tablespoons ( 1/4 stick) unsalted butter
- 4 anchovy fillets, packed in oil, drained
- 1/2 teaspoon crushed red pepper flakes
- 1 lb. orecchiette pasta
- 3/4 cup finely grated Parmesan cheese
- 1/2 pound ground Italian sausage, optional
1. Working in batches, cook kale in a large pot of boiling salted water until just tender, about 4 minutes. Using tongs or a skimmer, transfer to a rimmed baking sheet; let cool. Set aside pot with water. Squeeze out excess liquid from kale. Chop leaves and set aside.

Cook, cool and drain kale, then chop.
2. Heat 3 Tablespoons oil in a small skillet over medium heat. Add breadcrumbs and cook, stirring often, until beginning to brown, about 4 minutes. Add 1/3 of the chopped garlic and cook, stirring often, until breadcrumbs are golden, about 3 minutes. Season with salt and pepper and transfer to a paper towel-lined plate; let cool.
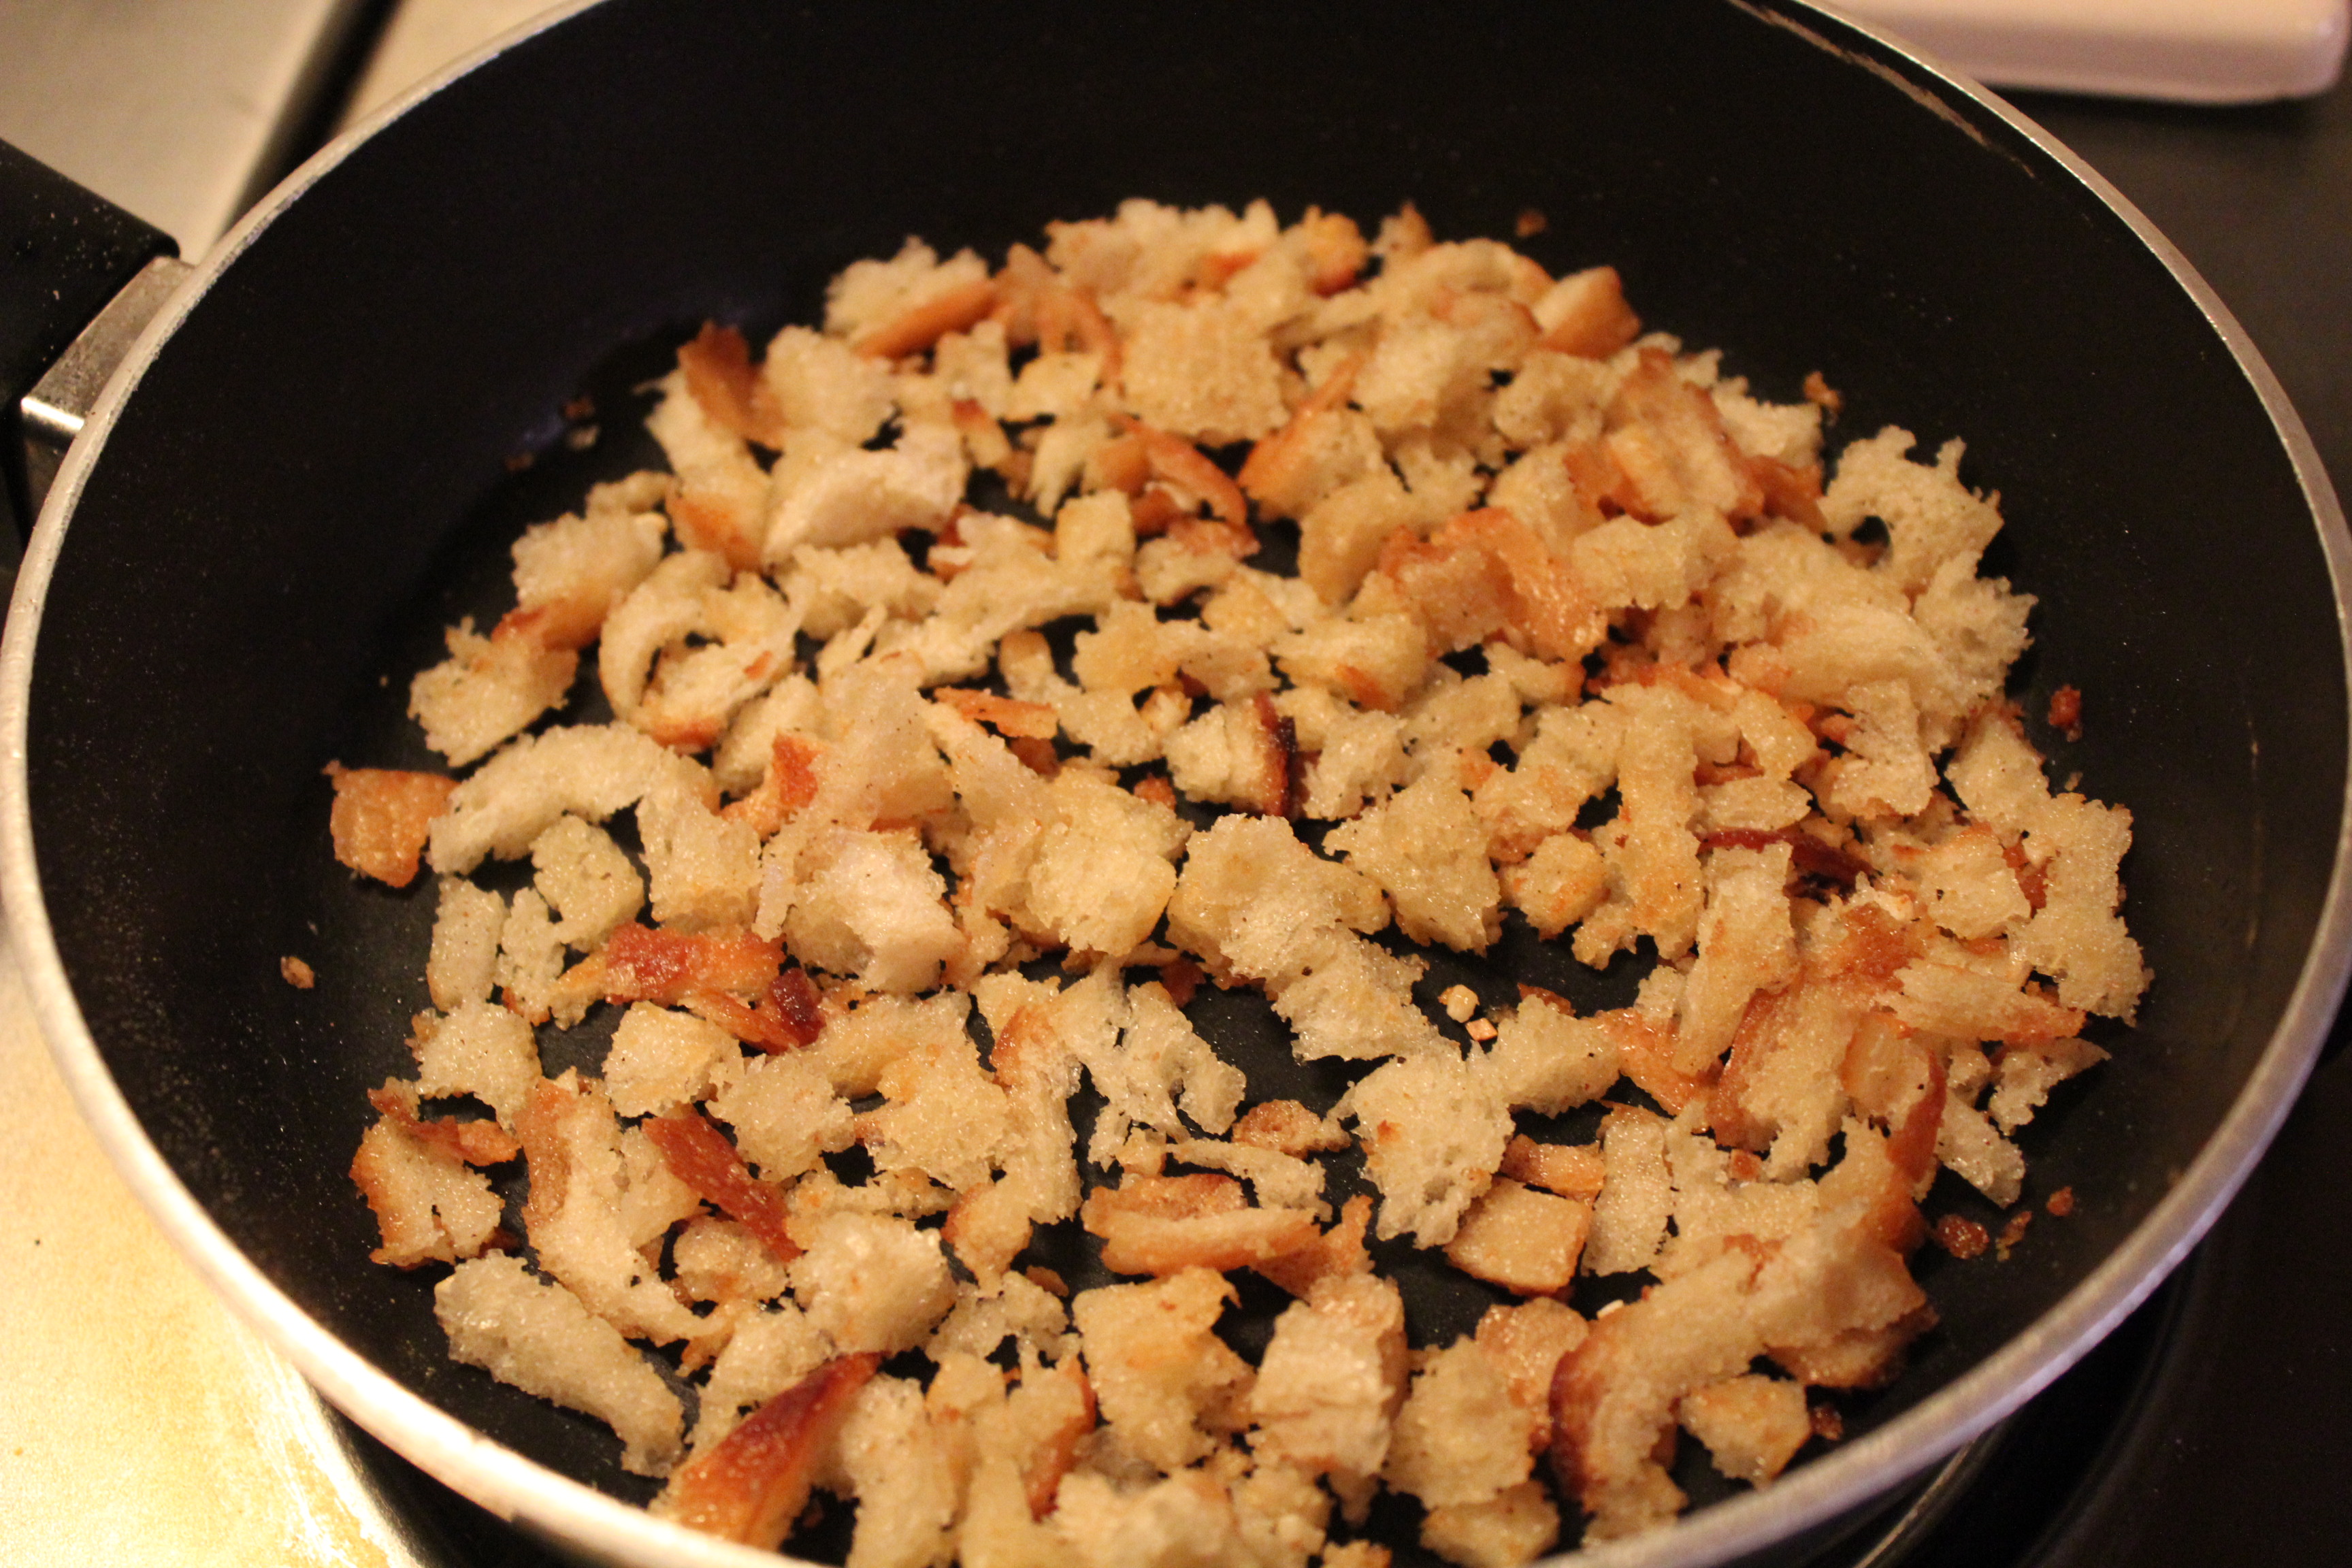
Making the breadcrumbs.
3. If using sausage, crumble sausage in a large heavy pan, breaking it up with a spoon, and cook until browned. Drain any fat rendered, and set the sausage aside, then proceed with step #4 using the same pan.
4. Heat butter and remaining 2 Tablespoons olive oil in a large heavy pot over medium-low heat. Add anchovies, red pepper flakes, and remaining 2/3 chopped garlic; mashing anchovies with a spoon, until a paste forms, about 2 minutes. Add reserved kale and 1/2 cup water. Cook, stirring often until kale is warmed through, about 4 minutes. Season with salt and pepper.
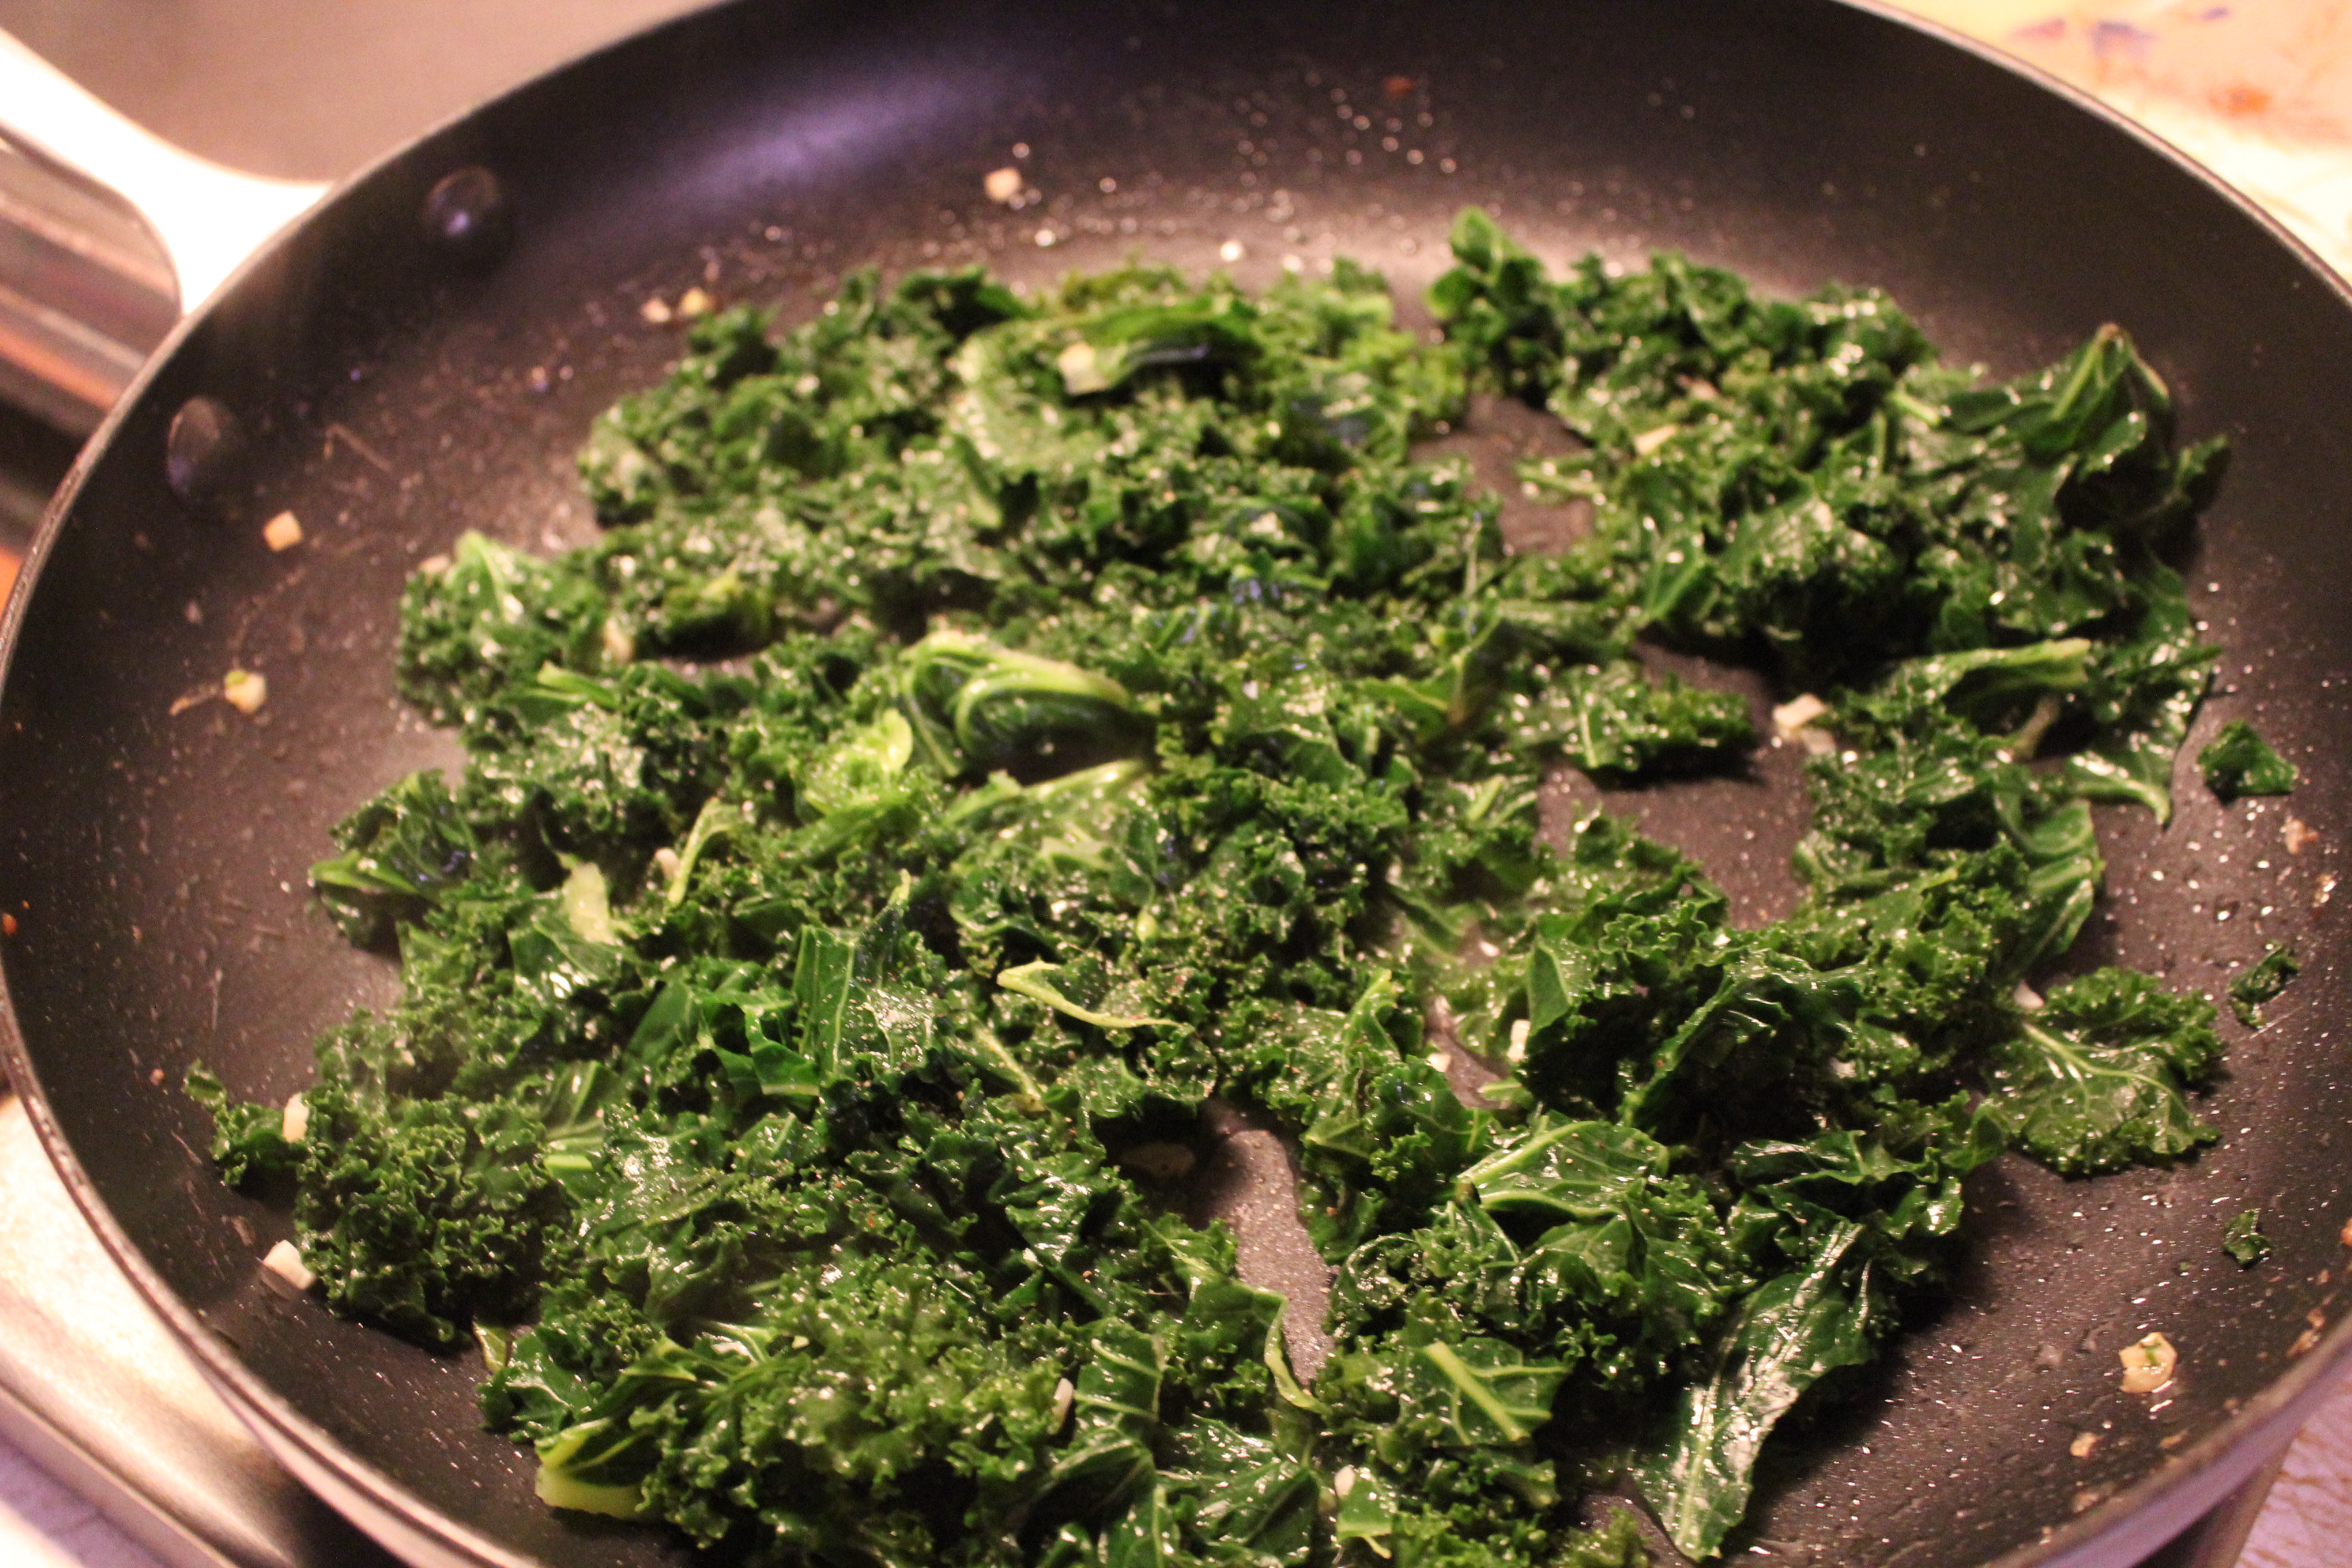
Kale with seasonings in the pan.

Add in the cooked sausage.
5. Meanwhile, bring reserved kale cooking liquid to a boil; add pasta and cook, stirring occasionally, until al dente. Drain, reserving 1 cup pasta cooking liquid. Add pasta and 1/2 cup pasta cooking liquid to kale mixture and stir to coat. Increase heat to medium and continue stirring adding more cooking liquid as needed, until sauce coats pasta.

Drained pasta added into the mixture.
Mix in Parmesan and 1/2 cup breadcrumbs; toss to combine.
6. To serve, divide pasta among bowls and sprinkle with remaining bread crumbs.
SOURCE: Bon Appetit