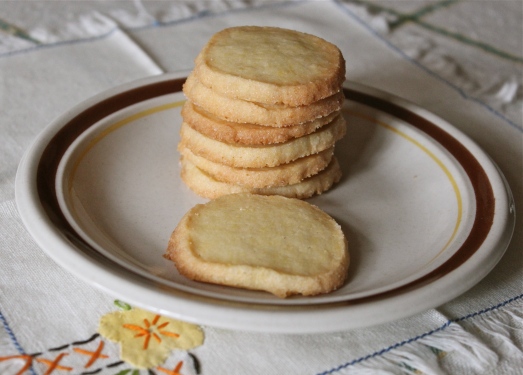
Lemon Icebox Cookies
Total tart throbs….that’s what I call these buttery, lemony confections. Cookie nirvana! Cookie heaven! Cookie num-yums! I think you get how much I love these cookies.
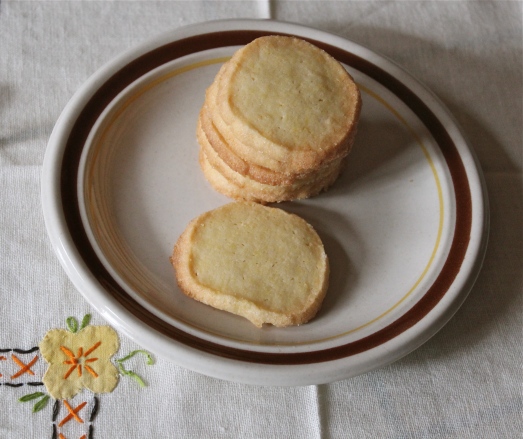
Lemon desserts seem so perfect at this time of year, more than any other, I think. So I took my recipe for luscious butter cookies, added some (lots) lemon zest, plus a few drops of lemon juice, and zing went the strings of my heart. Just lemony enough, just buttery enough, and just satisfying enough. In other words…..perfection 🙂
As you look over the recipe you will notice that confectioners’ sugar is used instead of granulated. Powdered sugar gives these cookies their crumbly, sandy texture without too much sweetness, thus the lemon and butter flavors shine through. The dough is made entirely in the food processor, divided in half and chilled before slicing and baking. The dough cuts beautifully, not like some others I’ve made that like to crumble when you go to slice them. Before cutting the cookies each log of dough is rolled in granulated sugar, so the edges of the cookies are glistening and crunchy once baked.
LEMON ICEBOX COOKIES
Yield: Makes about 5 dozen cookies
Ingredients: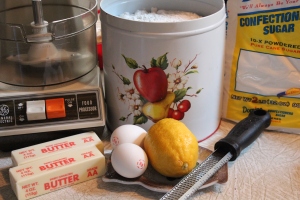
- 2 cups all-purpose flour
- 1 cup confectioners’ sugar
- 1 tsp. coarse salt
- 1 Tbsp. + 1 tsp. lemon zest
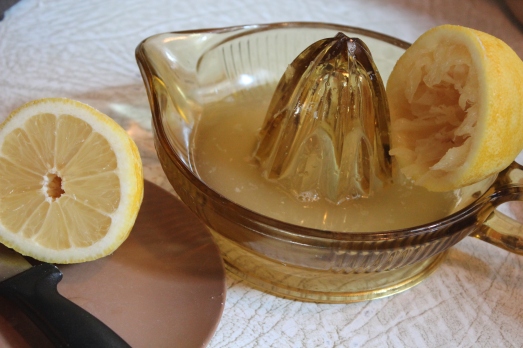
- 1 tsp. fresh lemon juice
- 1 cup (2 sticks) unsalted butter, cut into pieces
- 2 large egg yolks
- 1/4 cup granulated sugar, for rolling

Directions:
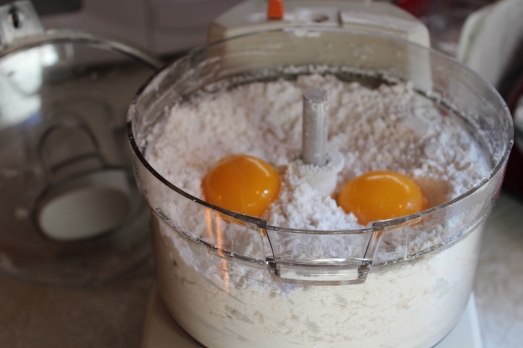
1. In a food processor, pulse together the flour, confectioners’ sugar, salt and lemon zest until combined.
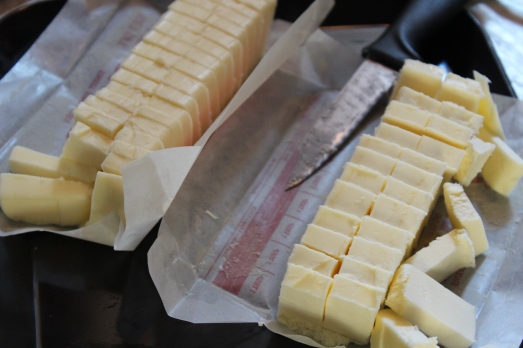
This is how I cut butter into small pieces.
Add butter and process until sandy. Add egg yolks and lemon juice; pulse until dough comes together.
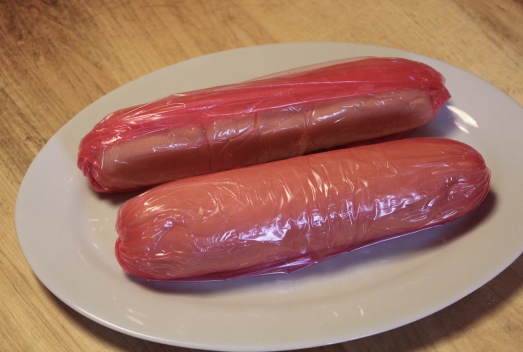
2. Divide dough in half and form each into a 1 1/2-inch-wide log.
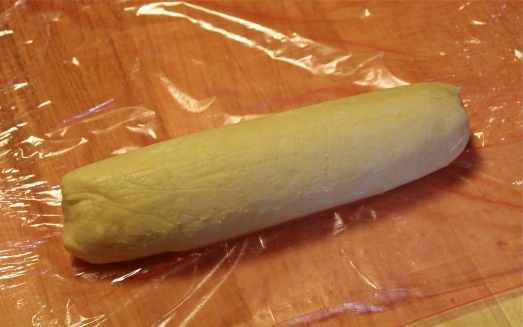
Wrap in plastic wrap and chill until firm, at least 2 hours, or overnight. Or after wrapping, dough may be frozen up to a month.
3. Preheat oven to 350*F. , with racks in upper and lower thirds. Spread granulated sugar on a piece of wax paper or parchment; roll logs over sugar to coat.
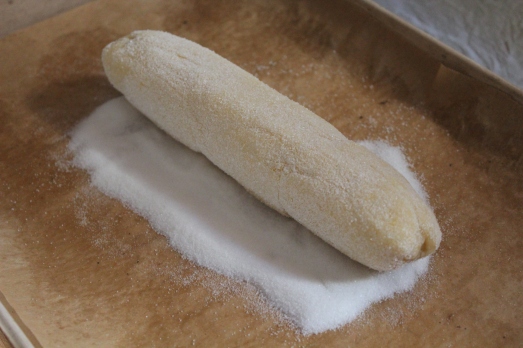
Roll dough logs in sugar to coat well.
4. Slice logs into 1/4-inch-thick slices.
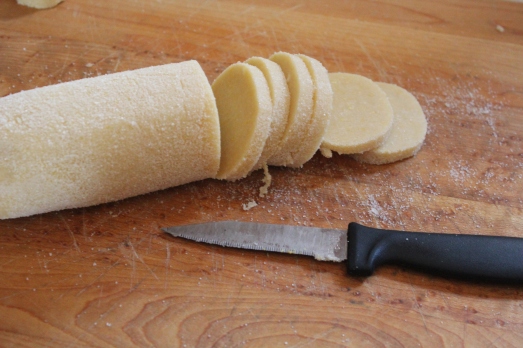
This dough slices so nicely.
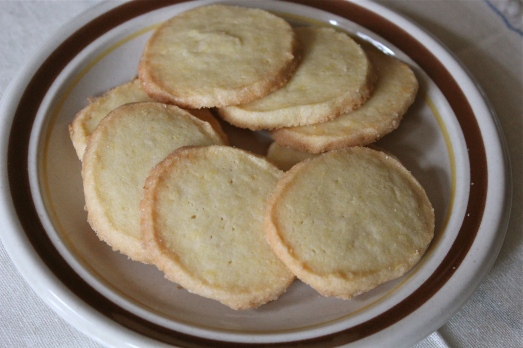
Arrange 1 inch apart, on two (or more) parchment-lined baking sheets. Bake until cookies are golden brown around edges, about 15 minutes, rotating sheets halfway through.
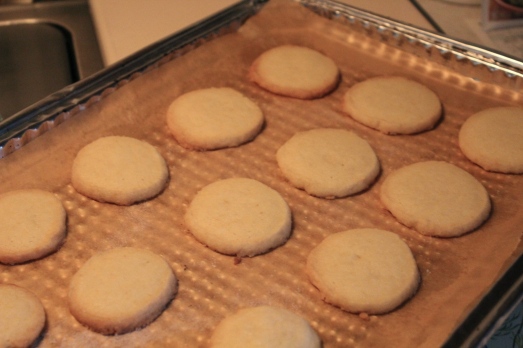
Lightly browned around the edges.
Transfer cookies to wire racks to cool. To store, cover and keep at room temperature, up to 5 days.
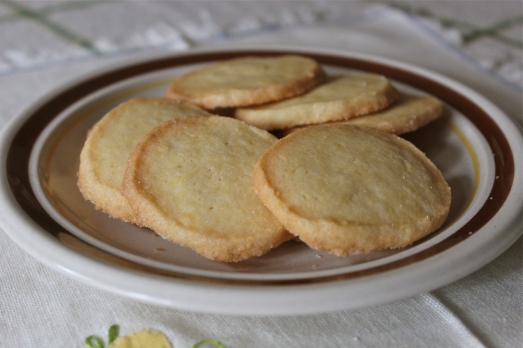
These are the perfect little sweet to serve with a cup of tea, or alongside a scoop of vanilla ice-cream.
SOURCE: Carolyn’s Originals