Hot Cross Buns
A hot cross bun is a spiced sweet bun made with currents or raisins and marked with a cross on top, traditionally eaten during Lent, but especially on Good Friday.
There are many superstitions associated with hot cross buns. “One of them says that a piece given to someone who is ill is said to help them recover. Because there is a cross on the buns, some say they should be kissed before being eaten. If taken on a sea voyage, hot cross buns are said to protect against shipwreck. If hung in the kitchen, they are said to protect against fires and ensure that all breads turn out perfectly. The hanging bun is replaced each year.”** HaHa, I guess it would need to be!
**quote from Wikipanion

Tall, pillowy, and delicious, I’m sharing it with you!
Another saying that I particularly like says that sharing a hot cross bun with another person is supposed to ensure friendship throughout the coming year. By sharing this recipe with all of you I hope that we will continue to be “friends” in the coming year as I am coming up on my one year anniversary of writing this blog on March 31. I value all of you who read this blog and all who have decided to follow me as I continue to write about my cooking adventures, some with fantastically good results (like this recipe, I think), and others with somewhat less than stellar results. But that’s why I blog; to share it all–the good, the bad, and the in-between.
If you have seen or purchased hot cross buns at the supermarket you know that they are smallish round buns, with the white cross on top. I, personally, find them to be quite dry, sometimes overcooked, and practically tasteless. The ones you can make at home are so much better there really is no comparison. Yes, they take a little time because they are a yeast dough, but if you have a bread maker it is so easy, you will wonder why you haven’t made them before. This recipe is one that I got from King Arthur a few years ago and since I first made them I don’t deviate or make alterations because they rise so well and once baked make a light, tender, pillowy, bun with an aroma that is unbelievable. The flavor is derived from the spices that go into the dough, but also from a flavoring called Fiori di Sicilia, an all-natural citrus- and vanilla-scented flavoring. It is available through the King Arthur Baker’s Catalog. In its absence you could use a little vanilla, and either lemon or orange flavoring, and they would still be fantastic .
HOT CROSS BUNS
YIELD: Makes 14 buns
INGREDIENTS
- 1/4 cup apple juice or rum

- 1/2 cup mixed dried fruit (I use a mixture of candied citron, lemon peel and orange peel)
- 1/2 cup raisins or dried currants
- 1 1/4 cups milk, room temperature
- 3 large eggs, 1 separated
- 6 Tablespoons butter, room temperature
- 1/2 teaspoon Fiori di Sicilia flavoring
- 2 teaspoons instant yeast
- 1/4 cup light brown sugar, firmly packed
- 1 teaspoon ground cinnamon
- 1/4 teaspoon ground cloves or allspice
- 1/4 teaspoon ground nutmeg
- 1 1/2 teaspoons salt
- 1 Tablespoon baking powder (this is not an error)
- 4 1/2 cups all-purpose flour
TOPPING
- 1 large egg white, reserved from above
- 1 Tablespoon milk
ICING
- 1 cup + 2 Tablespoons confectioners’ sugar
- 1/2 teaspoon vanilla extract
- 4 teaspoons milk, or enough to make a thick, pipeable icing
1. Mix the rum or apple juice with the dried fruit and raisins, cover and microwave briefly, just till the fruit and liquid are very warm. In my microwave this would be 1 minute at 50% power. Set aside to cool to room temperature. While this is cooling you can be mixing up the remainder of the recipe, because the fruits go in at the end.
2. Mix together all of the dough ingredients except the fruit, and knead, using an electric mixer or bread machine, till the dough is soft and elastic. Mix in the fruit and any liquid not absorbed.
This is what I do: Following instructions for your bread machine layer in the liquid ingredients first, followed by the flour mixture ( i.e. 4 1/4 cups flour plus all the spices, brown sugar, salt and baking powder) Make a depression in the top of the flour and pour in the yeast last. Start the bread machine on the dough cycle, and let it mix up everything. When it is almost at the end of the mixing phase, add the fruits and any liquid. Check soon after to see if the dough looks too wet, and add the remaining 1/4 flour if it needs it. Allow the machine to finish the dough cycle till it has risen. Proceed with step 4.
3. Let the dough rise for 1 hour, covered. It should become puffy, though may not double in bulk.
4. Remove the dough to a floured surface and divide the dough into ball-sized pieces, about 3 3/4 ounces each.

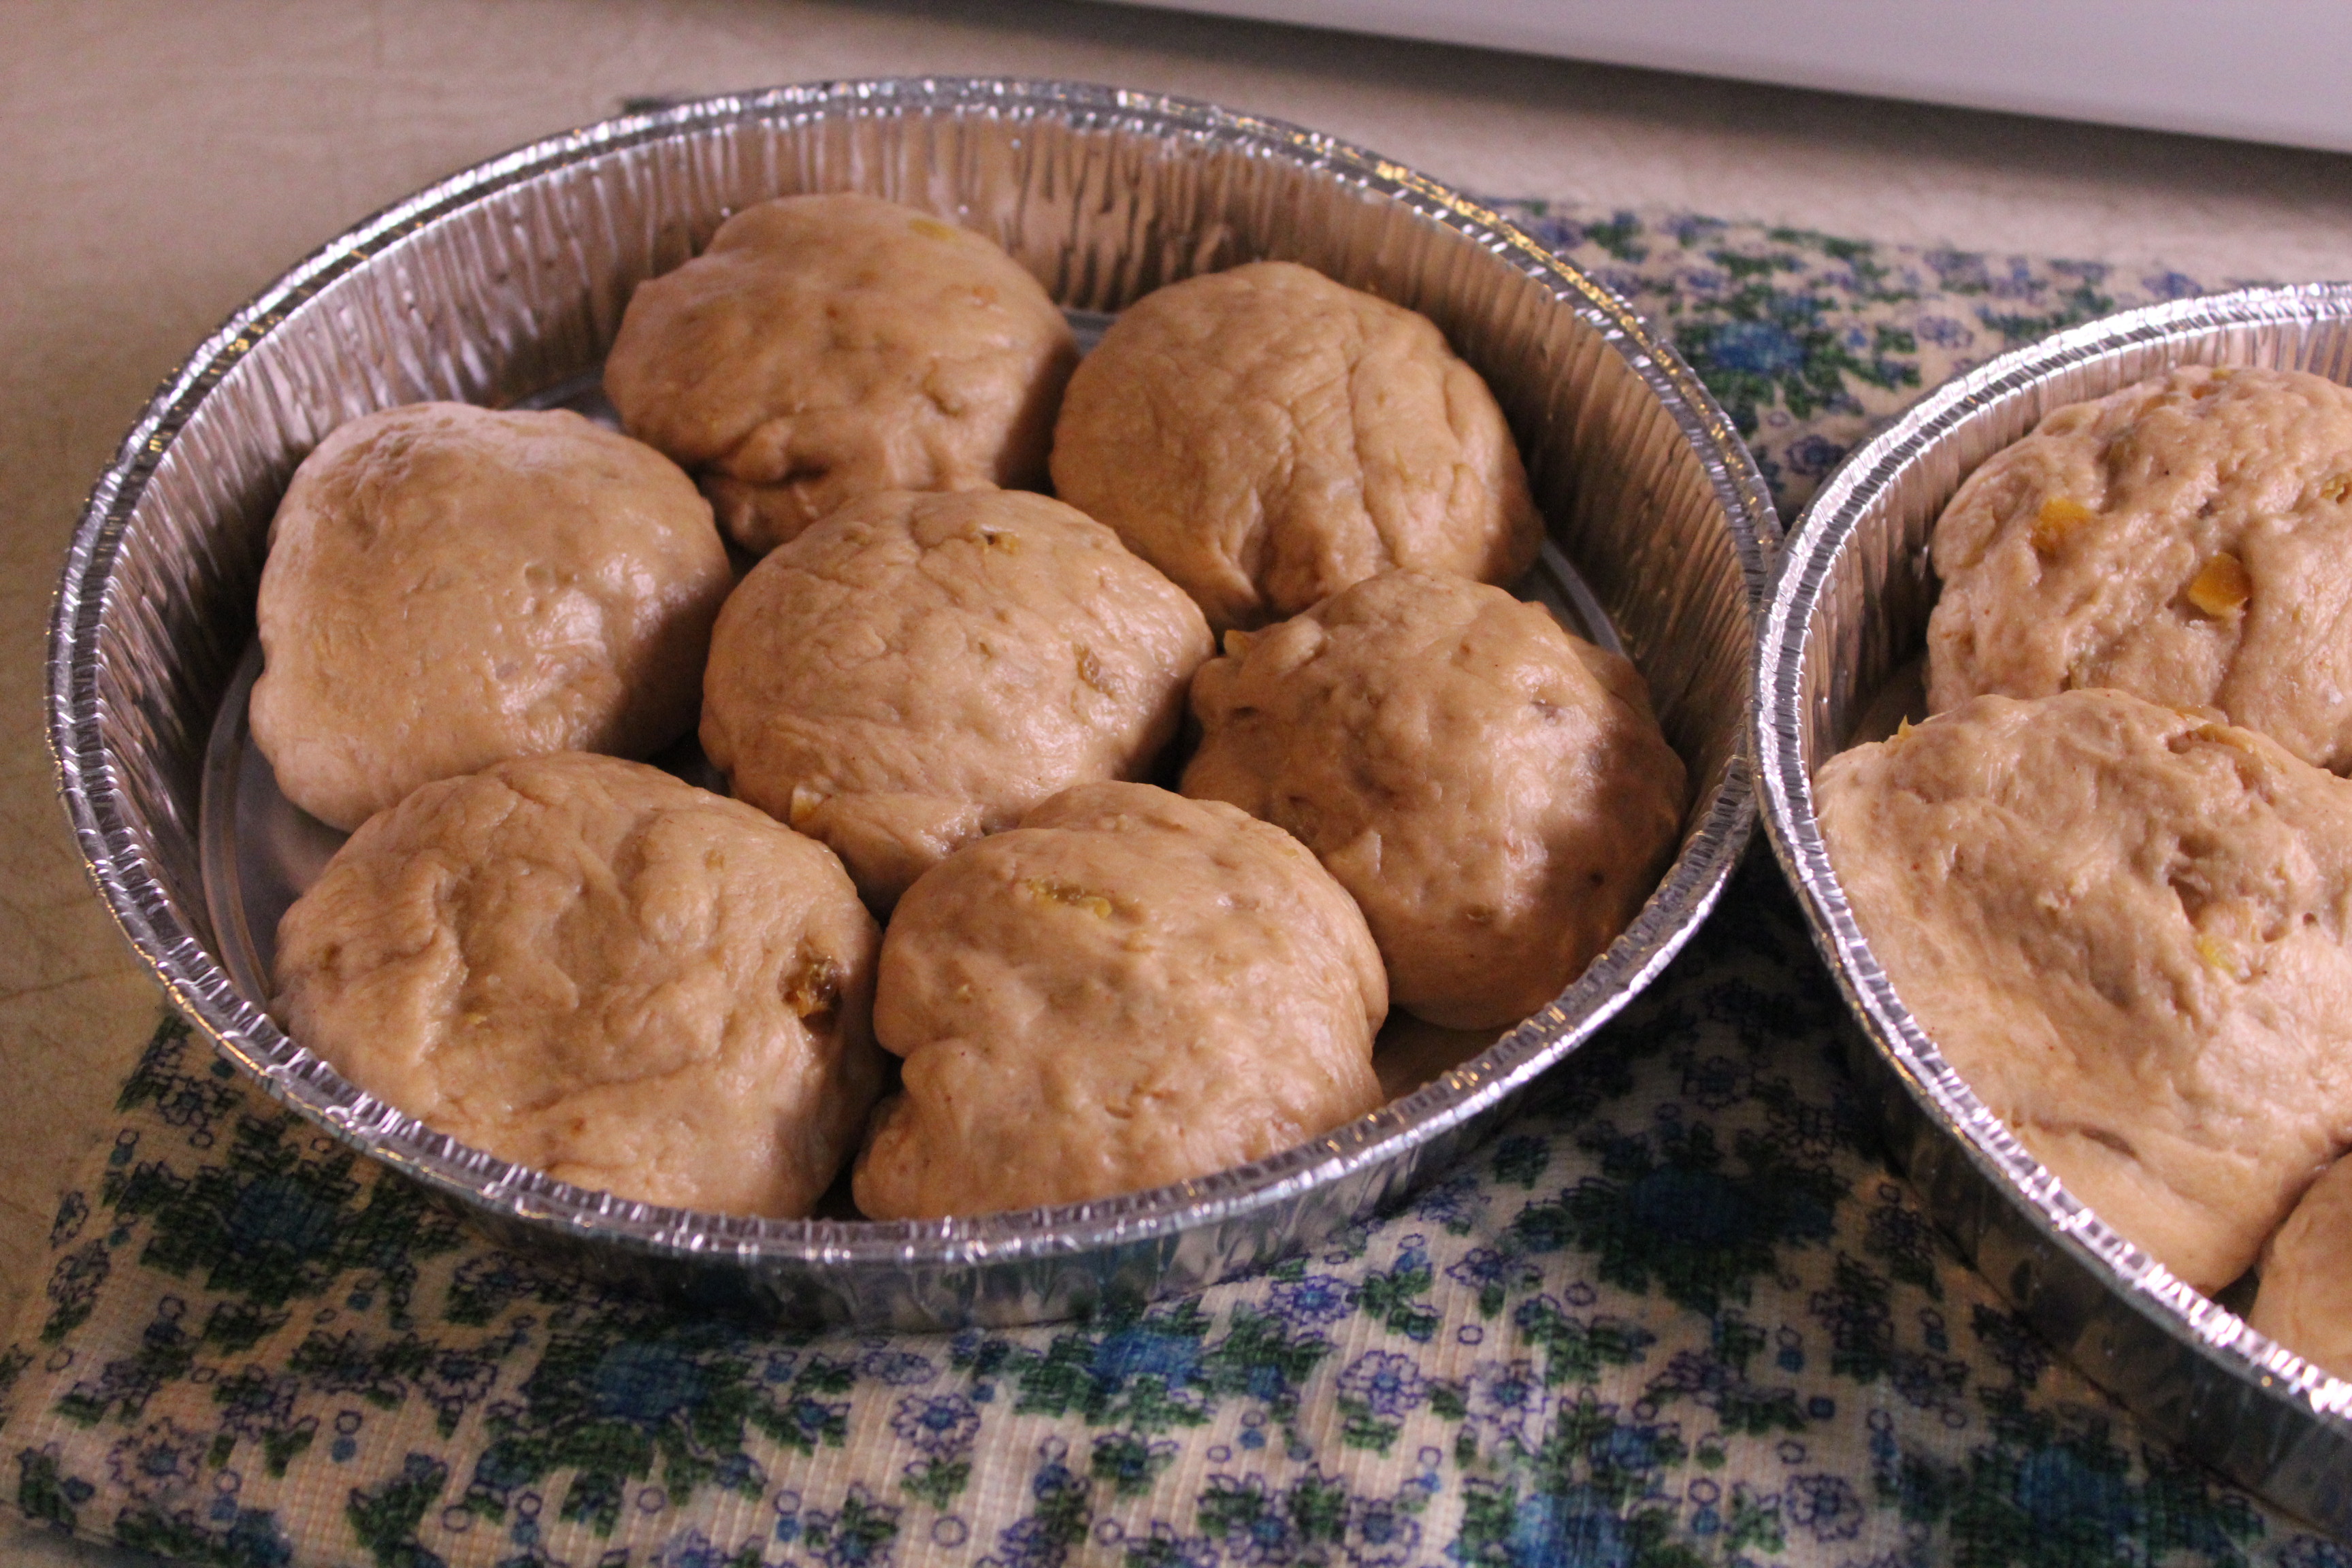
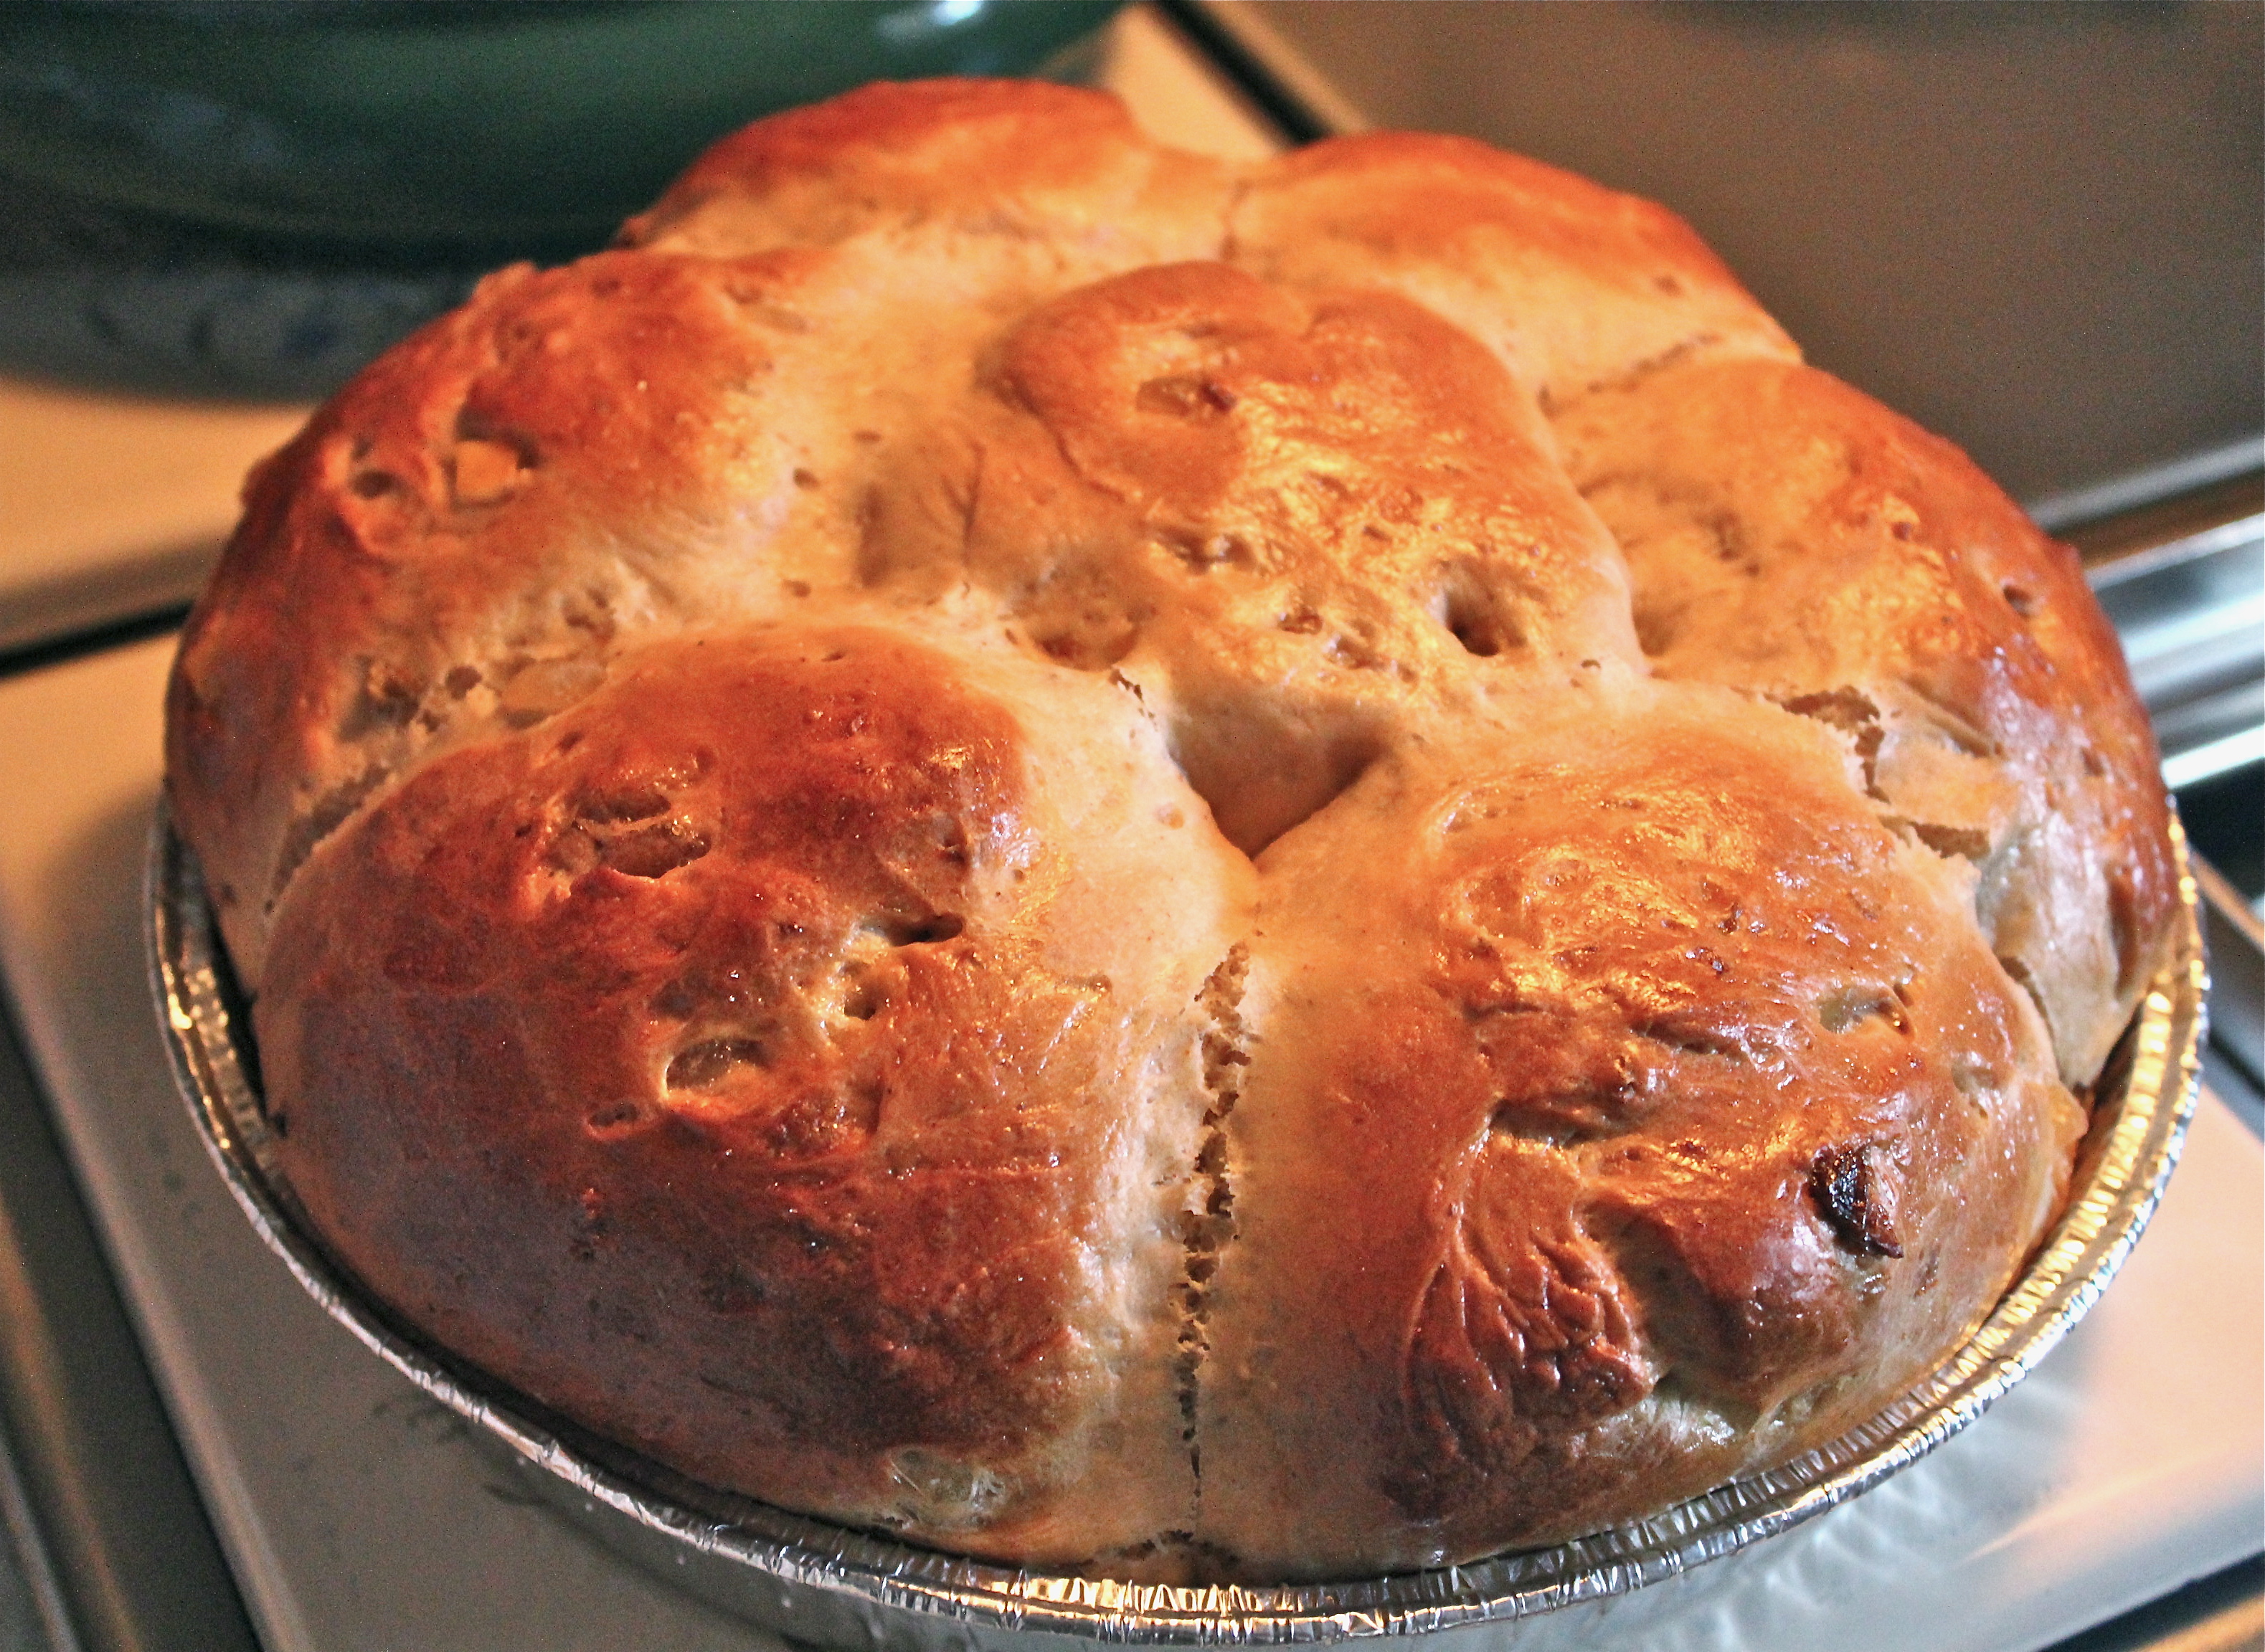
A 1/3 measuring cup or muffin scoop makes about the right portion. You should make about 14 buns. Greasing your hands helps with handling the dough and shaping into balls. Arrange them in greased pans. Suggested pan sizes include 10″ square, 9″ x 13′, or two 9″ round cake pans. The cake pans were a good choice for me allowing for 7 buns in each (see picture), as I gave away one pan of buns.

Seven buns in each cake pan.
5. Cover pan(s), and let the buns rise for 1 hour, or until they’ve puffed up and are touching one another. While the dough is rising, preheat the oven to 375*F. I have had good success with putting my pans on top of a heating pad set to “low”. The consistent temperature gives a high rise, and the baking powder in the dough gives it another boost in the oven as they bake. I think this is what makes these buns so light and pillowy.
6. Whisk together the egg white and milk, and brush it over the buns. This gives the buns a nice shine when baked.
7. Bake the buns for 20 – 22 minutes, until they are golden brown. Check internal temperature with an instant read thermometer. Temperature should be 160 degrees. Some people have reported that the buns in the center of the pan may be a little doughy still at 20 minutes. Remove from the oven, and transfer to a rack to cool.

Note how high they rise and the shiny tops from the egg wash.
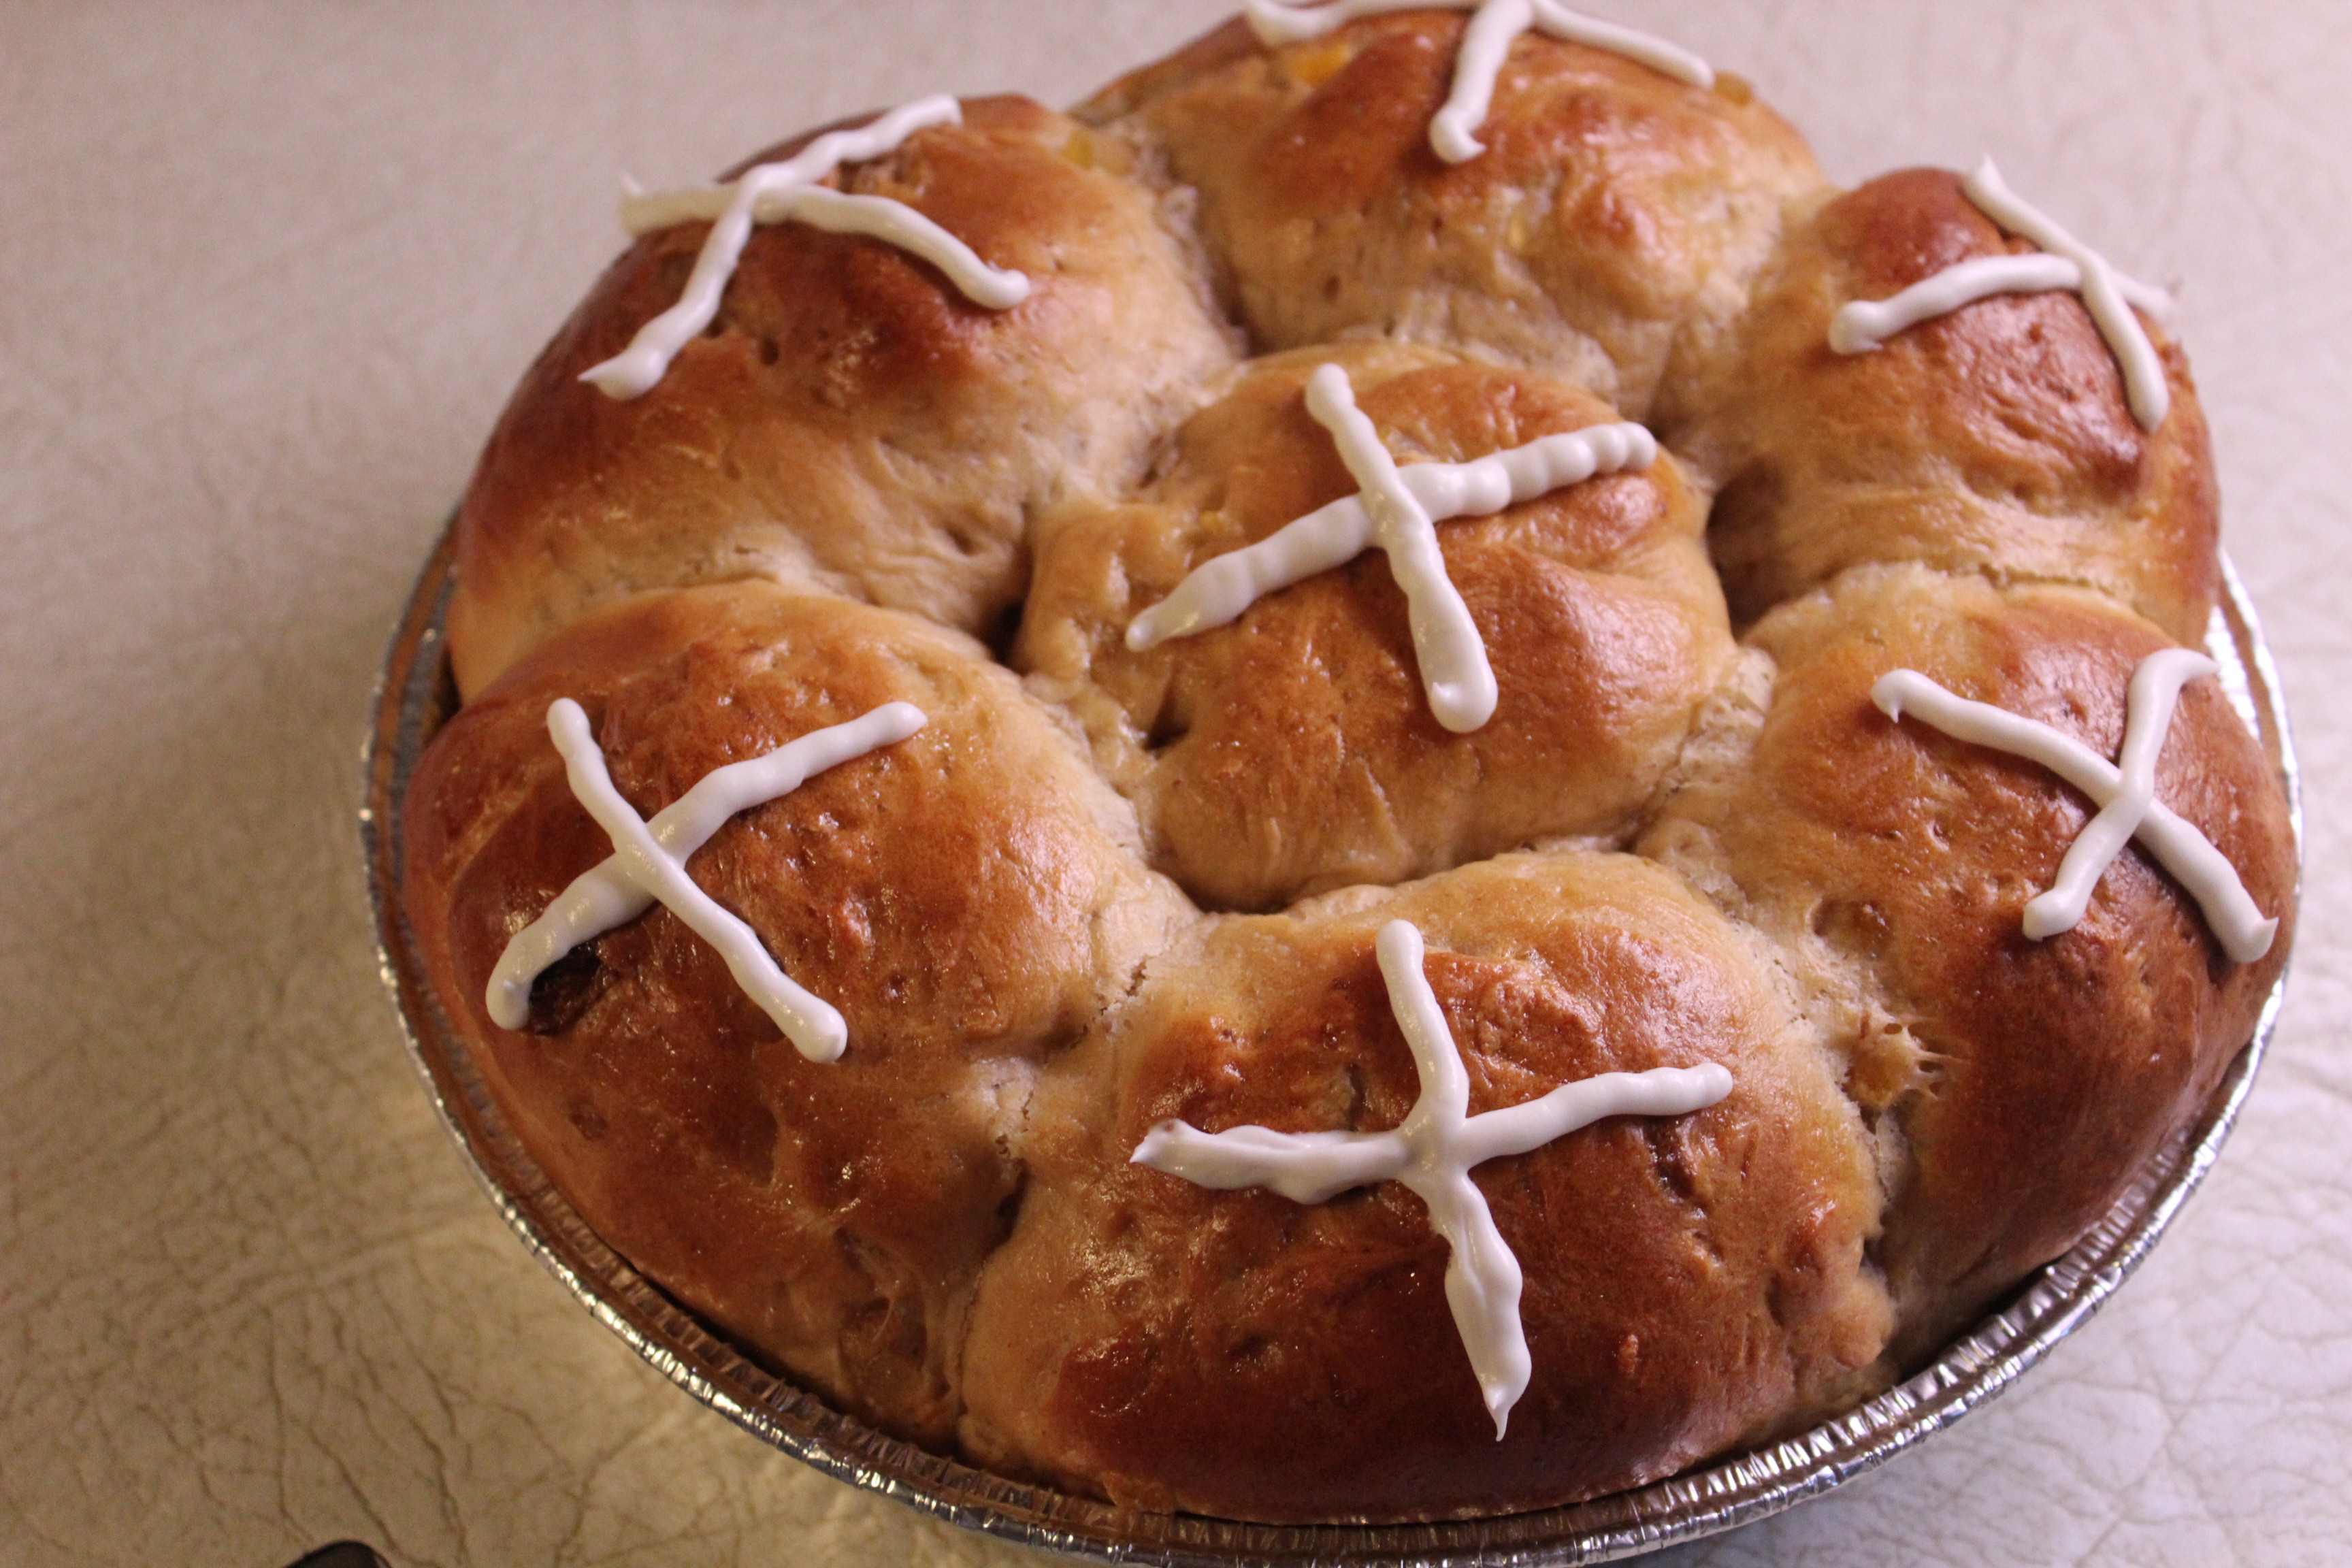
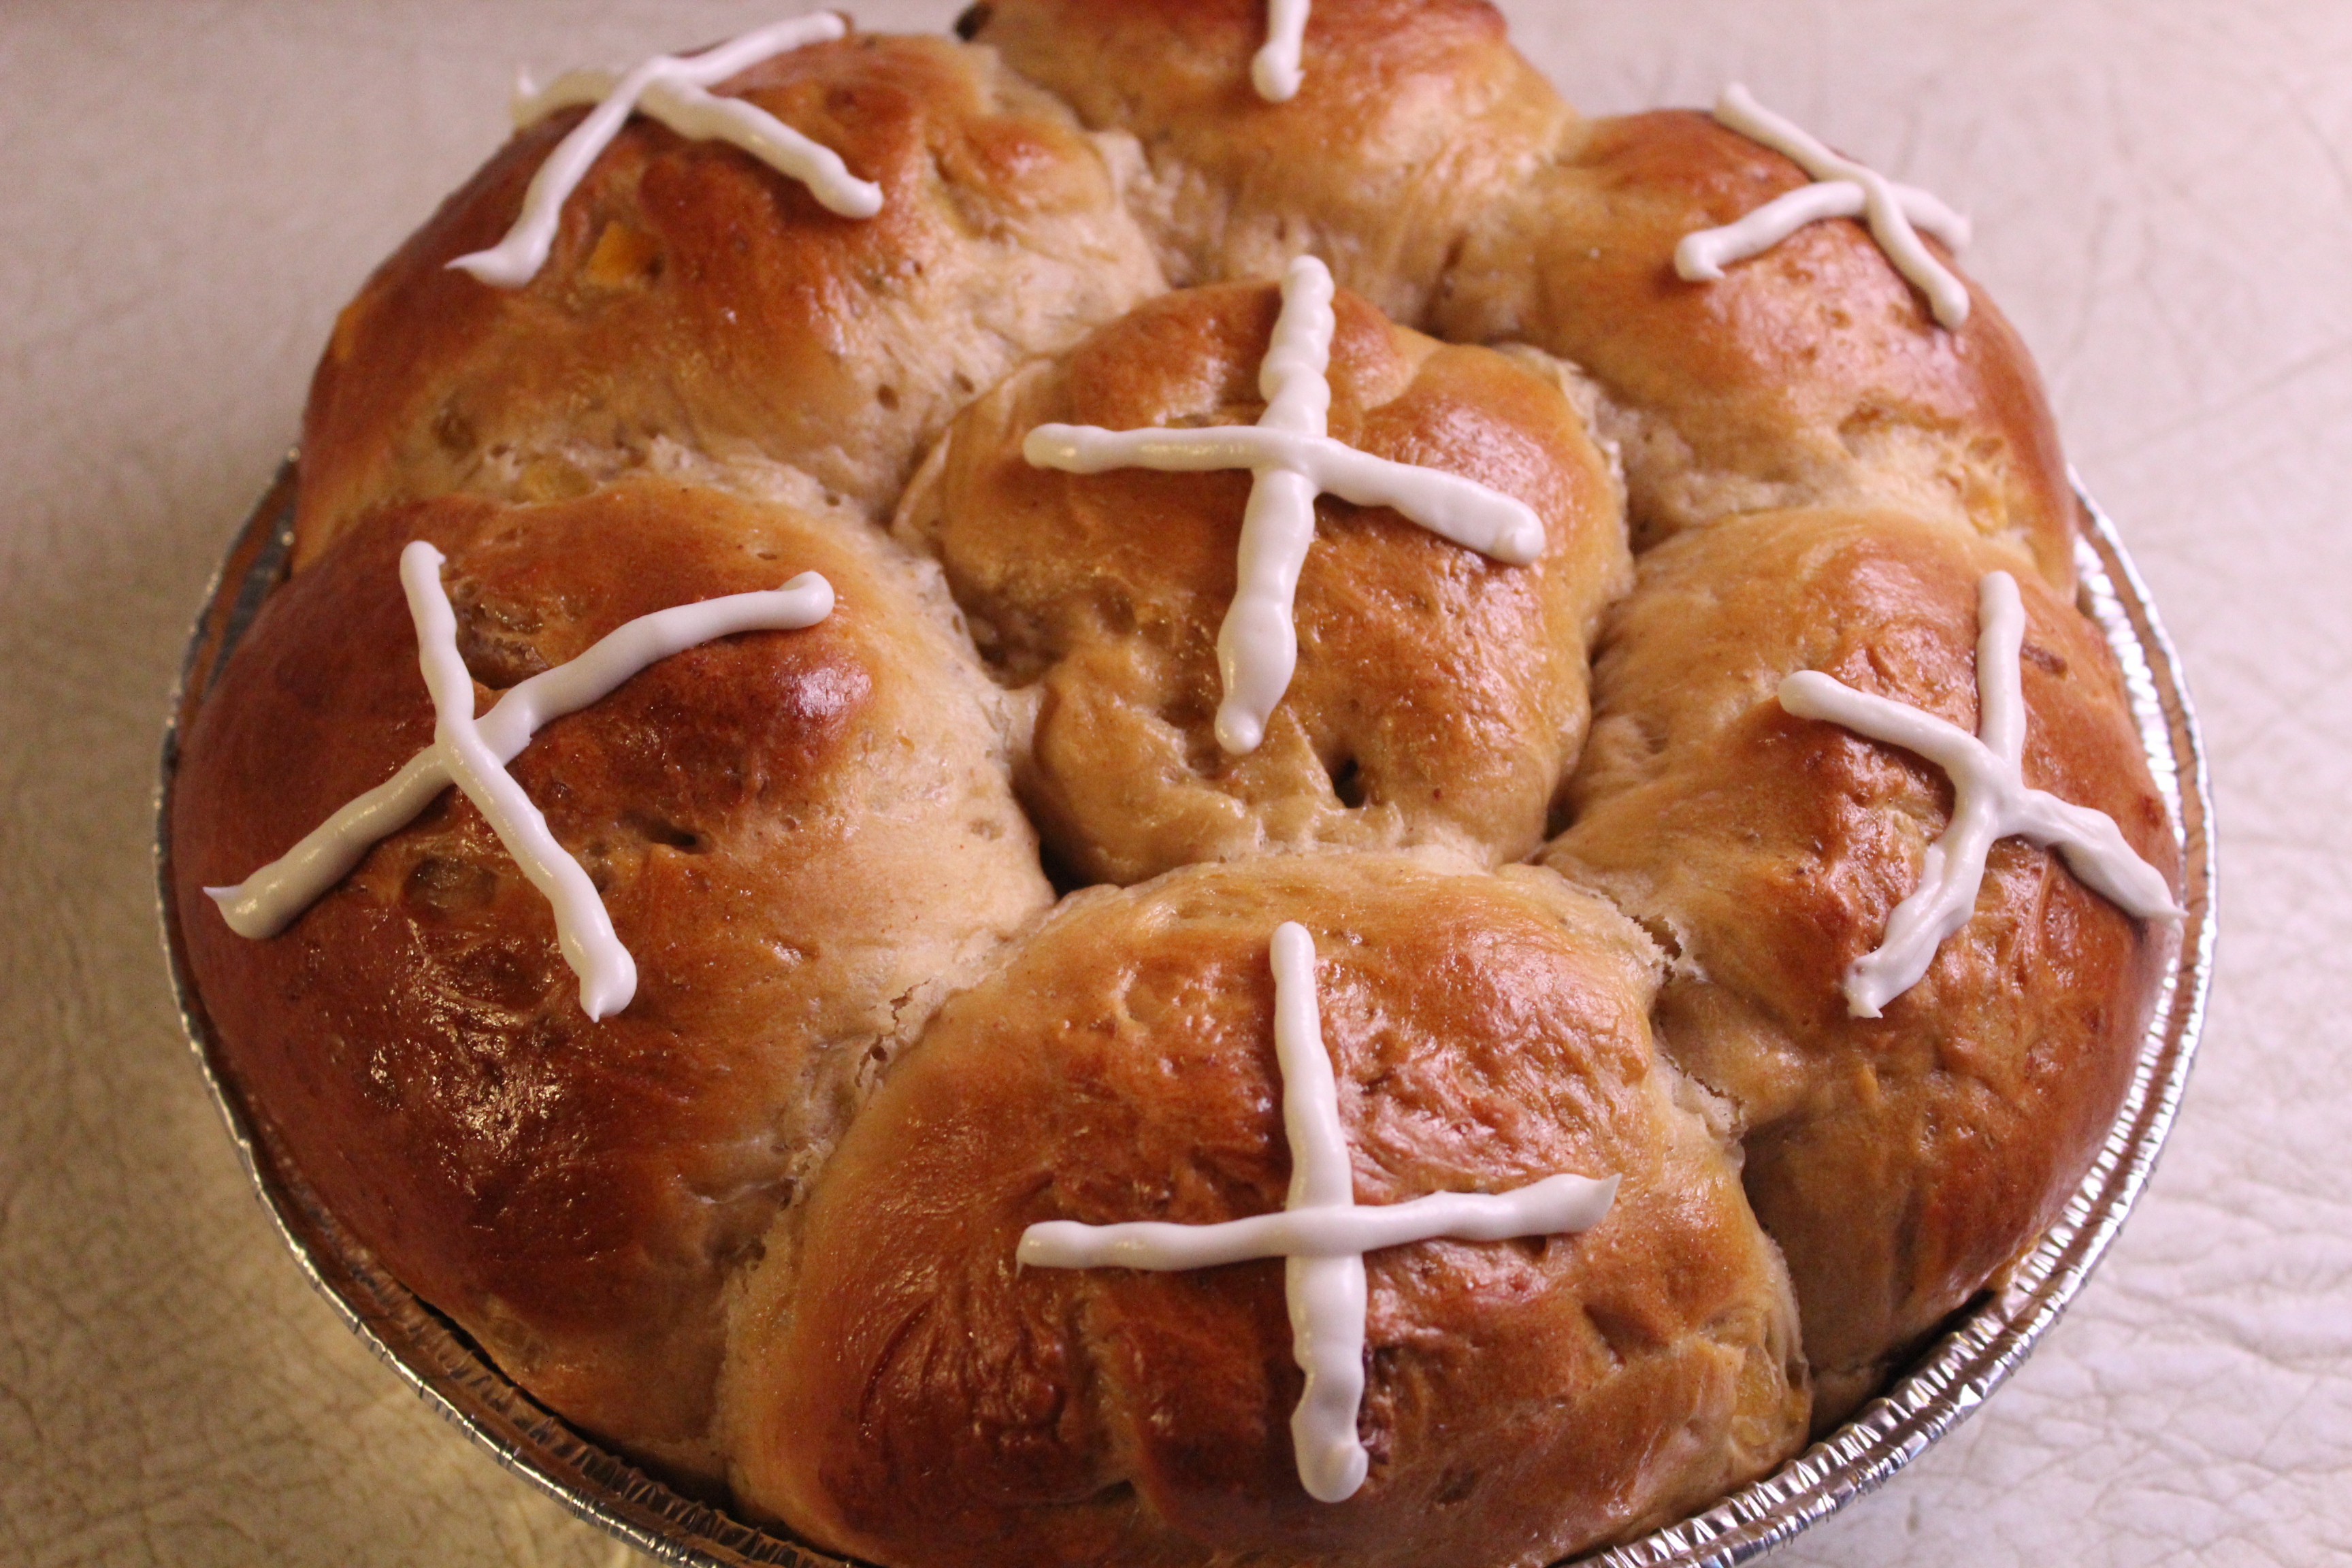
8. Mix together the icing ingredients, and when the buns are completely cool, pipe it in a cross shape atop each bun.

Pipe crosses on top when they are cool.

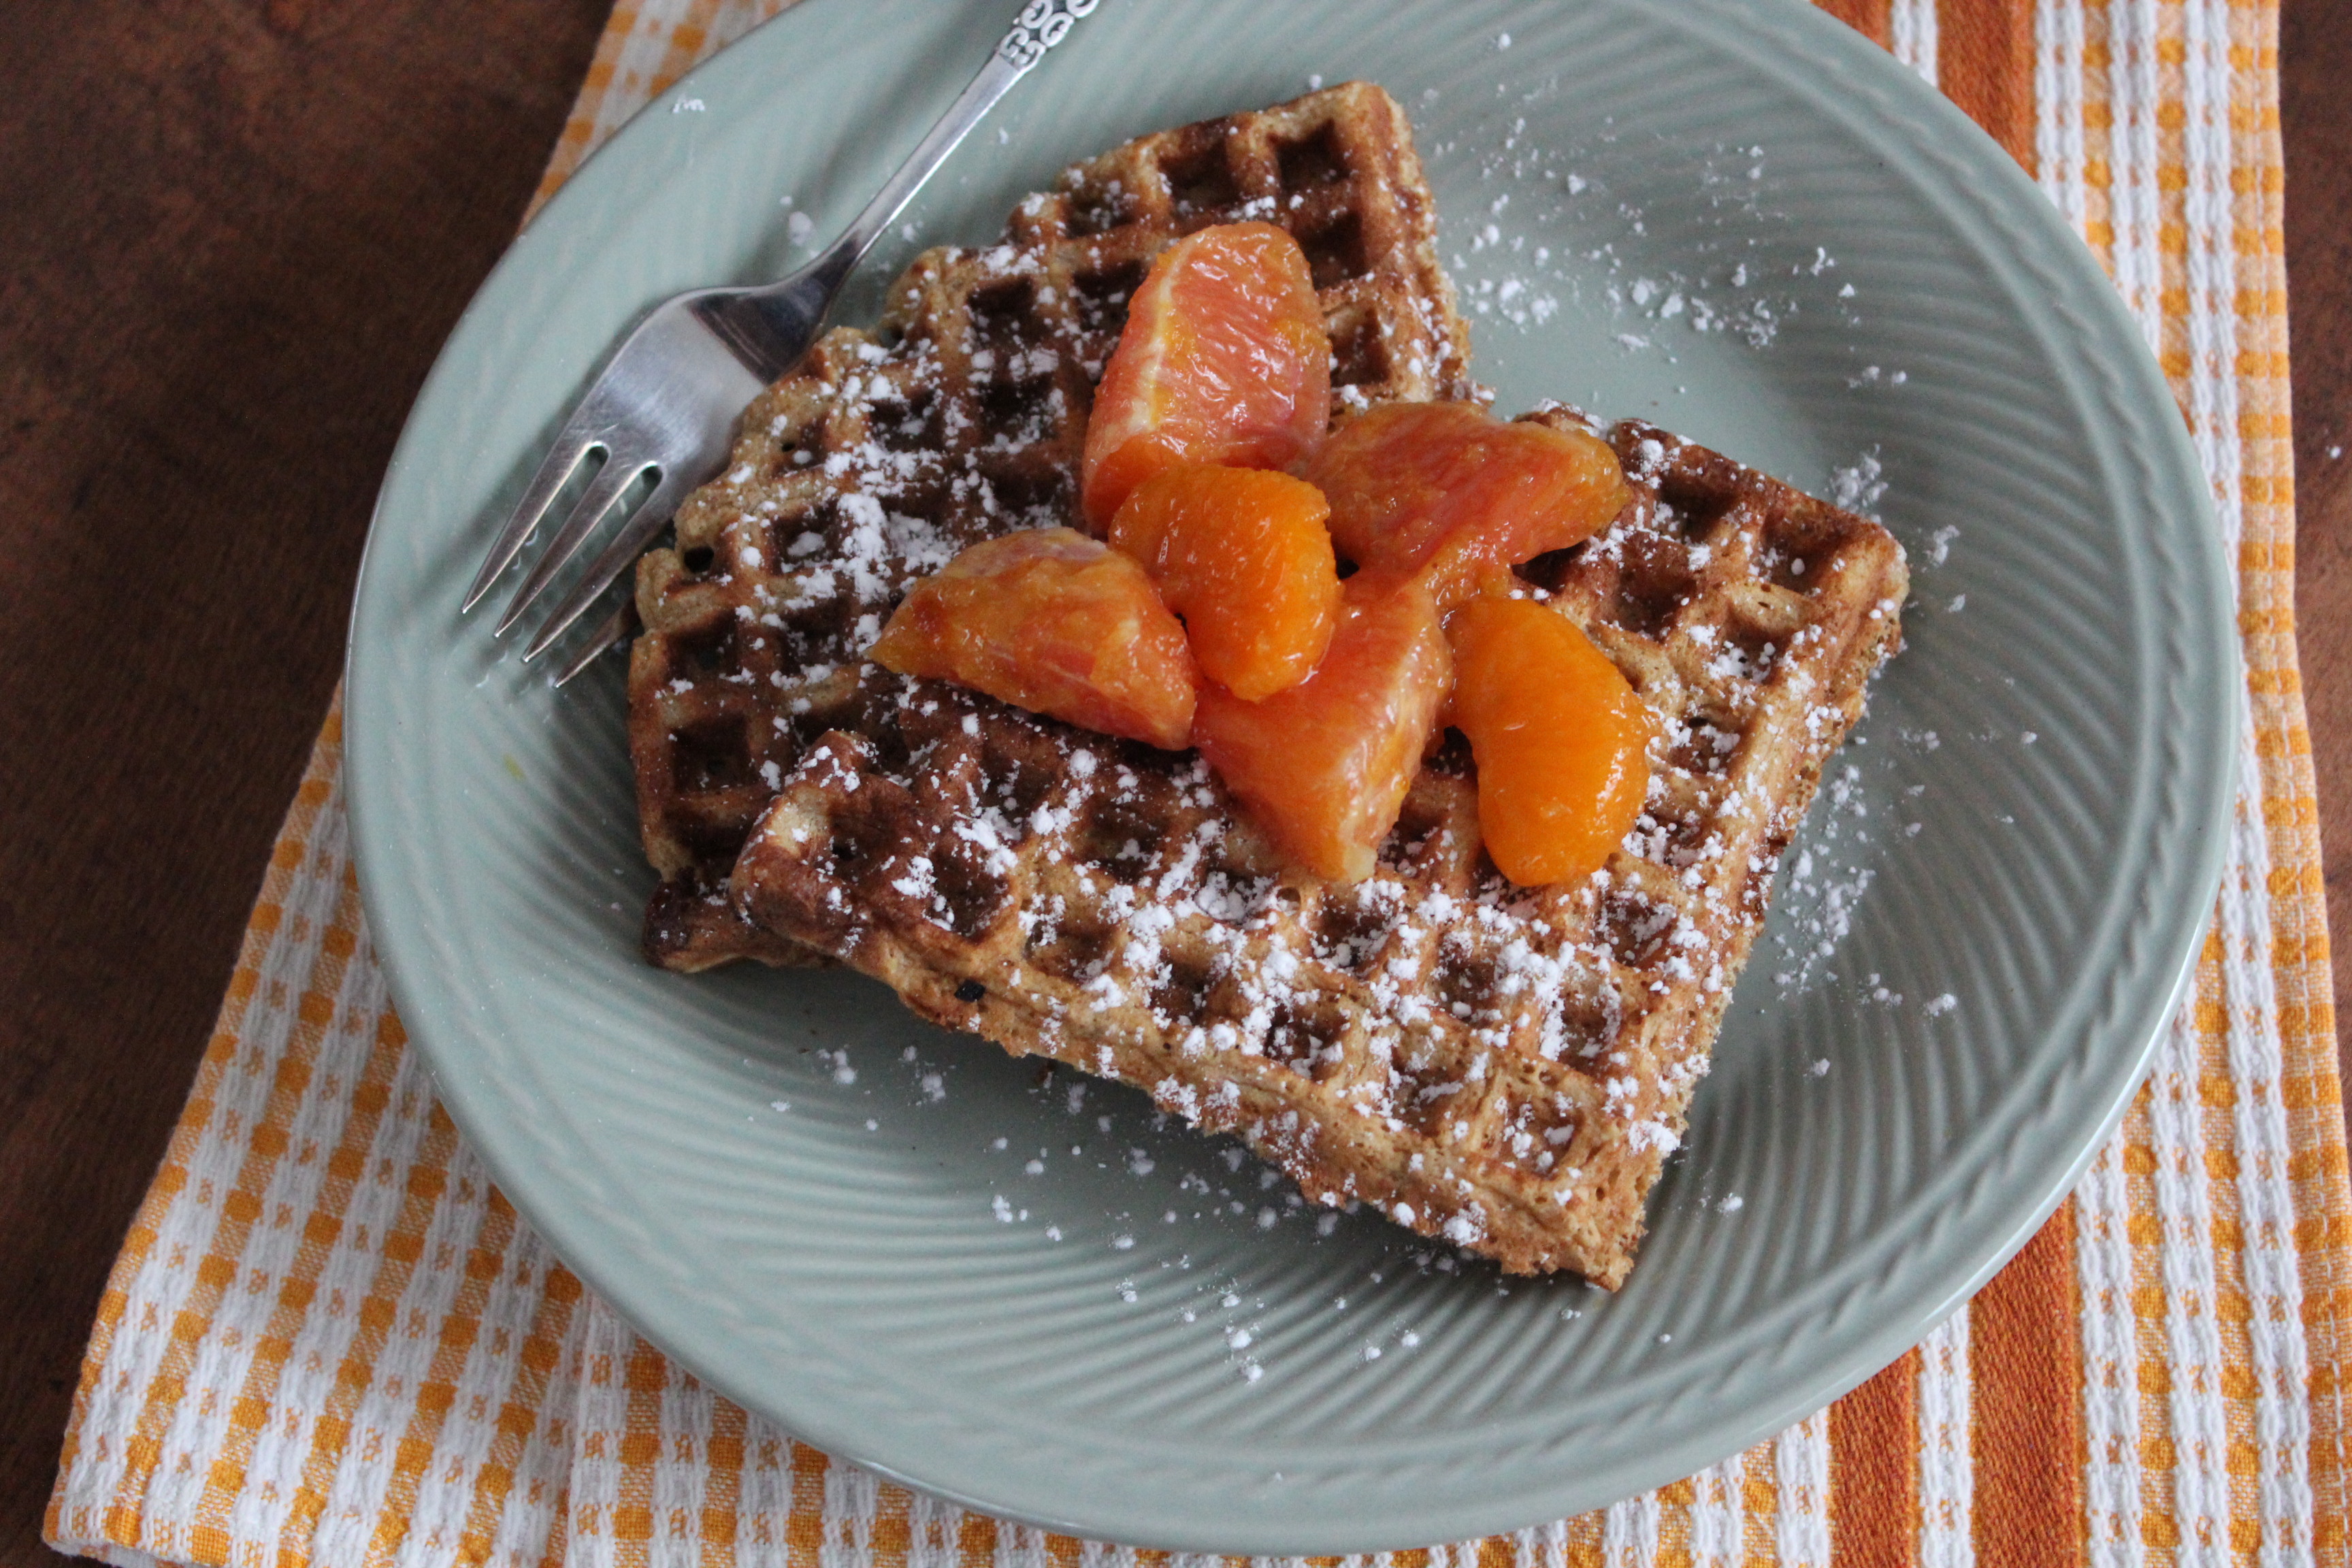
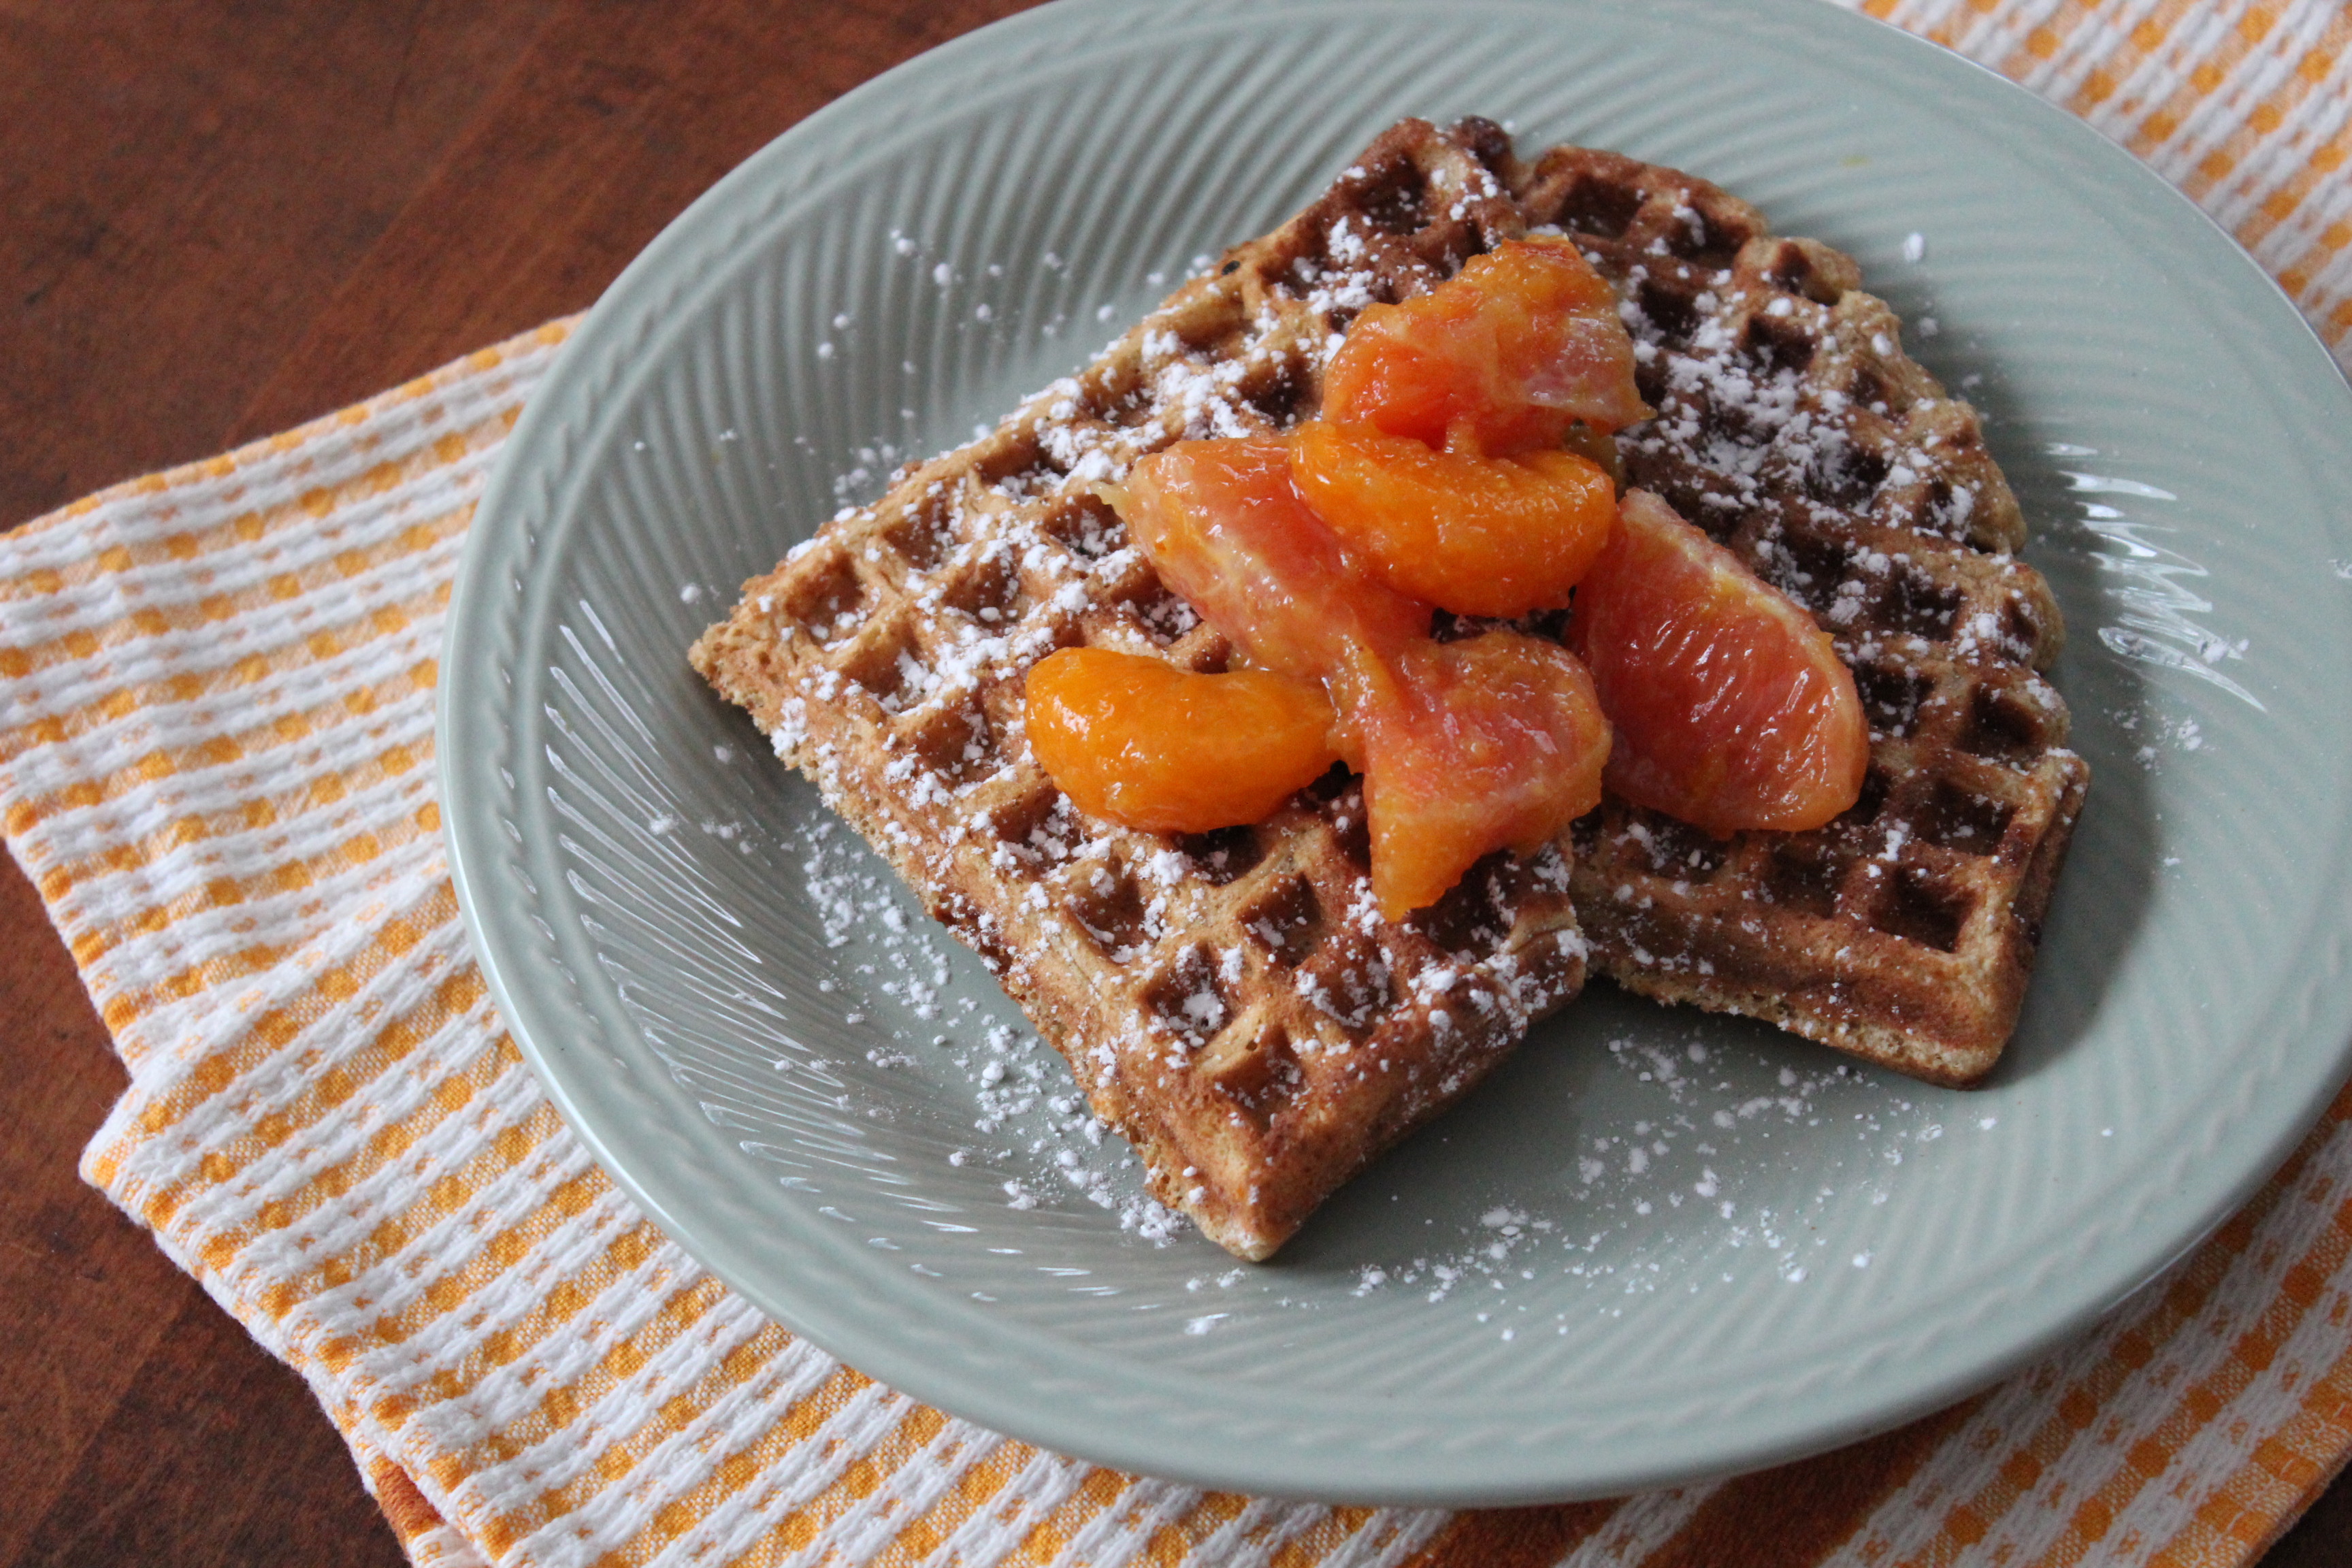
Tall, Pillowy and delicious.
The frosting crosses looked a little thin, so I want back after taking these pictures and made the crosses bigger with more frosting. We like frosting! 🙂
SOURCE: slightly adapted from King Arthur Baking Company