Black and White Bars
Black and white, the classic color combination; found in so many places. In the fashion world with black and white you can’t go wrong. I always feel as though I am well put-together when I wear it. Any season, any reason it’s always right. Think of a piano keyboard, another perfect example of this combination, and nothing can improve upon it. Well, in this recipe for black and white bars, the same is true. White chocolate with bittersweet dark chocolate make beautiful music together. I can’t think of one thing to make them better.

So good!
They are pretty simple to make requiring one large bowl, a smaller one, and a hand mixer. The recipe calls for baking them in a 9 – inch square pan, but I made a mistake and used an 8 – inch pan. They came out quite thick, but for me, thicker is better, and more chewy. So use what you have, remembering that if you use a smaller pan you need to bake them at least 5 minutes longer. (test with a toothpick). You will not be disappointed in these bars, except maybe at how fast they disappear. Be sure to get yours before they’re all gone!
BLACK AND WHITE BARS
YIELD: 16 squares
INGREDIENTS
- 1 cup chopped white chocolate, or white chips

- 1/4 cup ( 1/2 stick ) butter
- 3/4 cup granulated sugar
- 2 teaspoons vanilla extract
- 1/4 teaspoon nutmeg
- 1/4 teaspoon salt
- 2 large eggs
- 1 1/4 cup all-purpose flour
- 1/2 teaspoon baking powder
- 1 cup bittersweet chunks or large chips

1. Preheat the oven to 350*F. Lightly grease a 9 – inch square pan
2. Place the white chocolate, butter, and sugar in a heatproof bowl. Heat at low power in the microwave for 1 minute intervals, or over simmering water, until the chocolate softens. White chocolate is sensitive to to scorching, so watch carefully.

Melting the white chocolate, sugar and butter over simmering water.
3. When the butter is melted and the white chocolate looks soft, stir in the vanilla, nutmeg and salt. Let the mixture cool to lukewarm, then beat in the eggs.

Beating in the eggs.
4. In a separate medium bowl whisk together the flour and baking powder; stir into the egg mixture.

Stir in the flour and baking powder.
Stir in 3/4 cup of the dark chocolate chunks.
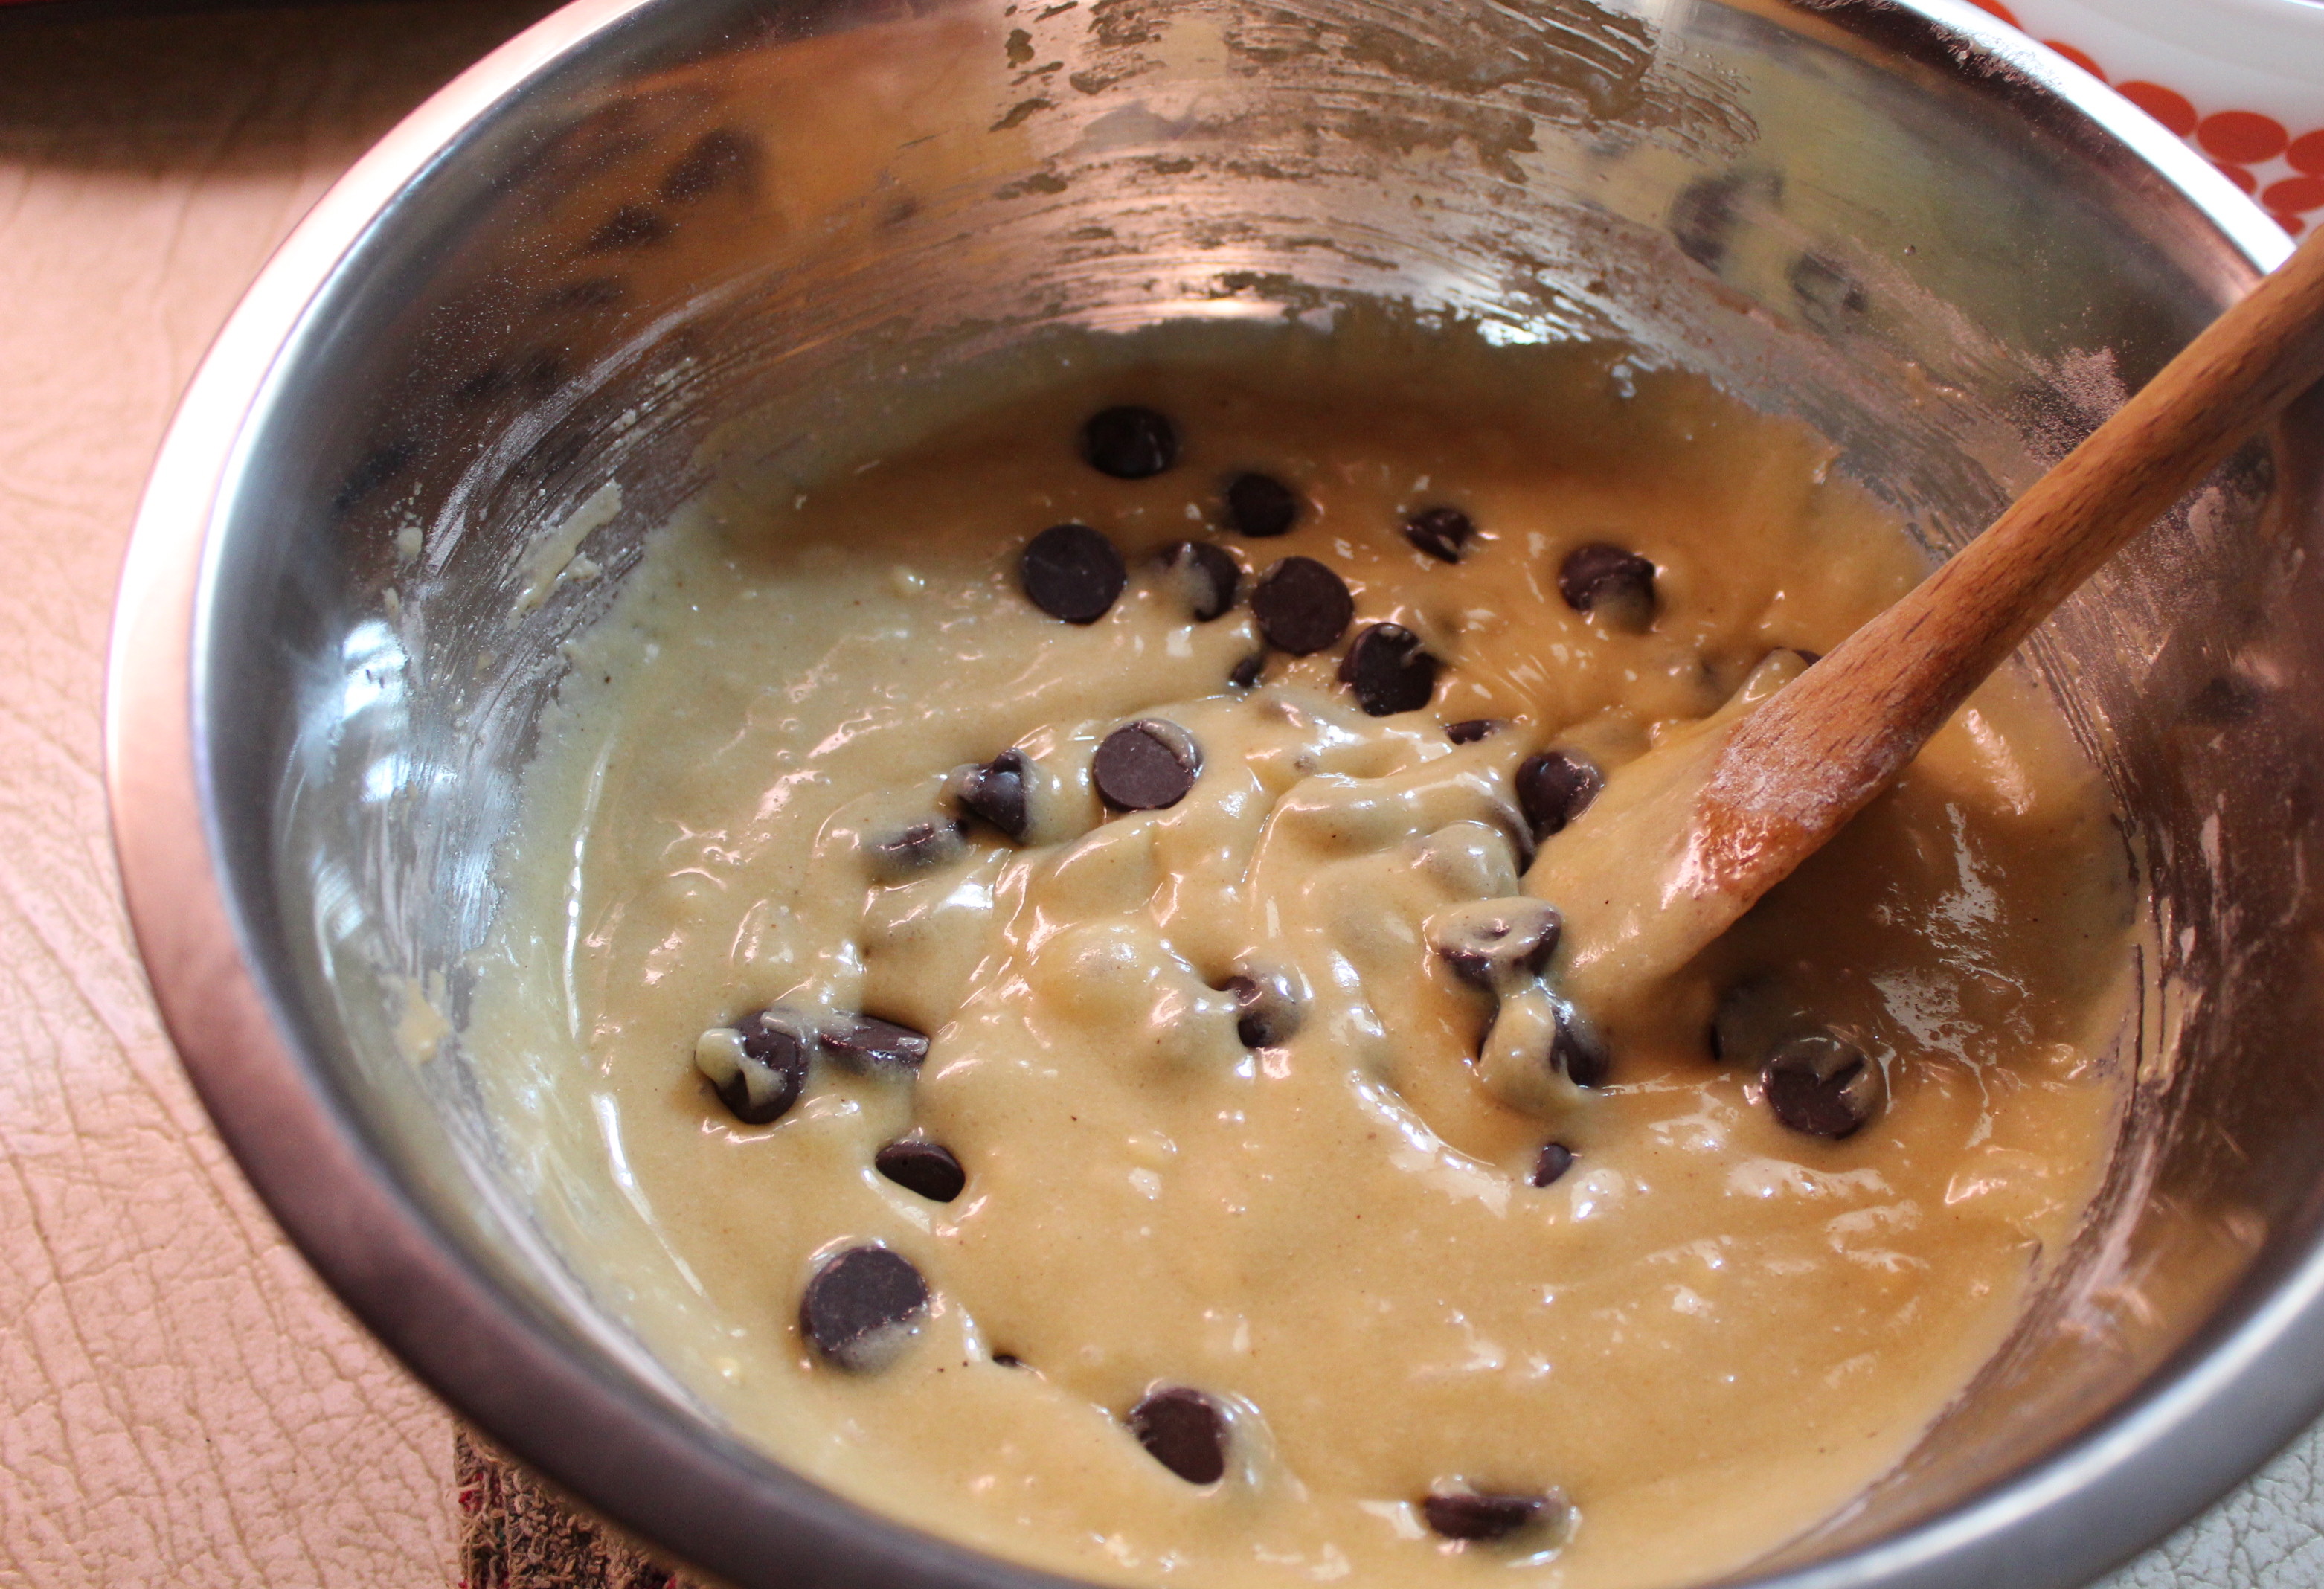
Stir in the dark chocolate chunks or chips.
Spoon the batter into a greased 9″ square pan, and sprinkle the remaining chocolate chunks over the top.

In the pan, ready for the oven.
5. Bake the squares for 25 minutes, ( 30 minutes for a smaller pan), until light golden brown and the edges pull just slightly away from the pan. Remove from the oven and cool before cutting.

It was hard to wait for them to cool.
I cheated a little and cut them before they were completely cool, so the chocolate is still warm and melty-like—nothing wrong with that–except you don’t get a nice clean cut. Who cares when they taste this good!
SOURCE: King Arthur Flour.com/recipes/bars