Spinach Artichoke Bread
In my experience one of the most popular appetizers around is hot spinach dip, or a combination of spinach and artichoke dip. Hot, cheesy, gooey spinach dip. Oh yes, addictively delicious with crackers or chips.
Since we would be sitting at a table with a plate onto which we could place our appetizers, I thought that in place of crackers or chips I would use bread to do two things; add more substance, and provide a larger surface to carry all that lucious dip. So this recipe seemed like the perfect solution.
This is great for parties, or could be used as a snack or light lunch, which is what we did with the leftovers. Wrapped in foil and reheated in a warm oven, they were as good as new.
SPINACH ARTICHOKE BREAD
Yield: 12 servings
Ingredients:
- 8 oz. cream cheese, softened ( low-fat is OK)
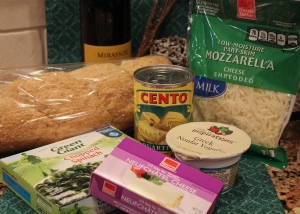
Only low-fat ingredients allowed! 😀
- 3/4 cup (6oz.) plain, nonfat Greek yogurt
- 1 pkg. frozen chopped spinach, defrosted and well drained
- 12 oz. can artichoke quarters, in water, drained
- 1 tsp. onion powder
- 1 tsp. garlic powder
- 1 tsp. salt
- 1/2 cup shredded mozzarella cheese, divided
- 1/4 cup shredded Parmesan cheese
- 4 French rolls, or 2 French baguettes
Directions:
1. Preheat oven to 375*F
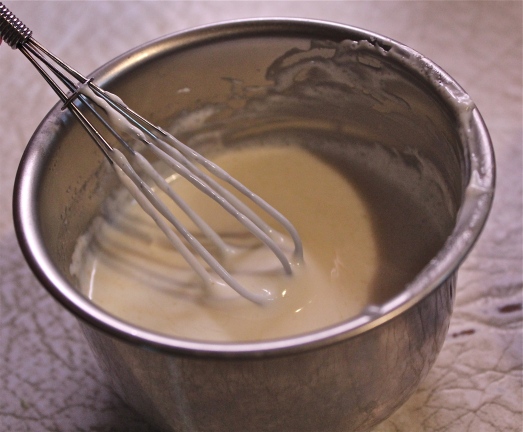
2. With an electric mixer, beat cream cheese until smooth. Add yogurt, continue mixing until smooth.
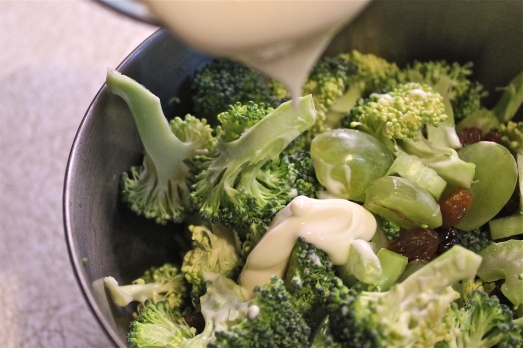
3. Chop artichokes, and squeeze out spinach to remove excess liquid. Add to cheese-yogurt mixture. Add onion powder, garlic powder, salt, 1/4 cup mozzarella and Parmesan. Fold well to incorporate into a uniform mixture.
4. Cut the French bread in half. Slightly hollow each half by removing some of the bread from the middle. Fill with the spinach-artichoke mixture and level the filling. Sprinkle with the remaining mozzarella.
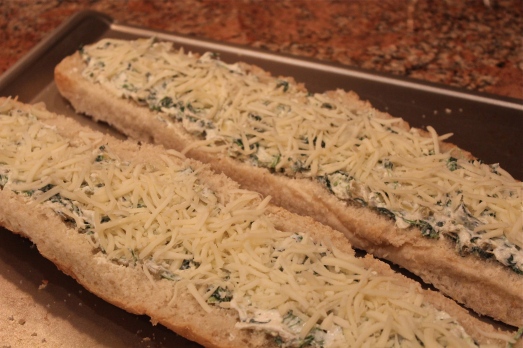
Breads filled and ready for the oven.
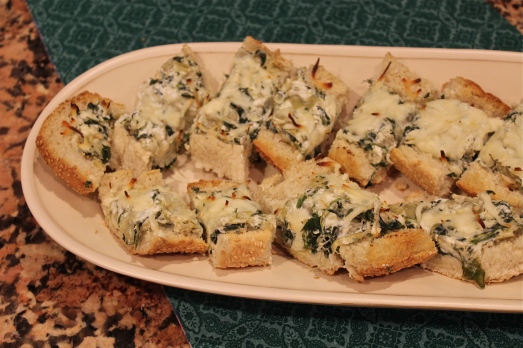
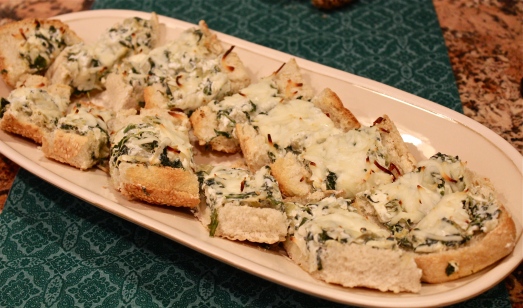
5. Place the loaves on a baking sheet. Bake for 15 – 20 minutes, until filling is bubbly and the cheese on top is browned slightly. Allow to cool for several minutes before slicing and serving.
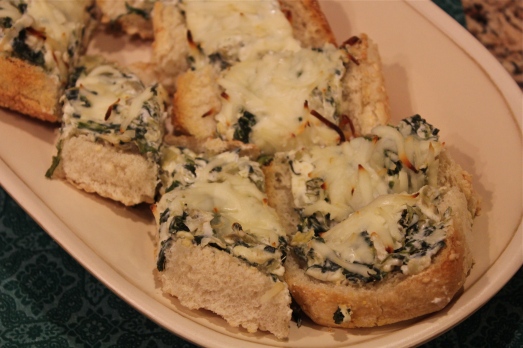
The bread gets toasty, and the filling gets melty and warm.

SOURCE: Happier Holidays Recipe Book