Oatmeal Sandwich Cookies with Peanut Butter Cream Filling.
The thought of making these cookies has been circulating around in my head now for some time. Another blogger ( Joy the Baker ), who I follow, first wrote about them, and I was intrigued enough to make note of the recipe. The reason I didn’t rush into making them immediately was because they are basically oatmeal cookies, which I find kind of boring on their own. But every once in a while I would hear a little voice saying “oatmeal with peanut butter filling”.
“oatmeal with peanut butter filling”.
I don’t normally hear voices, but cookies do occasionally speak to me, and when they do I’ve learned to listen because if I make them they usually turn out to be something special. And so it is with these cookies.
They contain all sorts of good things, beginning with the oatmeal. Everyone knows how good that is for us; add some brown sugar, butter, and spices.
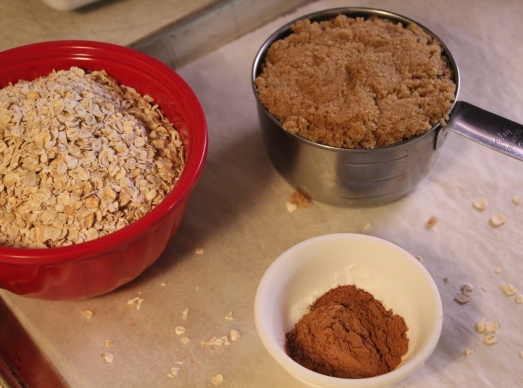
Oats, brown sugar and spices. so proud of themselves.
Oh yeah, gotta have some spices. You see where this is going? If you like nuts, add some chopped nuts to the batter, it can only get better. It is the kind of batter you will want to eat by the spoonful, but don’t. This is only the beginning, it gets even better.
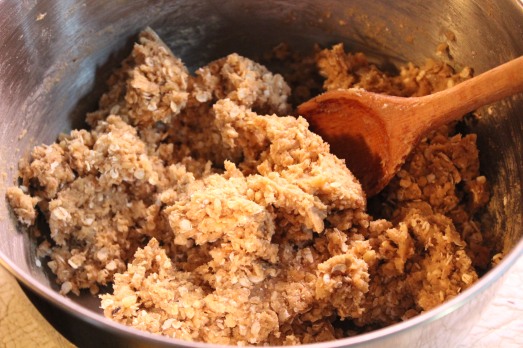
Here’s all that good looking, good tasting batter.
Once the dough is all mixed, you will form it into small balls.
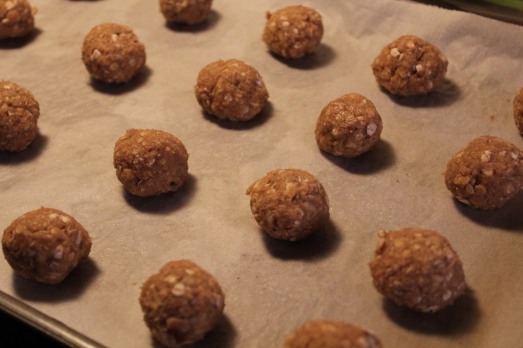
Form dough into small balls.
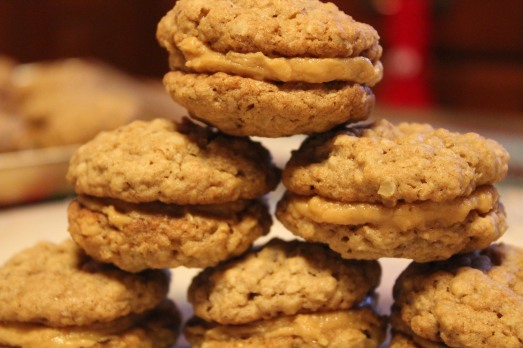
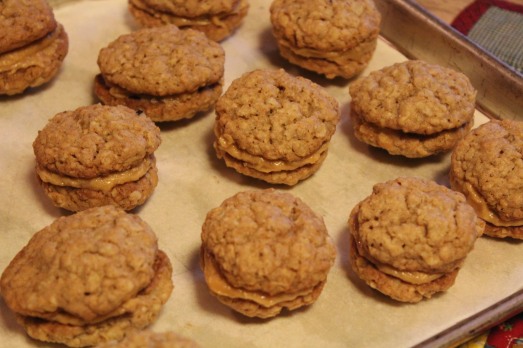
These are not big cookies because two of them get sandwiched together with more butter, sugar and peanut butter as a filling. You should get a total of about 2 dozen sandwich cookies.
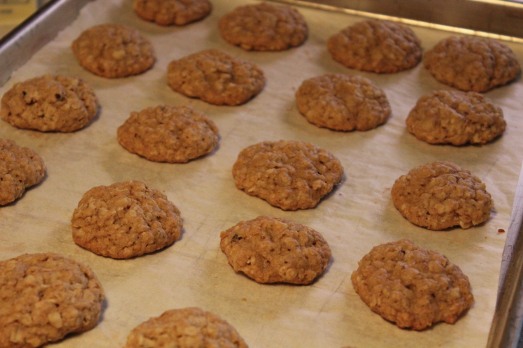
After baking. Note how they spread.
It will be difficult to keep from eating one of these cookies fresh and warm out of the oven, but remember we are making sandwiches and that requires and even number. I know you’re thinking well, I could eat two, but that line of reasoning will soon get you out of control. Who knows where it will end? So hang on a bit longer, you’ll be so glad you did.
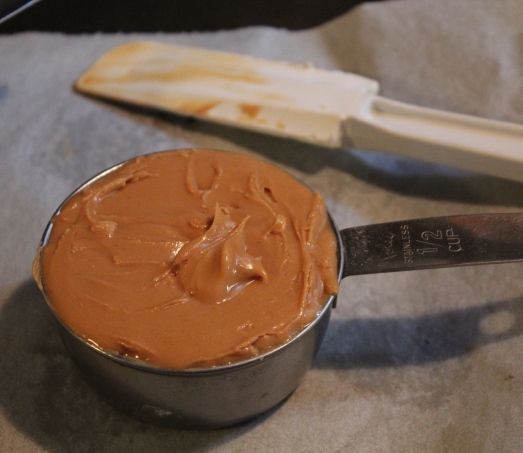
Hello, peanut butter!
Measure out the peanut butter, and combine it with butter, powdered sugar, vanilla, and some milk. OOOOH, so creamy and good. Now start putting the cookies together. Spread some filling on the bottom of one cookie and top it with another cookie. Now that’s something to swoon over!
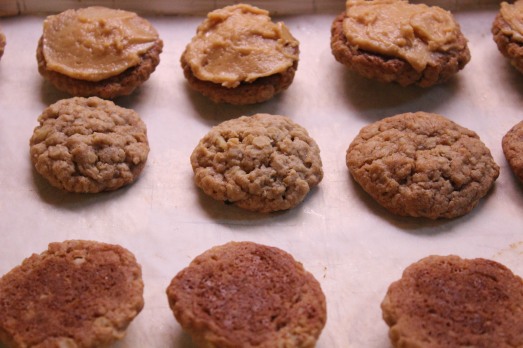
Match up cookies in pairs. Spread filling on the bottom of one and top with the other.
OATMEAL COOKIES WITH PEANUT BUTER CREAM FILLING
YIELD: about 2 dozen
FOR THE COOKIES
- 1/2 cup unsalted butter, softened
- 1 cup brown sugar
- 1 large egg
- 1 teaspoon vanilla
- 1 1/4 cups uncooked old-fashioned oats
- 1 cup flour
- 1/2 teaspoon baking powder
- 1/2 teaspoon baking soda
- 1/2 teaspoon salt
- 1 teaspoon cinnamon
- 1/4 teaspoon nutmeg
- 1/2 cup chopped nuts, optional
FOR THE FILLING
- 3 Tablespoons unsalted butter, at room temperature
- 1/2 cup smooth peanut butter
- 1 cup powdered sugar
- 3-4 Tablespoons milk
Preheat oven to 350 degrees. Line two baking sheets with parchment paper.
Beat the sugar and butter in the bowl of a stand mixer. Beat well till creamy, 3-4 minutes. Add egg and beat on medium for about 1 minute. Add the vanilla extract and beat in.
In a medium bowl whisk together the oats, flour, baking powder, baking soda, spices, and salt. Add the dry ingredients to the butter/egg mixture slowly on low speed just until incorporated. Stir in the nuts last.
Portion about 1 heaping teaspoon of dough into your hand. Roll into a ball an;d place on the prepared cookie sheet. Leave adequate space between the cookies to allow for spreading. If cookie dough begins to stick to your hands as you’re making the balls, rinse your hands and portion the dough with just slightly damp hands.
Bake for 10 – 13 minutes or until they reach your desired doneness. A little underdone is good as they will firm up as they cool. Transfer to a rack to cool completely.
To prepare the filling, place butter, peanut butter and powdered sugar in the bowl of a stand mixer. Beat on medium speed adding in the vanilla. Add the milk one tablespoon at a time until you have your desired consistency. The filling should be creamy and spreadable.
Pair up the cookies and flip half of them over. Spread the cookie bottoms with peanut butter filling. Top with a similar size cookie.
These cookies will keep for about 5 days if kept covered and cool or chilled ( i.e., in the refrigerator ).
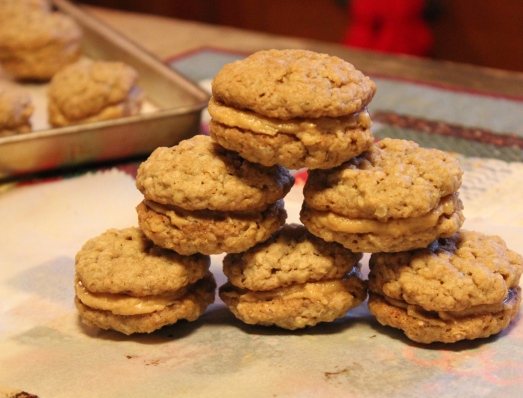
Sandwiches made. Aren’t they pretty?
SOURCE: http://joythebaker.com


 Here’s an advance look at tomorrow’s cookie recipe. Y’all come back then.