Cranberry Pecan Biscotti

Cranberry-Pecan Biscotti

Cranberry-Pecan Biscotti

Listen up folks!   It is a scientific fact that a beverage, whether it be coffee, tea, hot chocolate or milk, needs the perfect dunking cooking to go with it.

I took a poll among my friends with the question “would you rather have a graham cracker, a snickerdoodle, or cranberry pecan biscotti with your favorite beverage”?  Don’t ever let it be said that I’m afraid to ask the hard questions!   Biscotti was the overwhelming winner.  Although I have a sneaky suspicion that a frosted cinnamon roll would not be unwelcome either.

The winners….biscotti!

The winner….biscotti!

These are very gentle biscotti;  they are not going to fall apart and leave crumbs in the bottom of your cup or glass.  They are gently spiced with cinnamon and cloves, and they are made with whole wheat flour, so they are good for you.  In addition there’s the cranberries adding their vitamin C. and chopped pecans for some added crunch.  These are as much a cookie as they are a tiny package of warmth and comfort in the middle of what was this winter’s coldest temperatures.

Ahem, excuse me, but I wrote this over a month ago when it was still winter around here.  Don’t be misled, these are great any ole time you feel like having a cookie to munch on.

IMG_8934

CRANBERRY PECAN BISCOTTI

Yield:  Makes about 2 1/2 dozen biscottiIMG_8929

Ingredients:

  • 1 cup sugar
  • 1/2 cup butter, softened
  • 2 eggs
  • 1 tsp. vanilla extract
  • 2 cup whole wheat flour
  • 1 1/2 tsp. baking powder
  • 1/4 tsp. salt
  • 2 tsp. ground cinnamonIMG_8931
  • 1/4 tsp. ground cloves
  • 2/3 cup chopped pecans
  • 3/4 cup dried cranberries

Directions:

1.  Preheat oven to 325*F.   Line a baking sheet with parchment paper, or Silpat liner.

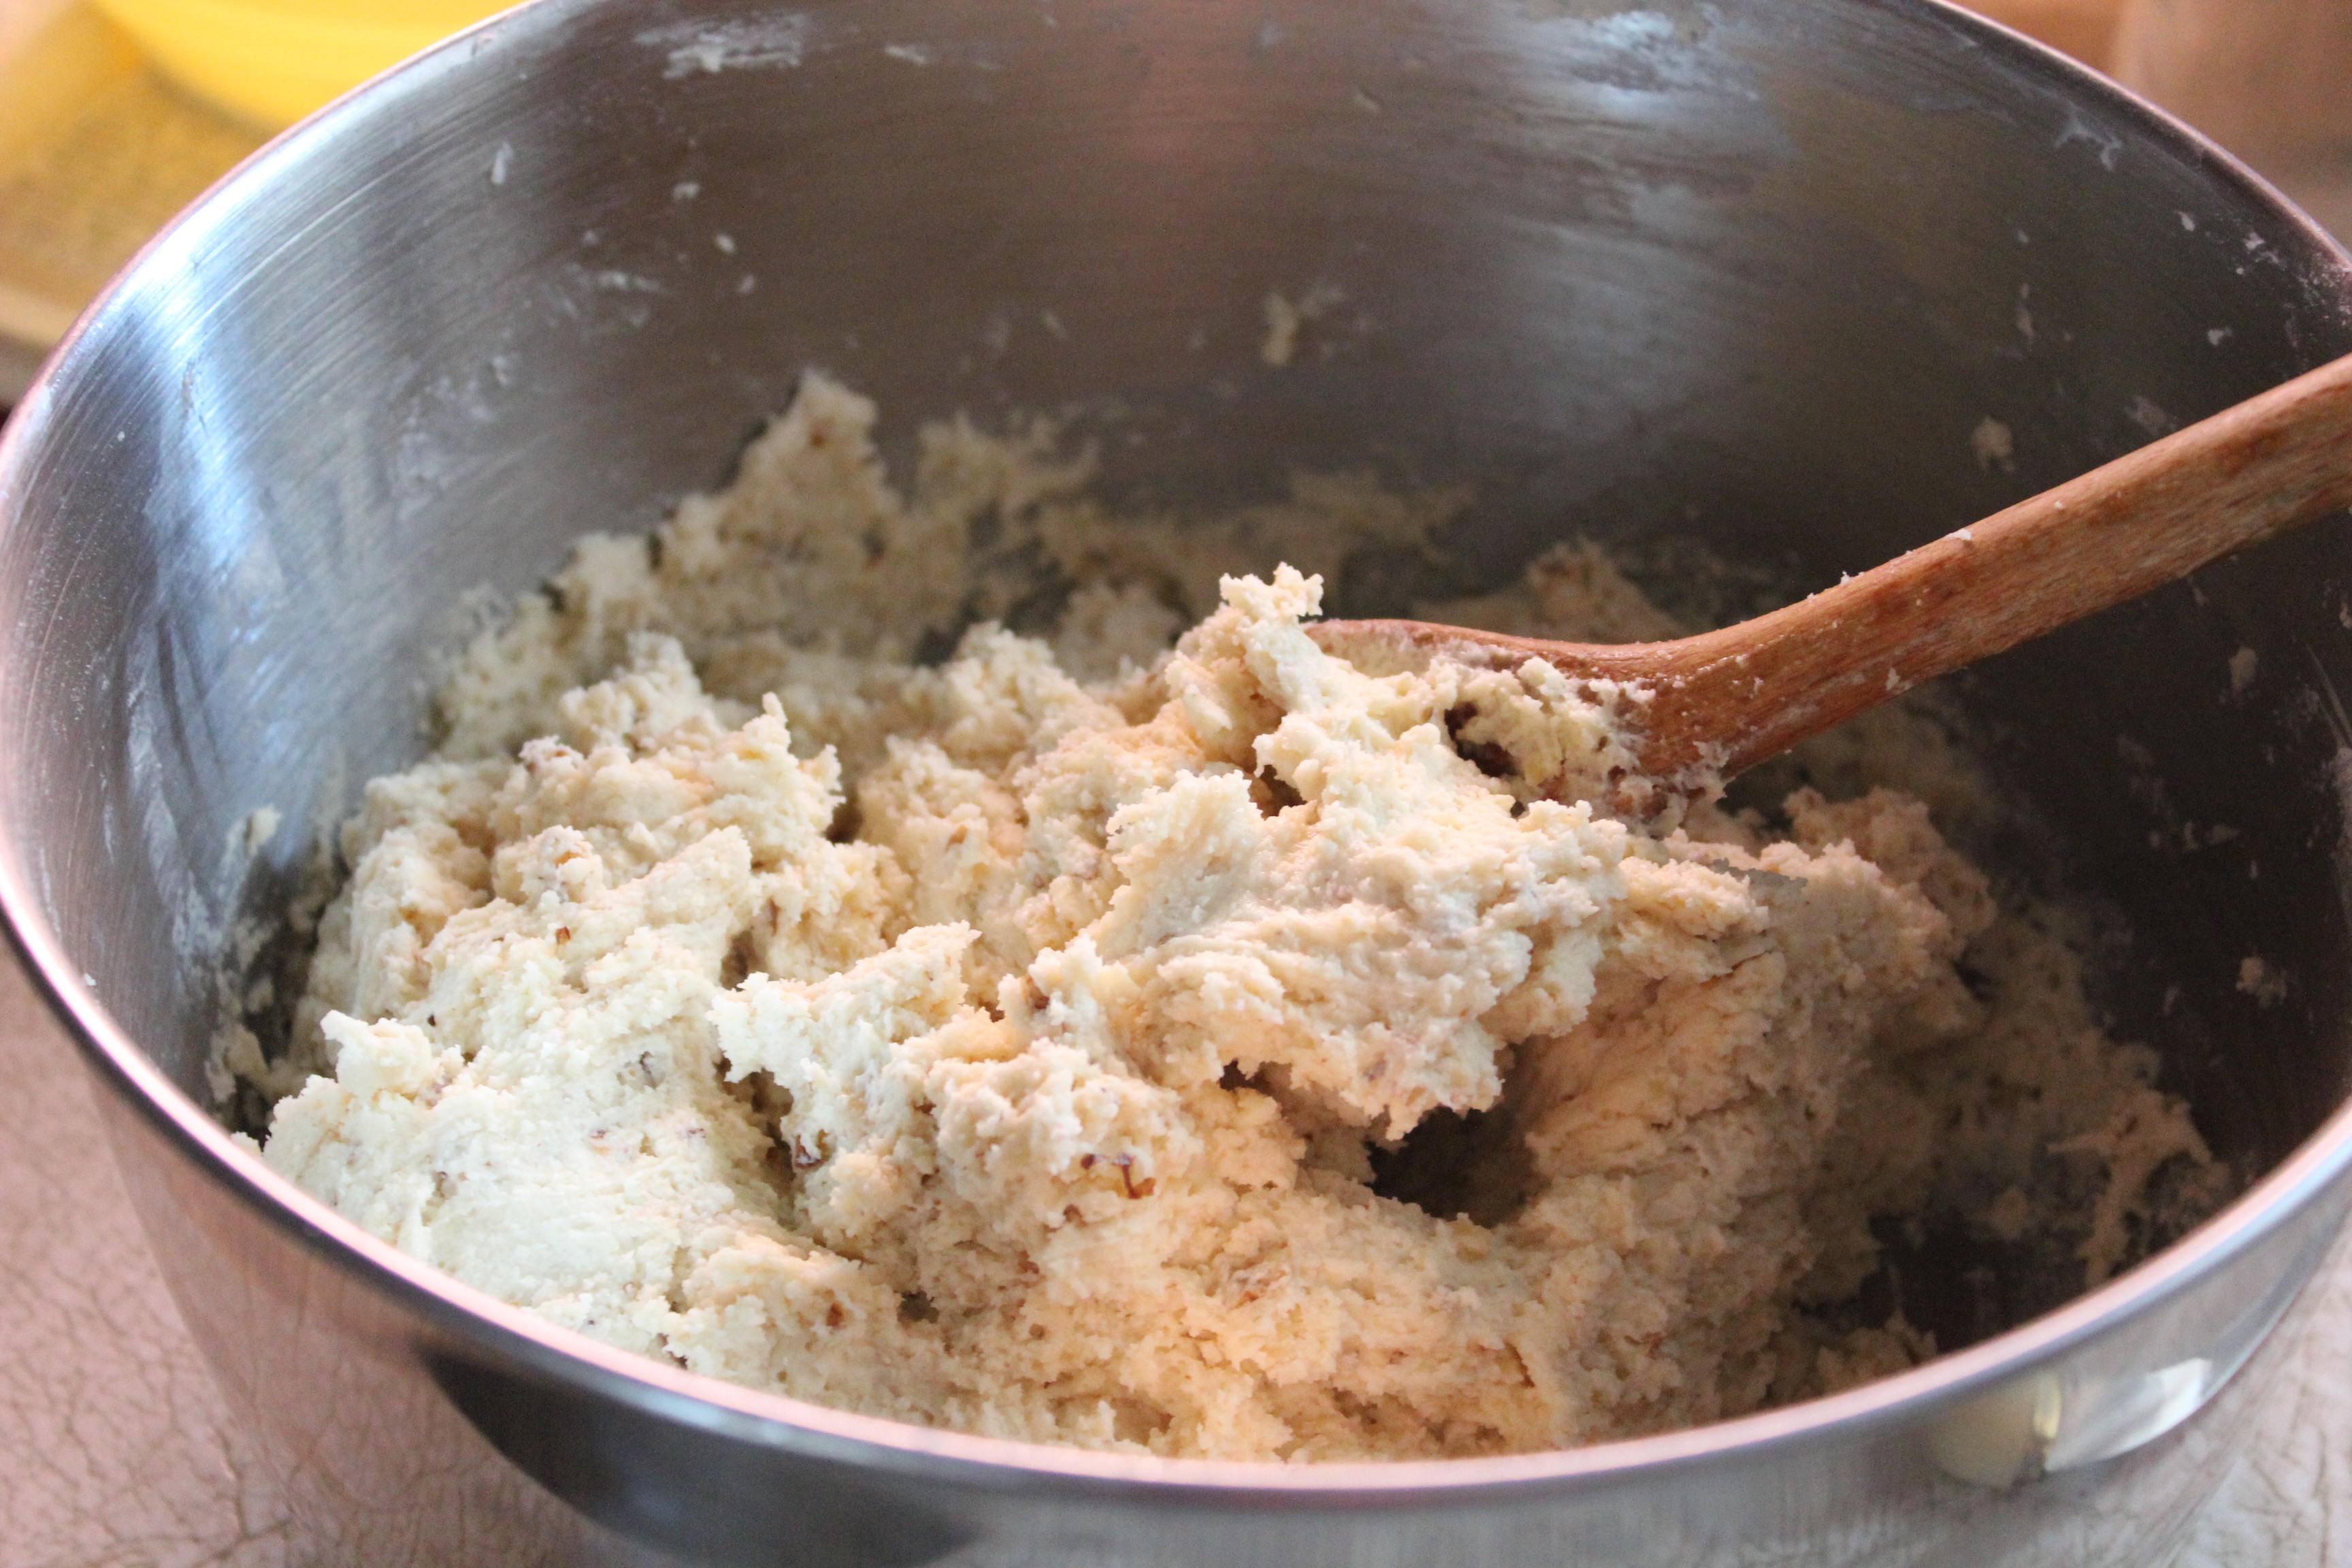
2.  In the large bowl of an electric mixer, cream together the butter and sugar until light and fluffy.  Add the eggs, one at a time, then the vanilla.

Start by creaming the butter and sugar.

Start by creaming the butter and sugar.

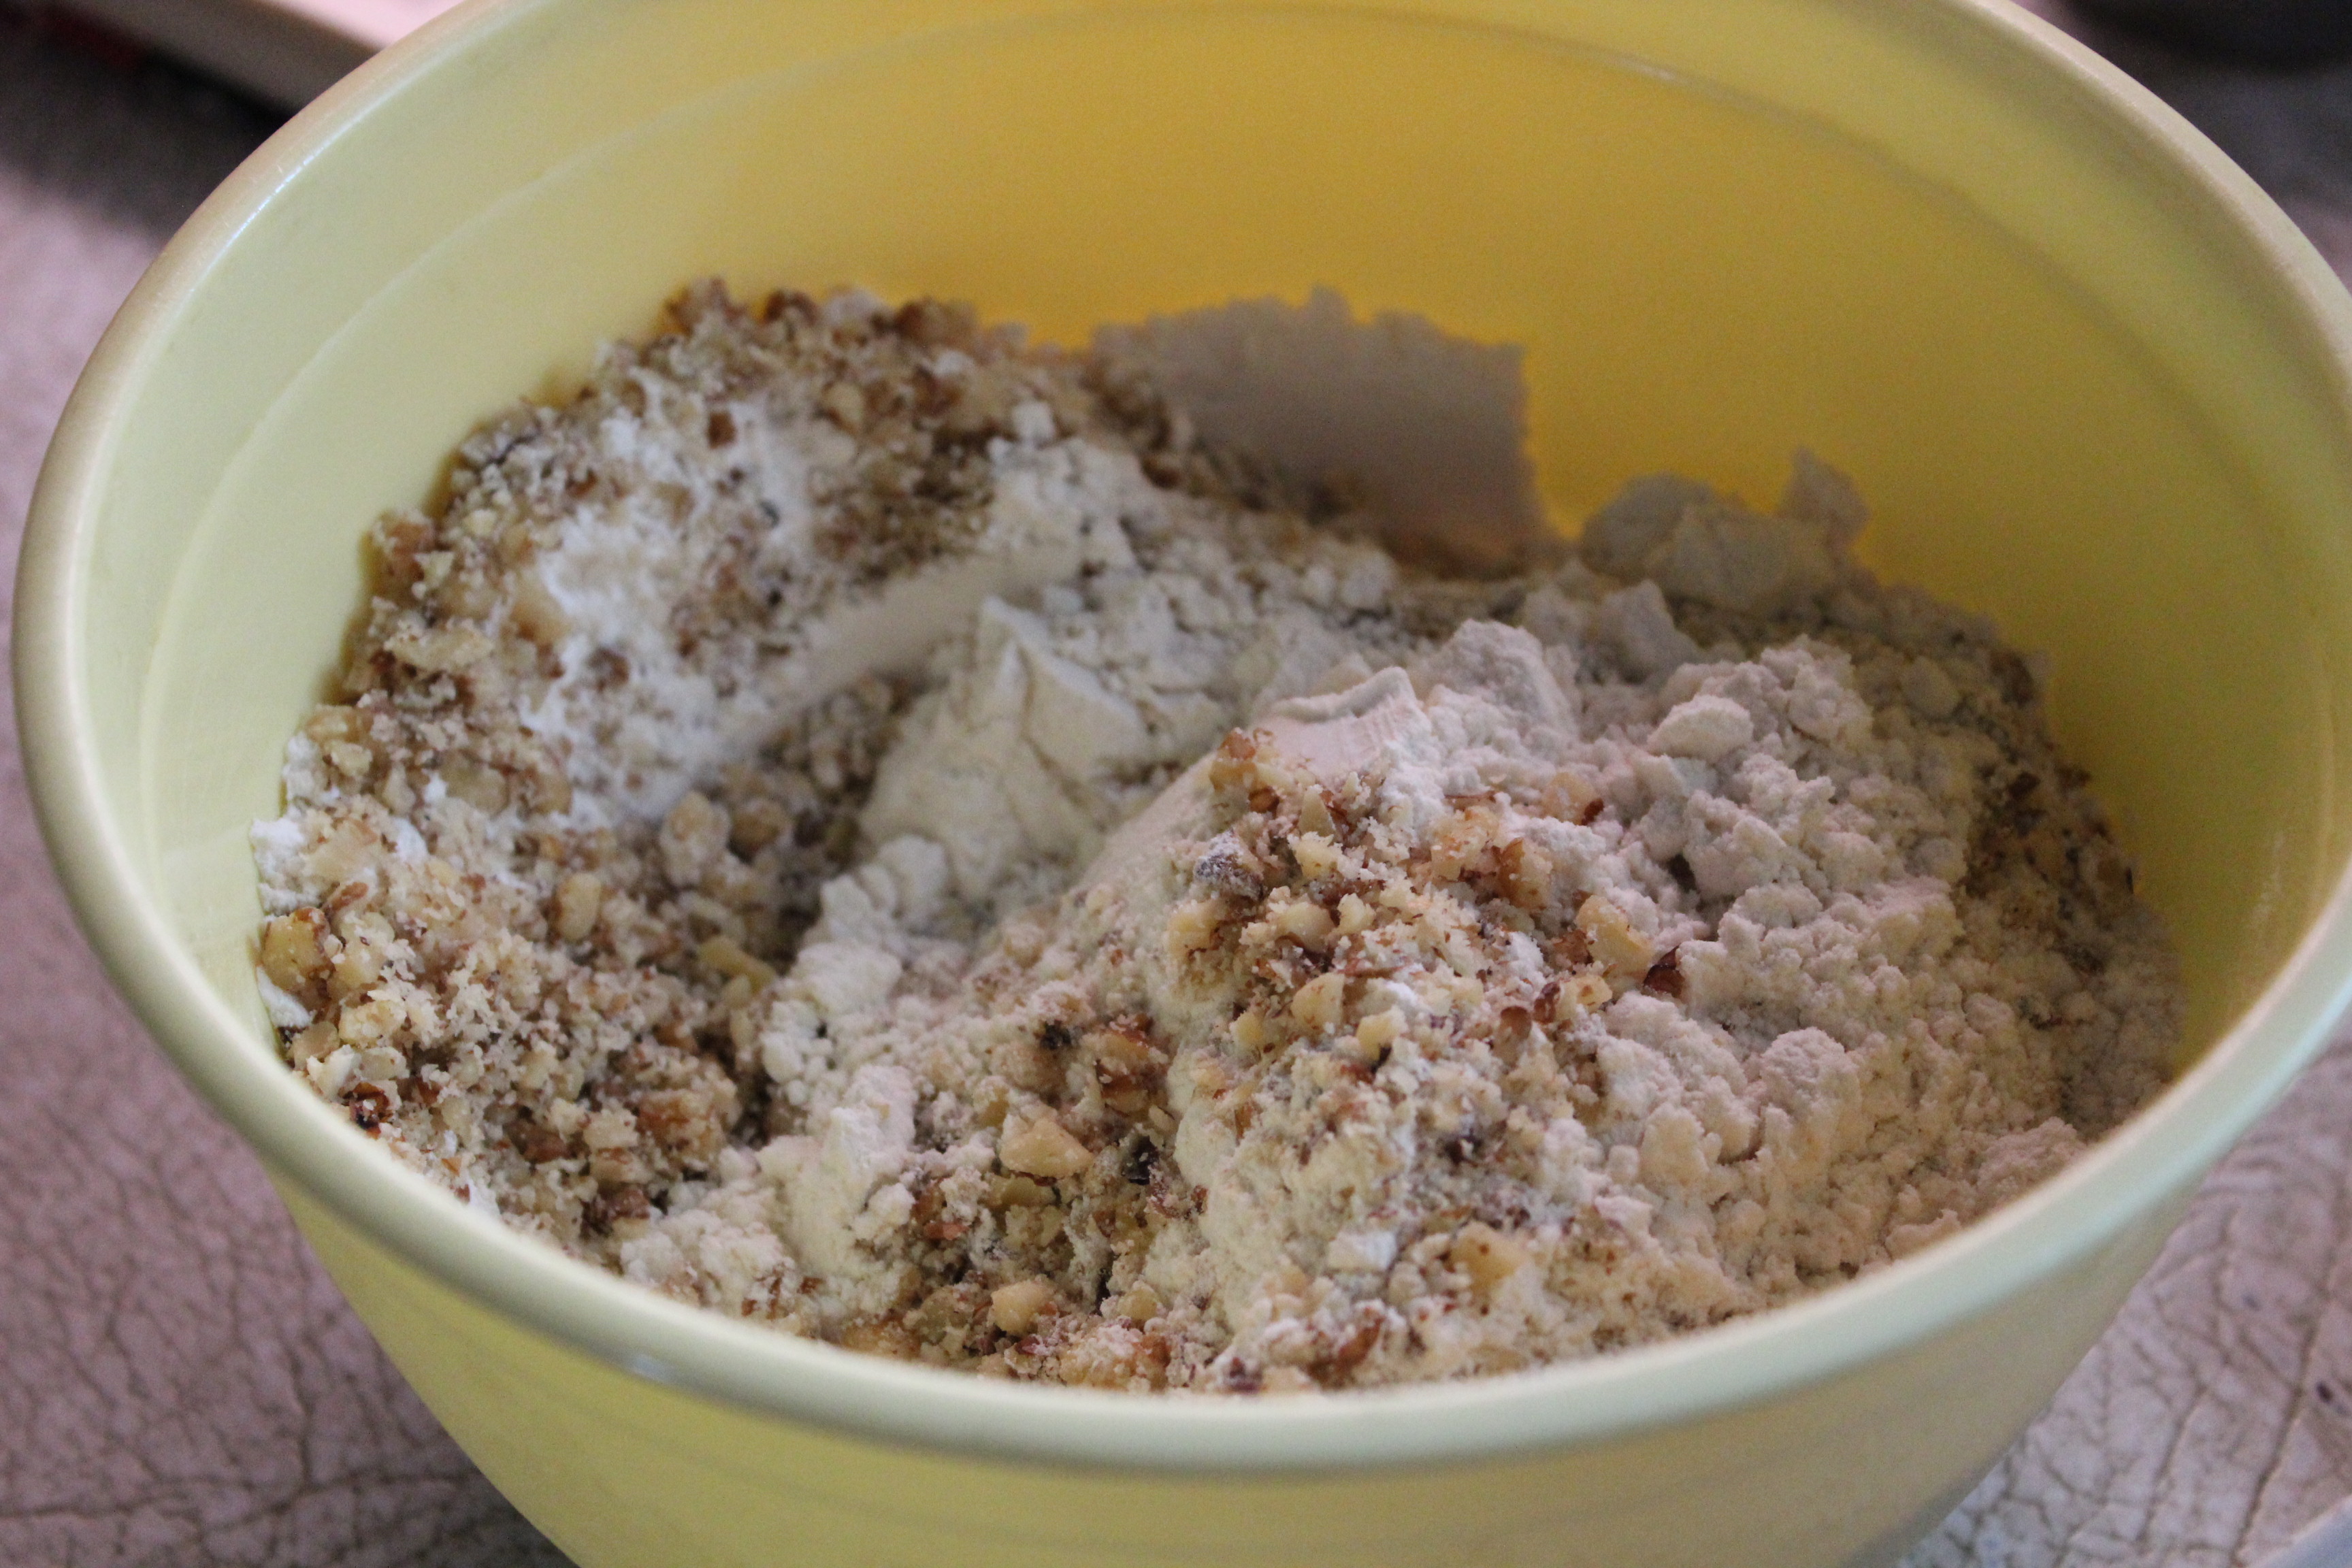
3.  In a separate bowl, whisk together the flour, baking powder, salt, cinnamon and cloves.  Add to creamed mixture in several additions.  If mixture becomes too thick, stir in the remainder of the flour mixture.

4.  Stir in the nuts and cranberries.

5.  Divide the dough in half and form 2 logs on the baking sheet. (approximately 1/2″ x 2″ wide).

Form dough into 2 "logs" on baking sheet.

Form dough into 2 “logs” on baking sheet.

6.  Bake at 325*F. for 25 minutes, until light golden brown.

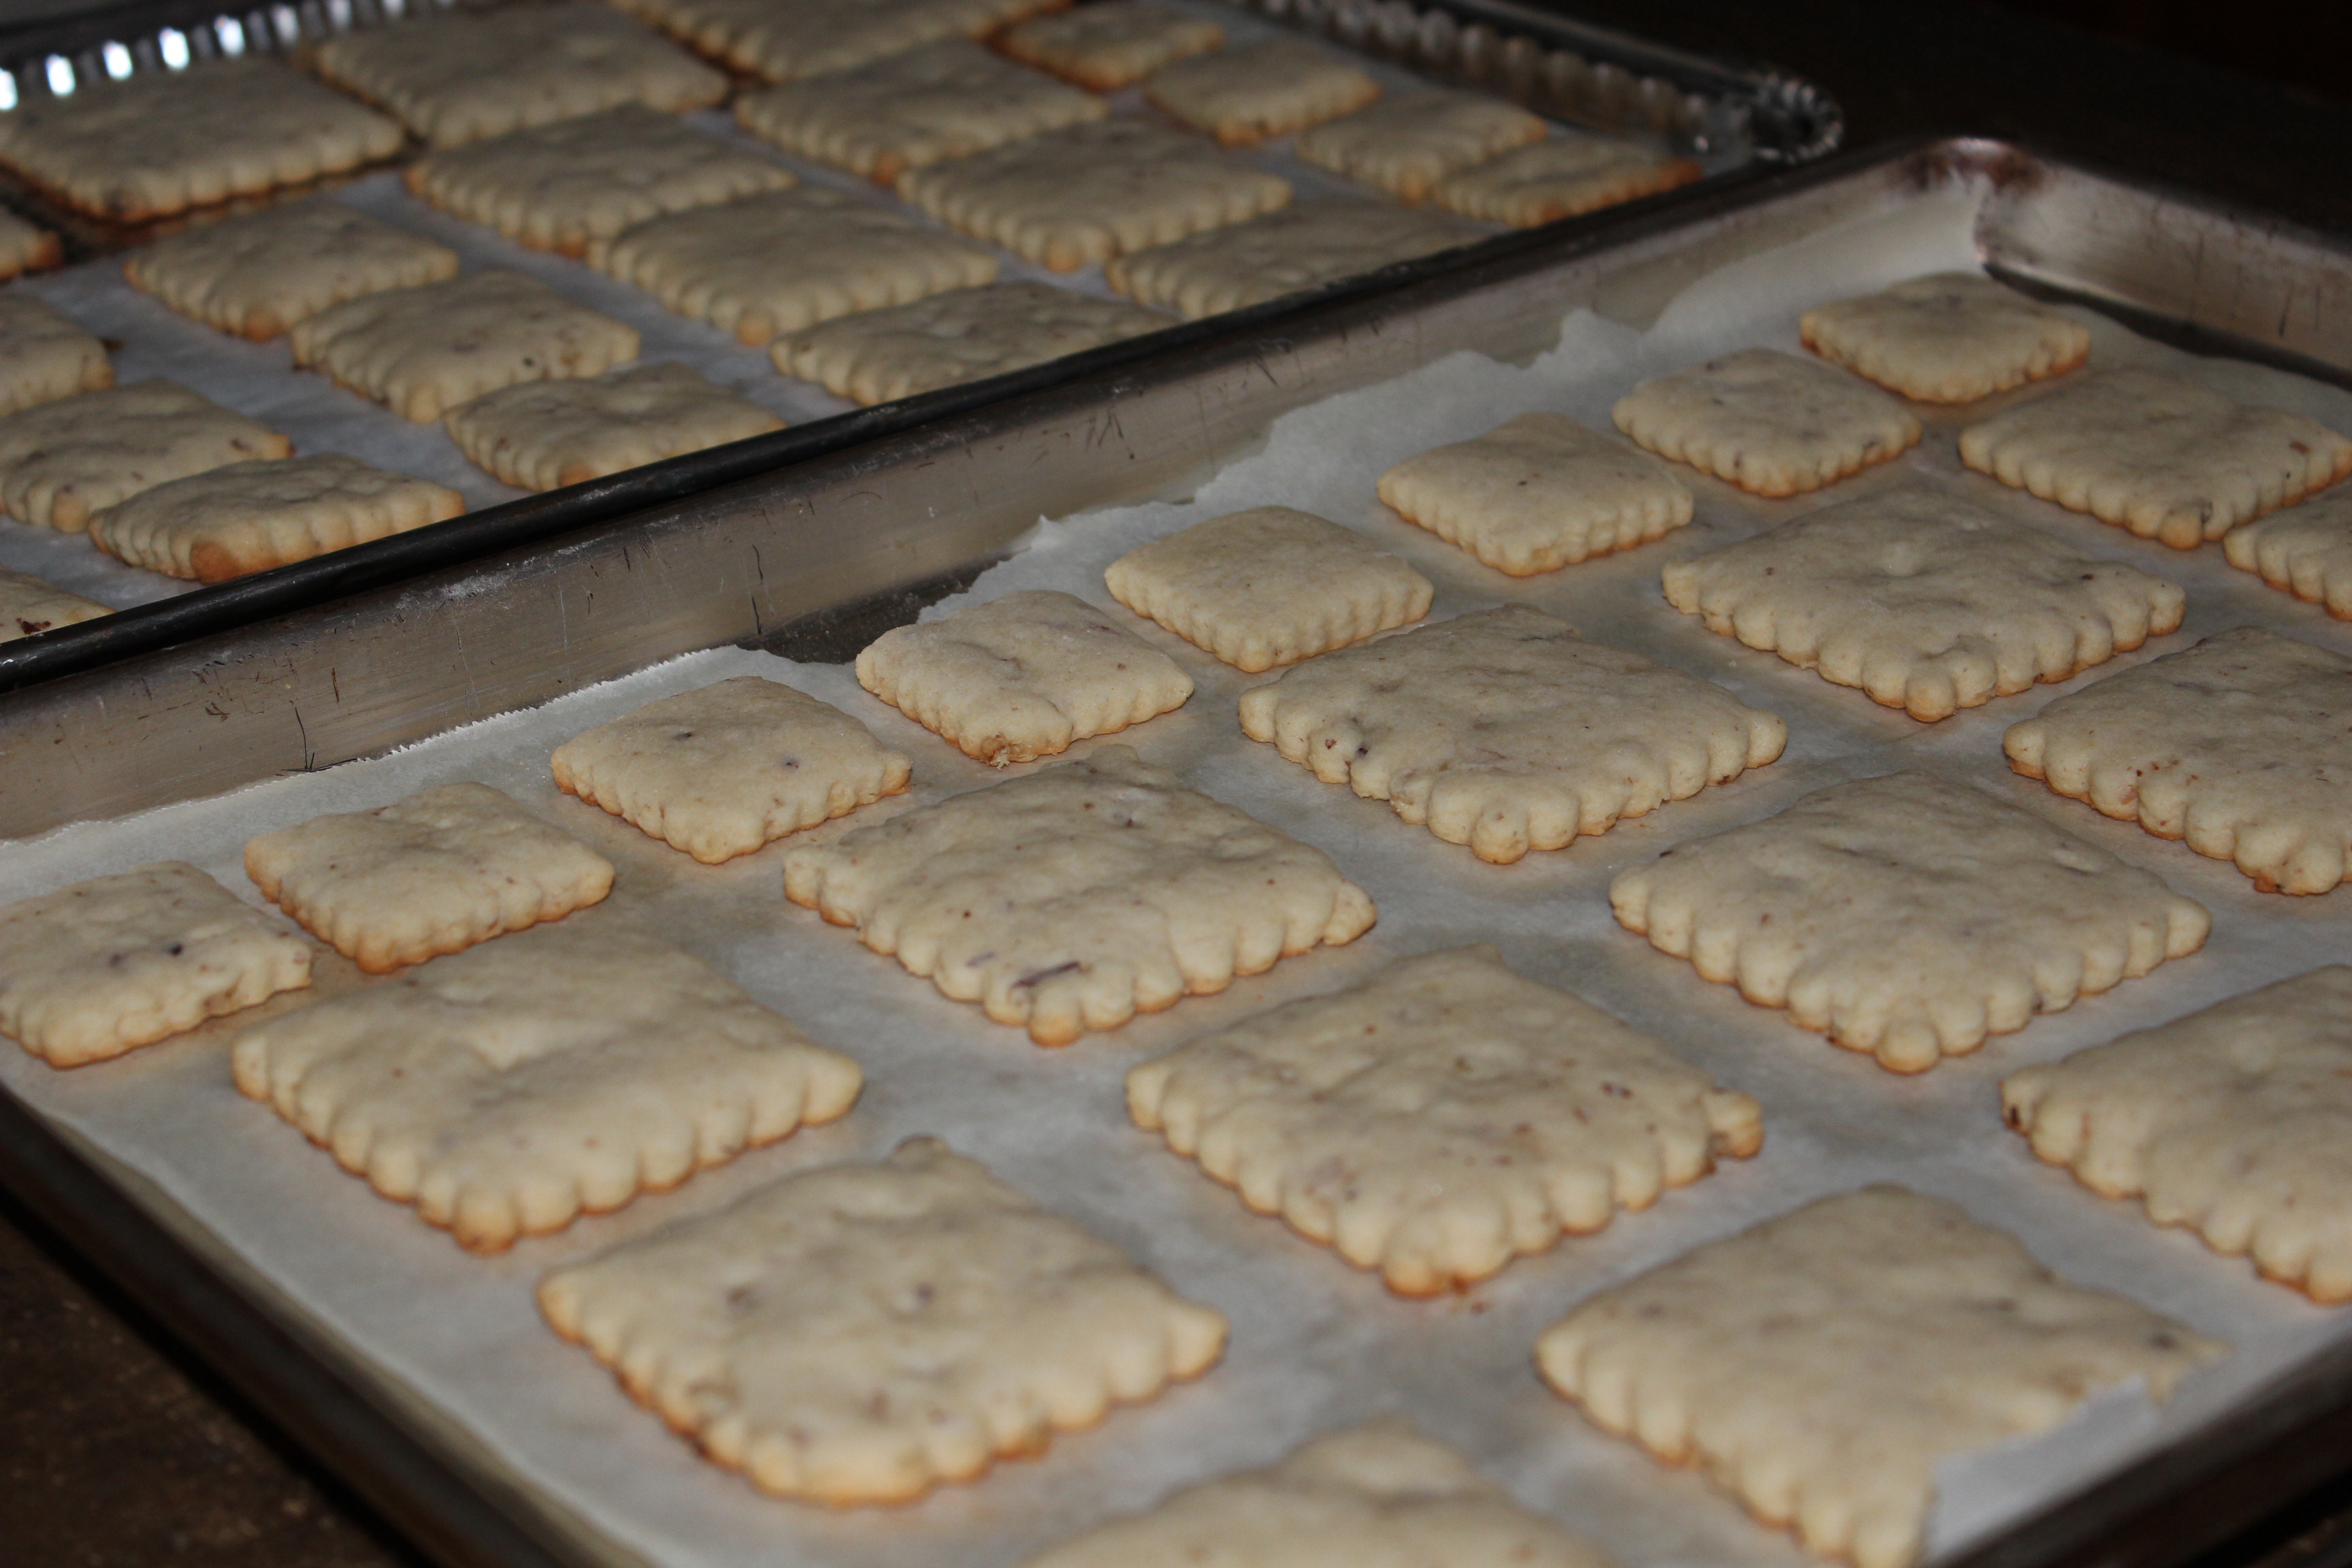
7.  Remove from oven and cool for 5 minutes.  Slice into 1/2″-thick slices.   Lay on their sides.  Bake about 10 minutes longer, turning over after 5 minutes.

These biscotti may not seem crisp enough, but as they cool they become crisper, so do not over bake them.

IMG_8937

Enjoy these delightful biscotti and be comforted!

SOURCE:    Big Oven

Advertisement

Sweet Potato Casserole

Sweet Potato Casserole

Sweet Potato Casserole

Thanksgiving has always been one of my favorite holidays.  It’s a day that revolves around family and food;  a time to think about all the blessings in our lives and to remember all the things for which we are thankful.  The menu that gets served for Thanksgiving dinner is pretty traditional.  Although I like to get creative, Thanksgiving is not the time when I want to have dishes on the table that contain unrecognizable ingredients.

Sweet potato generally is not a vegetable that my family serves, although once in a while we do have a small bowl of them mashed.  This year however, I am making a baked casserole in the Southern tradition.  I auditioned it in advance to see how it would come out before springing it on my family.   It passed the test big time!!   Mr. D. pronounced it “fantastic”.   This is not the usual sweet potato casserole with marshmallows melted and toasty on top.  This one has a crumb topping with pecans in it.  It is so yummy, I would be happy eating it for dessert.  I think this dish is about to become one of our new traditions…..

IMG_8581

Please note:  in the pictures that follow, the quantities you see are reduced from the recipe as I made a smaller version using only 2 large sweet potatoes.

SWEET POTATO CASSEROLE

Yield:   Serves 12

Ingredients:

  • 4 pounds sweet potatoes (about 4 – 5 large), peeled and cut into 1-inch cubes.

    Cut up sweet potatoes into small(ish) cubes.

    Cut up sweet potatoes into small(ish) cubes.

  • 1/2 cup white sugar
  • 4 eggs, beaten
  • 1 1/2 tsp. salt
  • 6 tablespoons butter, softened
  • 1 cup milk
  • 1 tsp. vanilla extract
  • 1/2 cup packed brown sugar
  • 1/3 cup flour
  • 1/2 cup chopped pecans
.

.

Directions:

1.  Put sweet potatoes in a large saucepan with water to cover.  Bring to a boil, and cook over medium heat until tender, about 25 minutes.  Drain and mash with a potato masher.  Add 4 Tablespoons butter to hot potatoes and allow it to melt while you prepare the egg mixture.

Add butter to hot potatoes so it can melt in, then mash.

Add butter to hot potatoes so it can melt in, then mash.

2.  Preheat oven to 350*F.  Coat a 13 x 9-inch baking dish ( or similar size) with cooking spray and set aside.

3.  In a large bowl, mix together white sugar, eggs, salt,  milk, and vanilla until smooth.

IMG_8565

Add to mashed sweet potatoes and stir well to blend smooth.

Add milk/egg mixture to sweet potatoes and blend well.

Add milk/egg mixture to sweet potatoes and blend well.

Pour sweet potato mixture into prepared baking dish.

IMG_8567

4.  In a small bowl, mix brown sugar and flour.  Add remaining 2 tablespoons butter and cut in with a pastry cutter or two knives until mixture looks like coarse sand.  Stir in pecan pieces.

IMG_8569

Sprinkle over sweet potato mixture.

Sprinkle topping over sweet potato mixture.

Sprinkle topping over sweet potato mixture.

Note:  if you are making this ahead, cover it with foil and put in the fridge at this point.  Then uncover it, put it in the oven, and bake it on Thanksgiving day.  Or you can bake it in advance and just reheat it when you want to serve it.

5.  Bake for 45 – 50 minutes, or until mixture is heated through and  topping is lightly browned.

IMG_8575

IMG_8582

SOURCE:   All Recipes Magazine


Pecan Sour Cream Sandies

Pecan Sour Cream Sandies for Valentines Day

Pecan Sour Cream Sandies for Valentines Day

When I was young my favorite cookies were Keebler’s Pecan Sandies.  What I loved about them was the thickness of the cookie, and how rich and crunchy they were.  That was my after school snack with a glass of milk.  I don’t know if they even exist anymore.   I no longer look for them because I don’t buy packaged cookies at the grocery store  when I bake so frequently at home.

This recipe came to my attention one year around the holidays  when I was lining up the cookies I planned to bake for Christmas.  It has since become a favorite, and if I don’t make it for the holidays, I usually make it at some other time during the year.  The dough is easy to make and although initially a little sticky, after chilling a while it firms up and becomes a very forgiving and manageable dough for cut-out cookies.  Since there are all sorts of cookie cutters available for just about any occasion, this dough is a good one to have in your recipe box as a dependable go-to when you want to make a cookie that will always come out good.  If you bake for someone who is nut-sensitive, just leave out the nuts, they will still be a delicious butter cookie.

On a side note:  I used to wonder what it was about pecans that makes them so expensive, when they are widely grown in the South, and used lavishly in southern cuisine.  During my vacation in North Carolina last fall, I think I learned the answer.  The folks we visited have a large pecan tree on their property–see photo below–and it was laden with pecans that hung in clusters.  I thought the tree was beautifully shaped and so I took a picture of it.   I did not realize that a pecan tree can grow to such a large size.

A pecan tree.

A pecan tree.

Not quite ripe pecans in their pods.

Not quite ripe pecans in their pods.

When the nuts are ripe the pods which hold them crack open and the pecan in its shell falls to the ground where they are picked up.  The quantity of nuts a tree will produce in any one year varies,  some years are “good’ and other years “not so good”. Weather and rainfall play a big part.  The pecan is one really protected little nut.  It resides inside the tan-brown shell that we recognize, but that shell is covered by another outer green shell or pod.  If you have ever shelled pecans you know how difficult that can be especially if you want perfect halves.  I don’t know how they are harvested commercially, but for folks who have a pecan tree, harvesting and cracking pecans is a lot of work.  Knowing this helps me to understand and appreciate their price.

Here is the recipe for the pecan sandies.  I made these as part of my cookie packages for Valentines Day this year.  I like to give gifts of home-baked treats to close friends and family for V-Day, a day for love, hearts and all things frilly!

PECAN AND SOUR CREAM SANDIES

Decorated treats!

Decorated treats!

YIELD:   Makes about 5 dozen cookies, depending on size of cutter used.

INGREDIENTS:

  • 1/2 cup pecans
  • 2 1/4 cup all-purpose flour
  • 1 1/2 teaspoons baking powder
  • 1/2 cup butter
  • 3/4 cup sugar
  • 1 egg
  • 1/3 cup sour cream
  • 1 teaspoon vanilla
  • 1 recipe Royal Icing (recipe below)

1.  Grind the 1/2 cup pecans in a nut grinder or food processor.  Stir together the nuts, flour and baking powder in a bowl.

Mix finely chopped nuts with flour.

Mix finely chopped nuts with flour.

2.  In large mixer bowl beat butter about 30 seconds.  Add sugar;  beat till fluffy.  Add egg, sour cream, and vanilla; beat well.

Creaming butter, sugar, egg, sour cream and vanilla.

Creaming butter, sugar, egg, sour cream and vanilla.

3.  Add dry ingredients, beating till well combined.  Divide dough in half, cover and chill at least 3 hours, or overnight.

An easy to work with dough.

An easy to work with dough.

4.  Working with half the dough at a time, on a lightly floured surface, roll to 1/8 inch thickness.  Cut with desired cookie cutters.  (Or dough may be shaped into 1-inch balls).  Place on silpat or parchment-lined baking sheets.  Chill each pan of cookies while you cut the next batch.  Bake cutout cookies in 375*F oven for 7 – 8 minutes,  shaped cookies for about 10 minutes.  Remove to a wire rack to cool.

Cookies cooling before frosting.

Cookies cooling before frosting.

5.  Spread with Royal Icing, sprinkle with nuts, decorative sugars, or other kinds of trims.

Royal Icing, tinted pink

Royal Icing, tinted pink

IMG_3054Royal Icing is a smooth fluid icing that holds its shape well and sets hard.  Once it is set you can carefully write on it with gel-food pens.

ROYAL ICING

In a mixer bowl, beat 1 egg white till frothy.  Add 1 1/2 cups sifted powdered sugar, 1 Tablespoon lemon juice, and a dash of salt.  Beat well.  Add a drop or two of food coloring (optional) to all or part of the glaze.  Decorate as desired.

Various sizes of square cookies.

Various sizes of square cookies.

I cut my cookies with several sizes of square cutters, divided the icing and tinted half of it pink, then stacked some of them, sprinkled some of them, and wrote on others with food-gel pens.  Simply done, but pretty.  Oh, the large cookie with the heart on it (a one of a kind) I will put into Mr. D’s lunch as a surprise!

IMG_3064

SOURCE:  Better Homes and Gardens Special Edition, Baking for the Holidays

Chocolate Caramel Pecan Thumbprints

Chocolate Caramel Pecan Thumbprint Cookies

Chocolate Caramel Pecan Thumbprint Cookies

Well, that’s rather a long title for a cookie.  I could call them simply chocolate thumbprints, but then you would miss out on the fact that there’s caramel in that little indentation, not jam as you might expect.  And why pecan?  Aren’t pecans always paired with chocolate and caramel as in “turtles”?  Of course,  I could have called them Chocolate Turtle Cookies,  but I wouldn’t want you to  get the wrong idea and think there were turtles in them either. So, Chocolate Caramel Pecan Thumbprints it is.   You’re gonna love em.

Usually when I see thumbprint cookies they are a light color with a red or green jam in the thumbprint, so I thought one with a chocolate cookie base would be a nice addition to a cookie tray. These could be rolled in powdered sugar or chopped nuts if you really want to fancy them up in addition to the caramel and pecan.

In this recipe I also pass along my trick for getting a perfect indentation to fill with jam or whatever when you make these kind of cookies.  A Cork.  Save a cork from a wine bottle and use it to make that dent and it will be symetrical and  perfectly round and hold just the right amount of filling.  S0000, here we go—-

CHOCOLATE CARAMEL PECAN THUMBPRINTS

YIELD:   about 2 dozen

INGREDIENTS

Chewy chocolate, gooey caramel, and crunchy pecan.

Chewy chocolate, gooey caramel, and crunchy pecan.

  • 1/2 cup ( 1 stick ) butter, softened
  • 2/3 cup sugar
  • 1 egg
  • 2 Tablespoons milk
  • 1 teaspoon vanilla extract
  • 1 cup flour
  • 1/3 cup baking cocoa
  • 1/4 teaspoon salt
  • caramel ice-cream topping
  • pecan halves, or large pieces

DIRECTIONS

1.  In a large mixing bowl, cream butter and sugar until light and fluffy.  Beat in the egg, milk, and vanilla.

2.  Combine flour, cocoa and salt;  gradually add to creamed mixture and mix well.  Cover and refrigerate for 1 hour or until easy to handle.

3.  Preheat oven to 350 degrees.  Grease 2 baking sheets, or line with parchment paper.

4.  Shape dough into 1 – inch balls.  Place 1 1/2 inches apart on prepared baking sheets.  Using a cork, make an indentation in the center of each cookie.   If you wish you can roll the balls in powdered sugar or chopped nuts before making the indentation.

Using a cork makes a perfect indentation for the filling.

Using a cork makes a perfect indentation for the filling.

5.  Fill each indentation with some caramel sauce, and place a pecan half on top.

Top each cookie with a pecan half.

Top each cookie with a pecan half.

6.  Bake at 350 degrees for 10 – 12 minutes or until center is set.  Remove from oven to cool on baking sheets for 5 minutes, then transfer to wire cooling racks to cool completely.   Store in an air tight tin or container with wax paper separating the layers.

Pretty cookies inviting you to take a bite.

Pretty cookies inviting you to take a bite.

SOURCE:   adapted from  The Taste of Home Baking Book

IMG_2071

Mississippi Mud Bars

I think I’ve said this before, but I’ll say it again:  I.  Love. Chocolate.  It is always my first choice in desserts.  So if there’s chocolate in it, on it, around it, or anywhere close by, you can be sure I’ll find it!   When I was asked to bring a “finger-type” dessert to an end-of-year picnic, this recipe came right to mind.  What else but chocolate could produce Mississippi Mud?  (As a food, that is.)

The recipe was published in the Winter 2012 Baking Sheet, from King Arthur Flour.  I am a faithful subscriber to this little recipe-filled periodical many of which have turned down pages for recipes I want to try.

Mention Mississippi Mud and like the ice cream, I think of chocolate chips, nuts and peanut butter.  These bars have not one, but two kinds of chocolate:  dark and white, plus pecans – a Southern touch.  Pure deliciousness in one little cookie bar.  Since they are eaten with your hands it’s OK to lick your fingers!

INGREDIENTS

  • 1/2 cup unsalted butter
  • 1 cup brown sugar, packed
  • 1/2 cup creamy peanut butter
  • 1 large egg
  • 1 tablespoon vanilla
  • 1 1/2 cup all-purpose flour
  • 1/2 teaspoon baking soda
  • 1/2 teaspoon salt
  • 3/4 cup white chocolate, coarsely chopped, or white chips
  • 2 cups semisweet or bittersweet chocolate chips or chunks, divided
  • 1 cup coarsely chopped pecans, divided

A word here about pan size:  You may choose a 9”x13″, a 9″x9″, or an 8″x8″ pan. The smaller pans will produce 16-20 bars that are thick with a thick layer of chocolate on top.  The 9″x13″ pan will produce 24-32 bars, but only about an inch thick.  That’s the size I used to bake the bars pictured here.

  1. Preheat oven to 325 degrees.  Select your pan and grease generously with non-stick spray.
  2. Cream the butter and brown sugar in a large bowl until smooth.  Beat in the peanut butter followed by the egg and vanilla.  Mix well; scrape the bowl.
  3. In a small bowl, mix together the flour, baking soda, and salt.  Stir the dry ingredients into the butter mixture.
  4. Add the white chocolate, 1 cup of the semisweet or bittersweet chocolate, and half of the pecans.
  5. Spread the batter evenly in the prepared pan.  Using a spatula works well to spread it to the edges.  Bake for 40-45 min. for 8″ or 9″ square pans;  30-35 min. for the 9″x13″ pan. The bars should be golden brown all over.
  6.   Remove from the oven and immediately sprinkle the remaining chocolate over the top of the bars.  Return to the oven for 1 minute to soften the chocolate, then take the pan out of the oven and spread the now-melted chocolate evenly over the top.  Sprinkle with the remaining pecans, pressing them lightly into the chocolate.  Allow to cool before cutting into bars.

SOURCE:  The Baking Sheet, Winter 2012,  from King Arthur Flour

Cobblers, Buckles, Slumps, and Grunts

What do all these words have in common?  They are all desserts made with a fruit base and a biscuit or cake-like topping.  I’m including one of these as my final Desserts for Dudes because my son and all the men I know seem to really like fruit-based desserts, and these names all have a very “manly” sound to them.  Although I had heard of these desserts before -and even eaten some-I was not clear about what their differences are.  So being the curious sort, I looked them up.

The term Cobbler is an old English word which was given to a baked fruit dessert that has dumplings or biscuits placed on top of the warm fruit base and baked in the oven.  As the toppings bake they enlarge and touch each other reminding folks of “cobbled streets”, thus the name cobbler.  A Buckle is made of a cake batter with fruits mixed in it, then oven baked.  It got its name because sometimes the whole thing buckled under the weight of the fruit.   Slumps and Grunts are a variety of cobbler, but cooked on top of the stove, usually in an iron skillet.  They acquired their unusual names because of the sounds they made while cooking.

I’ve made cobblers before using various fruits in season.  They are best served warm with a dollop of whipped cream, a drizzle of heavy cream over the top, or with a scoop of vanilla ice cream.  Here then is a recipe for Praline Peach Cobbler.  When I served this still a bit warm, with a scoop of vanilla ice-cream, Mr. D. said “MMMMMMMM, Wow!”

PRALINE PEACH COBBLER

Serves 12

Ingredients

  • 1 1/2  cups plus 2 teaspoons sugar, divided
  • 2 Tablespoons cornstarch
  • 1 teaspoon cinnamon
  • 1 cup water
  • 8 cups sliced peeled fresh peaches
  • 2 cups self-rising flour***
  • 1/2 cup shortening
  • 1/2 cup buttermilk, plus more as needed
  • 3 Tablespoons butter, melted
  • 1/4 cup packed brown sugar
  • 1 cup chopped pecans

***a substitute for the self-rising flour:  place 3 teaspoons baking powder and 1 teaspoon salt in a measuring cup.  Add all-purpose flour to measure 1 cup.  Then add an additional cup of all-purpose flour.

Directions

In a large saucepan, combine 1 1/2 cups sugar, cornstarch and cinnamon.  Stir in water until smooth.  Add peaches.  Bring to a boil over medium heat;  cook and stir for 2 minutes or until thickened.

Pour into a lightly greased 13 x 9 inch baking dish;  set aside.

In a bowl, combine the flour and remaining sugar; cut in shortening until mixture resembles coarse crumbs.  Add the buttermilk and stir just until moistened.  If needed, add additional buttermilk, 1 tablespoon at a time, until the dough clings together.  Turn out onto a floured surface; knead gently for 6-8 times.  Roll into a 12-inch x 8-inch rectangle.

Combine the butter, brown sugar and pecans;  spread over the dough to within 1/2 inch of edges.  Roll up jelly-roll style, starting with a long side.  Cut into 12  1-inch pieces.  Place over peach mixture, cut side up.  Bake, uncovered, at 400 degrees for 25-30 minutes or until golden brown.


Note:  all ingredients may be easily cut in half  to make a smaller size dessert.  Use a 9″ round pan, or an 8″ or 9″ square pan.  As pictured here, I made a half recipe for my husband and me and it easily made 6 servings.

SOURCE:   The Taste of Home Baking Book