Apples, bacon and cheese quesadillas. A lovely combination.
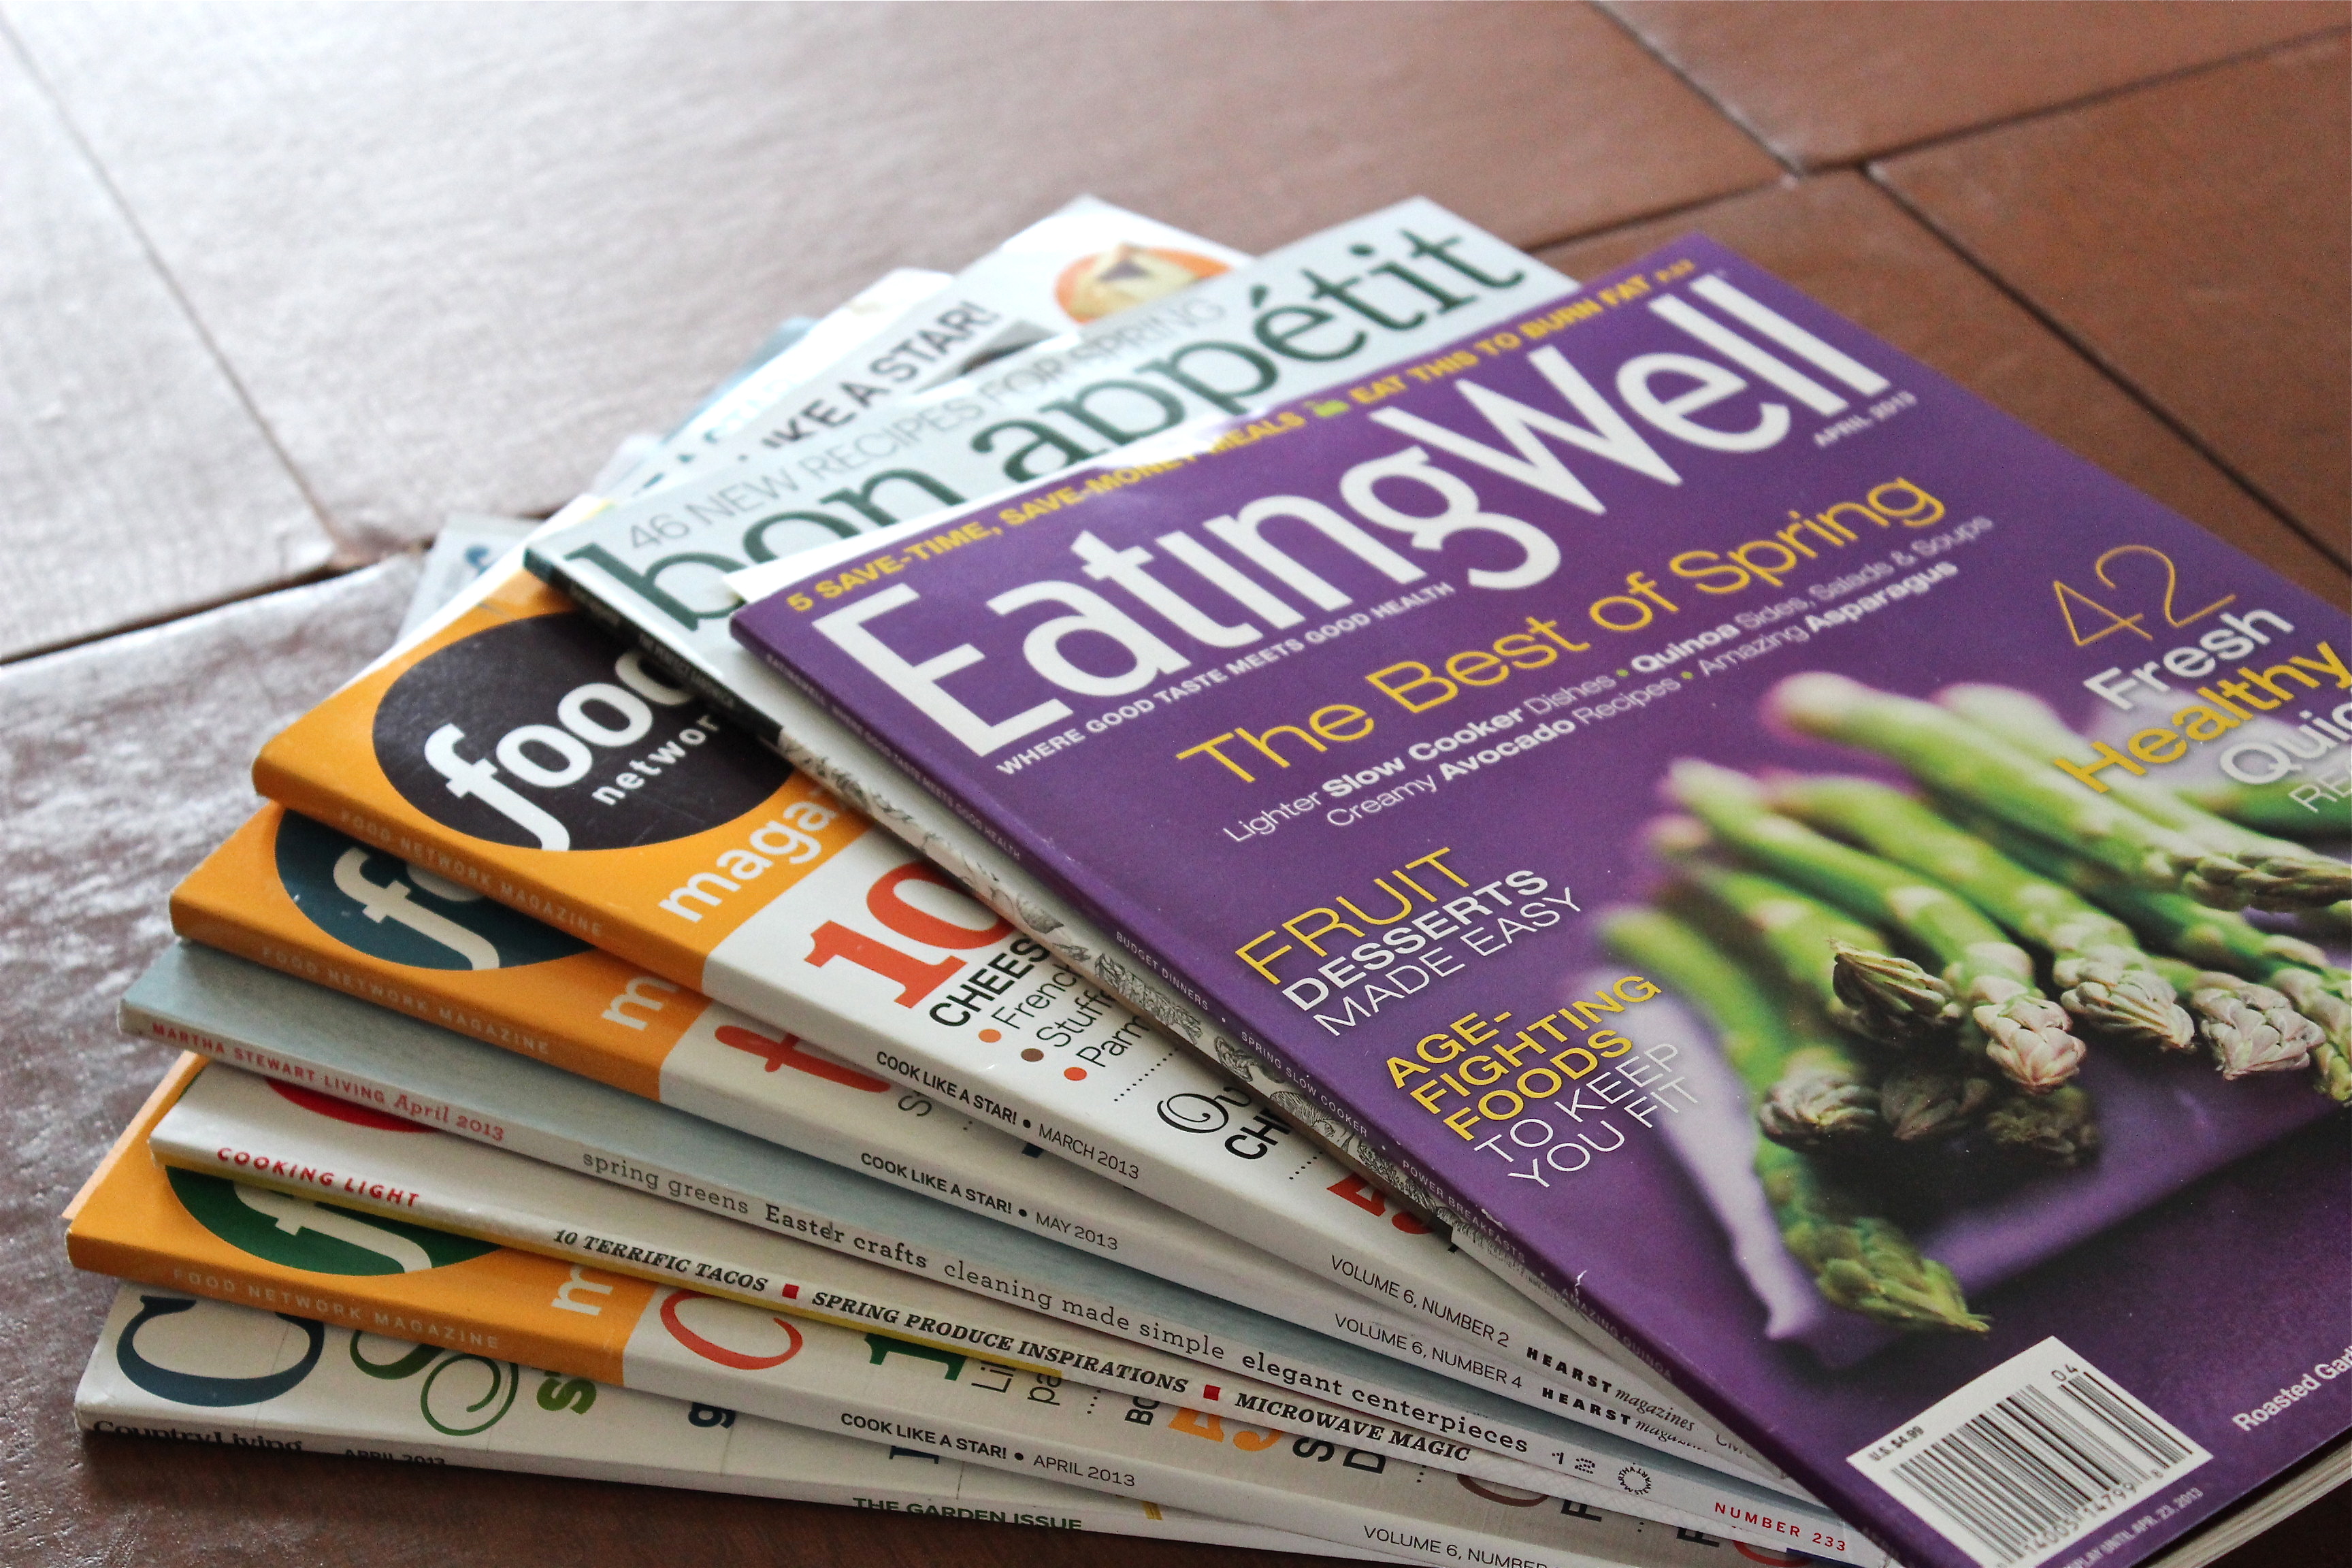
Are you a recipe clipper? I think that anyone who enjoys cooking is always looking for new recipes, and magazines are good resources for recipes. I count myself in that group of cooks who are always “on the hunt”. In fact I tear out so many recipes that I have a system for organizing them and deciding which ones are keepers and which ones don’t make the cut.
For anyone who might benefit from my system, this is what I do:
1. Read magazine and “dog-ear” pages with a recipe that interests me.

Fold over pages that have recipes that interest me.
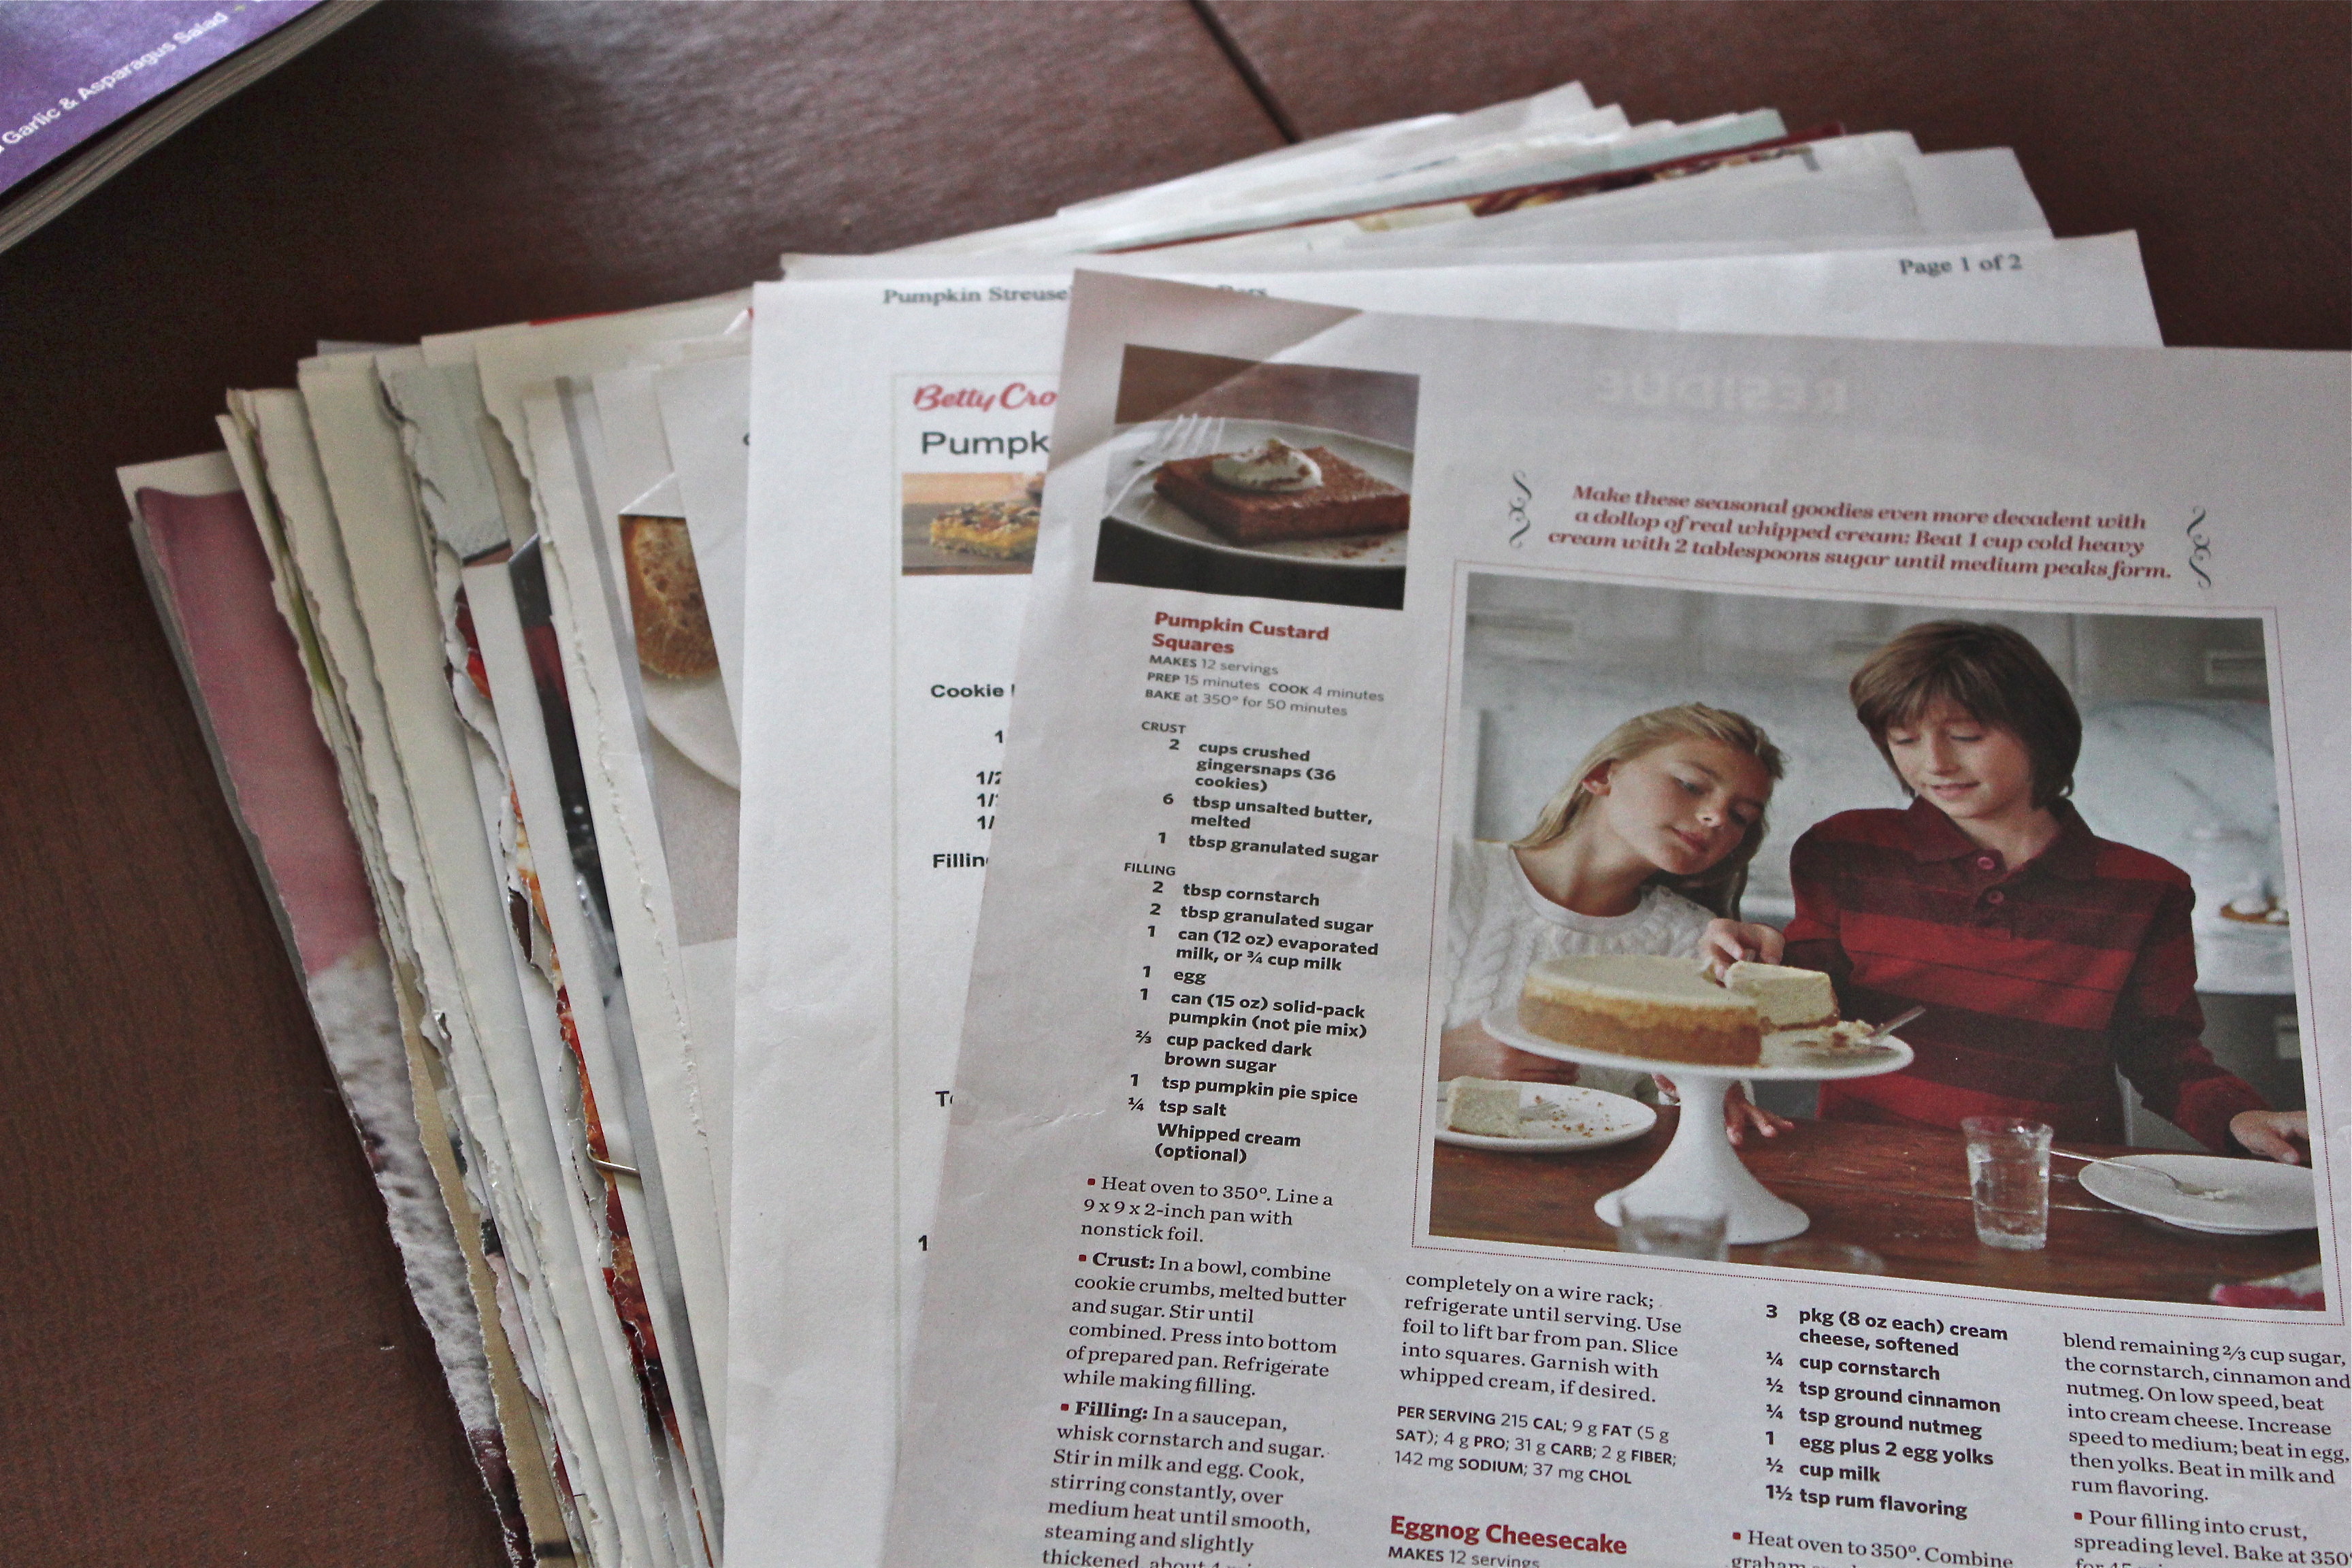
2.Before discarding the magazine, look again at those pages and decide if I want to try the recipe. If yes, then I tear out the page, and it goes into a pile with other torn-out pages.

The pile of torn-out pages grows large.
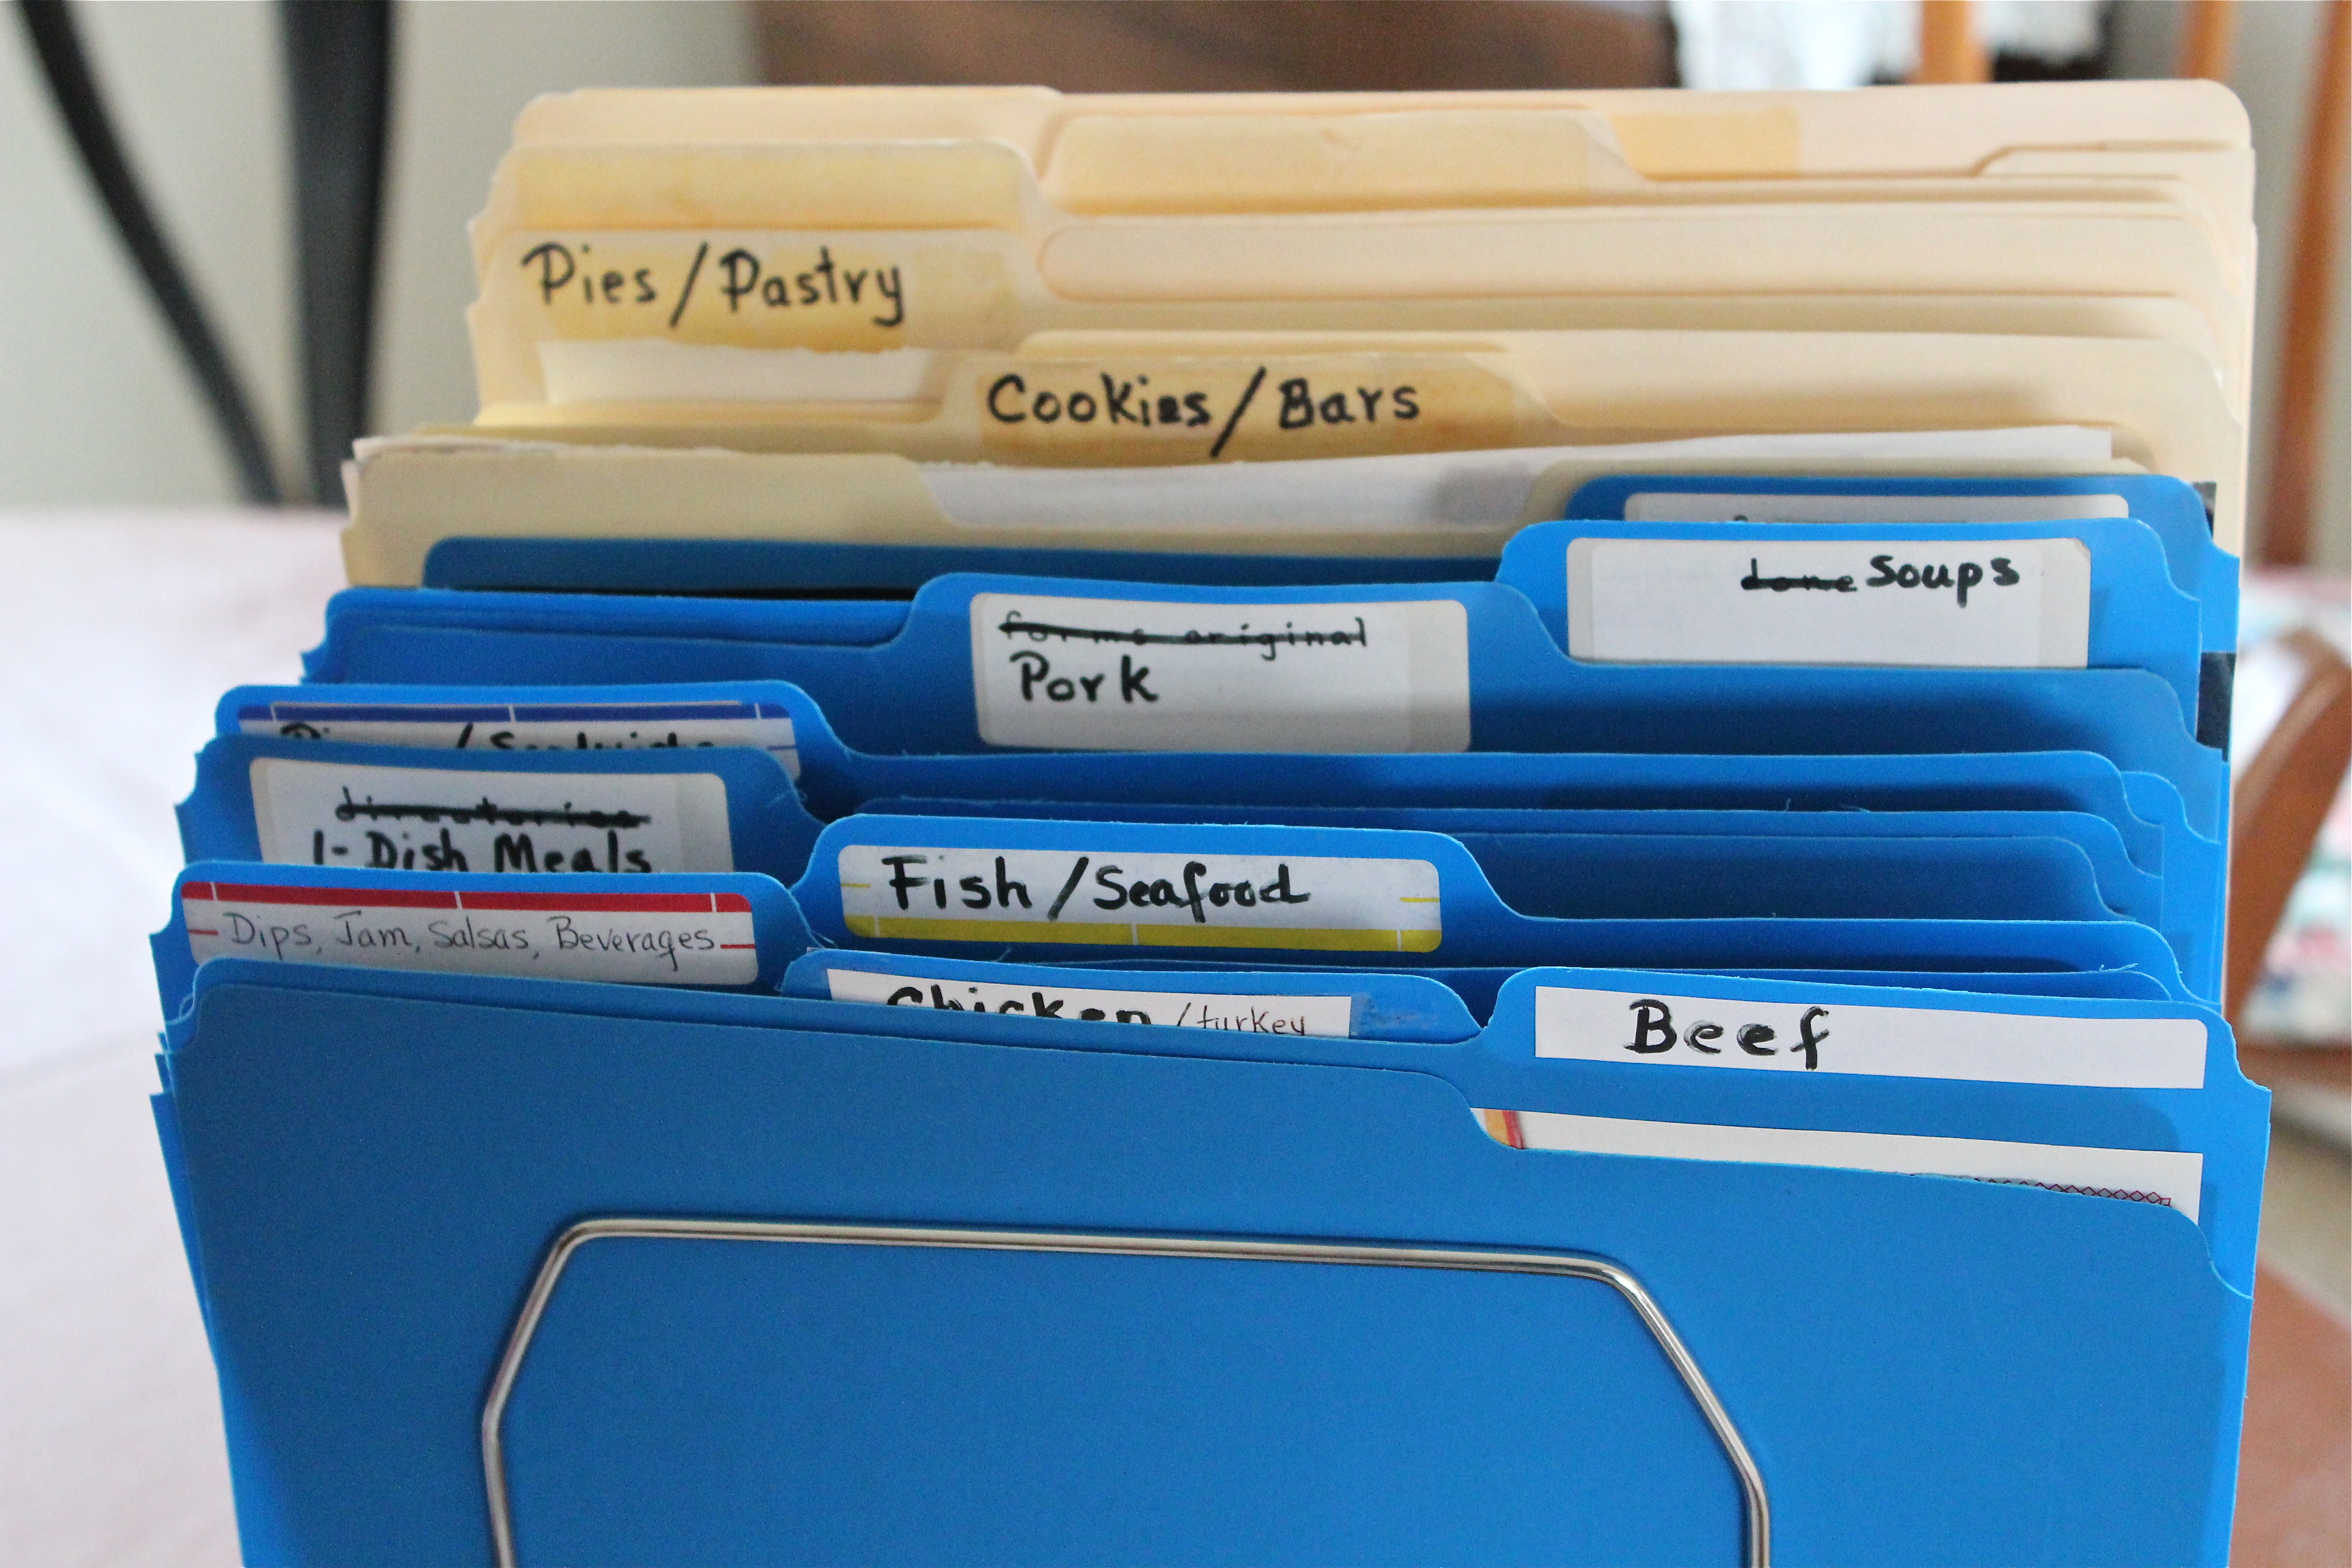
3. When the pile gets precariously high, I designate an afternoon or three?, and go through them all. If I’m still interested in any of the recipes I trim them more carefully, and then file in folders that are named in broad categories, like bars, cookies, desserts, soups, chicken, etc.

My file of files.
4. When I want to make something new, or have ingredients on hand to use, I go to a specific folder to see what’s there that I might want to try out.
5. Then I make the recipe to test it out. If it meets my requirements such as did we like it, was it straightforward and easy to prepare, have readily available ingredients, reasonable cost to make, cooked in a reasonable time frame? Then it gets mounted into a notebook as a “keeper”, that will enter my cycle of recipes; or become a go-to when I want to make something special.

I have several afternoons’ work to do!
I have written all the above with tongue-in-cheek, as I can imagine you are thinking to yourself (or saying out loud even) “what, is she crazy?” Well, yes. a little. According to the Myers-Briggs Personality Assessment Test I am a pointy-head sequential in the grand scheme of things, and detailed organization is one of my traits. Ha-ha-ha! 🙂
OK, so what does all this have to do with today’s recipe? The story is this: on Saturday, my husband went out on an errand, and before he left, he asked me what we would be having for lunch. I replied that I didn’t know, because my supplies were pretty low, and we had eaten up all the leftovers. But I reassured him that “I’ll think of something”. So while he was out I consulted my folder labeled ” Pizza and Sandwiches”, and in there found a recipe for Apple and Brie Quesadillas that I had been wanting to try.
The recipe called for a Granny Smith apple, Brie cheese and flour tortillas. Now, I didn’t have any Brie to work with but I did have some cheddar, and some Monterey Jack. So I improvised, using those cheeses, a Rome apple instead of Granny Smith, and added some crumbled bacon to the mix to create my recipe for Apple, Cheese and Bacon Quesadillas. When my husband came home he said, ” I see it didn’t take you long to think of something”. They were very good, we liked them very much, I’ll make them again. End of Story!

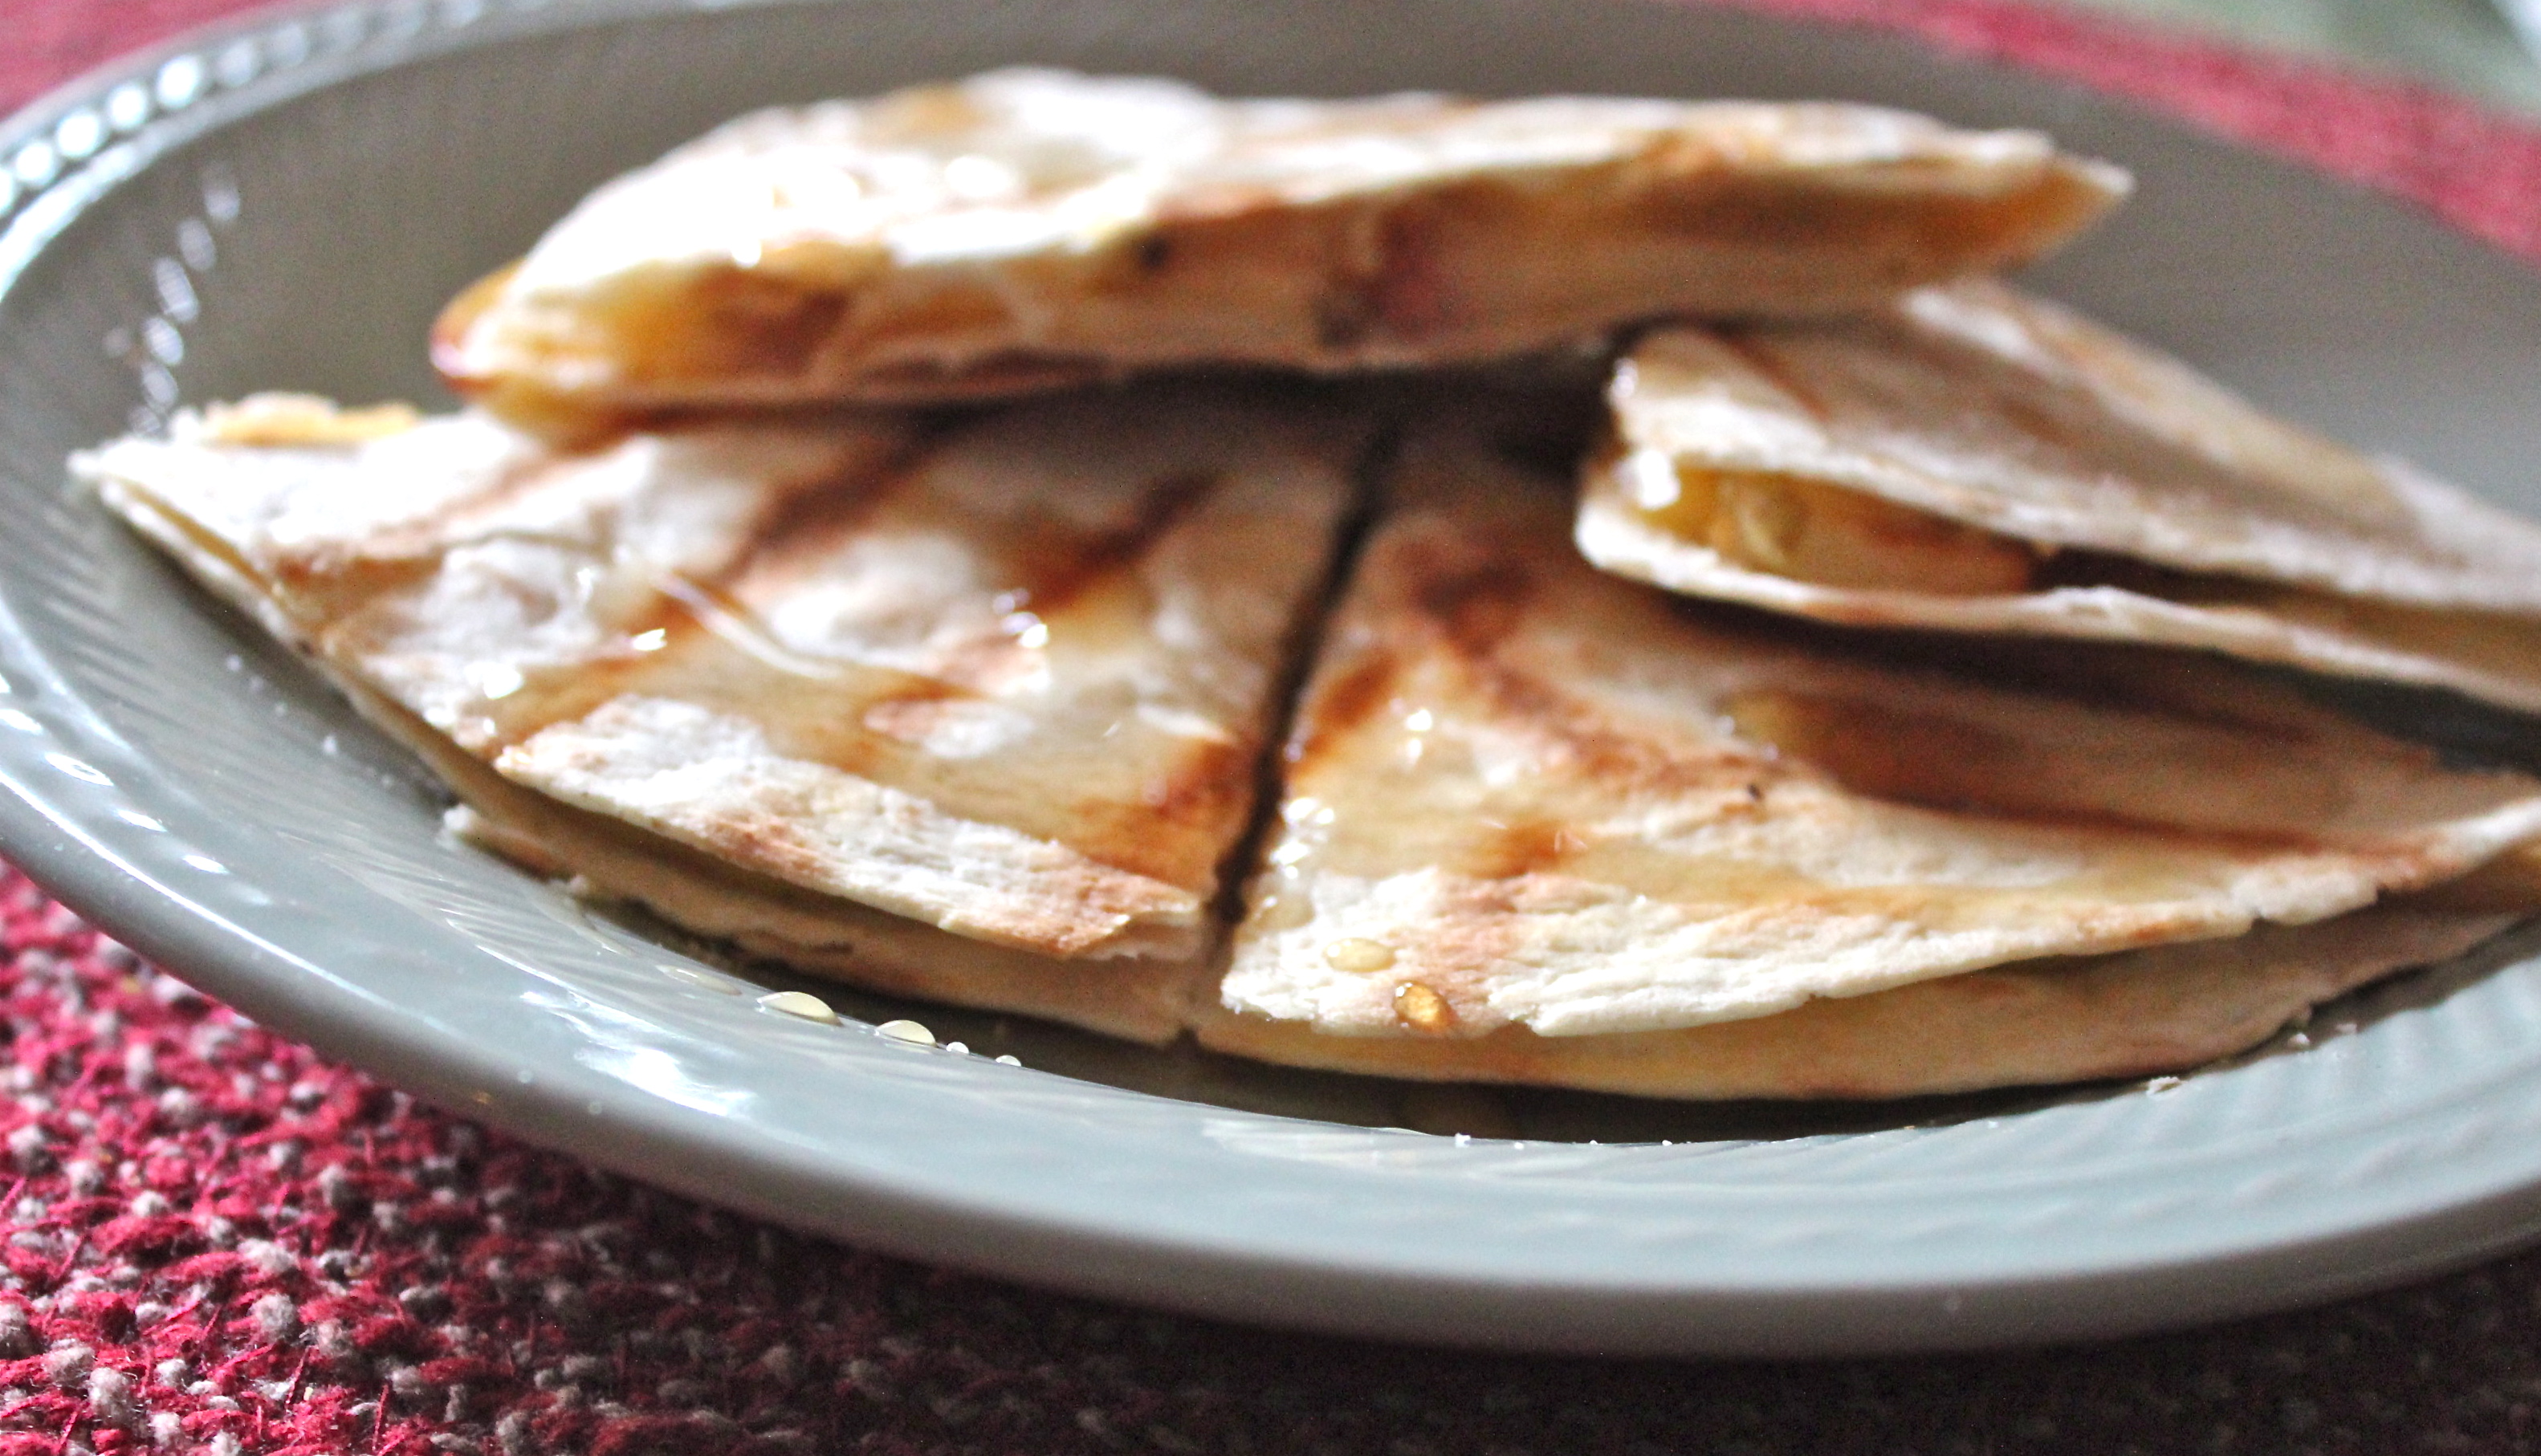
Makes a satisfying light lunch.
Included here is the original recipe for Apple and Brie Quesadillas, and how I modified it.
APPLE, BRIE (and BACON) QUESADILLAS
SERVES 2 Adjust amounts accordingly for more servings.
- 1 Granny Smith apple (or other firm apple), thinly sliced
- 4 teaspoons olive oil, divided
- 4 8-inch flour tortillas (I used 2 10-inch tortillas)
- 8 ounces Brie cheese, sliced, rind removed ( I used a combination of grated cheddar, and Monterey Jack cheeses, about 1 cup )
- 2 strips bacon, cooked and crumbled (my addition)
- 1 Tablespoon whole-grain mustard
- 1 Tablespoon maple syrup
1. Preheat a grill pan over medium-high heat. Toss the apple slices with 2 teaspoons olive oil and cook, turning occasionally, until marked and tender, 3 to 4 minutes.

Spread apples on grill pan and cook till barely tender.

Try to get some nice grill marks on the apples.
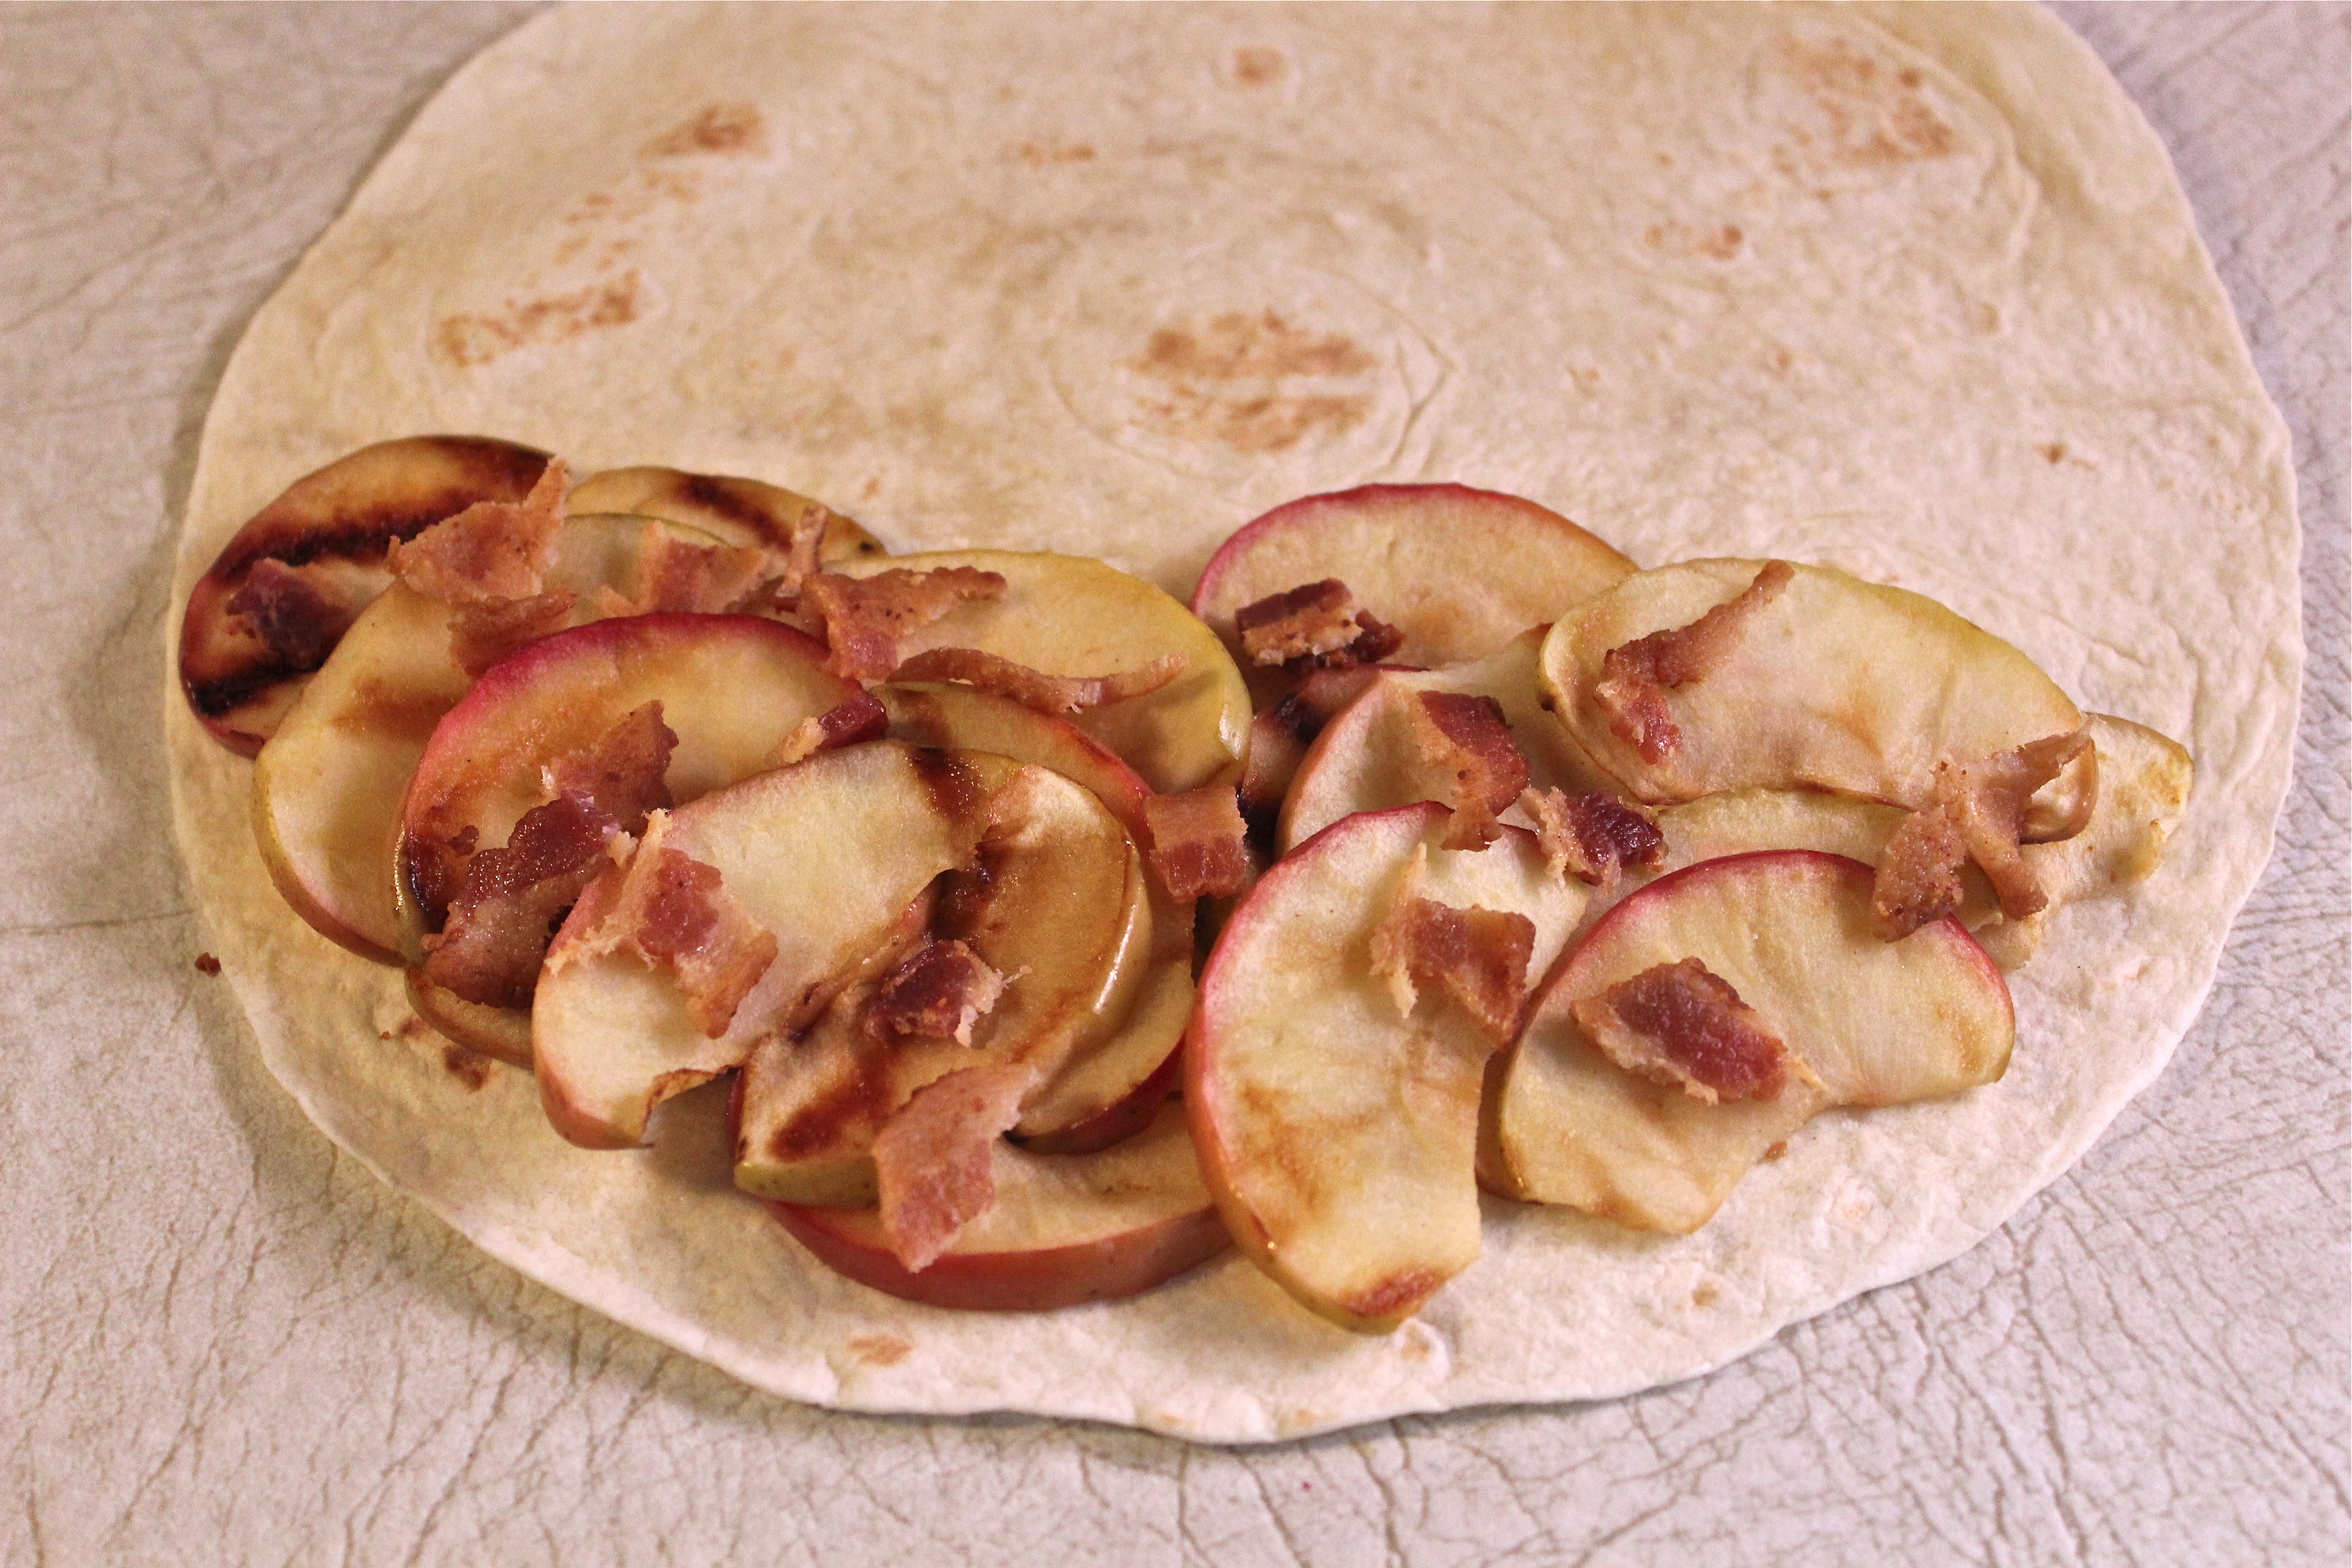
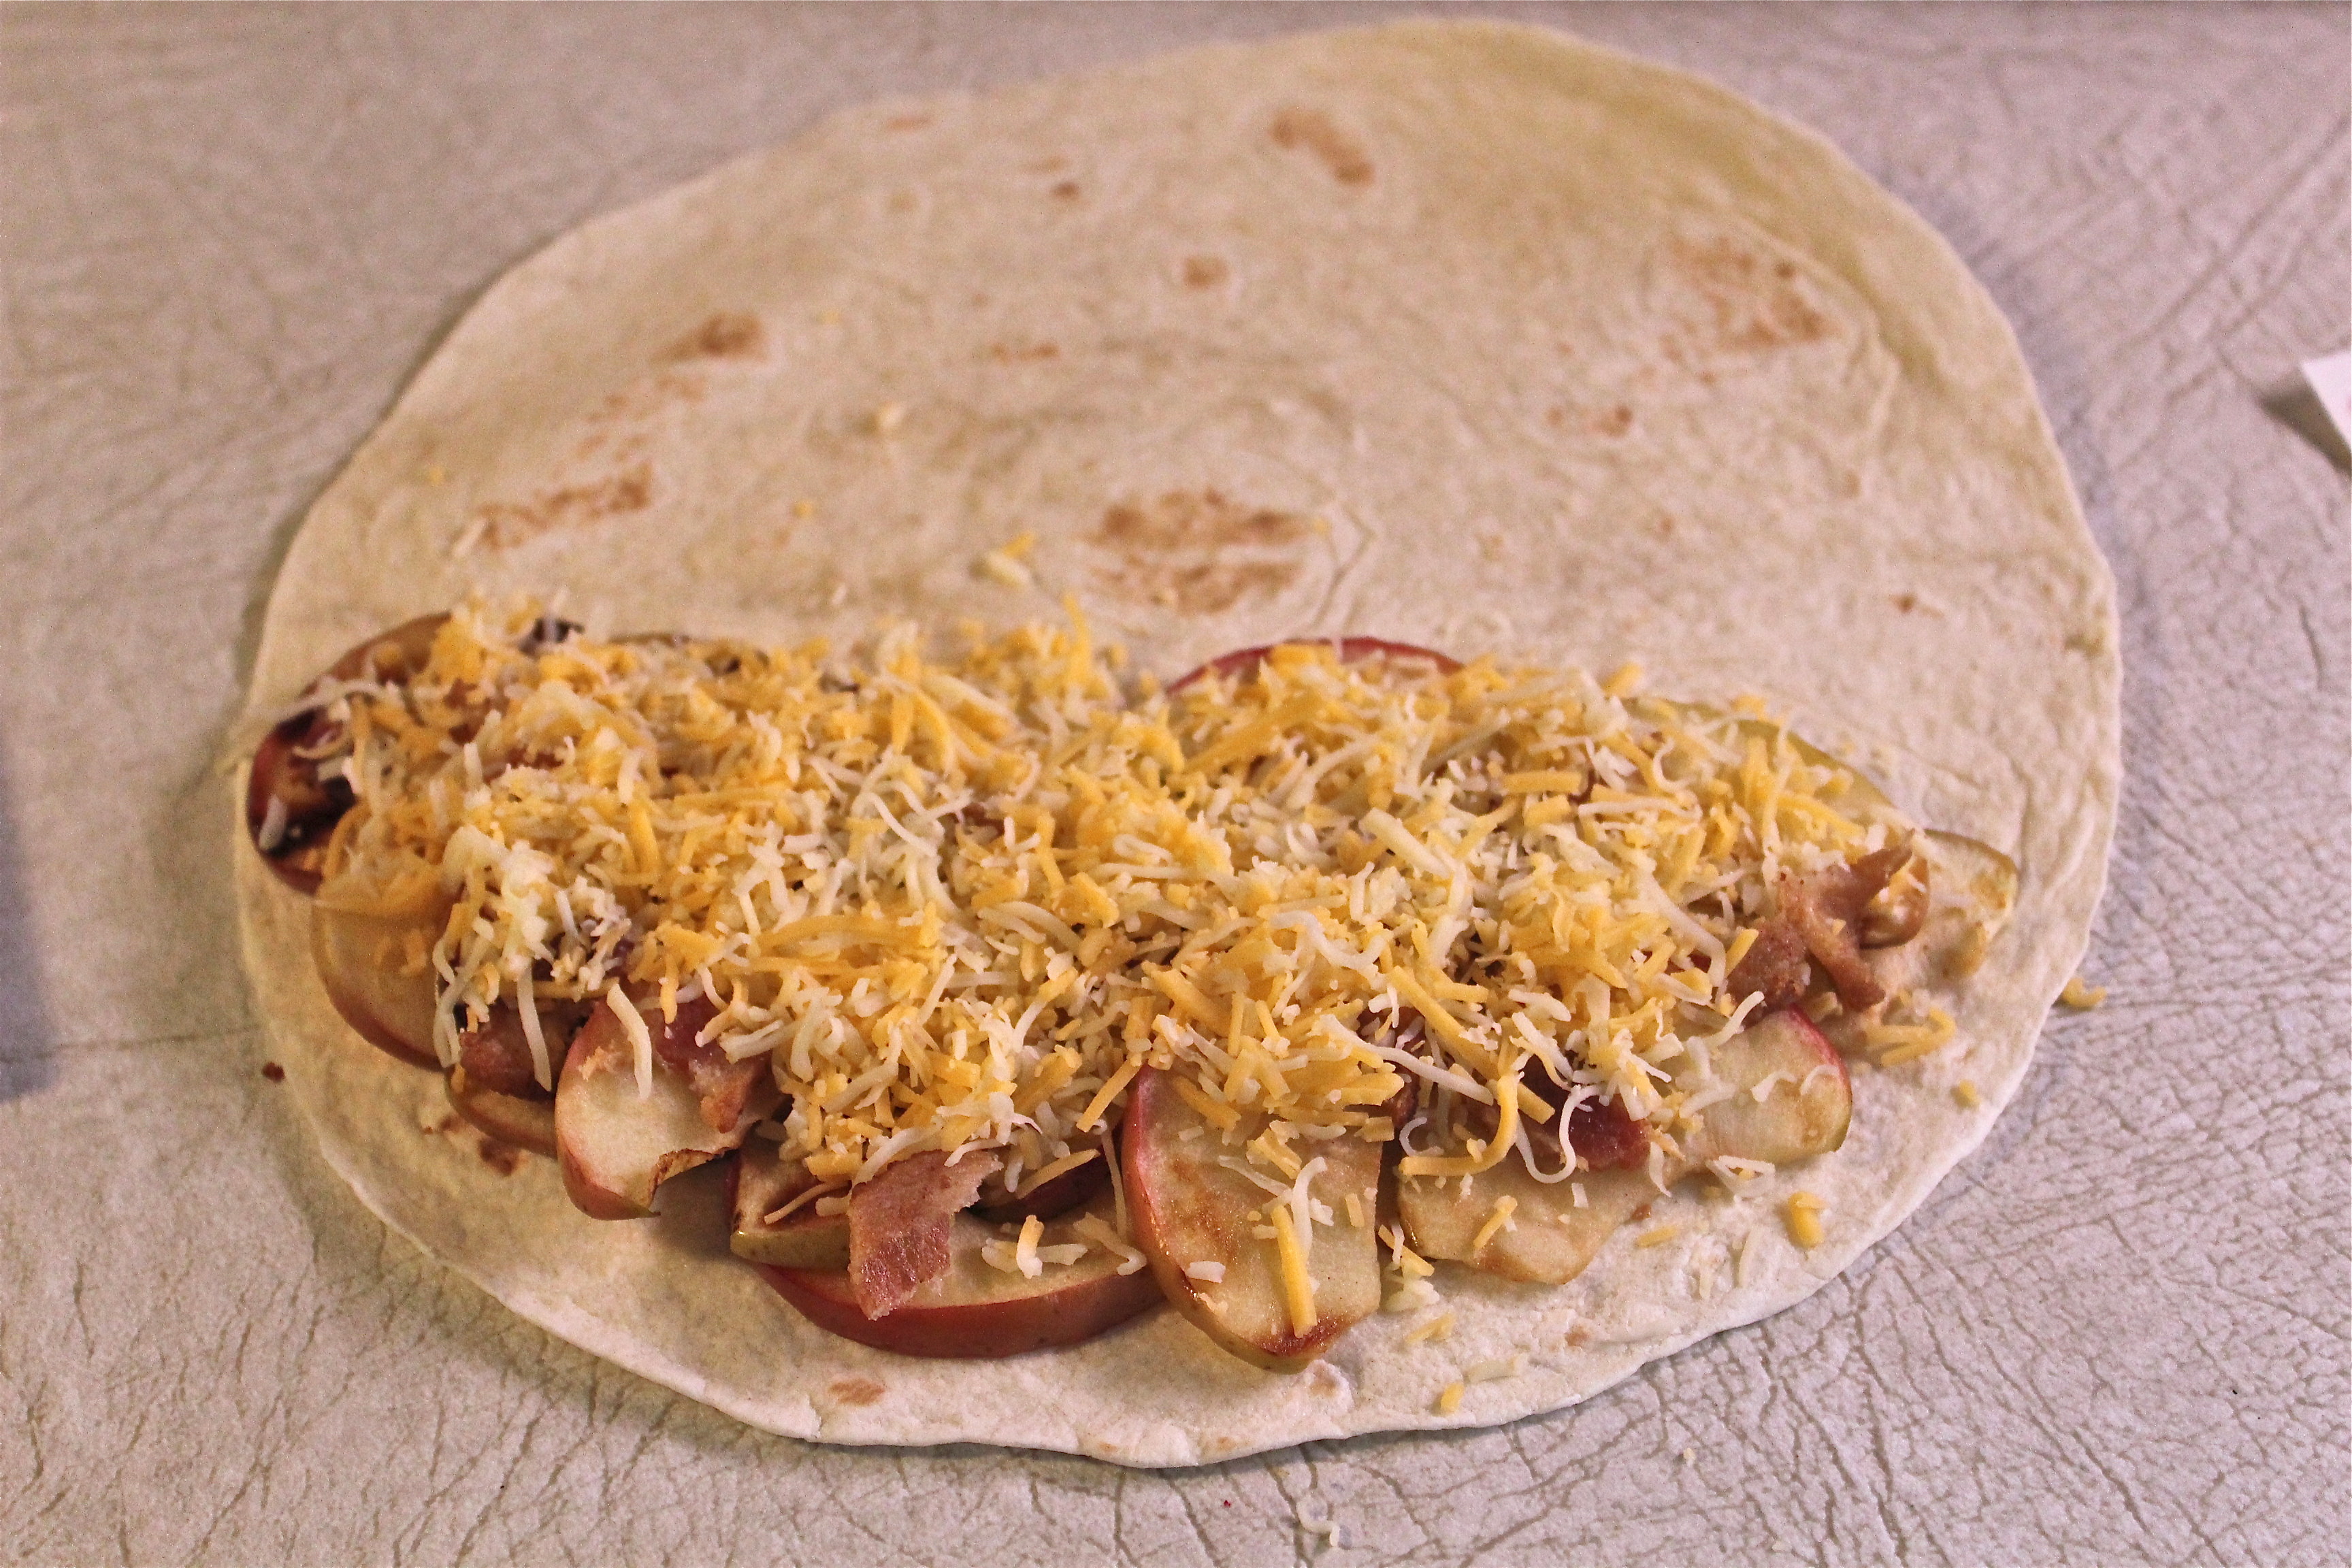
2. Lay the tortillas on a cutting board. Top each with half the apple, half the bacon, and half the cheese, placing the filling on only half of each tortilla. Then fold the tortillas in half to cover the filling.

Spread a layer of apples and bacon on half the tortilla.

Top with shredded cheeses.
3. Heat the remaining 2 teaspoons olive oil in a large nonstick skillet over medium heat. (I sprayed mine with olive oil spray and cooked them on the grill pan I used for the apples.) Working in batches, cook the quesadillas until golden brown and the cheese melts, about 2 minutes per side.
4. Meanwhile, mix the mustard and maple syrup in a small bowl. Slice each quesadilla into wedges. Drizzle with the maple-mustard syrup before serving.

Serve with a drizzle of maple mustard syrup.
SOURCE: modified from a recipe in Food Network Magazine, April 2012