
Pork Scaloppine with Mustard Sauce
Back in my youth when my mom did most of the cooking, we often had baked pork chops in a mushroom gravy, This was made using canned cream of mushroom soup for the sauce. Very easy to make; just pour a can of undiluted cream of mushroom soup over pork chops in a baking dish. Put into the oven and bake; as the soup melted down it got mixed with the pork pan juices to create a flavorful gravy. Served with baked or mashed potatoes, I loved it.
Now I wouldn’t dream of cooking like this. Why? Because we have since learned about the high sodium content of canned soups (and other additives, we may know nothing about), These days I want to control the amount of fat and sodium and know exactly what goes into the food I eat and feed to my family. No white stuff in a can for me!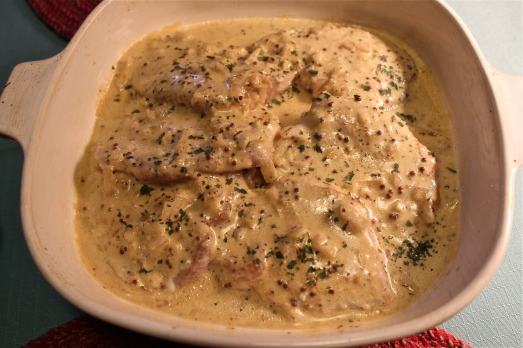
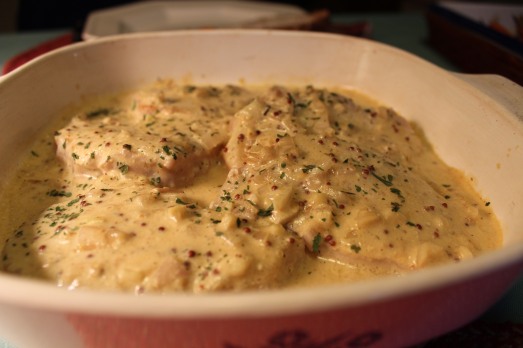
However, I still love pork chops with gravy, so when I found the recipe for this dish, I knew immediately that I would make it, and that I would like it. Tender slices of boneless pork loin ( either tenderloin or chops), briefly cooked to just barely done, then smothered in a mustard-sour cream gravy flavored nicely with shallots, garlic and chicken broth. This came close to my mother’s baked pork chops, without the concern about sodium, or other unknown ingredients. I’m so glad I found this recipe. I know I’ll be making it again. It’s quick to produce and so good. I think you will like it, too.
PORK SCALOPPINE WITH MUSTARD PAN SAUCE
Yield: Serves 4
Ingredients:
- 1 pound pork tenderloin, trimmed, cut crosswise into 12 pieces, and pounded to 1/4-inch thickness. ( I used boneless pork chops, cut each one in half and pounded them out to about 1/4-inch thickness. That worked very well as a substitute.)
- 1/4 tsp. salt, and 1/4 tsp. black pepper
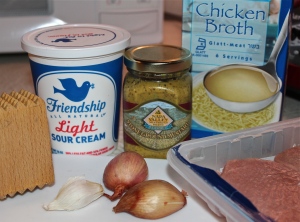
Not many ingredients.
- 1 Tablespoon canola oil, divided
- 1/4 cup minced shallot ( 1 large shallot)
- 2 teaspoons minced fresh garlic ( 1 large clove)
- 1/2 cup unsalted chicken stock
- 2 Tablespoons grainy mustard ( Dijon preferred, but honey mustard might produce a different, sweeter, flavor.)
- 3 Tablespoons reduced-fat sour cream
- 1 Tablespoon chopped fresh parsley
Directions:
1. Sprinkle pork with the salt and pepper. Heat a large skillet over medium-high heat. Add 1 teaspoon canola oil, swirl to coat. Add 6 cutlets; cook 2 minutes or each side or until done. Remove from pan, keep warm. Repeat procedure with 1 teaspoon canola oil and remaining pork.
2. Return skillet to medium-high heat. Add remaining 1 teaspoon oil to pan, swirl to coat. Add shallots and garlic to pan; cook 2 minutes, stirring occasionally. Add chick stock and mustard, cook 1 minute, scraping pan to loosen browned bits.
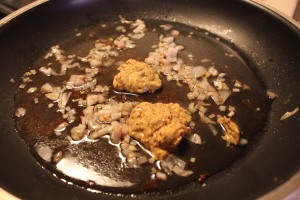
Saute shallots and garlic, then add mustard and chicken stock.
Stir in sour cream; cook 1 minute.
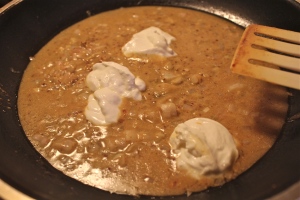
Add sour cream and stir in.
Serve pork with sauce. Sprinkle with parsley.
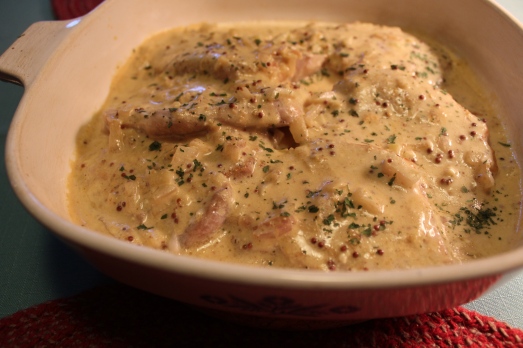
Pork cutlets in a tasty cream gravy to serve other rice, noodles, or potatoes.
The sauce is very good over rice or noodles. In fact you could double the quantity of sauce if you want to serve it that way. Roast baby carrots are a nice accompaniment to this dish also.
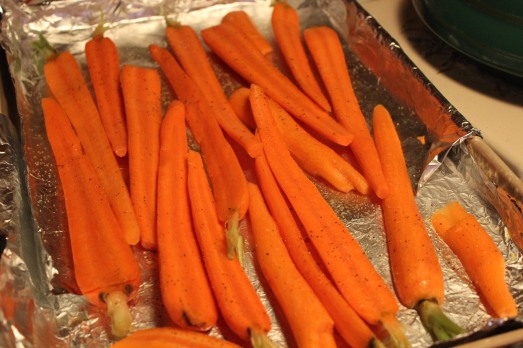
Baby carrots, drizzled with olive oil, salt and pepper. Bake at 400*F for 20 minutes.
Pork Scaloppine with Mustard Sauce
SOURCE: Cooking Light


