Poached Pears
Necessity is the mother of invention. You’ve heard that saying before haven’t you?
Well, in my refrigerator were four pears that had gotten quite ripe while I was away, and it was necessary that I find a way to use them up. I had read an article some time ago about poaching pears in red wine, and thought at the time that they were very pretty because they became tinted pink. Not having any red wine readily available, I “invented” this recipe for poached pears using cranberry ginger ale. Since orange is also a good match-up with cranberry, I added some orange slices and threw in some whole cloves. The results, as you can see, were tender pears, tinted a nice pink, and further flavored by the orange and cloves. And the best part? There’s no sugar in this recipe. I just relied on the sweetness of the ginger ale and the pears themselves to carry the dish.

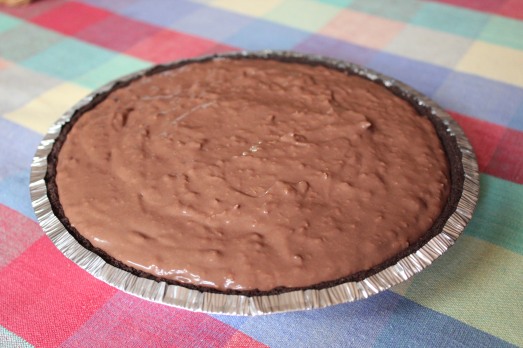
After being cooked they are a lovely pink color.
This is an easy-peasy dessert. It can be served warm or chilled. Mr. D. loved these pears, and I must say that I find them pretty darn good too. If your New Year’s resolution has something to do with weight loss or eating less sugar, these pears are for you!!

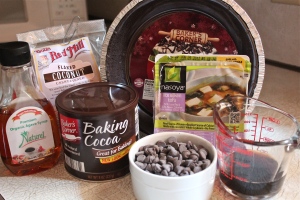
This is everything you will need.
POACHED PEARS
Yield: 4 -6 servings
Ingredients:
- 4 medium pears, ripe, but not too soft. I used Anjou pears
- 1 orange
- several whole cloves, about 6
- a bottle cranberry ginger ale, or cranberry juice
Directions:
1. Peel and core the pears. Cut each one into eighths. Place into a medium-size sauce pan.
2. Slice 3-4 slices from the orange, and cut each one in half. Juice the rest of the orange and add the juice to the pan with the fruit.

Cut-up pears, orange slices and cloves in the saucepan.
3. Add the cloves to the pan with the fruit.
4. Pour in the ginger ale just to the point where the pears are not quite covered. Bring to a boil. Reduce the heat and simmer until the pears are tender when pierced with a knife. This took about 15 minutes.
5. Drain the pears reserving the juice, but removing the cloves and orange slices. Cool and serve pears with some of the juice.

Serve warm or chilled for a low calorie dessert.
SOURCE: Carolyn’s Originals