This year I got a little carried away with making Irish recipes for our St Paddy’s Day dinner. Here today, we have the meal’s finale; Irish Whiskey Cake.

Irish Whiskey Cake
You might be tempted to call this a “drunken cake” because of the whiskey content. But fear not, the alcohol content evaporates with cooking, leaving behind the flavor of the whiskey. To be really authentic, you should use Irish Whiskey, but having none in the house, I used what I had, which was an American brand of whiskey. Can’t say I noticed a hugh difference in flavor….it’s just plain good no matter what brand you use. Oh, and it’s very OK to adjust the amount upward if you’re so inclined.

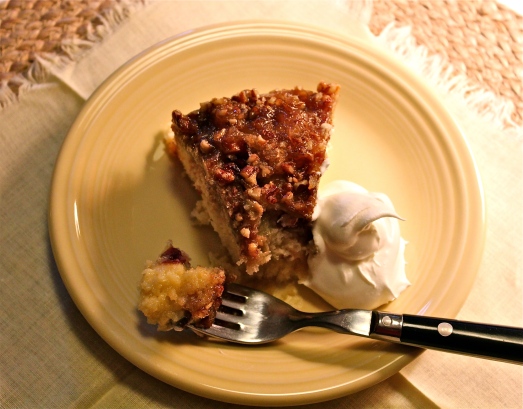
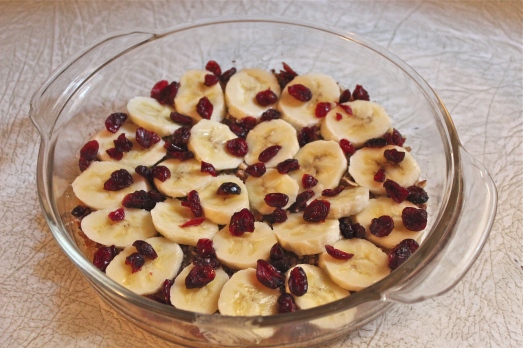
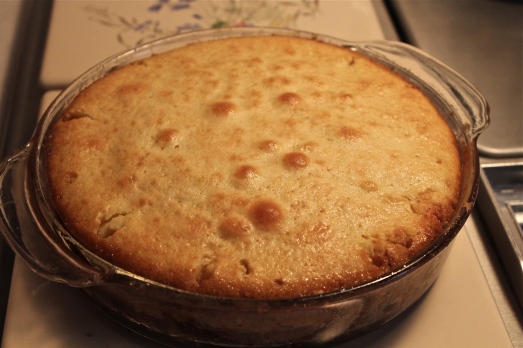
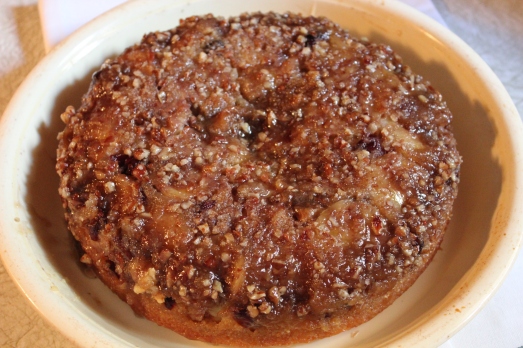
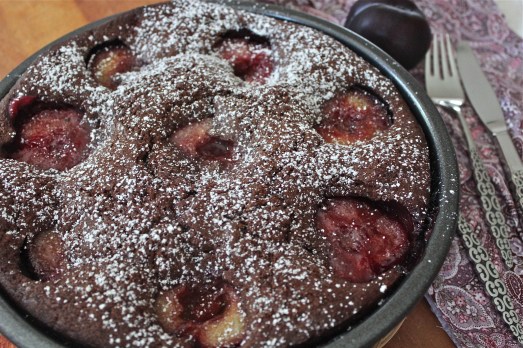
When you look at this cake you would not suspect what’s hidden inside. It looks like a nice golden poundcake, unassuming and quiet-like. But wait…..what’s that ribbon of moistness lying along the bottom of the cake? and what IS that white, crusty, crunchiness on top? That folks, is the whiskey glaze that slowly seeps through the cake from top to bottom carrying all the whiskey flavor throughout the cake and making it super moist. Scattered throughout my cake are finely chopped walnuts, but you could also use pecans. For those with nut allergies, you can leave them out and still be totally satisfied with the results.

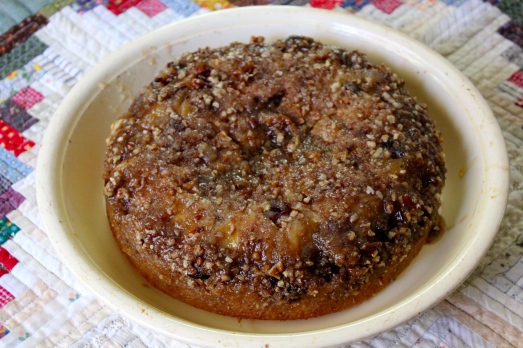
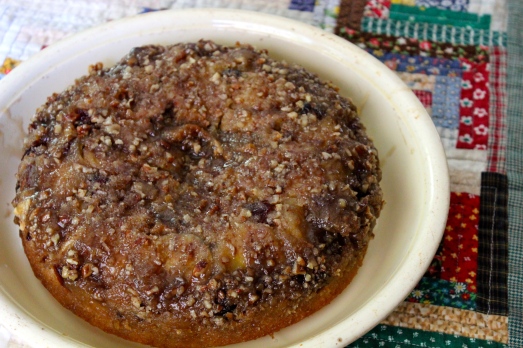
Note how the glaze pools in the recesses of the cake.
The recipe for this cake calls for baking it in a round tube pan or bundt pan, but I wanted to share the cake with another family, so I baked it in two loaf pans, and split the amount of glaze between the two cakes. There was no problem in doing that, they both came out fine.
IRISH WHISKEY CAKE
Yield: 1 round bundt cake, or 2 smaller loaf cakes (8″ x 4″)
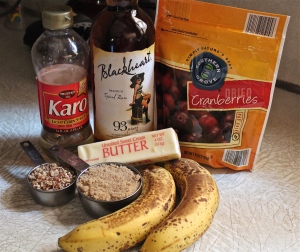
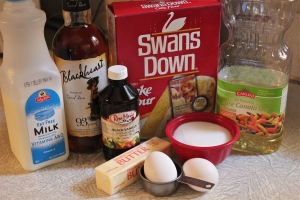
Ingredients:
For the cake:
- 1 box yellow cake mix (without pudding added)
- 1 small box instant vanilla pudding mix
- 4 eggs
- 1 oz. whiskey of choice ( or more?)
- 1/2 cup canola or vegetable oil
- 1 cup milk ( skim is OK)
- 1 cup chopped nuts (walnuts or pecans)
For the glaze:
- 1/2 cup whiskey
- 1/2 cup butter
- 1/4 cup sugar
Directions:
1. Preheat the oven to 350*F. Generously spray a bundt cake pan or 2 loaf pans with non-stick spray, and then flour well, shaking out the excess flour.
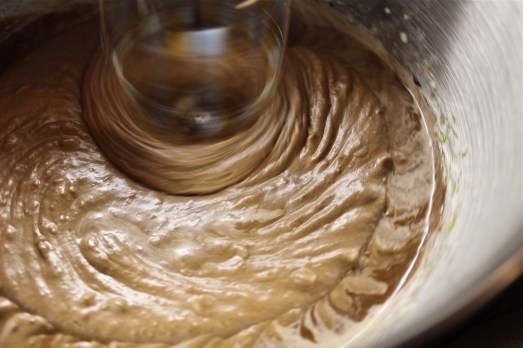
2. In the large bowl of an electric mixer, beat together the cake mix, pudding mix, and eggs. Beat well…this will be a thick mixture.

3. In a large measuring cup or bowl, whisk together the oil, milk, and whiskey. Add to cake mixture and continue to beat 3 minutes. Lastly fold in the nuts, if using.


4. Pour batter into prepared pan(s) and bake for 60 minutes. Loaf cakes may take a little less time. Start timing at 45 minutes and watch and test for doneness. Mine took about 50 minutes.

5. While cake is baking, make glaze. Place whiskey glaze ingredients in a sauce pan over medium heat. Cook on stove top just until it begins to bubble and boil. Set aside.
6. When cake is out of the oven, pour the glaze slowly over the cake while it is hot and still in the pan. It helps to absorb more quickly if you make holes all over the top of the cake with a chop stick or other fine wooden tool. Let cake stand in the pan for at least 2 hours before removing to a rack to finish cooling.

7. Once completely cooled, remove cake from pan. Wrap in foil and refrigerate 12 hours or more for flavors to permeate throughout the cake. Keep leftovers refrigerated.

SOURCE: The Ranting Chef