Gluten Free Pumpkin Cheesecake

Gluten-free Pumpkin Cheese Cake.

Gluten-free Pumpkin Cheese Cake.

Not too long ago a member of my family was diagnosed with a gluten sensitivity.  So for Thanksgiving, I wanted to make a dessert that she particularly likes and could eat.  Pumpkin pie has always been a favorite, so I knew that anything with pumpkin would work out well.  I also needed it to be something that didn’t have a crust.

Remembering a cheesecake recipe that I have made in the past that was crustless,  I devised this recipe for a cheesecake that is crustless, but gives all the flavor of a pumpkin pie.  We all loved it.  So for anyone who needs a gluten-free dessert, this one is very good.  You can also reduce the fat content by using low-fat cream cheese and low-fat sour cream.  It mixes up easily and can be all made in a little over an hour.  Chill until ready to serve.

Oh, soooo good.

Oh, soooo good.

GLUTEN-FREE PUMPKIN CHEESECAKE

Yield:  serves 8

Ingredients:

Looks like someone's making a pumpkin cheesecake!

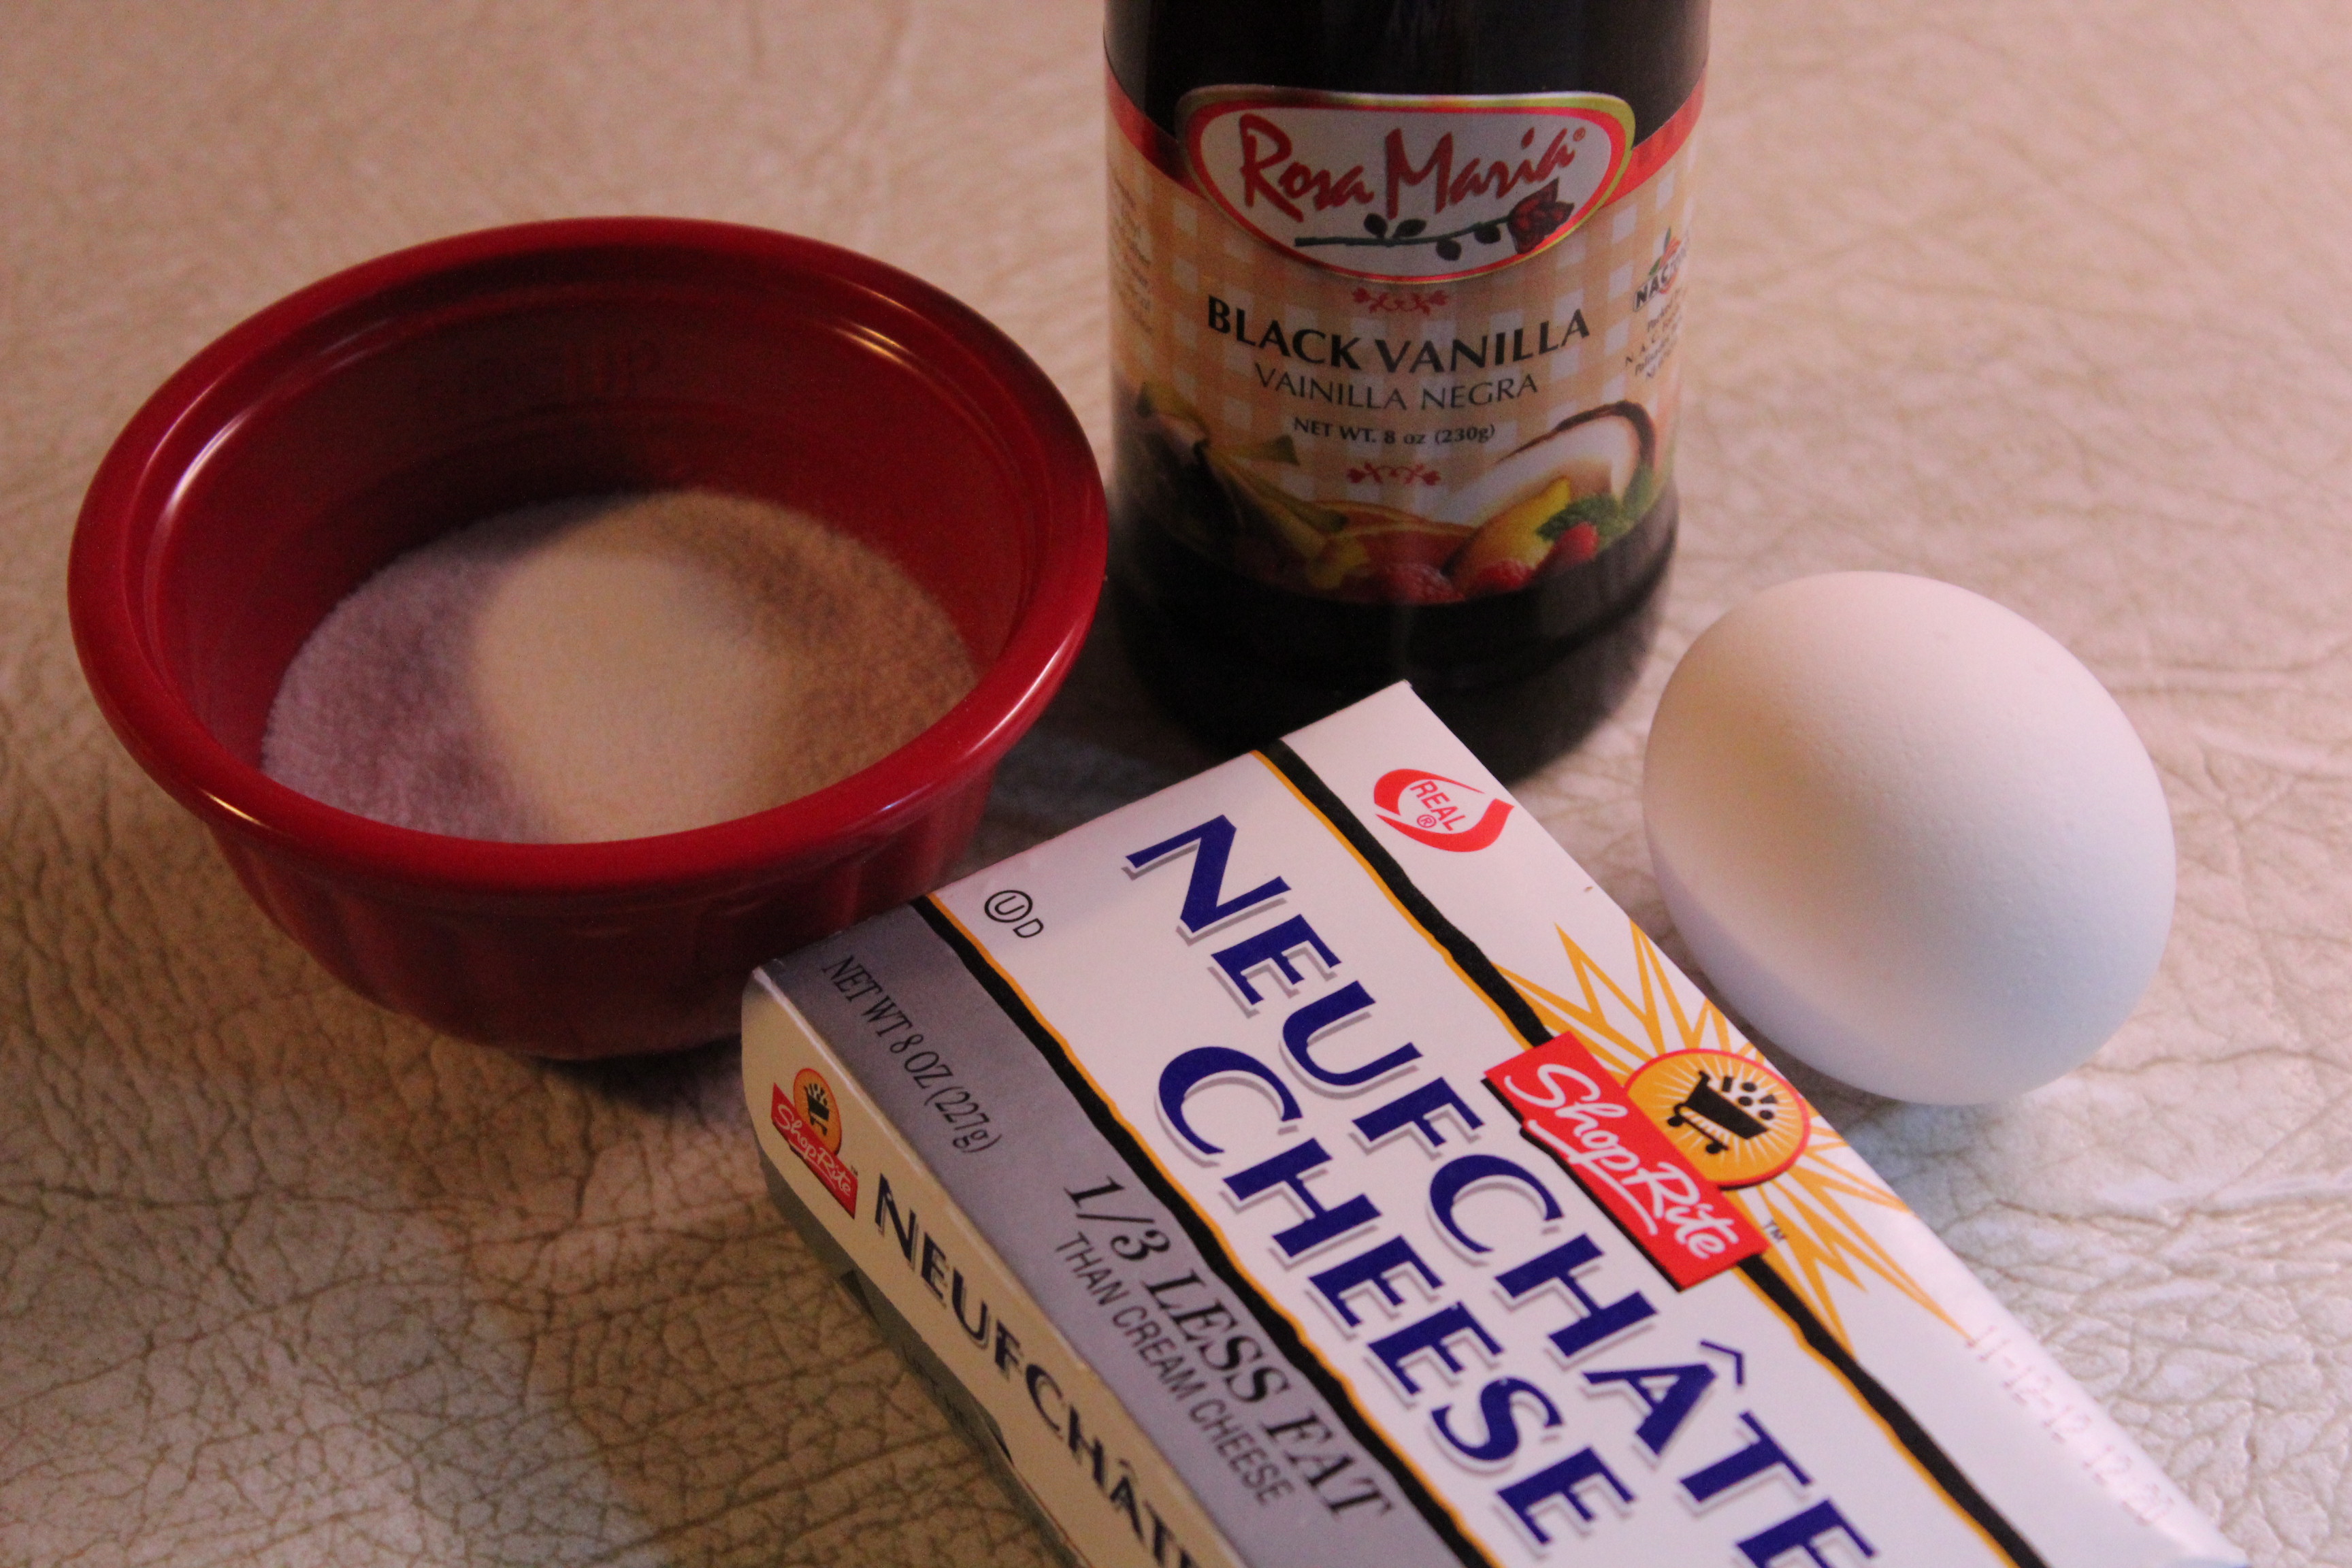
Looks like someone’s making a pumpkin cheesecake!

  • 2  (8-oz.) packages cream cheese
  • 1 cup sugar
  • 1 cup pumpkin puree
  • 1 tsp. vanilla
  • 1 Tbsp. pumpkin pie spice
  • 4 eggs

Topping:

  • 1 cup sour cream
  • 3 Tbsp. sugar
  • 1/2 tsp. vanilla

Directions:

1.  Preheat oven to 350*F.  Spray or grease a 9-inch deep pie pan, or 10-inch regular pie pan.

2.  In the large bowl of an electric mixer,  put in cream cheese and sugar.  Beat until smooth and thick. Add eggs one at a time beating smooth.  Add vanilla, pumpkin and pumpkin pie spice.  Blend in well.  Pour into prepared pie pan.  I had enough filling for a 9-inch deep dish pie plate plus 3 custard cups.

This makes a lot of filling.  Use a 10" pan or several extra custard cups.

This makes a lot of filling. Use a 10″ pan or several extra custard cups.

3.  Bake at 350*F for 40- 45 minutes.   Test center for doneness.  The cheesecake may develop cracks in the top, but this will be covered by the sour cream topping.

It will puff up as it bakes and may crack like this one did.

It will puff up as it bakes and may crack like this one did.

4.  Remove from oven and allow to cool for about 20 minutes.  While cooling the center will become slightly depressed.

A depression forms in the center as it cools a bit.

A depression forms in the center as it cools a bit.

Meanwhile mix up the topping mixture using a bowl and whisk.  Pour over cheesecake, and bake an additional 10 – 15 minutes.  The topping should fill the depression in the cheesecake, creating a white center with raised edges that are light pumpkin color.  A pretty effect!

Before baking--fill center with sour cream topping.

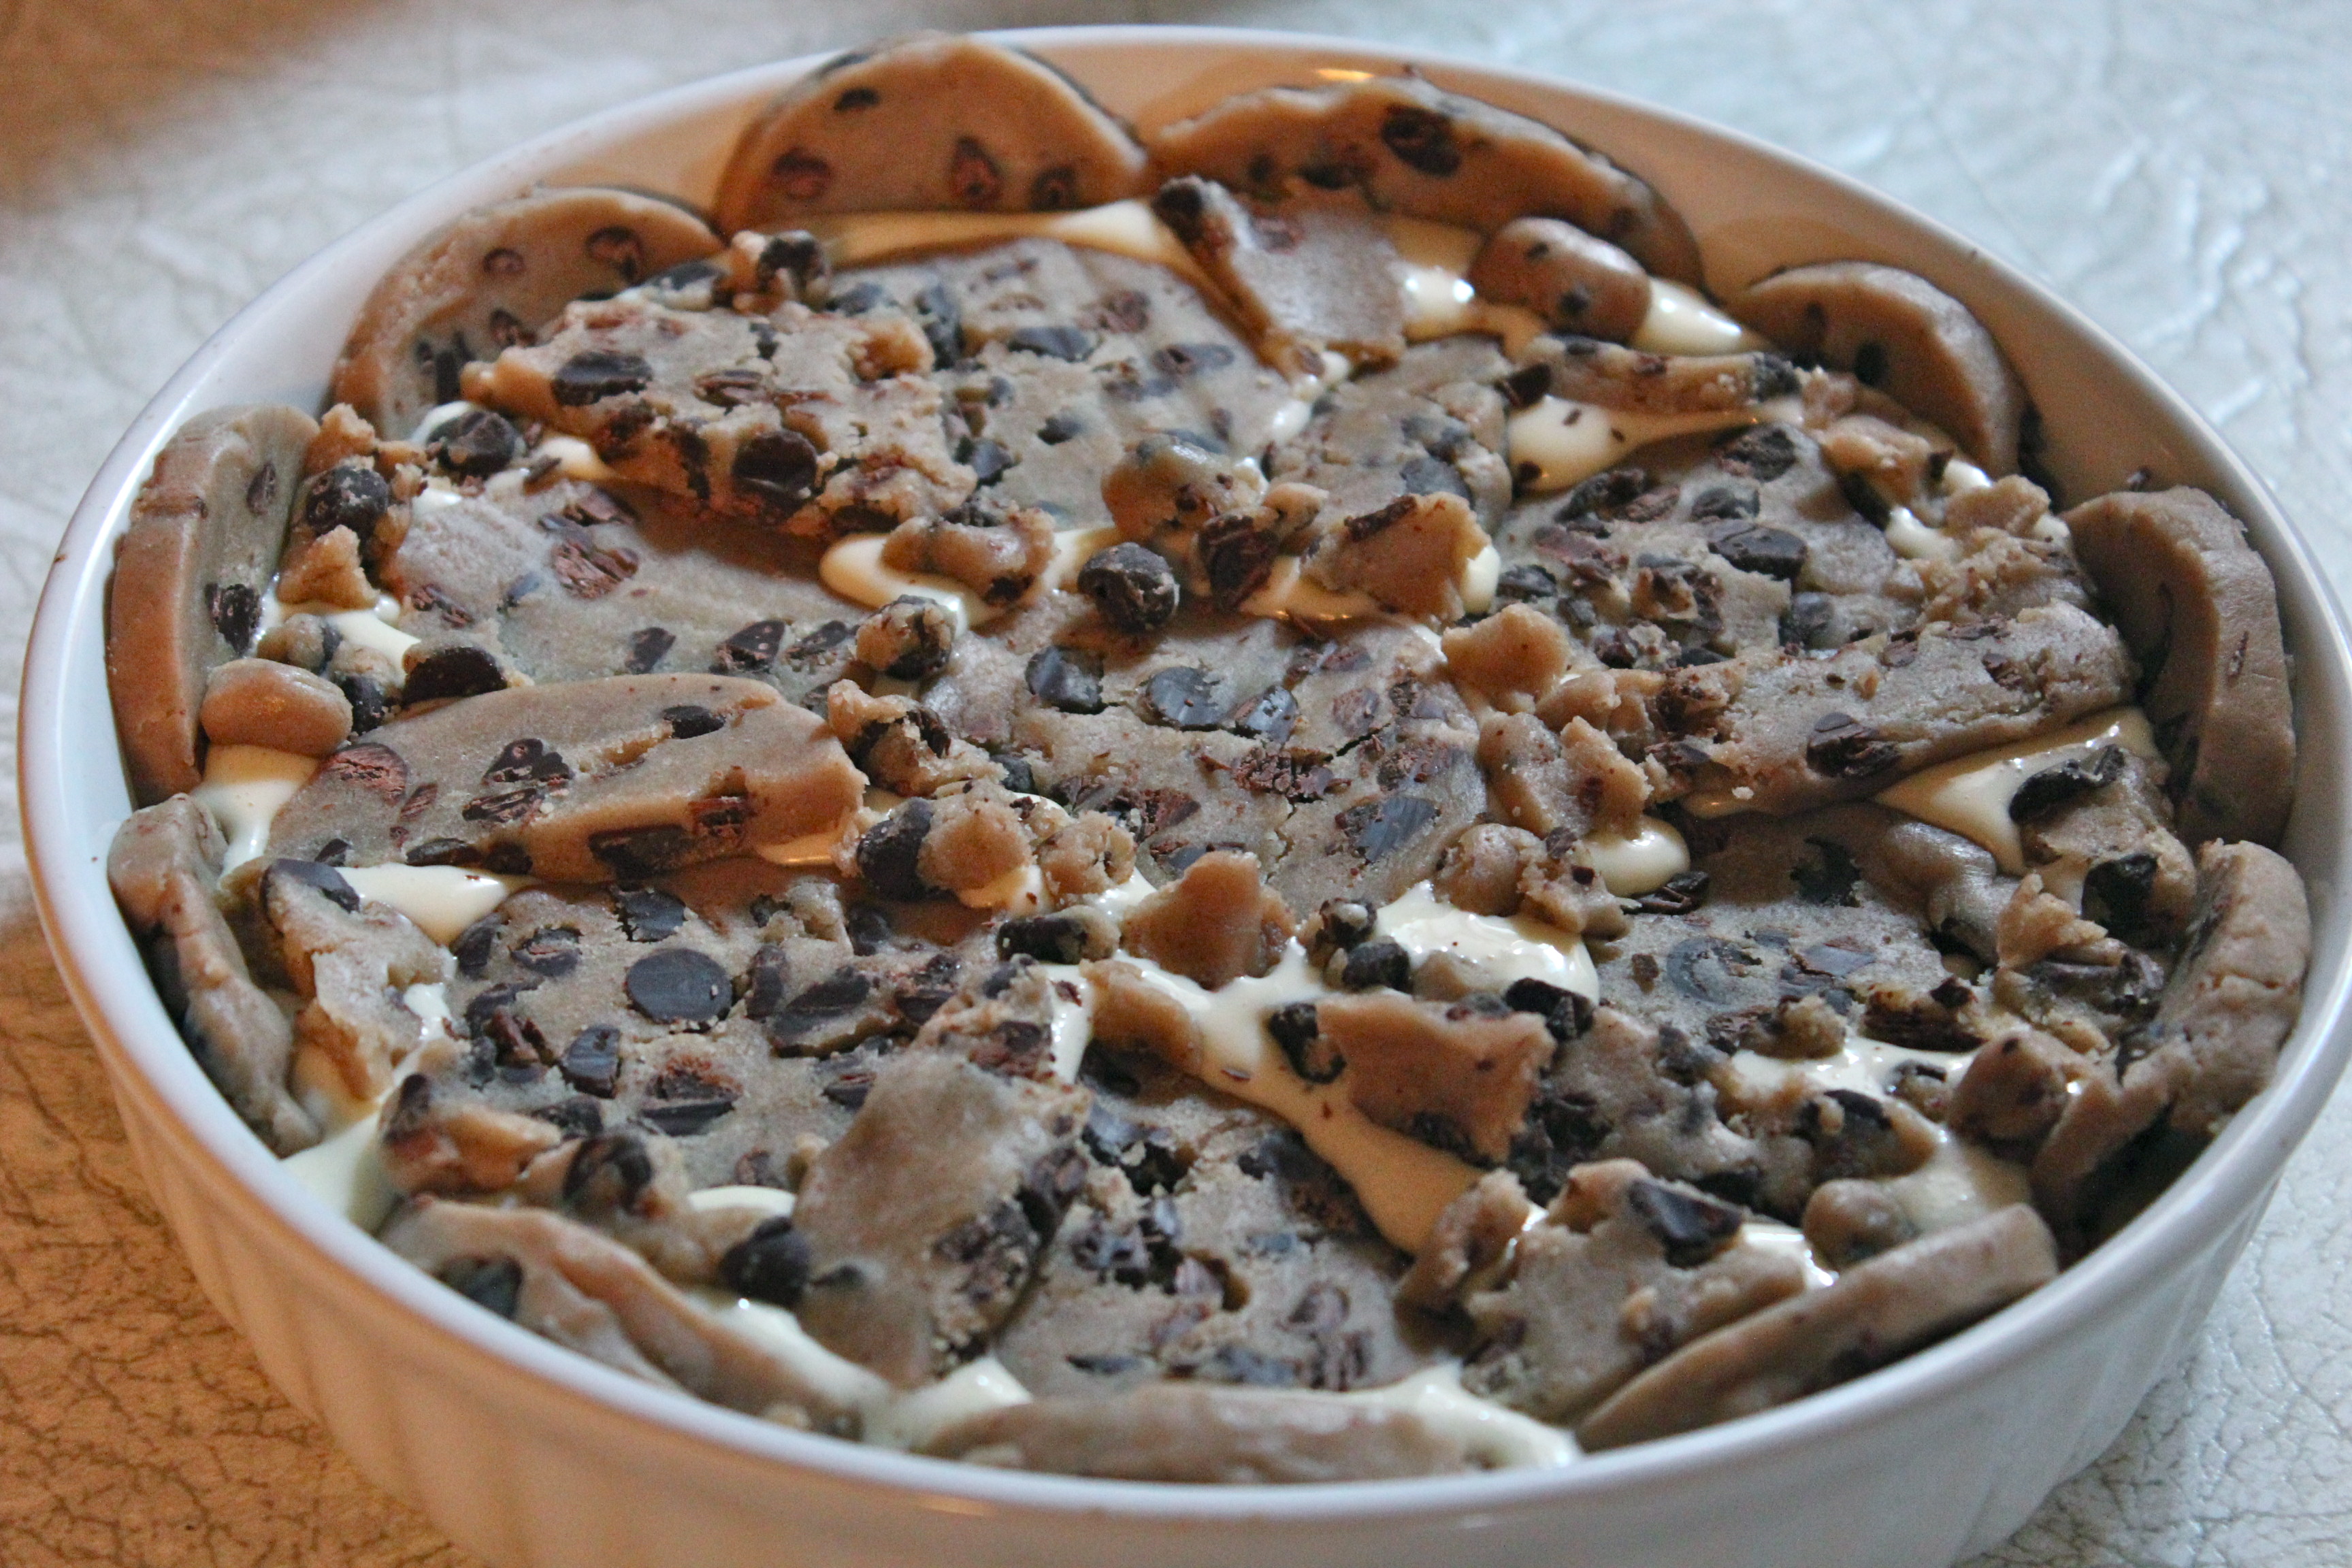
Before baking–fill center with sour cream topping.
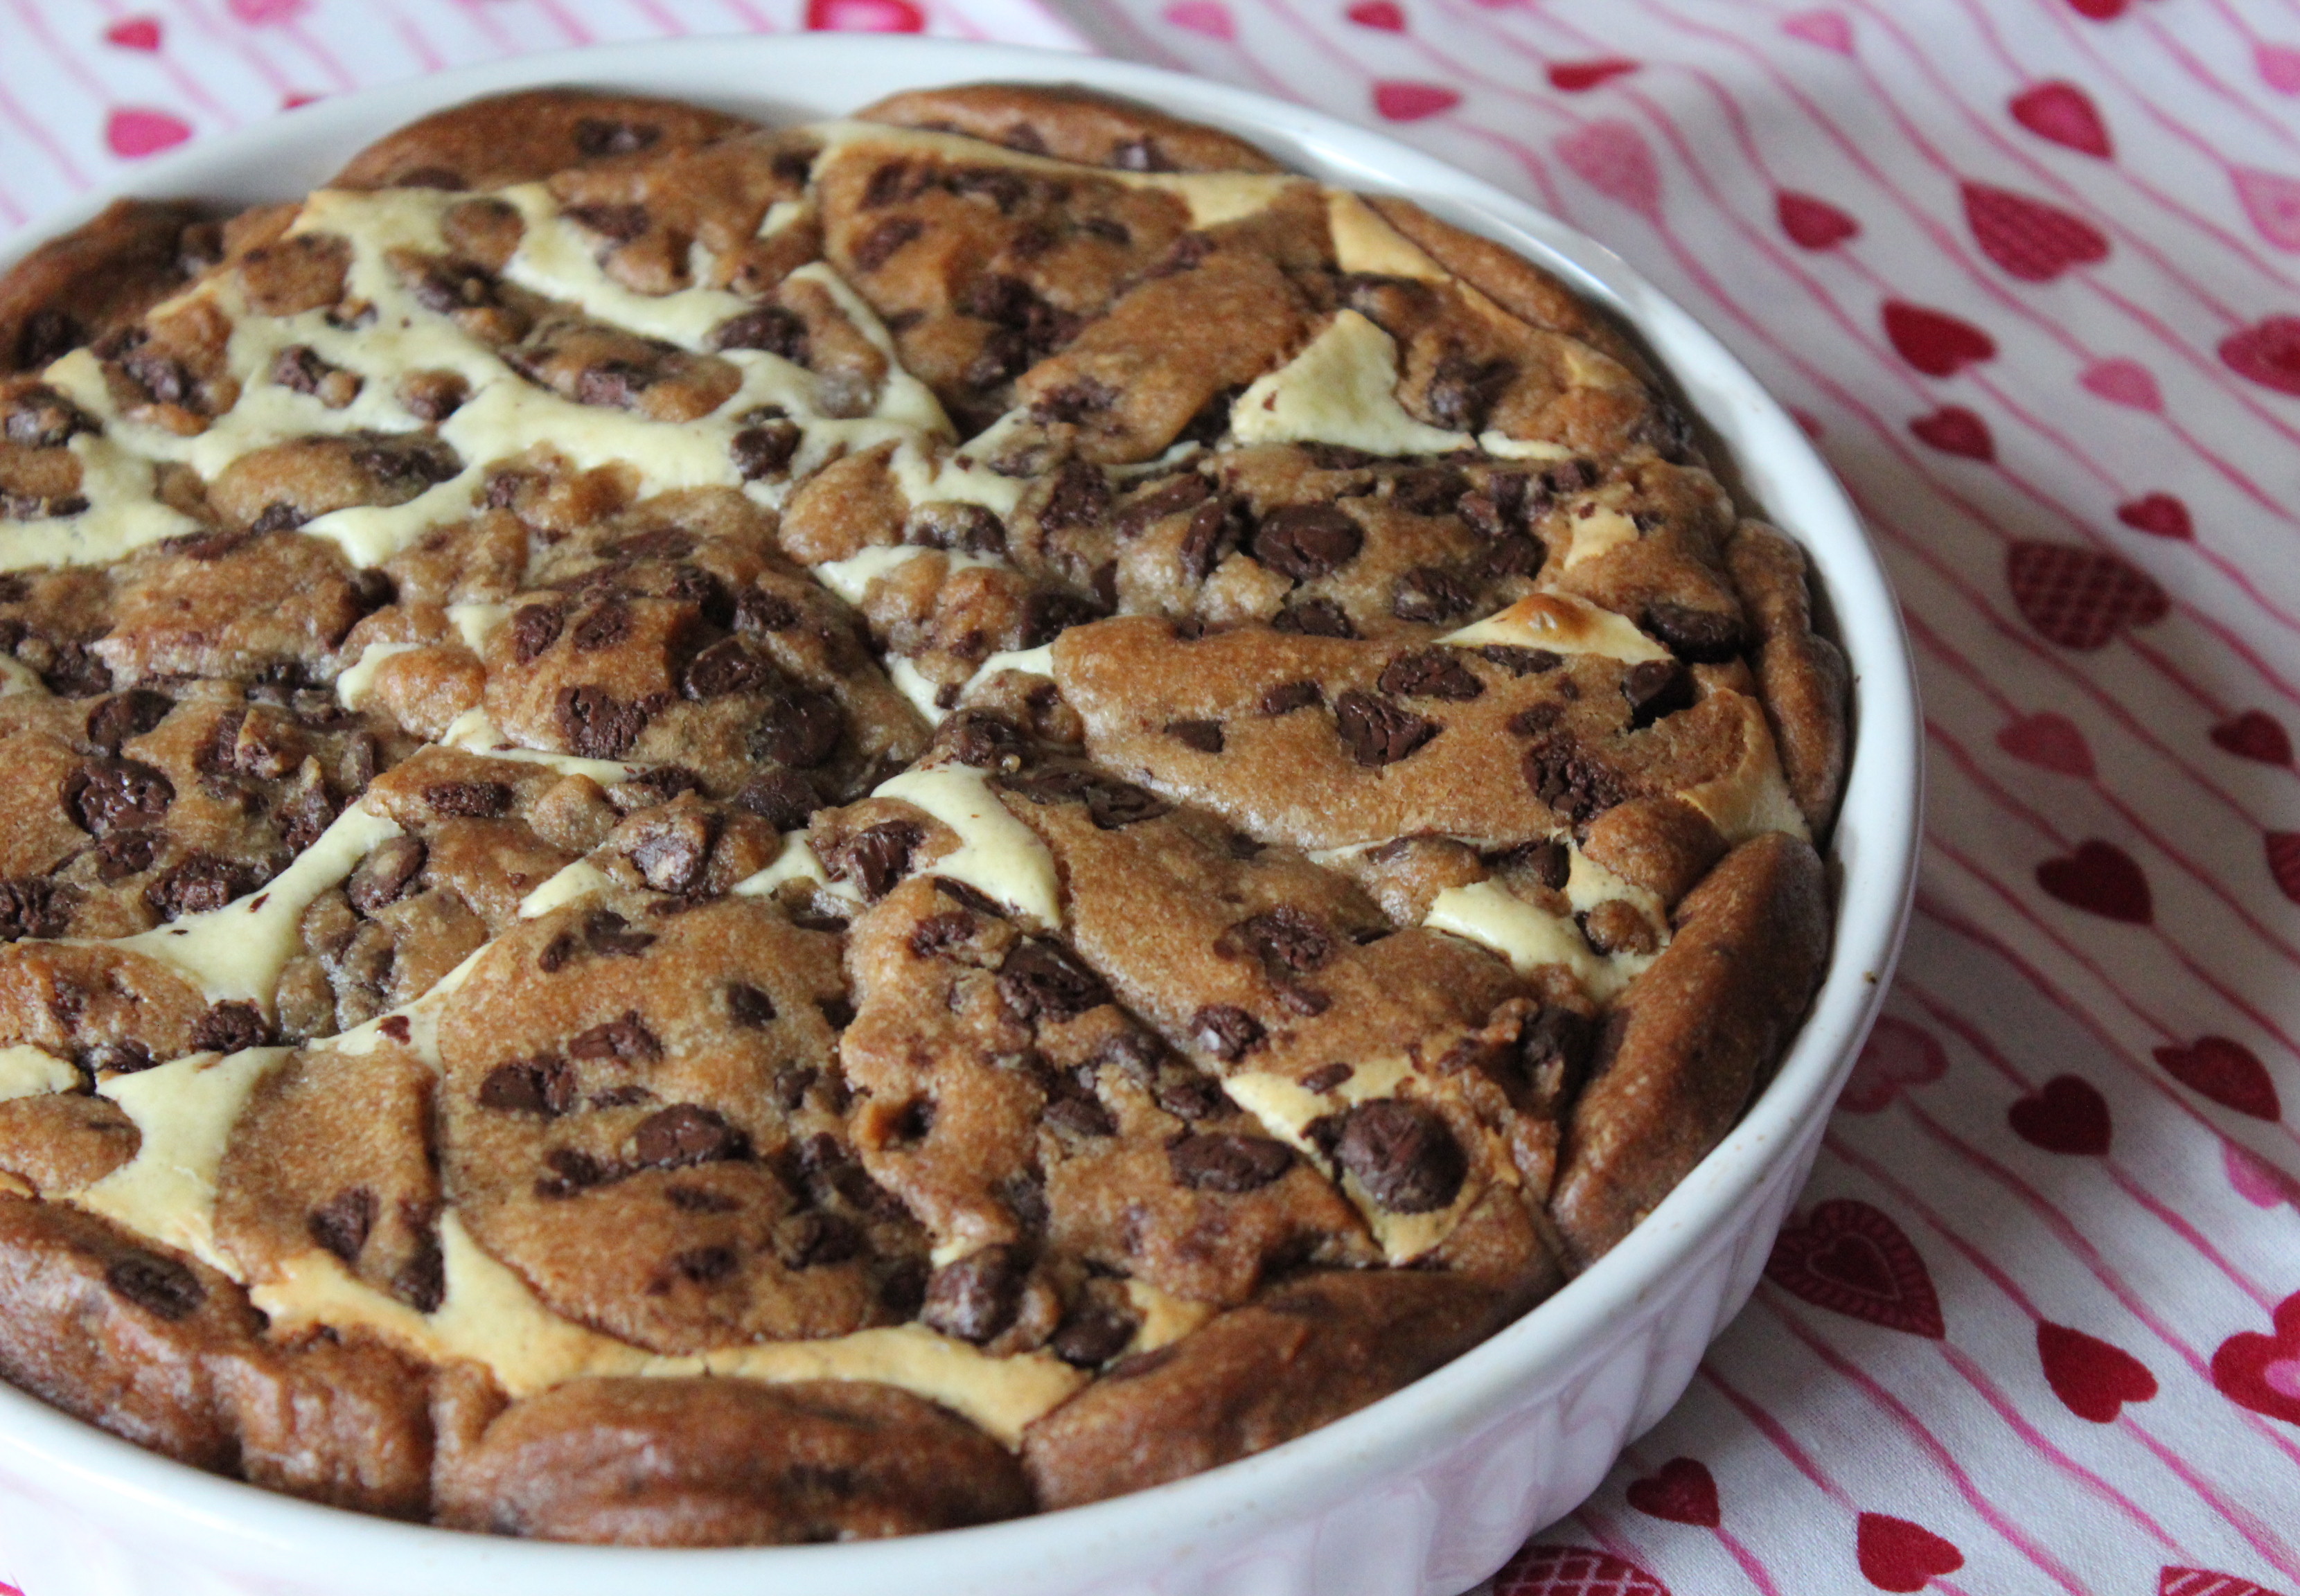
After baking.

After baking.

5.  Cool on a wire rack and then refrigerate until ready to serve.

A light and fluffy texture.

A light and fluffy texture.

Oh, soooo good.

Oh, soooo good.

SOURCE:   a  Carolyn’s Original

Advertisement

It All Started with a Craving

Chocolate Chip Cream Cheese Dessert

Chocolate Chip Cookie and Cream Cheese Dessert

Today I was craving for something.  I didn’t know exactly what I wanted;  something a little chewy, maybe something a little creamy.  I was in luck because I had on hand a roll of refrigerated chocolate chip cookie dough, AND a package of low-fat cream cheese that was just about at it’s “use by” date.  The question was how to combine those two ingredients into some kind of a dessert that would satisfy my craving.

Full disclosure:  I have never made this dessert before and in fact I couldn’t find a recipe for guidance, so what I am about to describe was purely an experiment.  As with any good mystery you won’t find out how it all turned out until the end,  so hang in there with me.

I started by slicing the cookie dough just like you do to make cookies,

Cookie Dough sliced as if to make cookies.

Cookie Dough sliced as if to make cookies.

but then decided to use them to make a crust in a shallow baking dish. I placed the slices close together on the bottom of the bake dish, pressing them with my fingers so they completely covered the bottom,  then I cut some of the remaining slices in half and stood them up around the sides,  so the baking dish now had a shell of cookie dough.

Line a baking dish with the cookies to make a shell.

Line a baking dish with the cookies to make a shell.

When this was completed I still had some slices of dough left.

Cream cheese, egg, sugar and vanilla;  ingredients for the filling.

Cream cheese, egg, sugar and vanilla; ingredients for the filling.

Next I placed the block of cream cheese in a mixer bowl and with my hand mixer, whipped it smooth, adding an egg, some sugar and vanilla.

Beat filling ingredients with a beater till smooth.

Beat filling ingredients with a beater till smooth.

Then I poured this mixture into the lined baking dish.  On top of this I placed as many of the remaining cookie slices as I could fit, snug against each other, and where there were small openings I broke up the remaining few slices and put them into the spaces.

Cover filling with remaining sliced cookies.

Cover filling with remaining sliced cookies.

What I had now was shell of chocolate chip cookie dough with a cream cheese center.   Into the oven it went at 350* for 30 minutes.  At the end of that time the center tested “wet” and was jiggly, so I gave it another 10 minutes.  Testing it again indicated that it was cooked.  Oh, I must tell you that the aroma coming from the oven was wonderful.  My husband asked  “what are you making?—–when will it be ready to have some?”   I too was anxious to cut into it and give it a taste,  but I was a little too anxious;  the pieces were still soft, and they broke.  This dessert needs to cool completely before cutting.  It firmed up and cut more cleanly after I chilled it in the refrigerator.

Mouth-watering aromas came from the oven while this was baking.

Mouth-watering aromas came from the oven while this was baking.

The verdict ?     We loved it!    I got just what I had been craving:  a chewy cookie crust with a creamy cheesecake-like center.  Because I made it in an 8-inch round baking dish I cut it into wedges for serving.  I think it could also be made in an 8 – inch square pan in which case you would cut it into squares for serving.

This cut nicely after chilling.

This cut nicely after chilling.

CHOCOLATE CHIP COOKIE AND CREAM CHEESE DESSERT

YIELD:   Serves 6 – 8

INGREDIENTS

  • 1 package refrigerated slice and bake chocolate chip cookie dough
  • 1 8 ounce package reduced fat cream cheese
  • 1 egg
  • 1 teaspoon vanilla
  • 3 – 4 Tablespoons sugar

Grease or lightly spray an 8 – inch round or square baking dish.

Slice the cookie dough as directed on the package  (about 1/4 inch thick slices).  Place as many slices as will fit in the bottom of the baking dish, pressing with your fingers, to make a solid bottom crust.  Next cut some of the slices in half and stand them up around the edges of the dish, rounded edges up.

In a small mixer bowl, beat the cream cheese, egg, vanilla and sugar till smooth. Pour over the cookie crust base.

Using the remaining cookie slices place them over the filling, and cut some into halves and quarters to fill the spaces.  If there are small openings where the filling shows through, that ‘s OK.  It looks nice when its baked.

Place into a preheated 350*F  oven and bake for 40 minutes.   Test with a toothpick for doneness.  Let cool at room temperature, then chill before serving.

IMG_2762

Who’s to say you can’t top this with a dollop of whipped cream?

SOURCE:   A Carolyn Original