You know something? I’m not happy when certain behaviors (on my part) become expectations. You do something say, twice, and suddenly it becomes your job and other people now expect it from you. Does this happen to you? What I do to try to prevent this is to change things up frequently. For instance just the other morning Mr. D. asked me “got any scones?” Now, why would he expect me to have scones available—because in the past few weeks I made two or three different kinds of scones, and now he wants them all the time. See what I mean? BUT this week, there are no scones! No, we are taking a break for a while, because I am off in a new direction. This week it’s muffins.

Rum Raisin Cranberry Muffin
Muffins are the replacement for scones. Not just any muffins. Ones in which the raisins and cranberries have been soaked in rum for a while before adding to the batter. And there’s orange peel and spices in there, too. After one of these with your morning coffee, you’ll be whistling a new tune as you leave for work. ” Hi Ho, Hi Ho, it’s off to work I go.” or “whistle a happy tune, whenever you’re feelin blue”, or, “whistle while you work, Tra-la-la-la-la-la.” OH, my, I think I’m getting into my happy Christmas Spirit a little early here. But seriously, these muffins are way good, and healthy too, so its OK to have one and not have feelings of guilt..

When I decided to make these I did not have a recipe, just an idea of what I wanted to create. So I turned to my King Arthur Baking Sheet for a basic cranberry muffin recipe and then did some major modifications to come up with this combination of flavors. Heating the rum mixture causes the alcohol content to evaporate, leaving behind a faint rum flavor, but also plumps up the raisins and cranberries. However, if you would prefer not to use rum, you may substitute either apple cider or apple juice, or even orange juice.
RUM RAISIN CRANBERRY MUFFINS
YIELD: 1 dozen muffins
INGREDIENTS
- 1/4 cup dark rum
- 1/2 cup golden raisins
- 1/2 cup dried cranberries
- 1 1/2 cups regular or white 100% whole wheat flour
- 3/4 cups quick-cooking oats
- 1/4 cup buttermilk powder or non-fat dry milk powder
- 2/3 cup sugar
- 2 teaspoons baking powder
- 1/2 teaspoon salt
- 1/4 teaspoon ground nutmeg
- 1/8 teaspoon ground cloves
- 1/2 cup chopped nuts, optional
- 1 Tablespoon finely grated orange zest (orange peel)
- 2 large eggs
- 1/2 cup milk
- 1/3 cup vegetable oil or melted butter
1. Preheat the oven to 375 degrees. Grease the wells of a muffin pan, or line with papers.
2. Combine the rum, raisins and cranberries in a small saucepan. Bring to a boil over medium-low heat. Remove from heat. Cover and let cool for 10 minutes or so while you continue with the recipe.
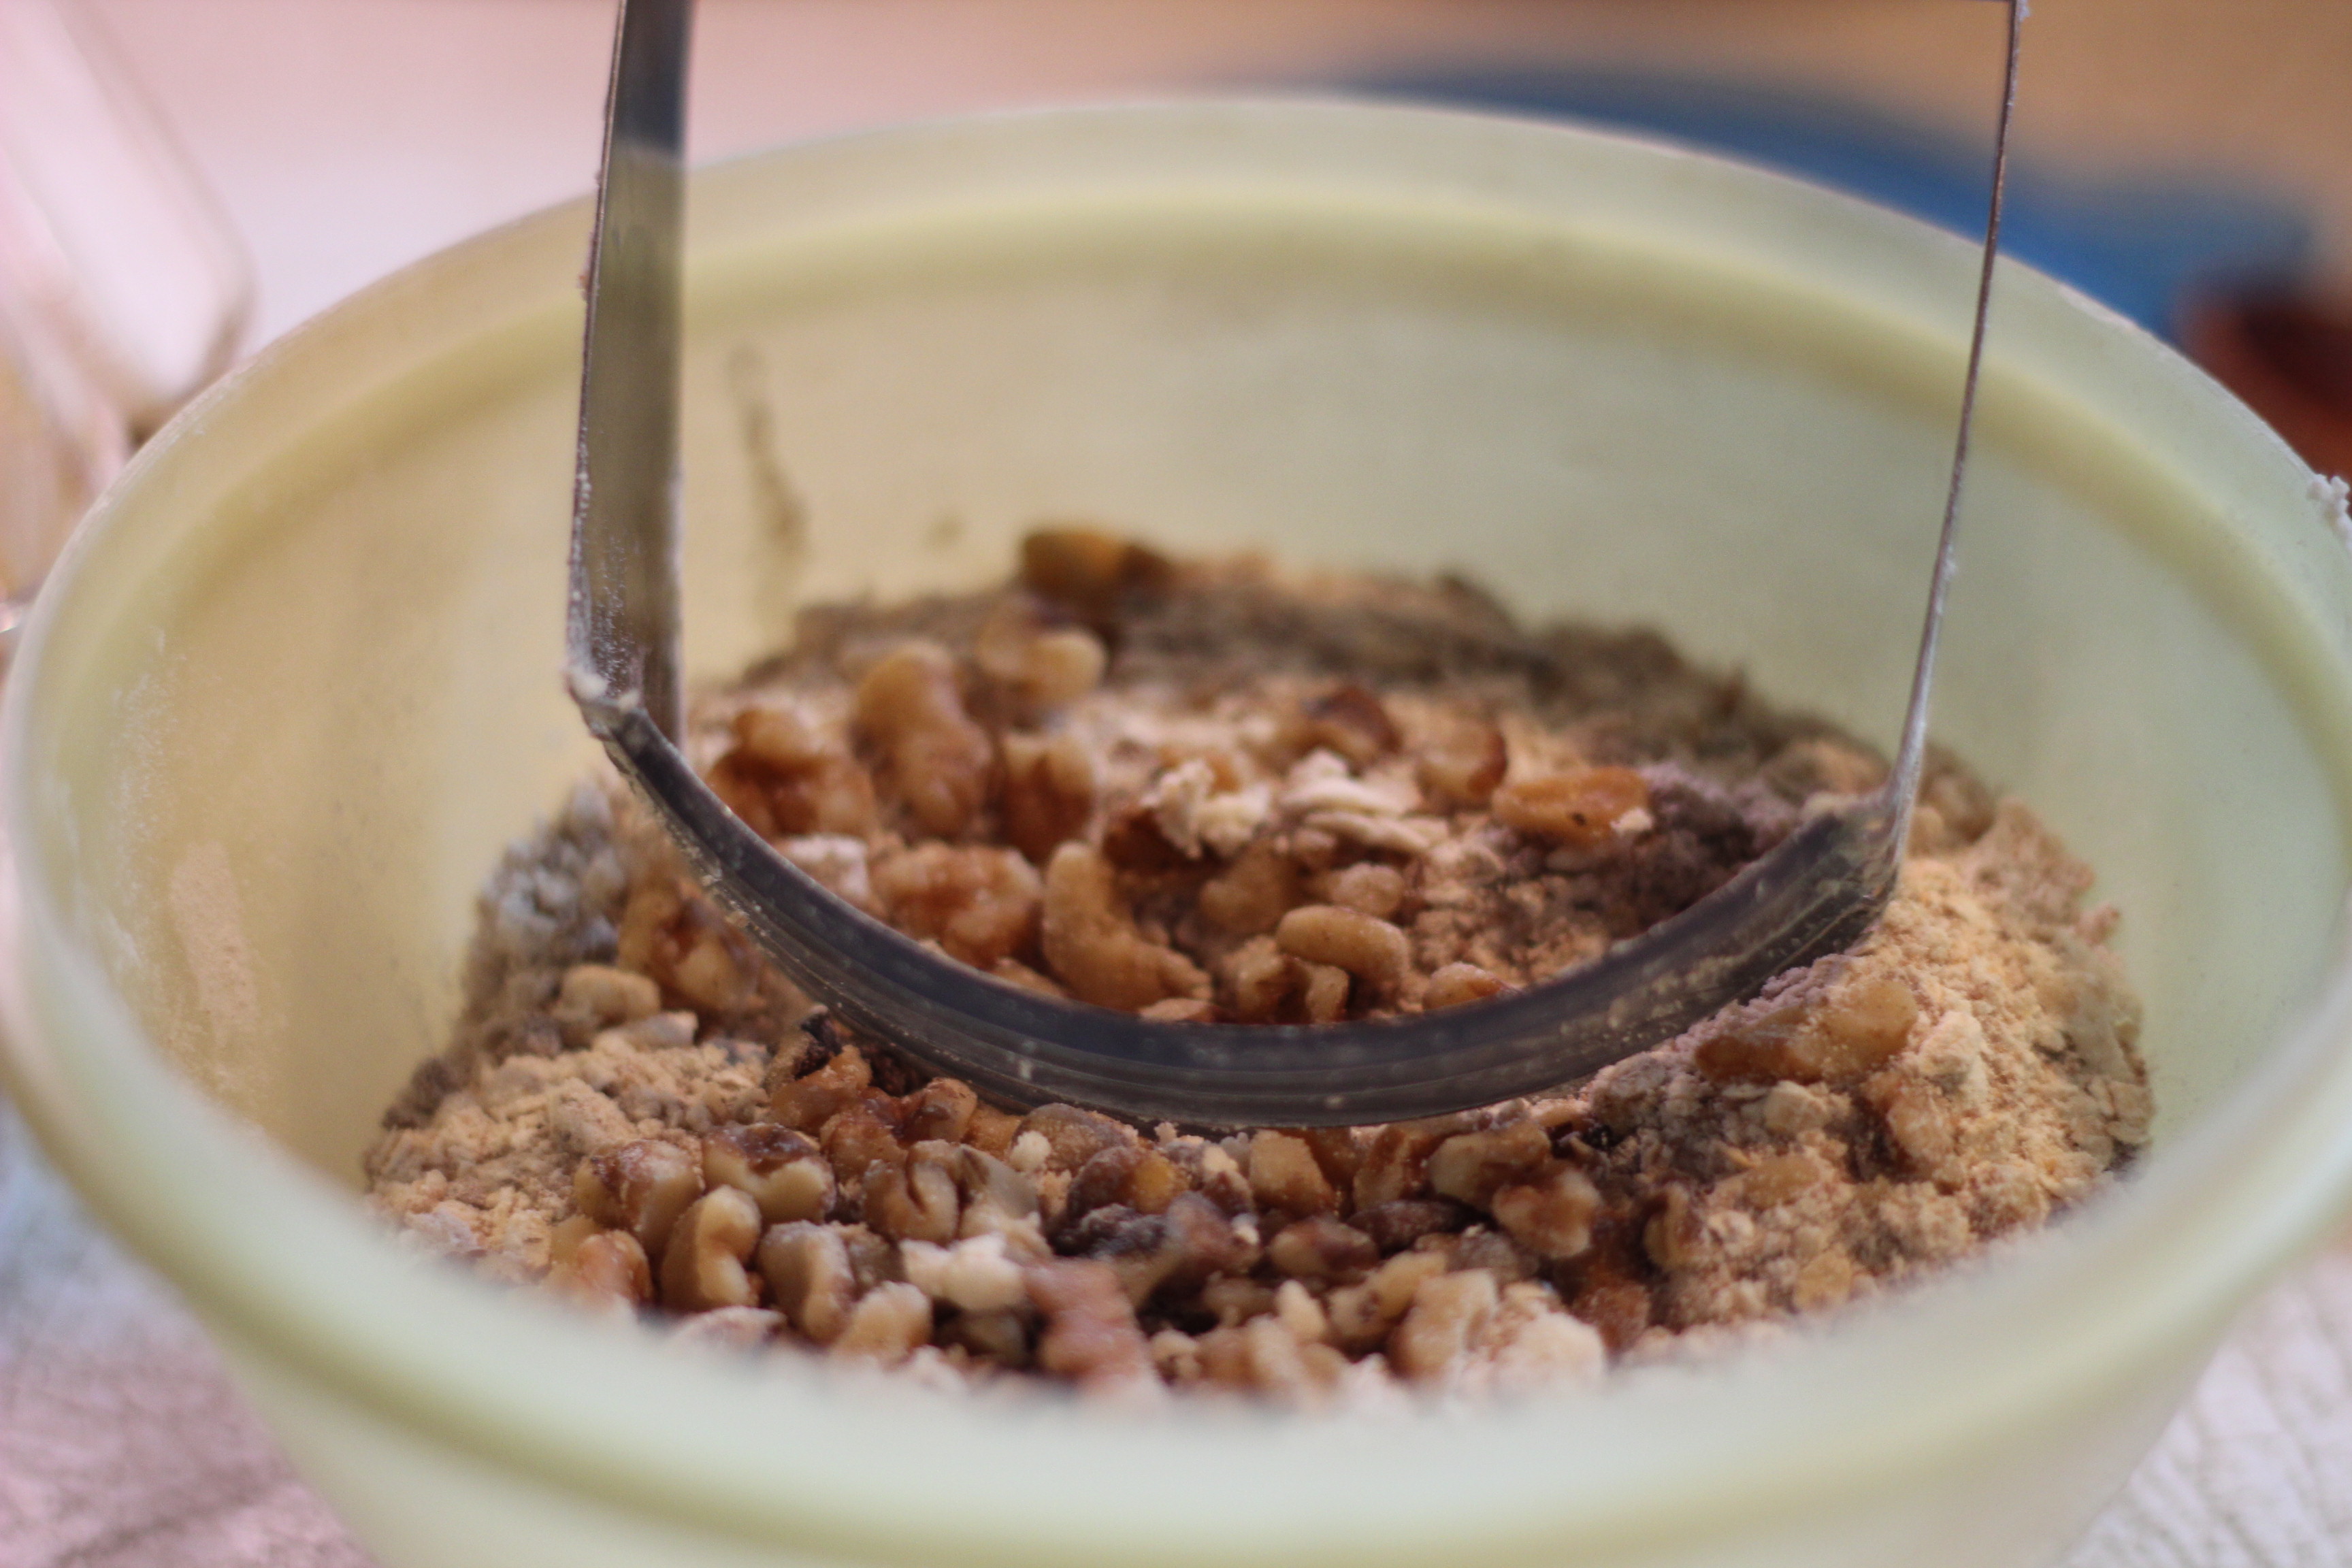
3. In a large bowl whisk together the dry ingredients. In another bowl whisk together the eggs, orange zest, milk, and oil or melted butter.
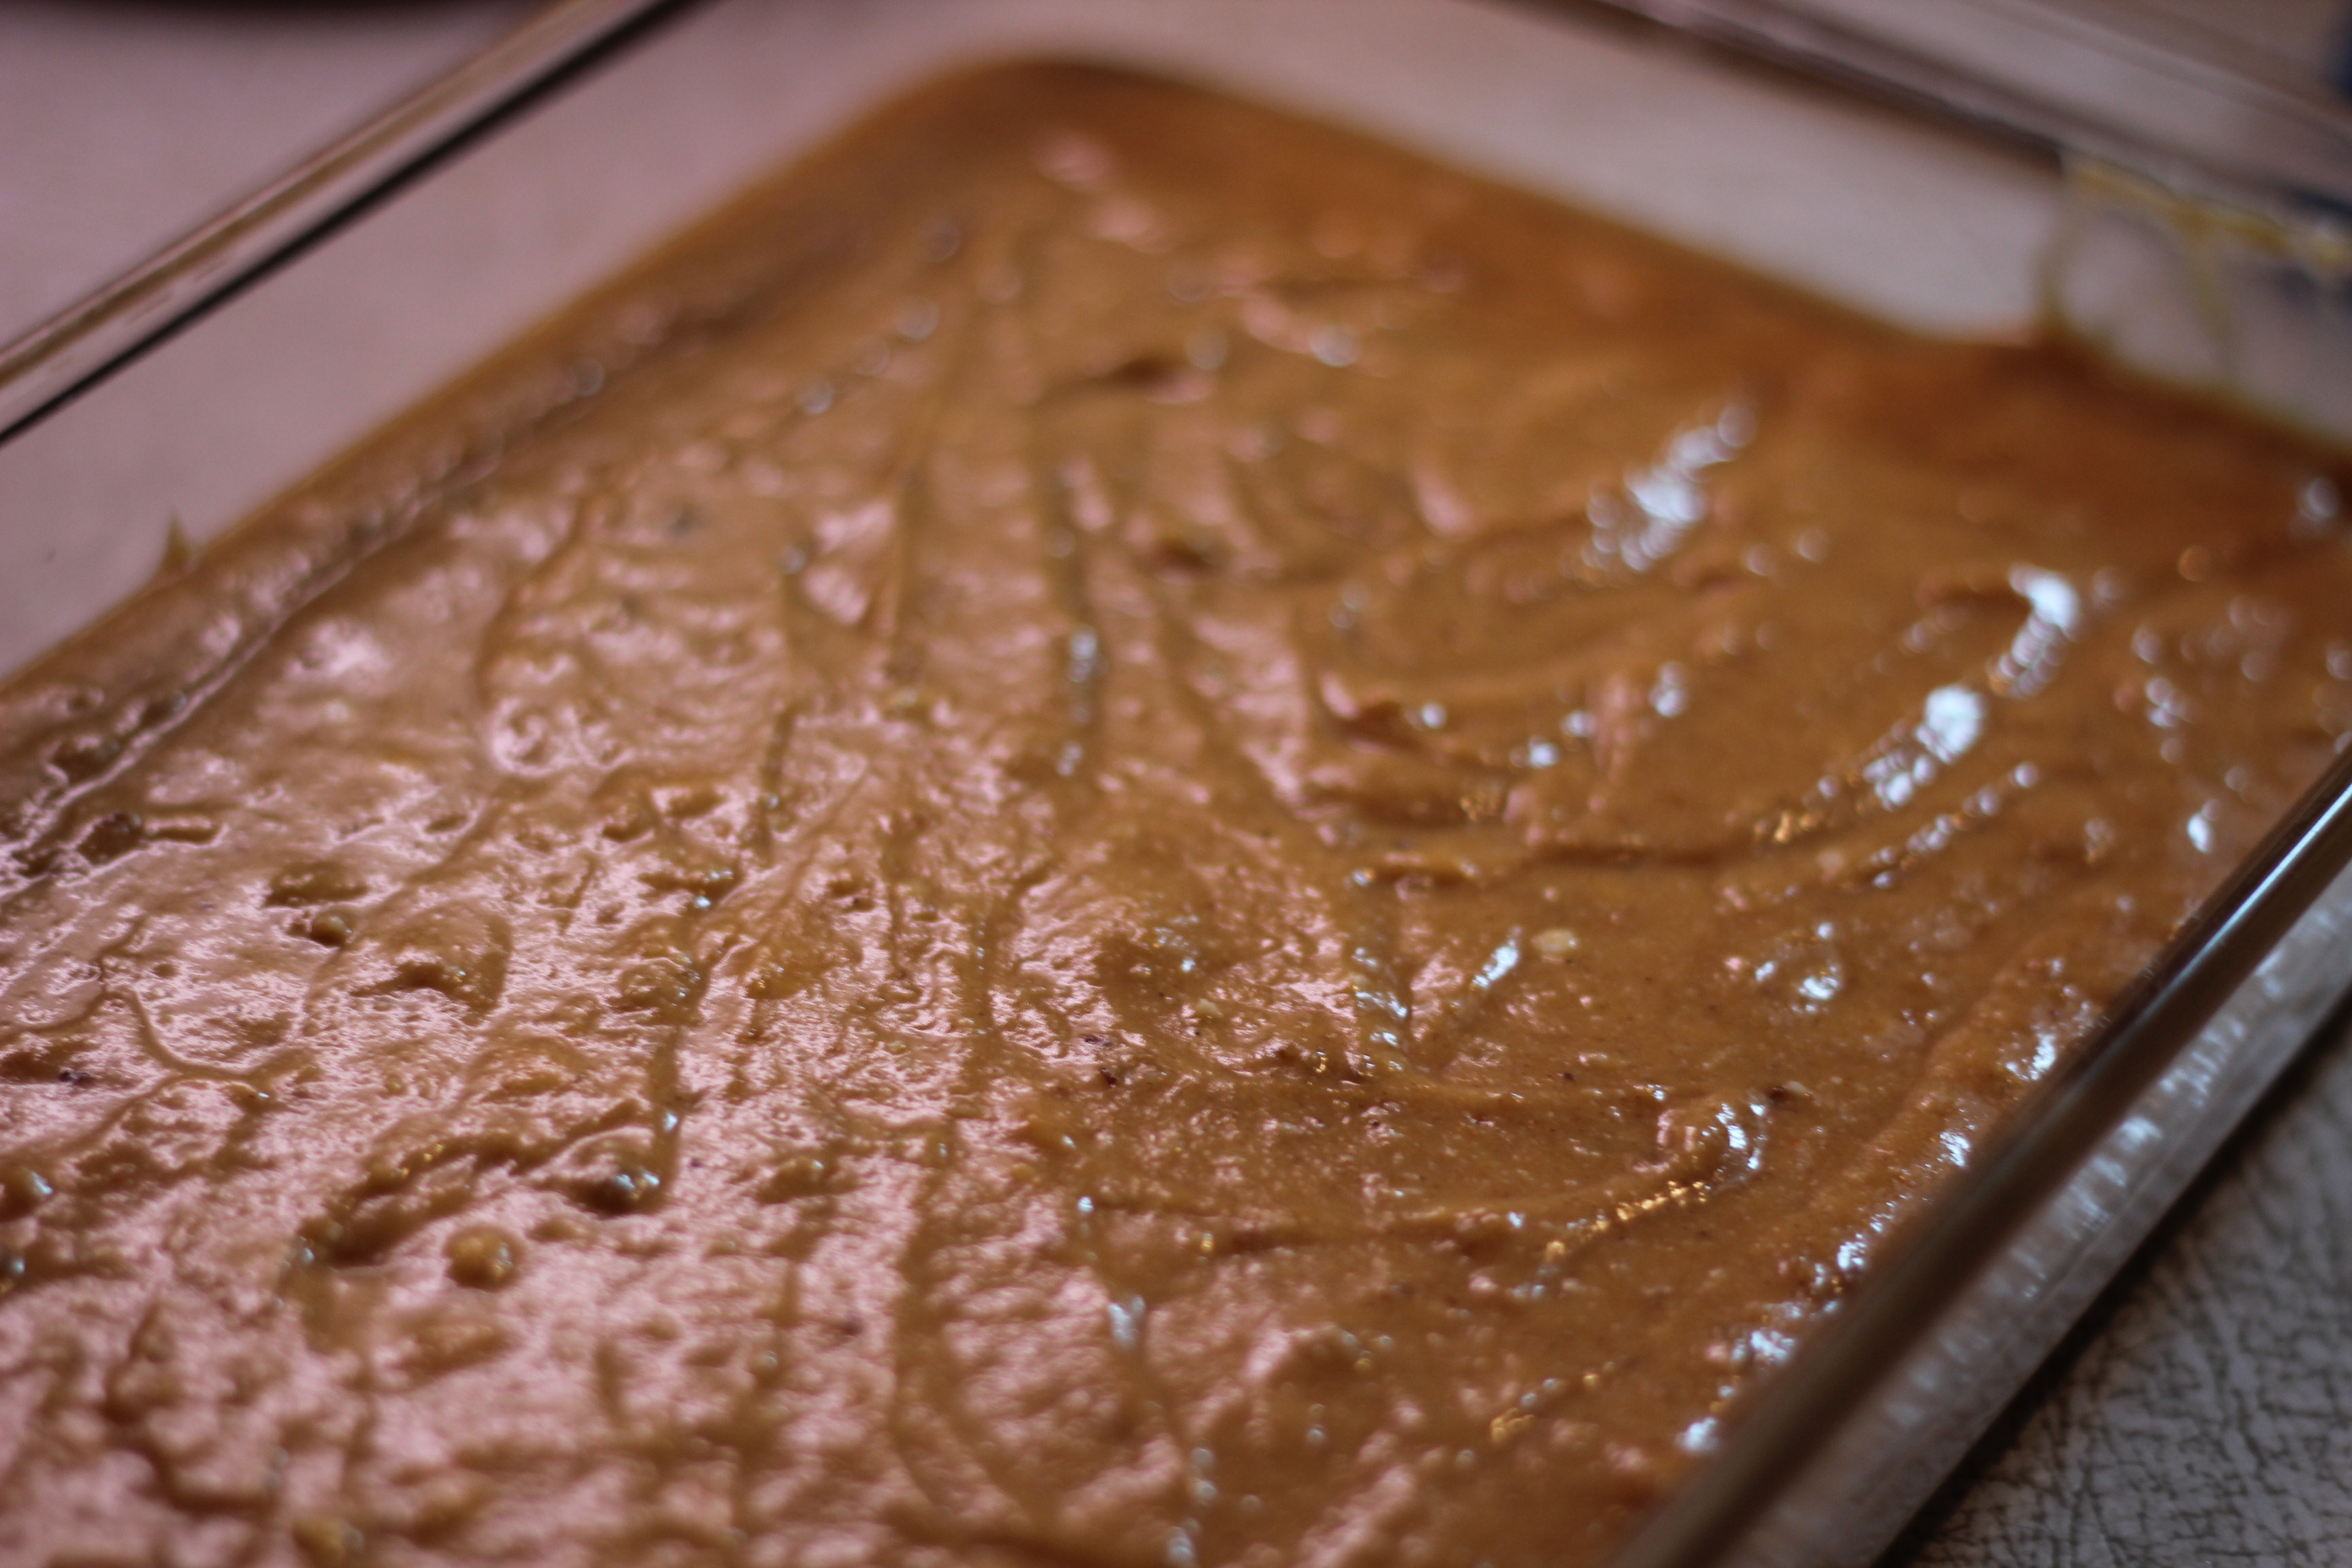
4. Add the wet ingredients to the dry ingredients, stirring just until barely blended, add in the cranberry/raisin mixture with their juice, and continue to blend them into the batter without over mixing. Fill the muffin cups about 3/4 full. Divide all the batter evenly among the cups–they will be almost full.
5. Bake for 18 – 20 minutes until they’re golden brown, and test done with a toothpick. Remove from the oven, leave in the pan for 5 minutes, then transfer to a wire cooling rack to finish cooling.

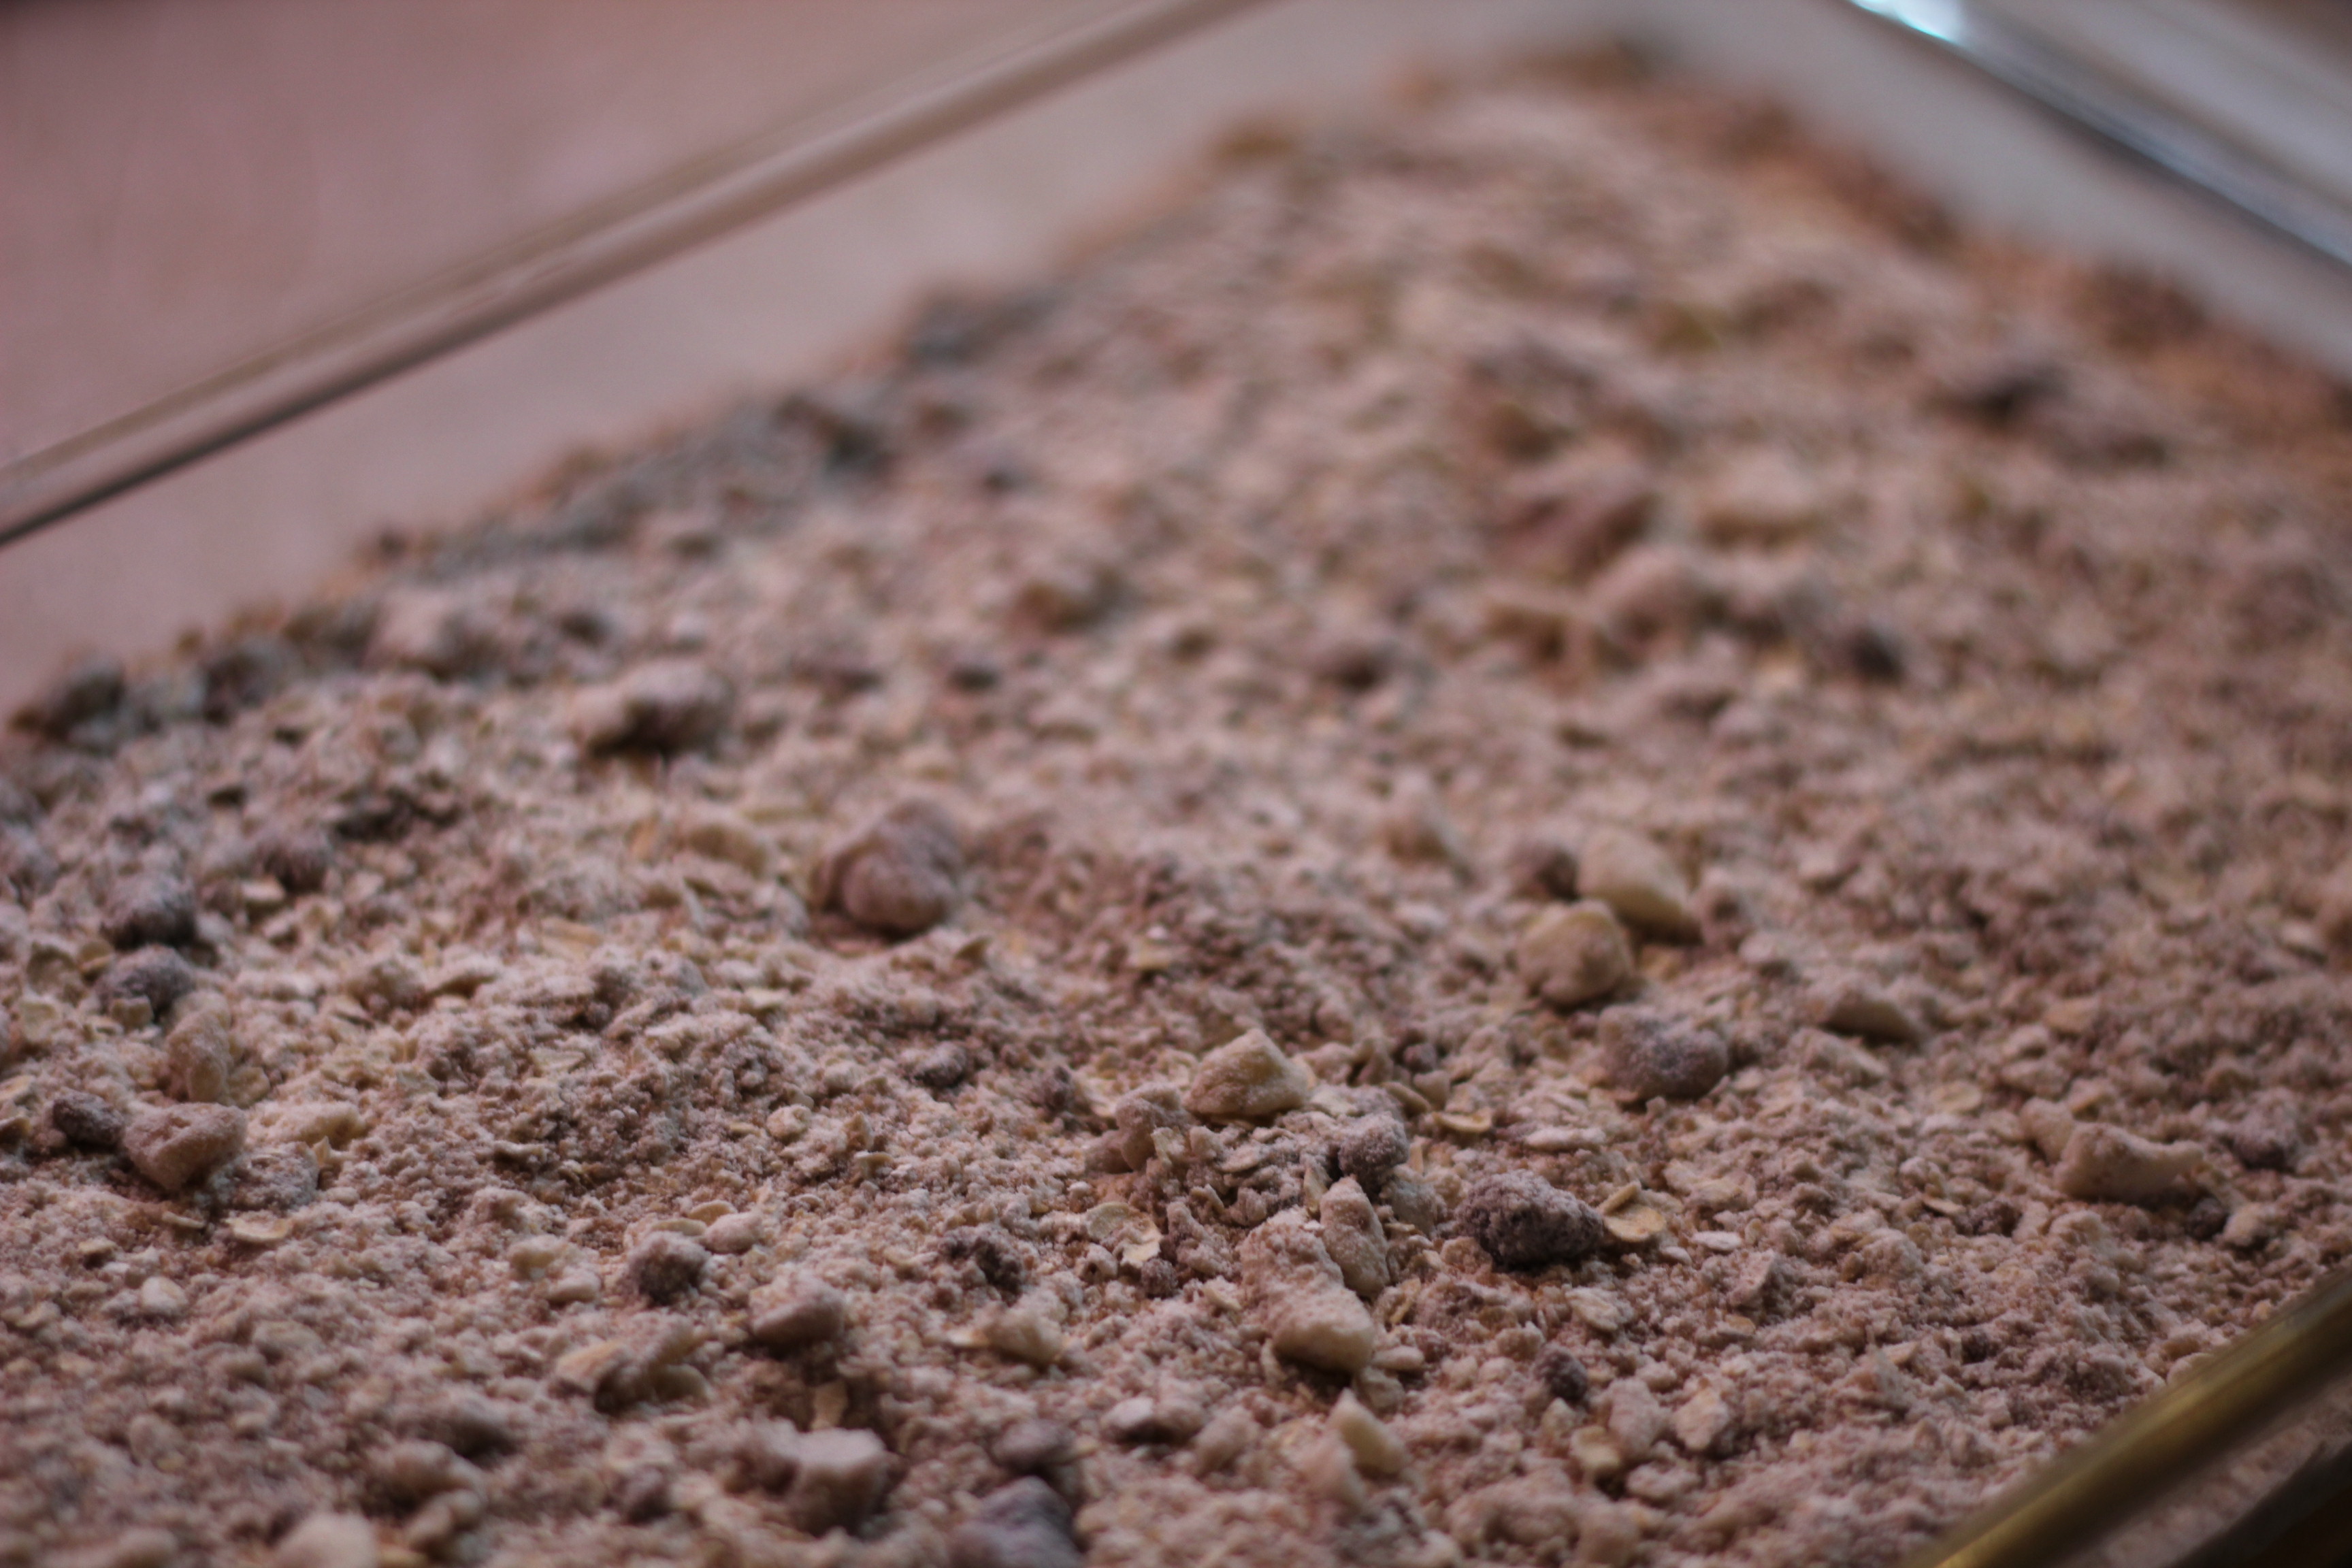
Rum Raisin Muffins after baking
GLAZE Not necessary, but it really puts the finishing touch on these muffins. (It’s the frosting on the cake! )
- 2 Tablespoons orange juice, apple juice or apple cider
- 1 cup powdered sugar
In a small saucepan (or use the microwave), stir together the glaze ingredients. Bring just to a boil to dissolve the sugar. Dip the tops of the warm muffins into the glaze. As it cools is becomes a sweet, crunchy little cap on the muffins. Cute!

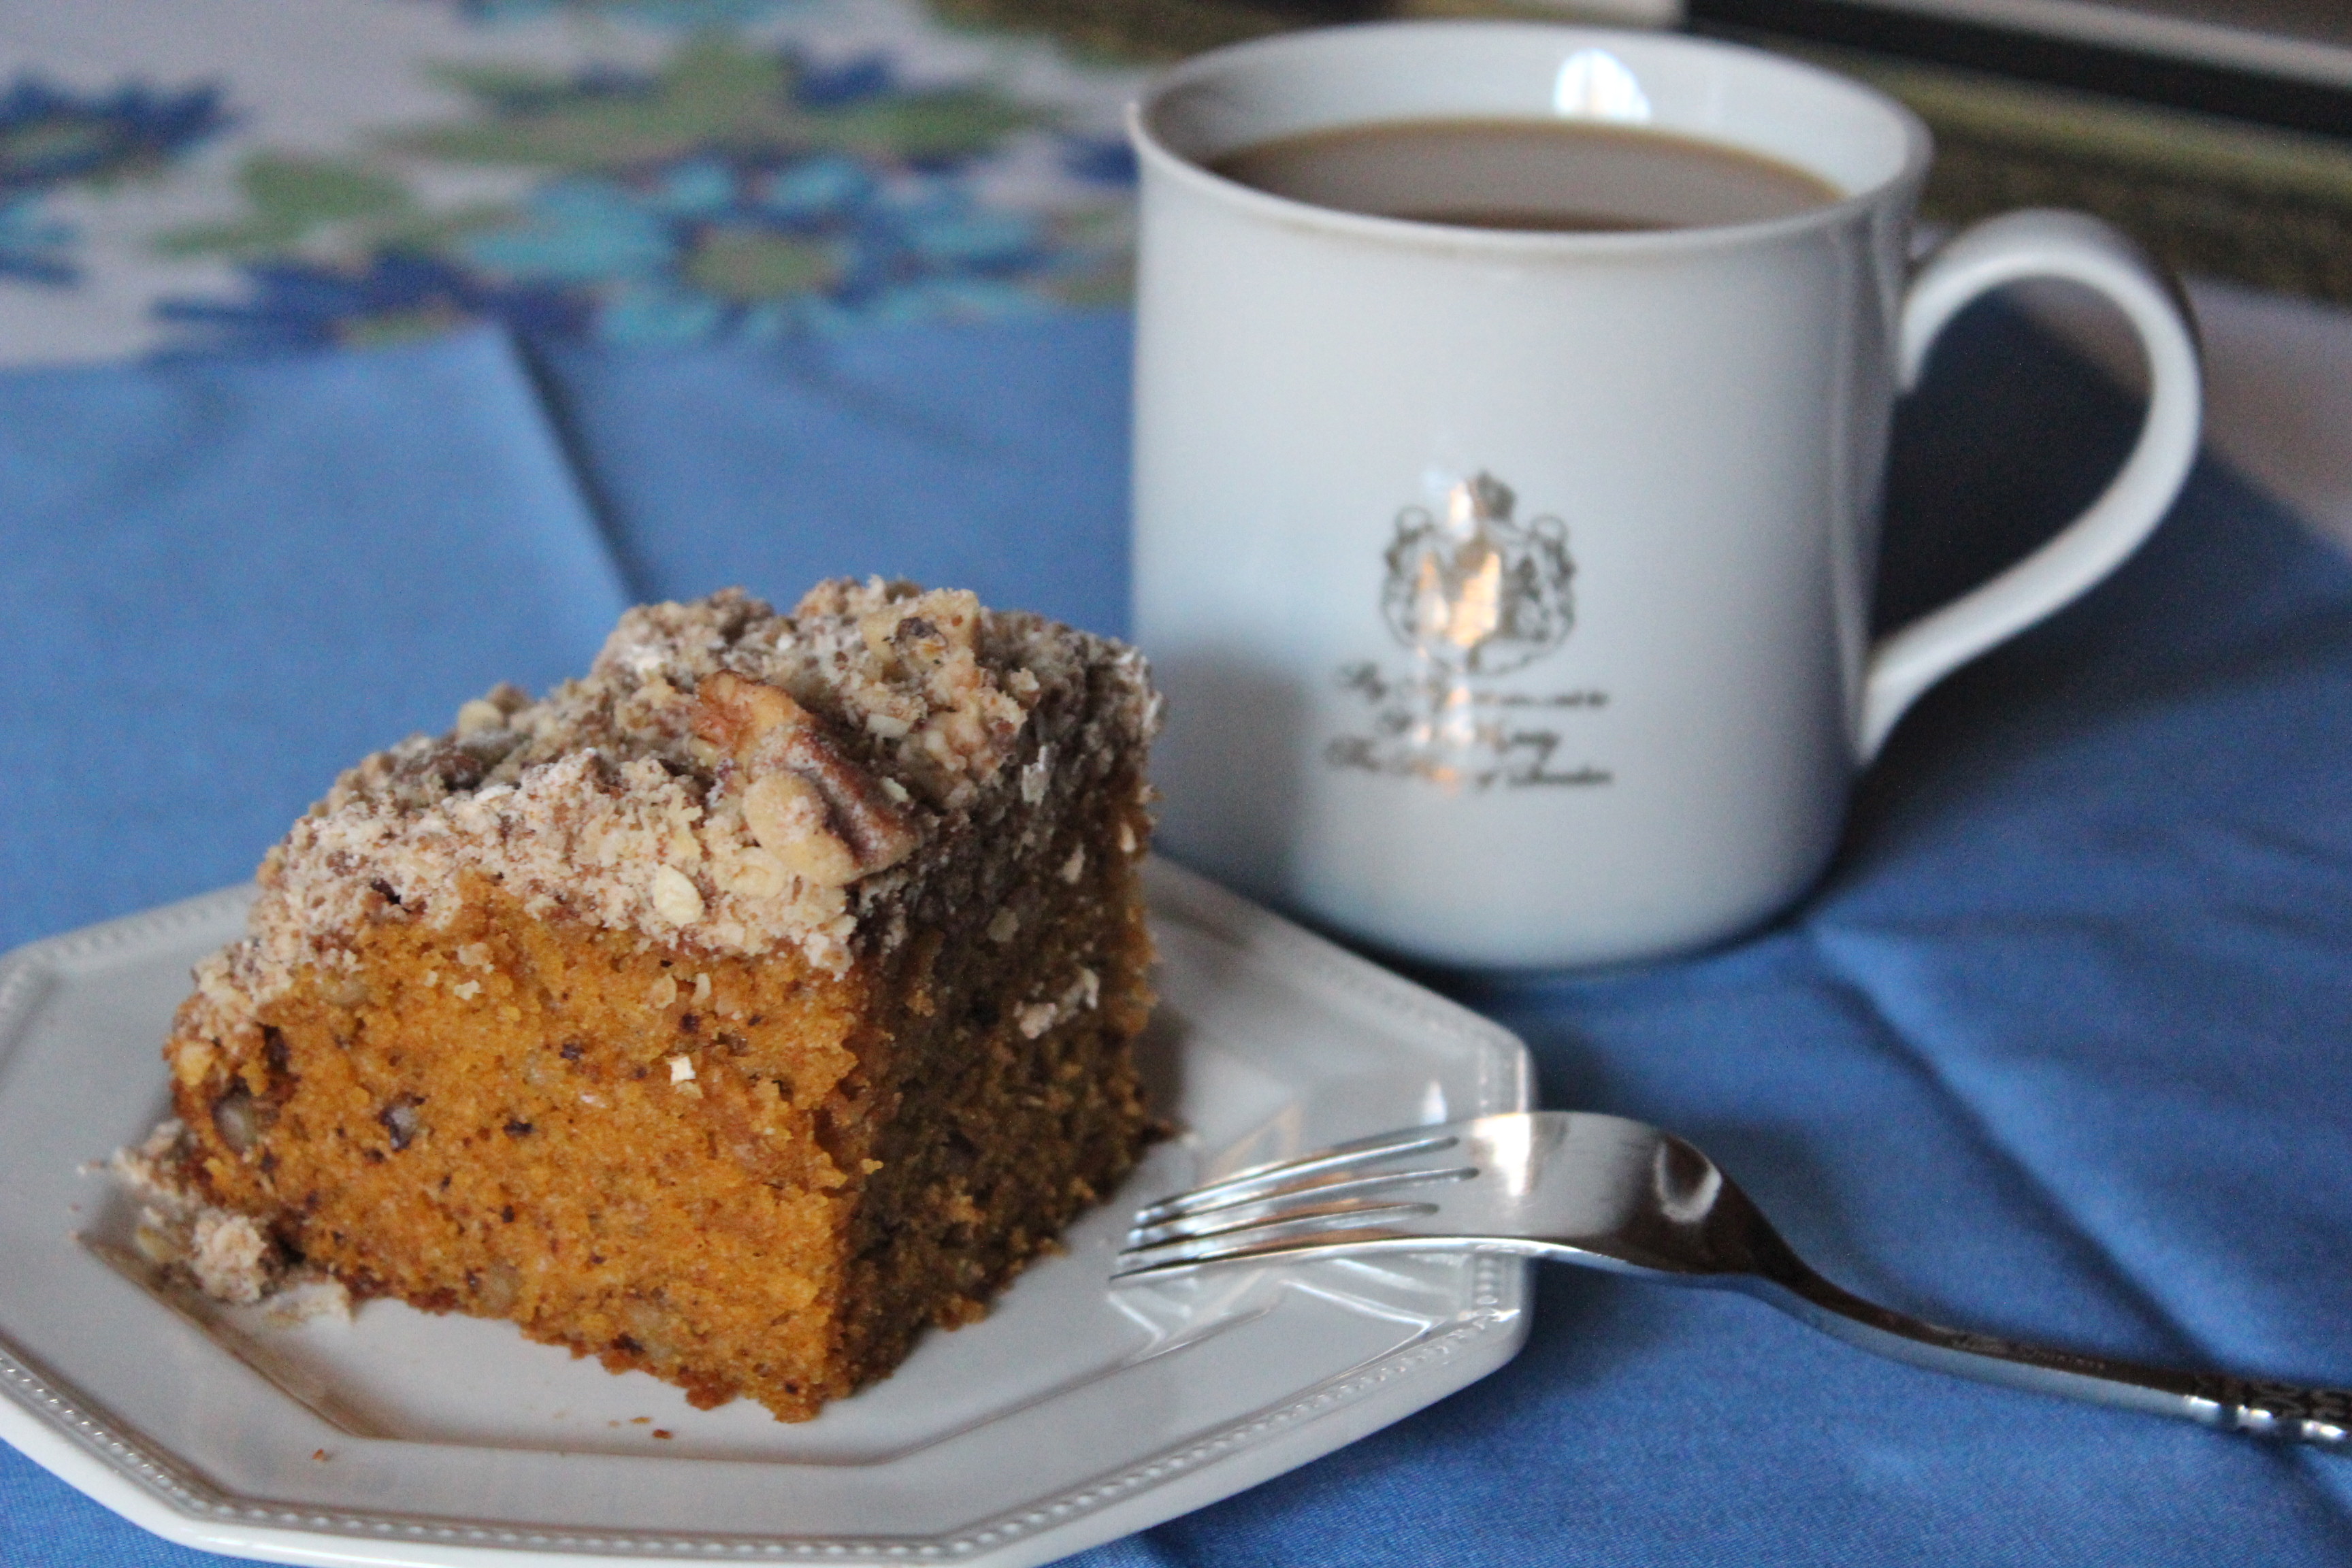
Muffins with Glaze

So good with coffee!
SOURCE: based on a recipe from King Arthur Flour