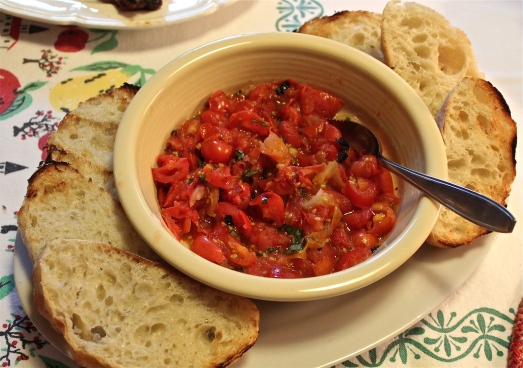
Roast Tomato Bruschetta
It’s a fact that the majority of foods that we love and that I prepare here at home make their way to the pages of this blog. However, there are some recipes that I make over and over again and somehow never think to share them with you. Usually that’s because they are so simple, I don’t view them as a “recipe’, but they are non-the-less-good in spite of it.
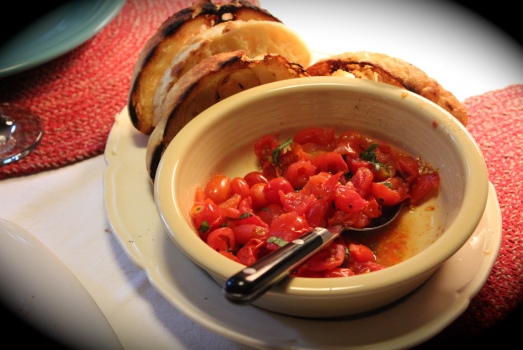
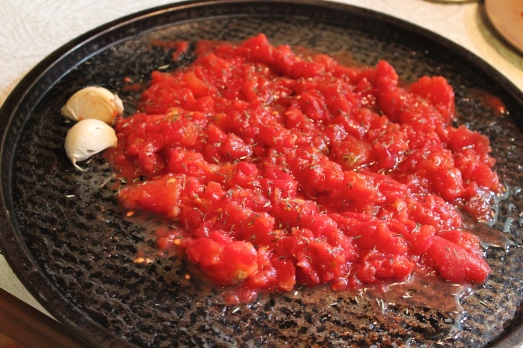
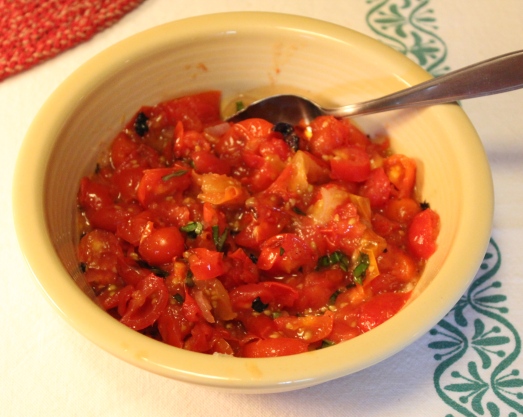
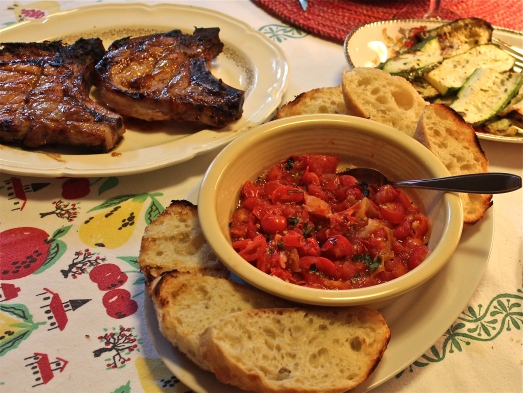
A few weeks ago I shared a picture on Facebook of an appetizer that I was making to bring to a family picnic, and almost instantly I was getting questions about what it was, and requests for the recipe. All it consisted of was roast tomatoes, coarsely chopped then mixed with some diced shallots, olive oil, and chopped basil. Spread this mixture on some toasted whole-wheat baguette slices, and you have yourself one delicious appetizer, an accompaniment to a salad, or a little extra something to round out a meal.
I make this using whatever kind of tomatoes I have in abundance, but my favorite is to use small heirloom varieties. I like the mixture of colors. The tomatoes can be roasted in the oven on a cookie sheet, or on the grill if you already have it heated up. One quick way to do this on the grill is to thread the tomatoes on skewers (6-8/skewer) and lay them on the grill, turning every 2 – 3 minutes until the tomatoes start to crack and begin to look charred. Then bring them into the kitchen, chop them up, add the remaining ingredients, and its done!
ROAST TOMATO BRUSCHETTA
Yield: Make about 2 cups
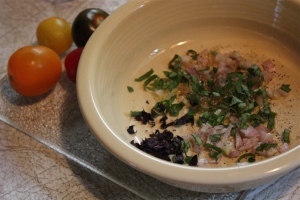
I get the dressing ready before roasting the tomatoes.
Ingredients:
- 2 cups cherry tomatoes, or any variety of tomatoes you desire
- 4 teaspoons olive oil, divided
- 2 tablespoons chopped fresh basil
- 1 small shallot, chopped (or finely minced red onion)
- 1 whole wheat French bread baguette, sliced
- 1 garlic clove, halved
Directions:
1. Preheat oven to 375*F. or heat grill to medium-high heat.
2. Thread tomatoes evenly on 4 skewers; lay on a cookie sheet and brush all over with 2 teaspoon olive oil. If using grill, brush tomatoes with oil and lay on grill . Turn the skewers several times for even roasting, and when the tomatoes start to crack and look charred ( about 5 minutes on the grill) remove from heat.
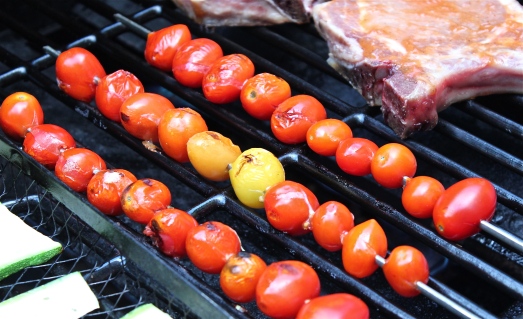
Roasting the tomatoes on skewers.
3. Remove tomatoes from skewers; chop coarsely. Place tomatoes, 2 teaspoons olive oil, 1/4 teaspoon salt, 1/4 teaspoon pepper, basil, and shallot in a small bowl, stirring to combine.
4. Brush bread slices evenly with some olive oil, Grill for about 30 seconds on each side or until toasted.

Toasting the bread.
Rub cut sides of garlic over one side of bread slices, top evenly with tomato mixture.
Once you try this, you will want it with every meal. 🙂
SOURCE: Carolyn’s Creations