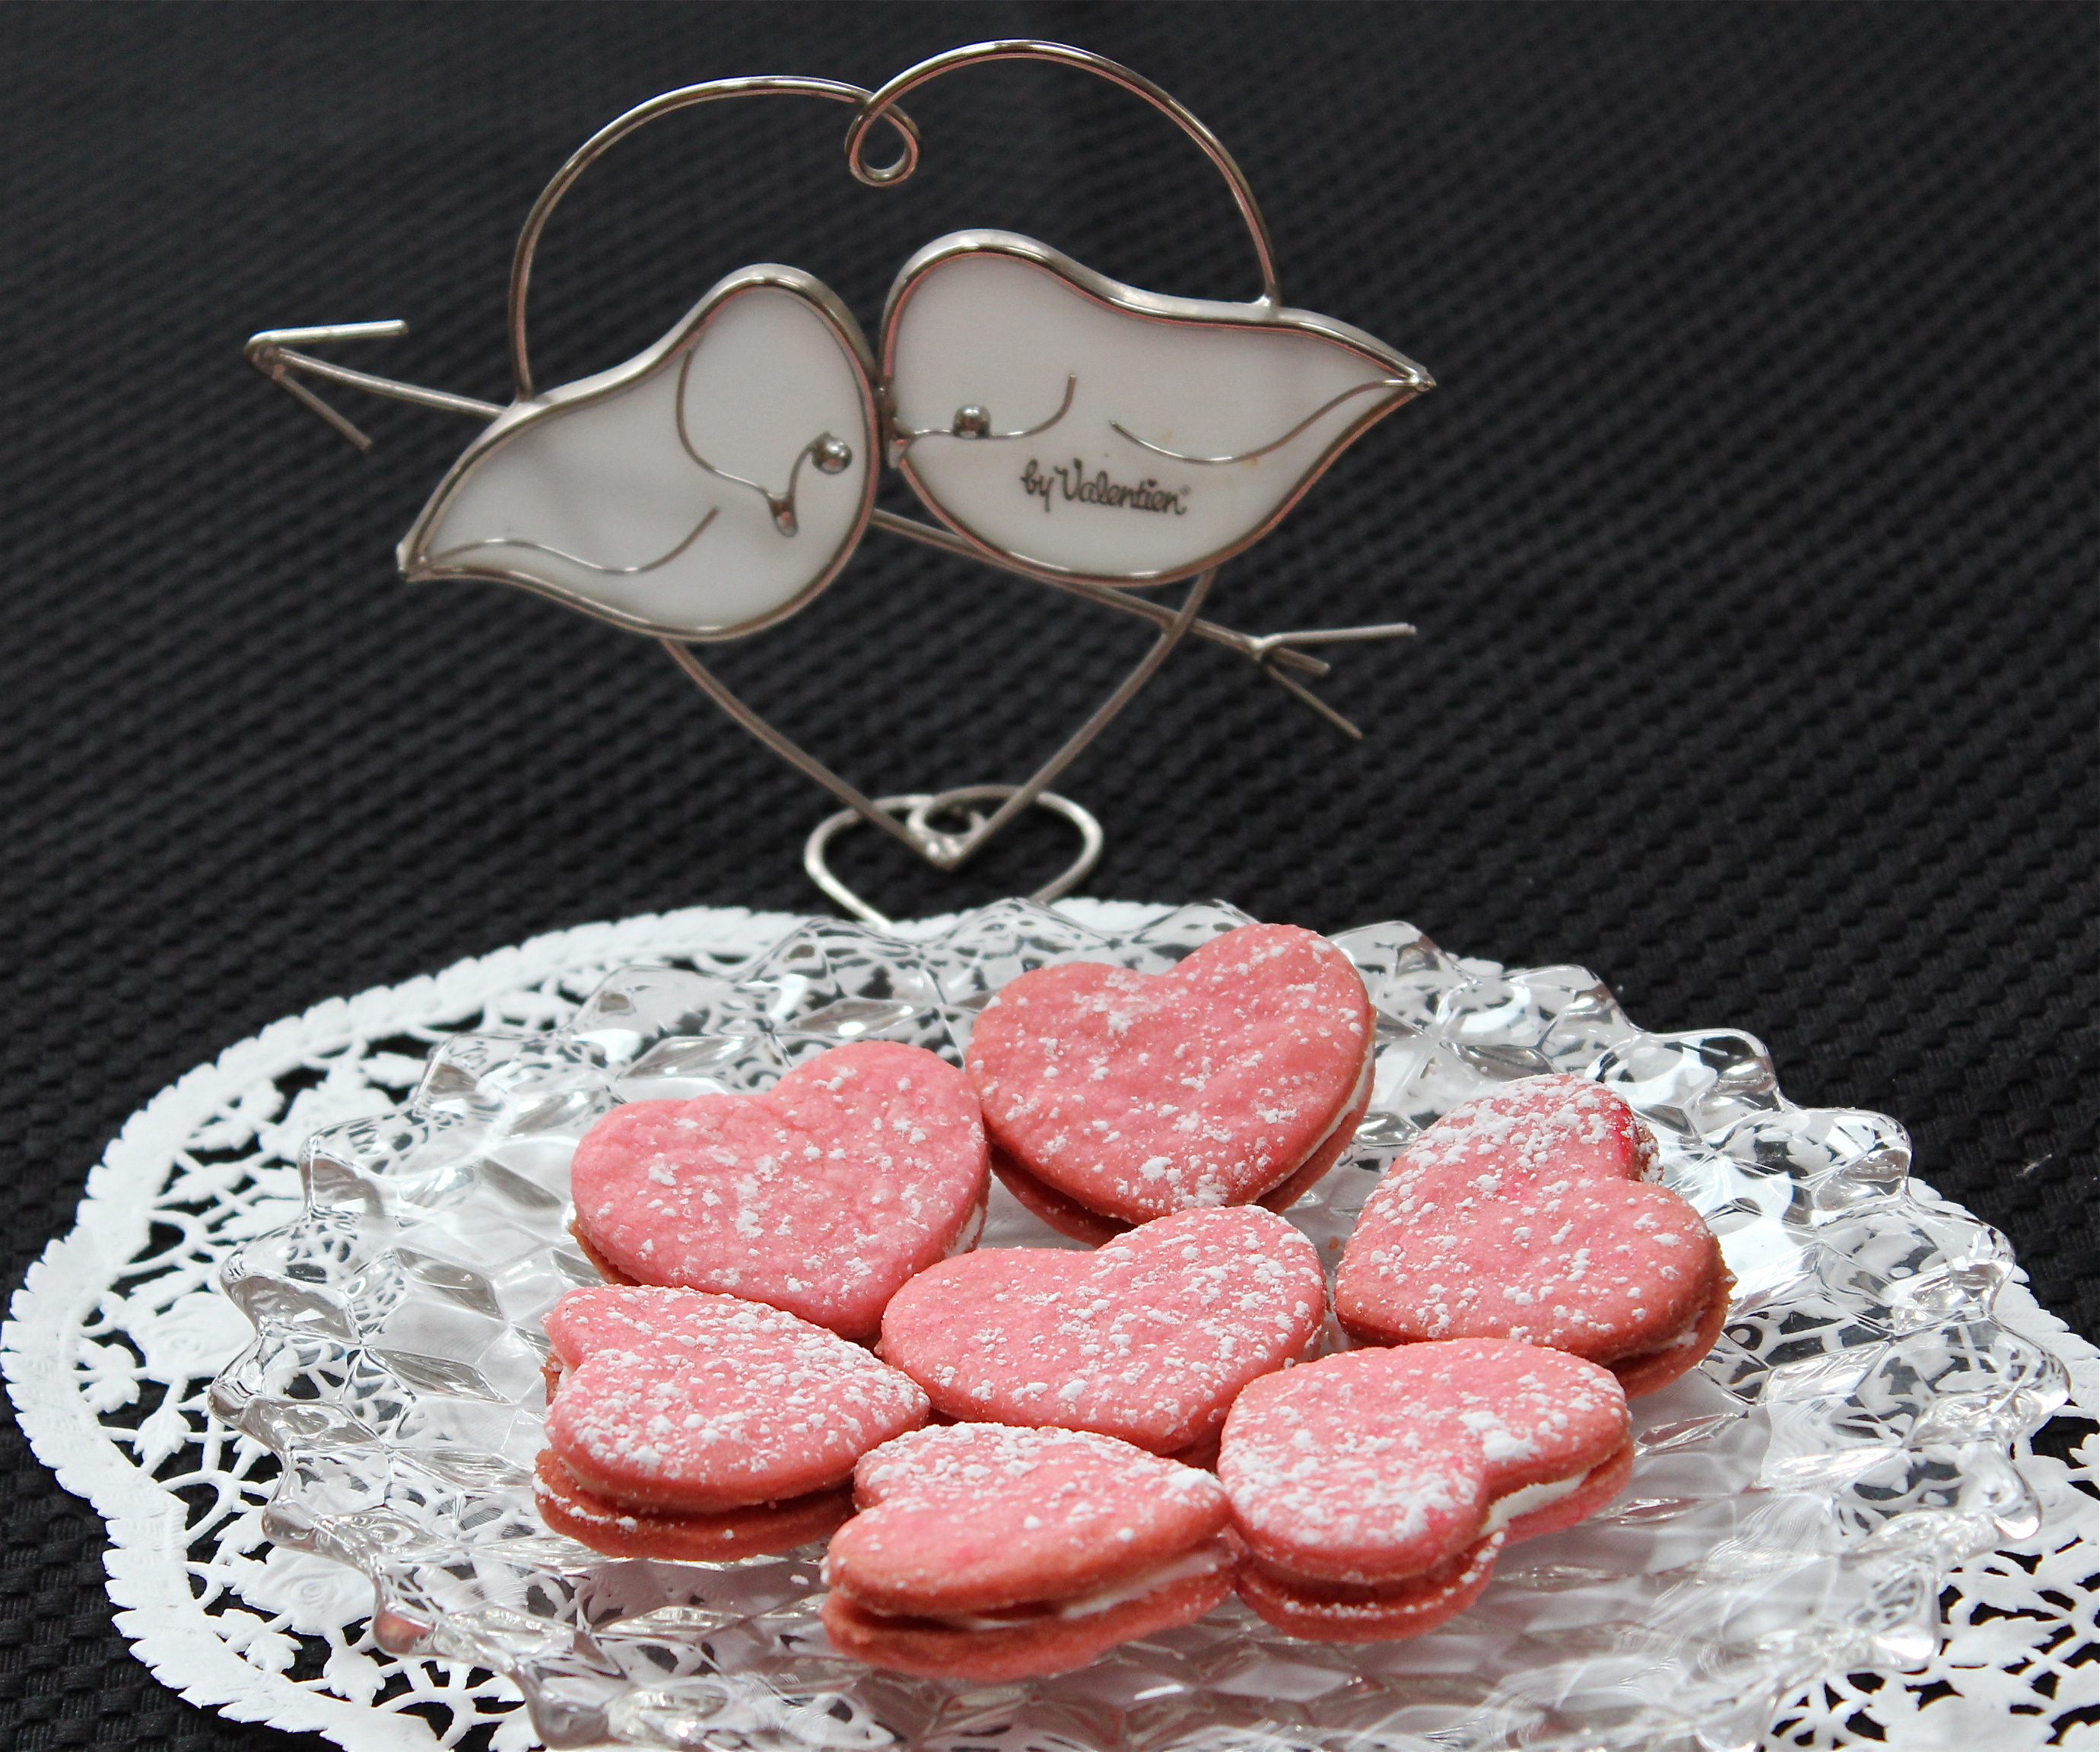
Now what kind of sandwich is sweet and pink? I’ll give you some hints: Valentine’s Day, hearts, sugar cookies. You got it! A heart-shaped sugar cookie sandwich tinted pink and filled with butter cream. WOW! Does that sound fabulous or what? Here’s a first look at how they turned out.
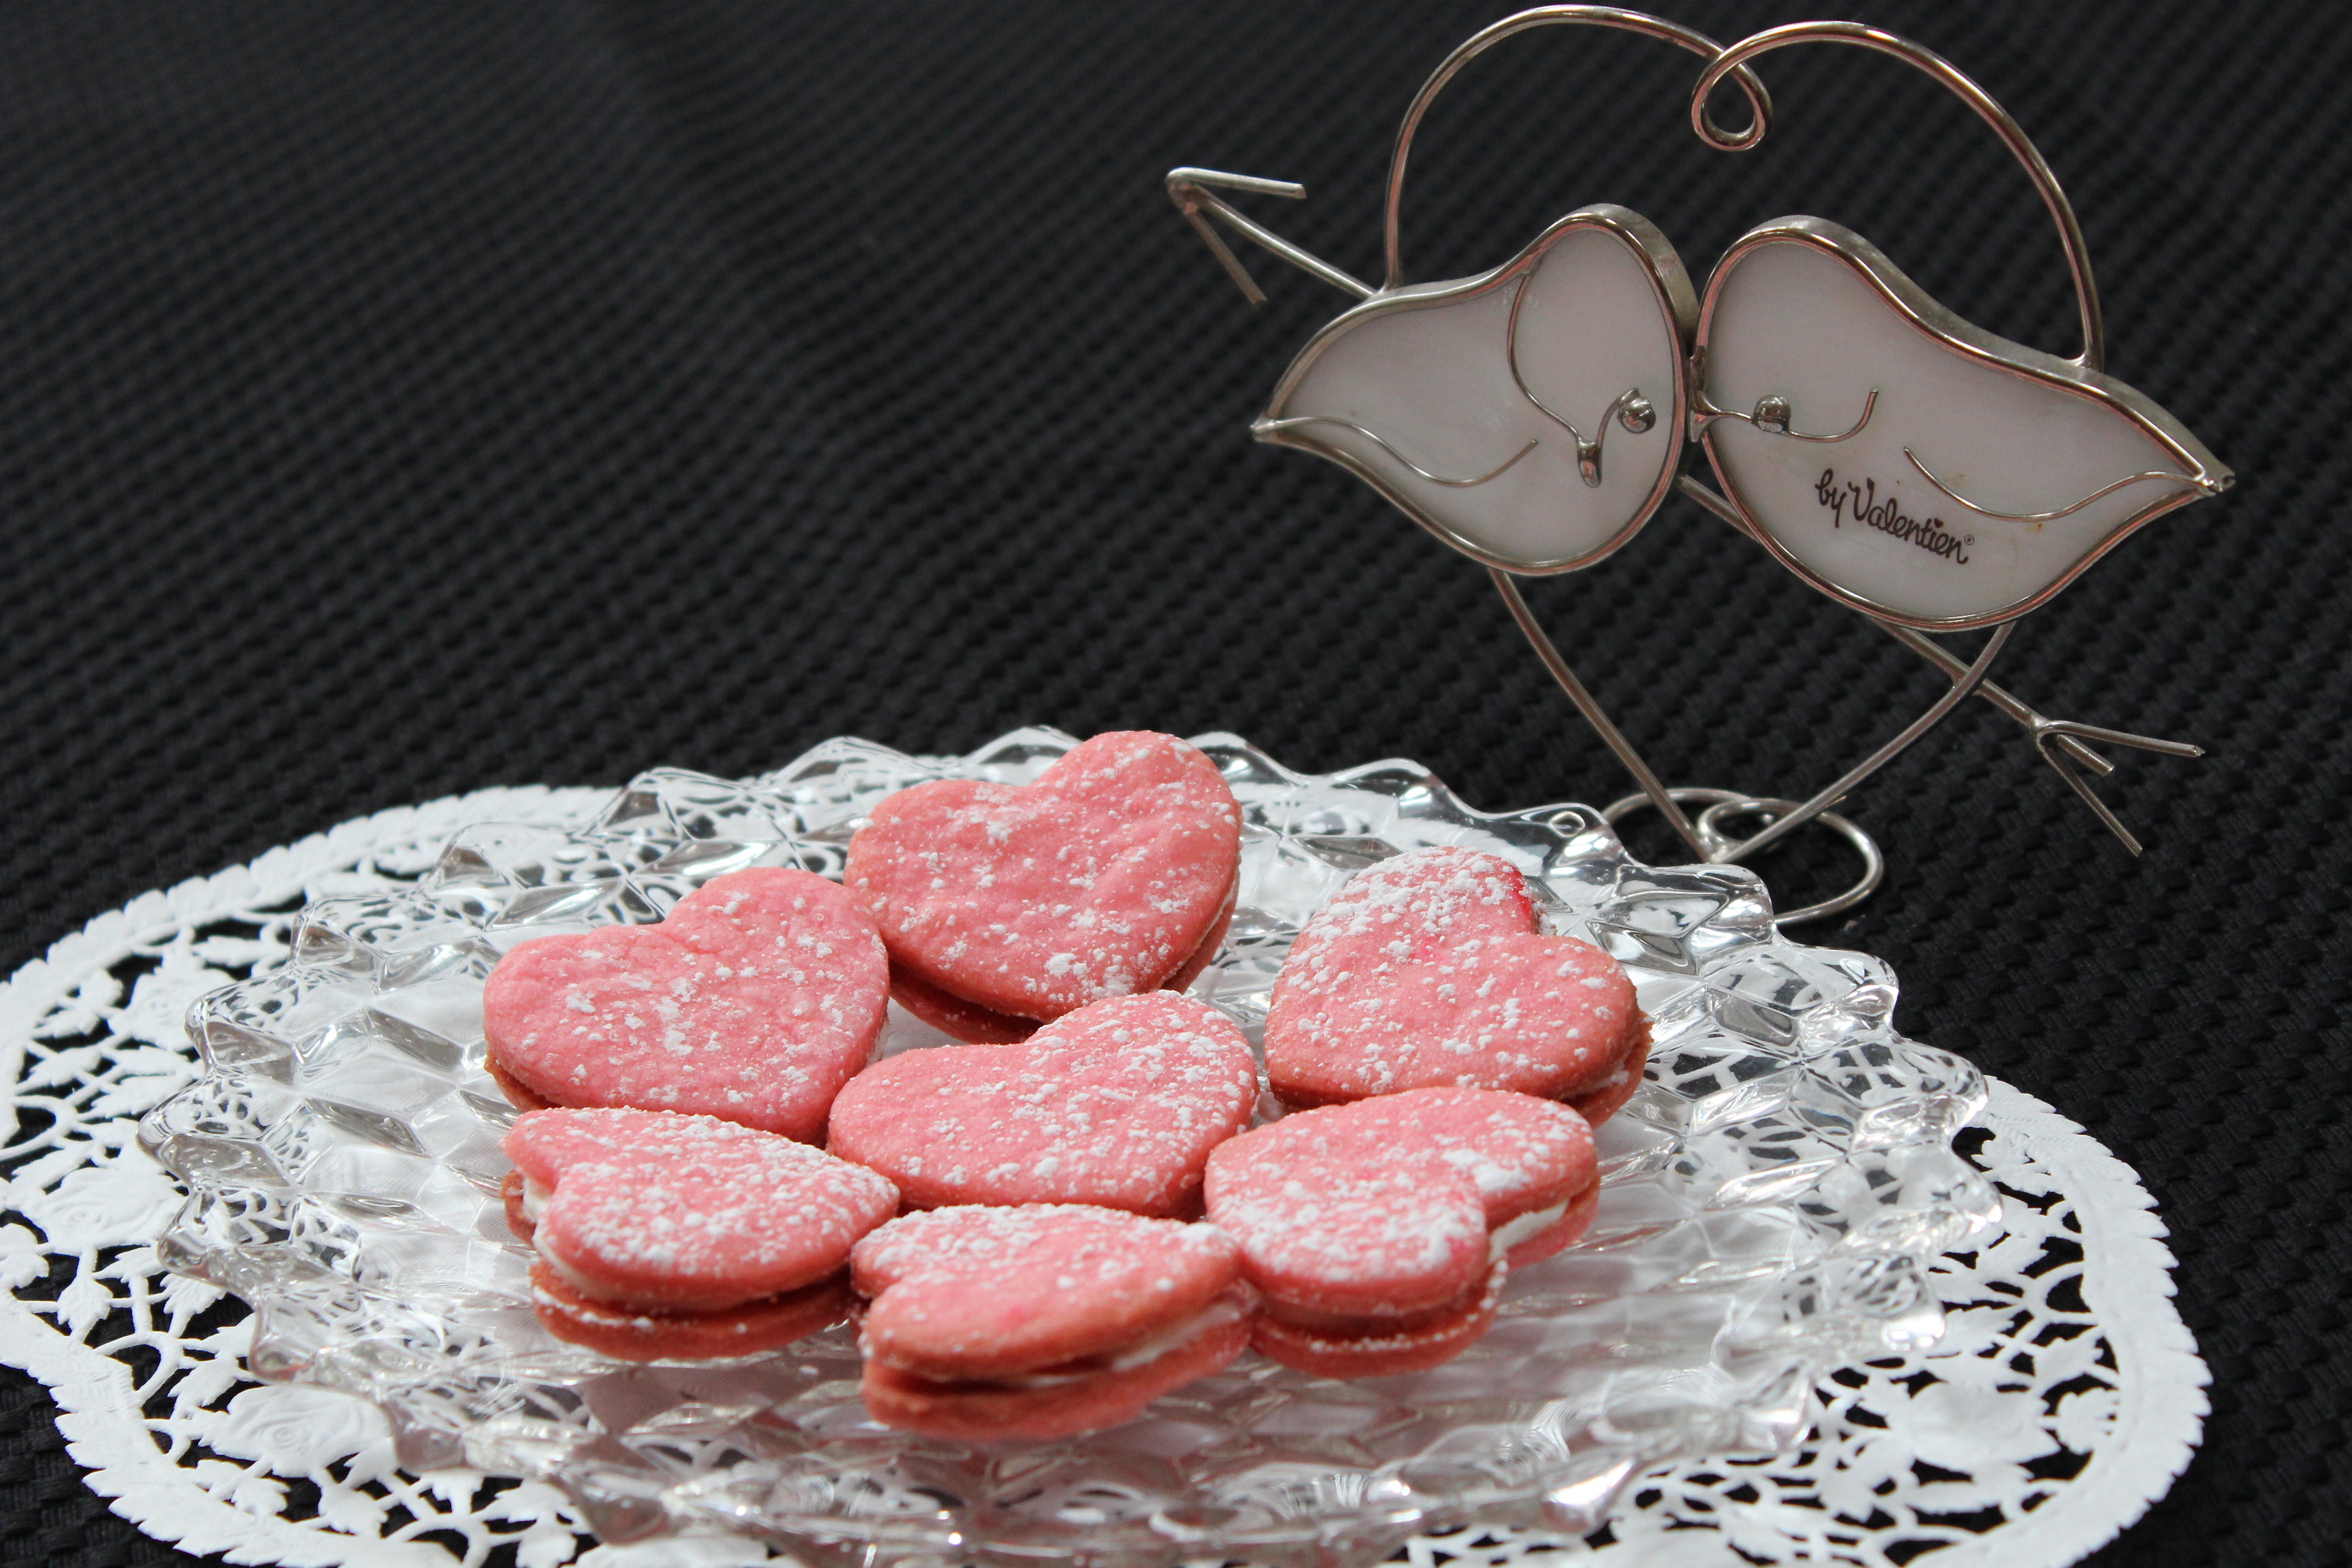
Pink heart sandwich cookies with cream filling.
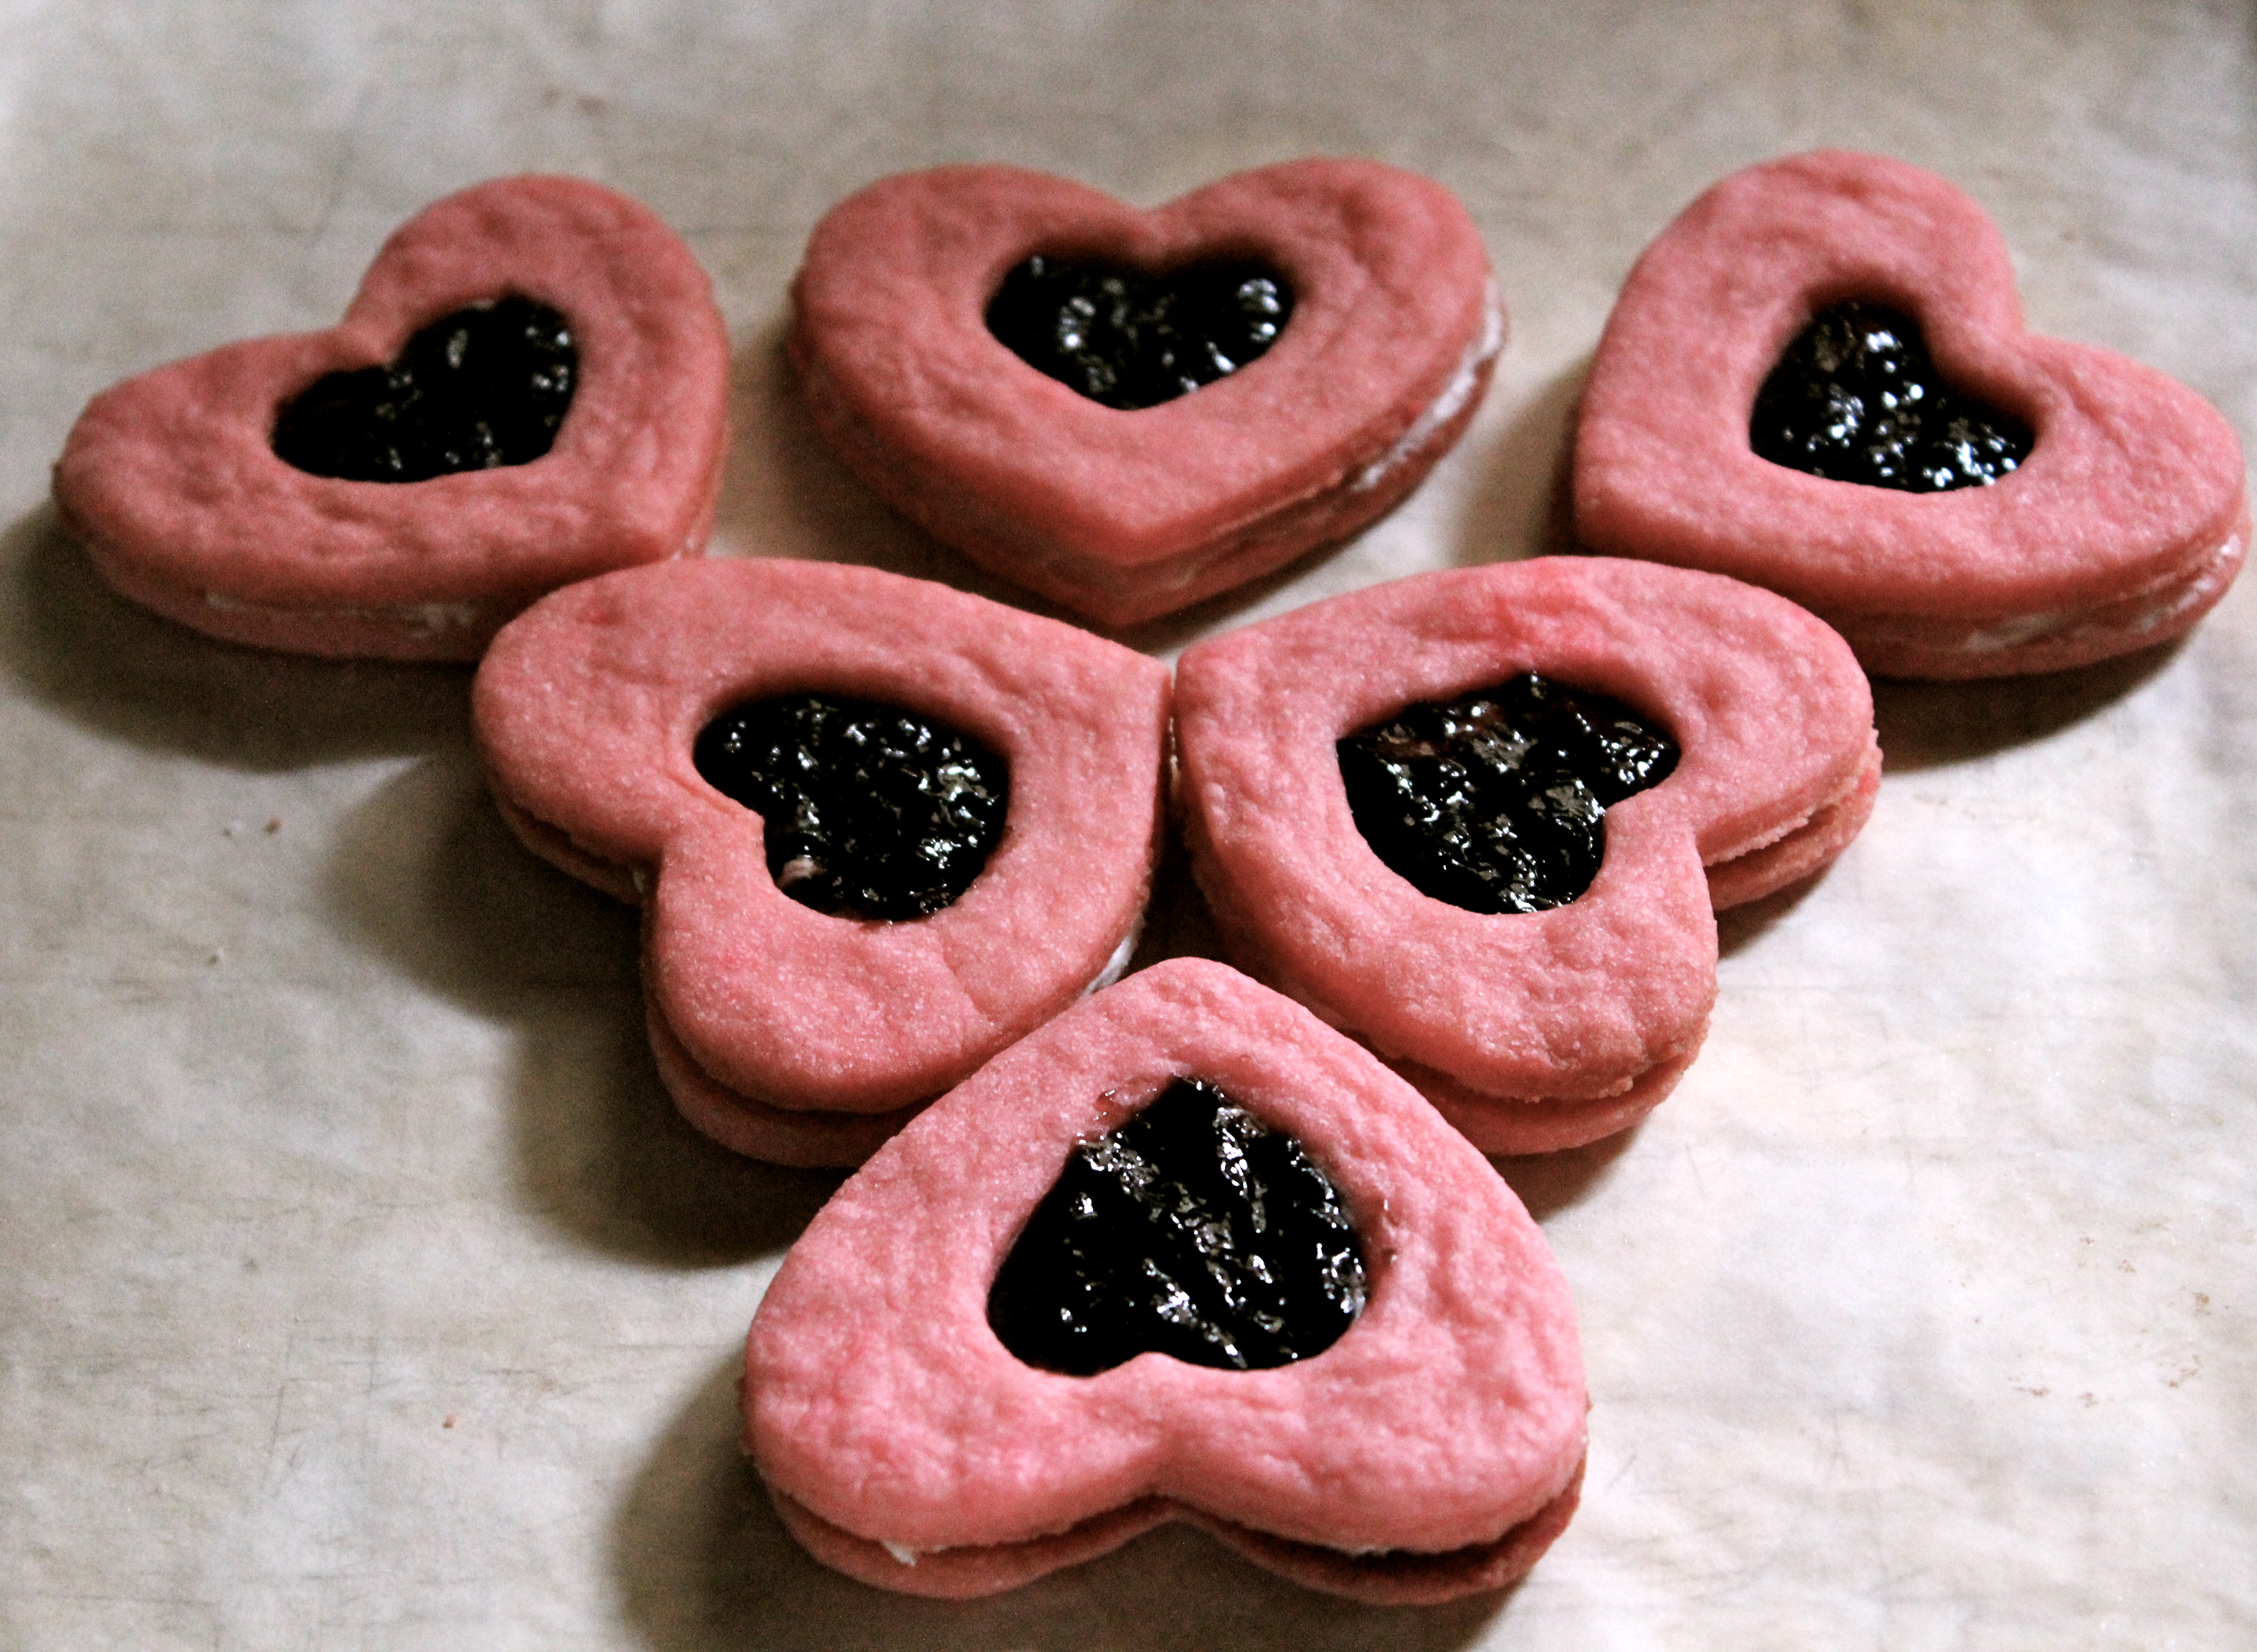
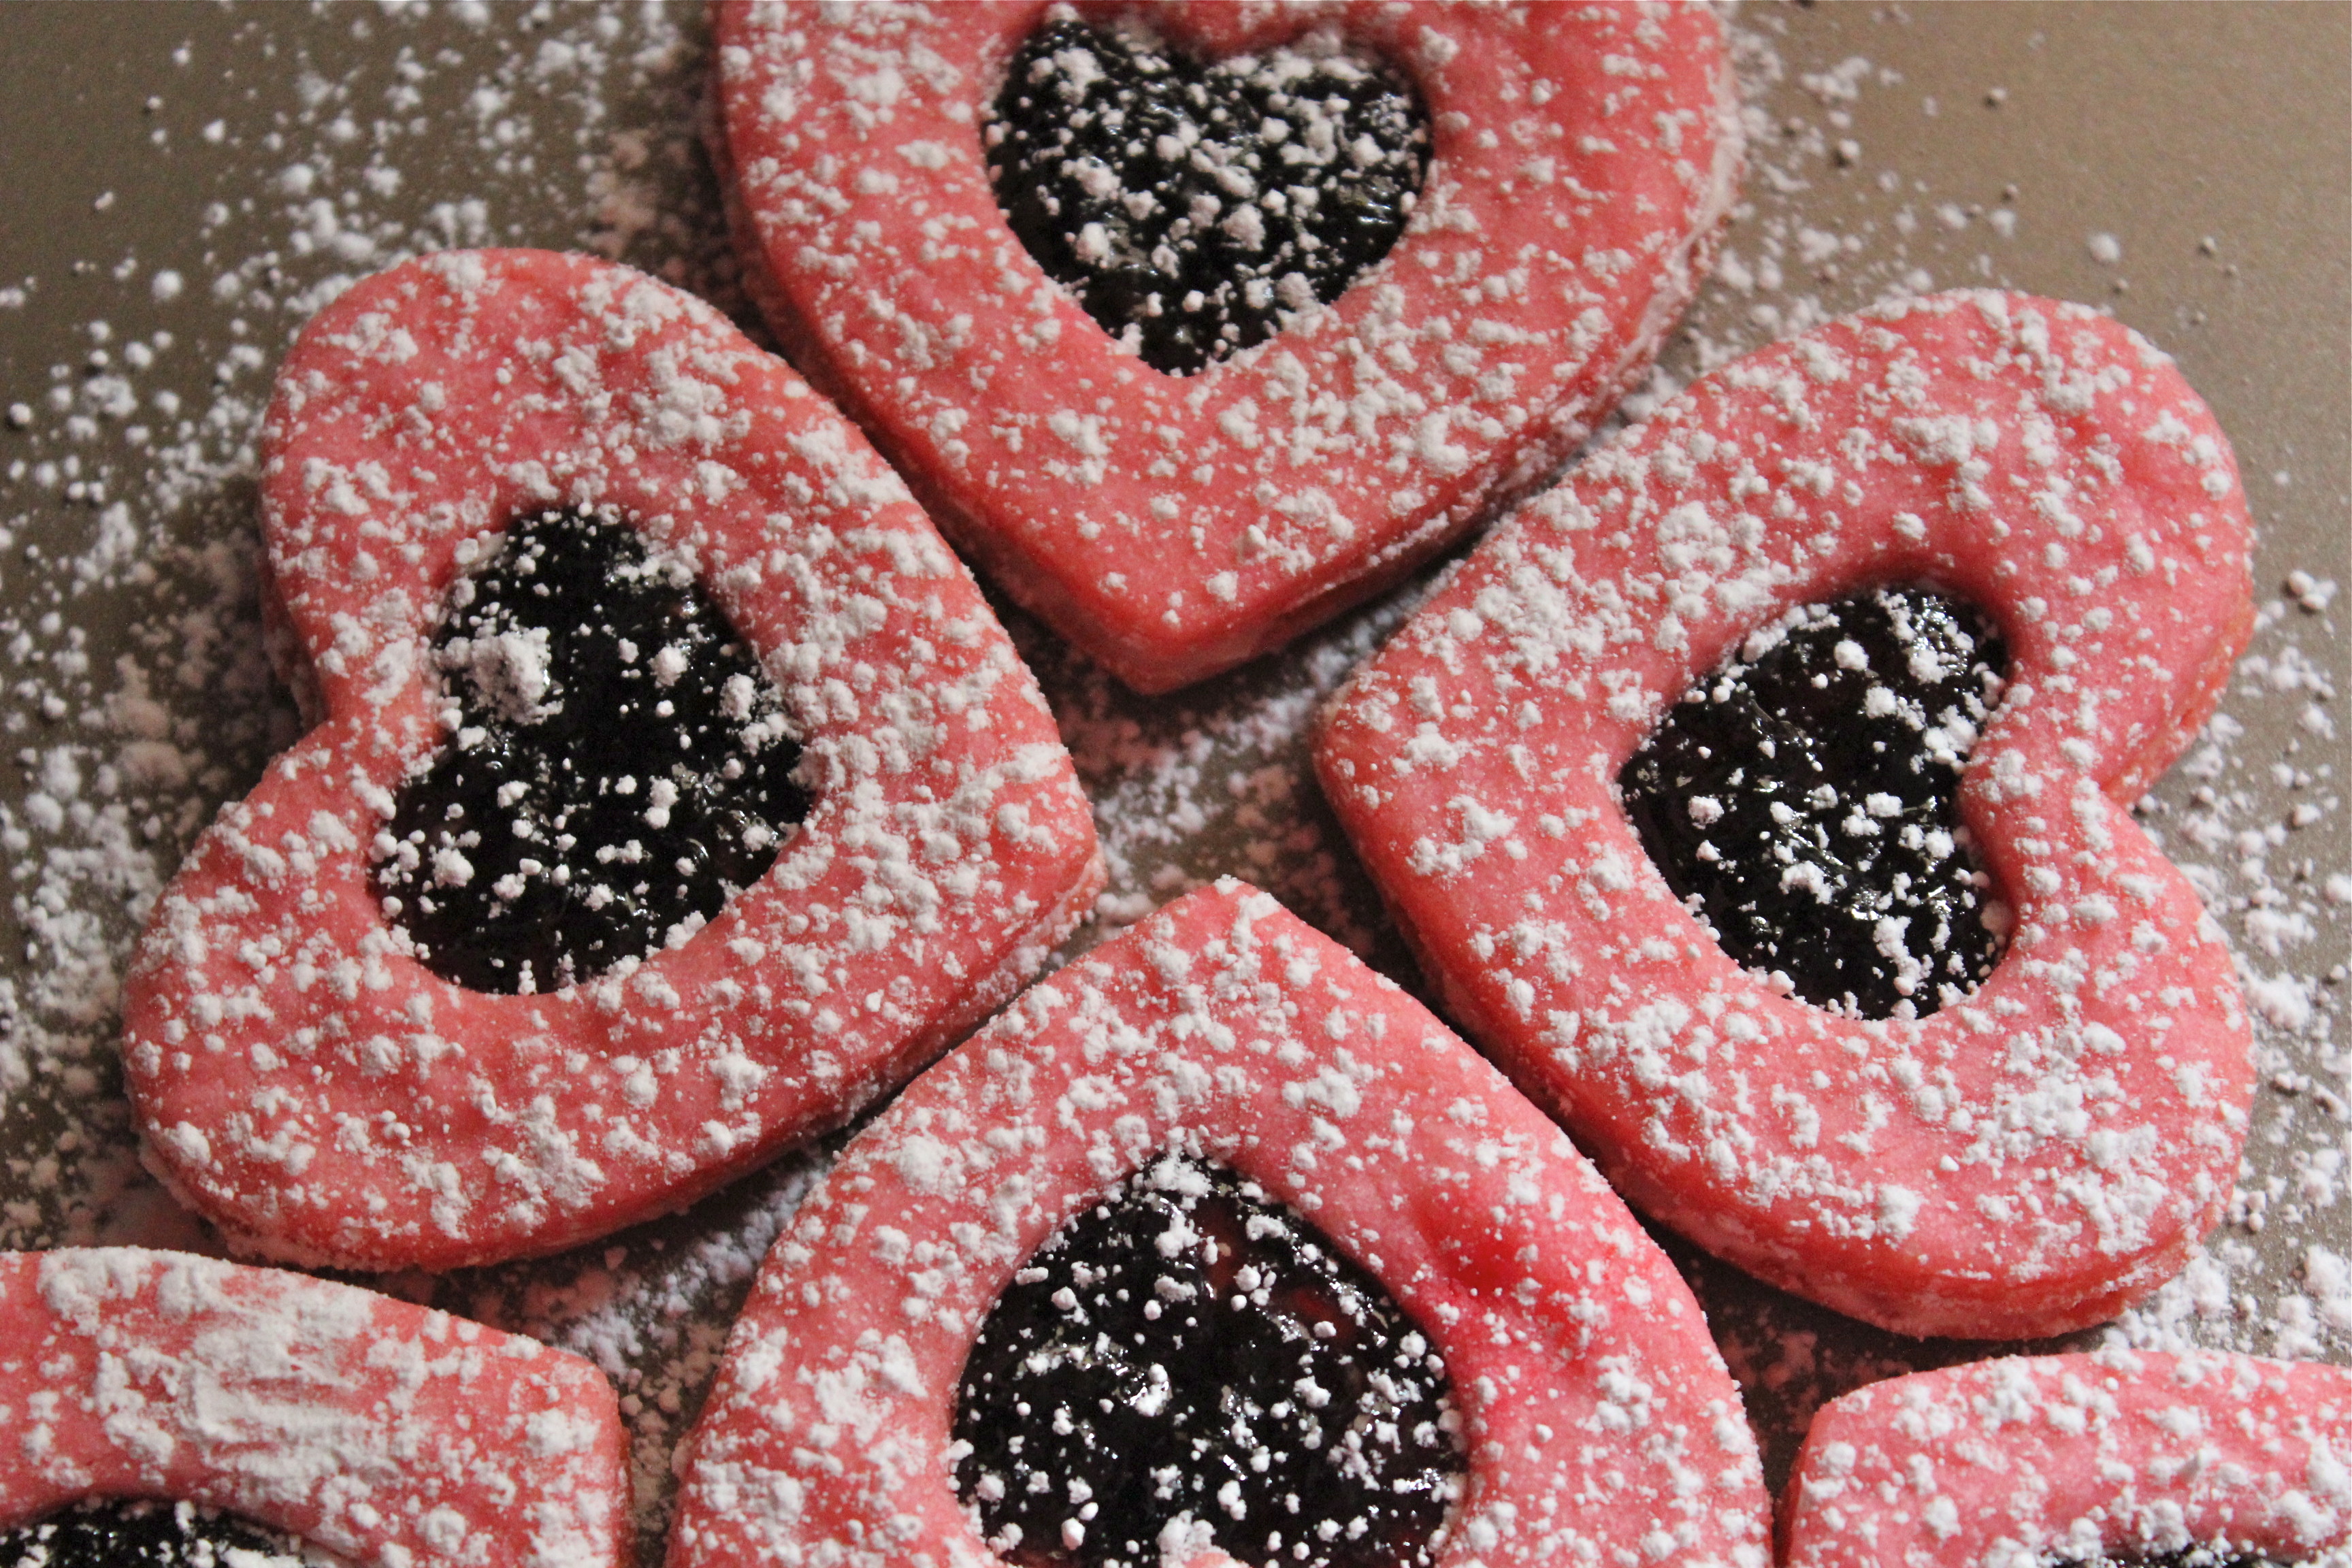
This recipe is from the current issue of Martha Stewart Living magazine, and it met my needs exactly because I am baking cookies for the Chocolate Festival that I mentioned last week in the post on Funfetti Truffles. These cookies are so cute I just had to make them.. Since I have a set of heart cookie cutters I made them in two sizes; the small ones are the cookies sandwiched together with cream filling, as the recipe describes, the larger ones I made with a heart cutout “window” in the top cookie with a layer of raspberry jam over the cream. Then I sifted powdered sugar over all of them.
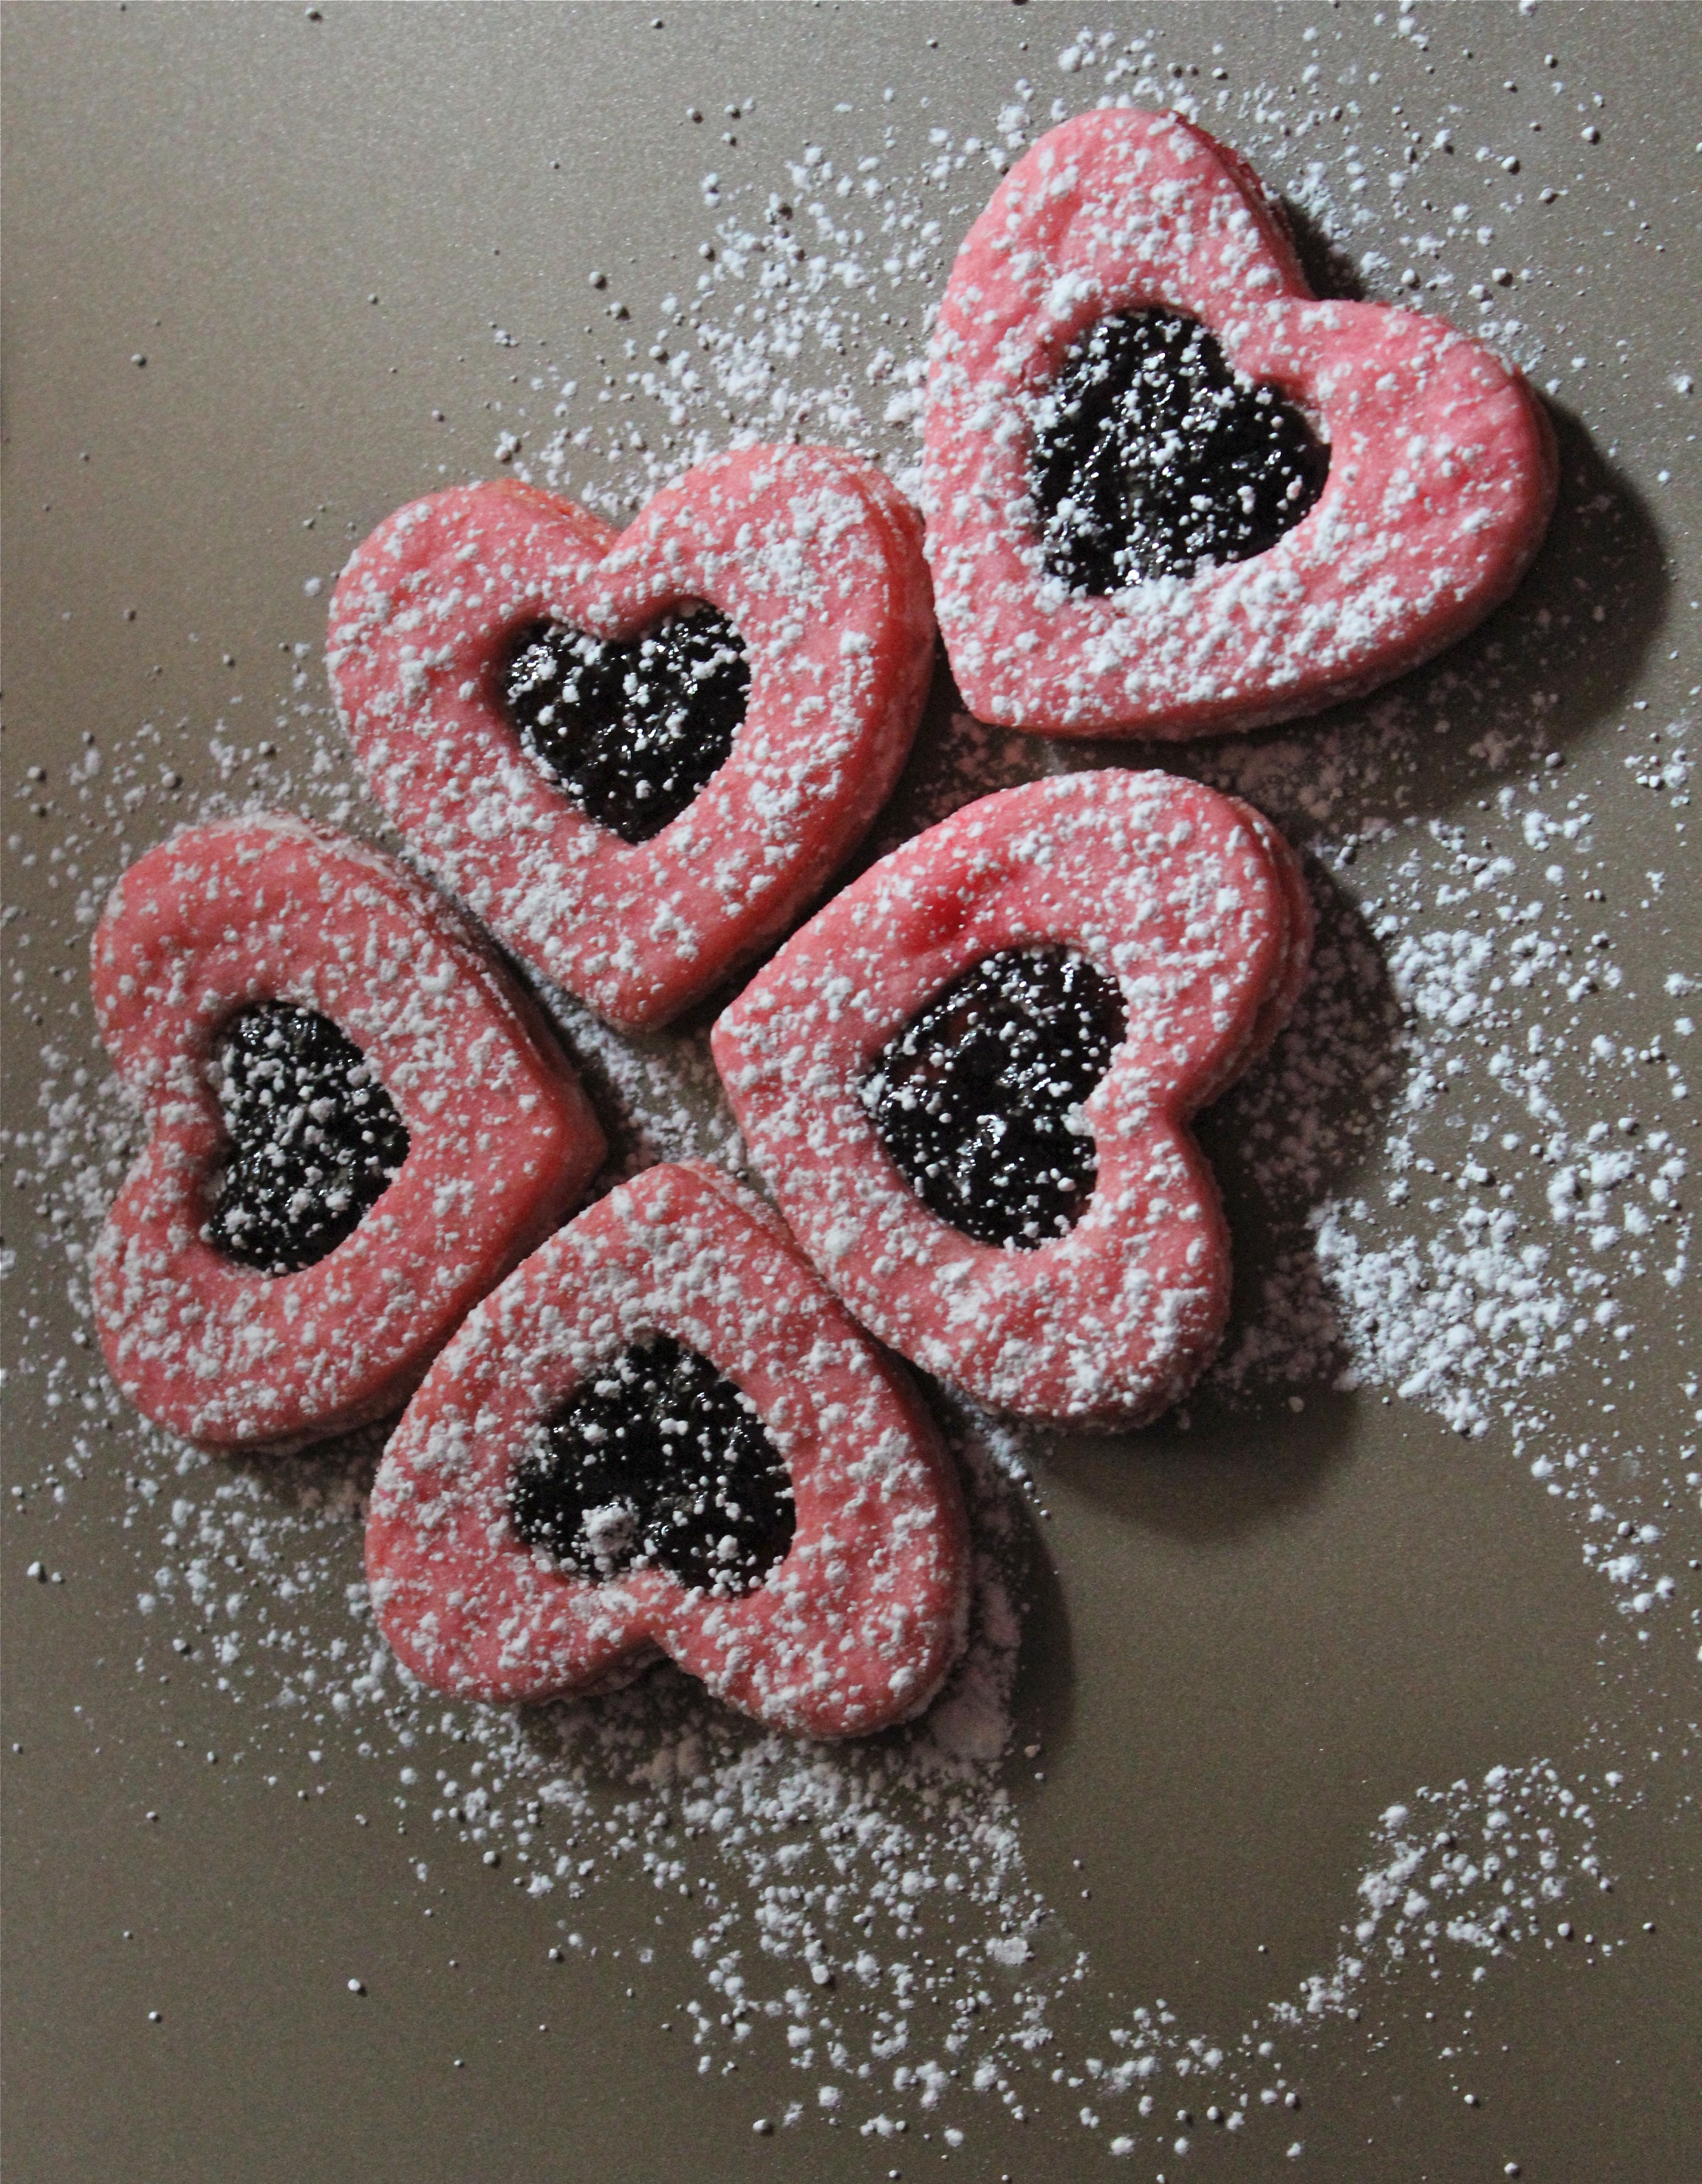
Jammy heart cookies.
I love Valentine’s Day with all the lacy trims, sentiments, and especially vintage valentines. I have a sizable collection of all things vintage related to V-tines Day and I get them out each year to celebrate and enjoy all month. I thought you might like to see a few things from the collection.
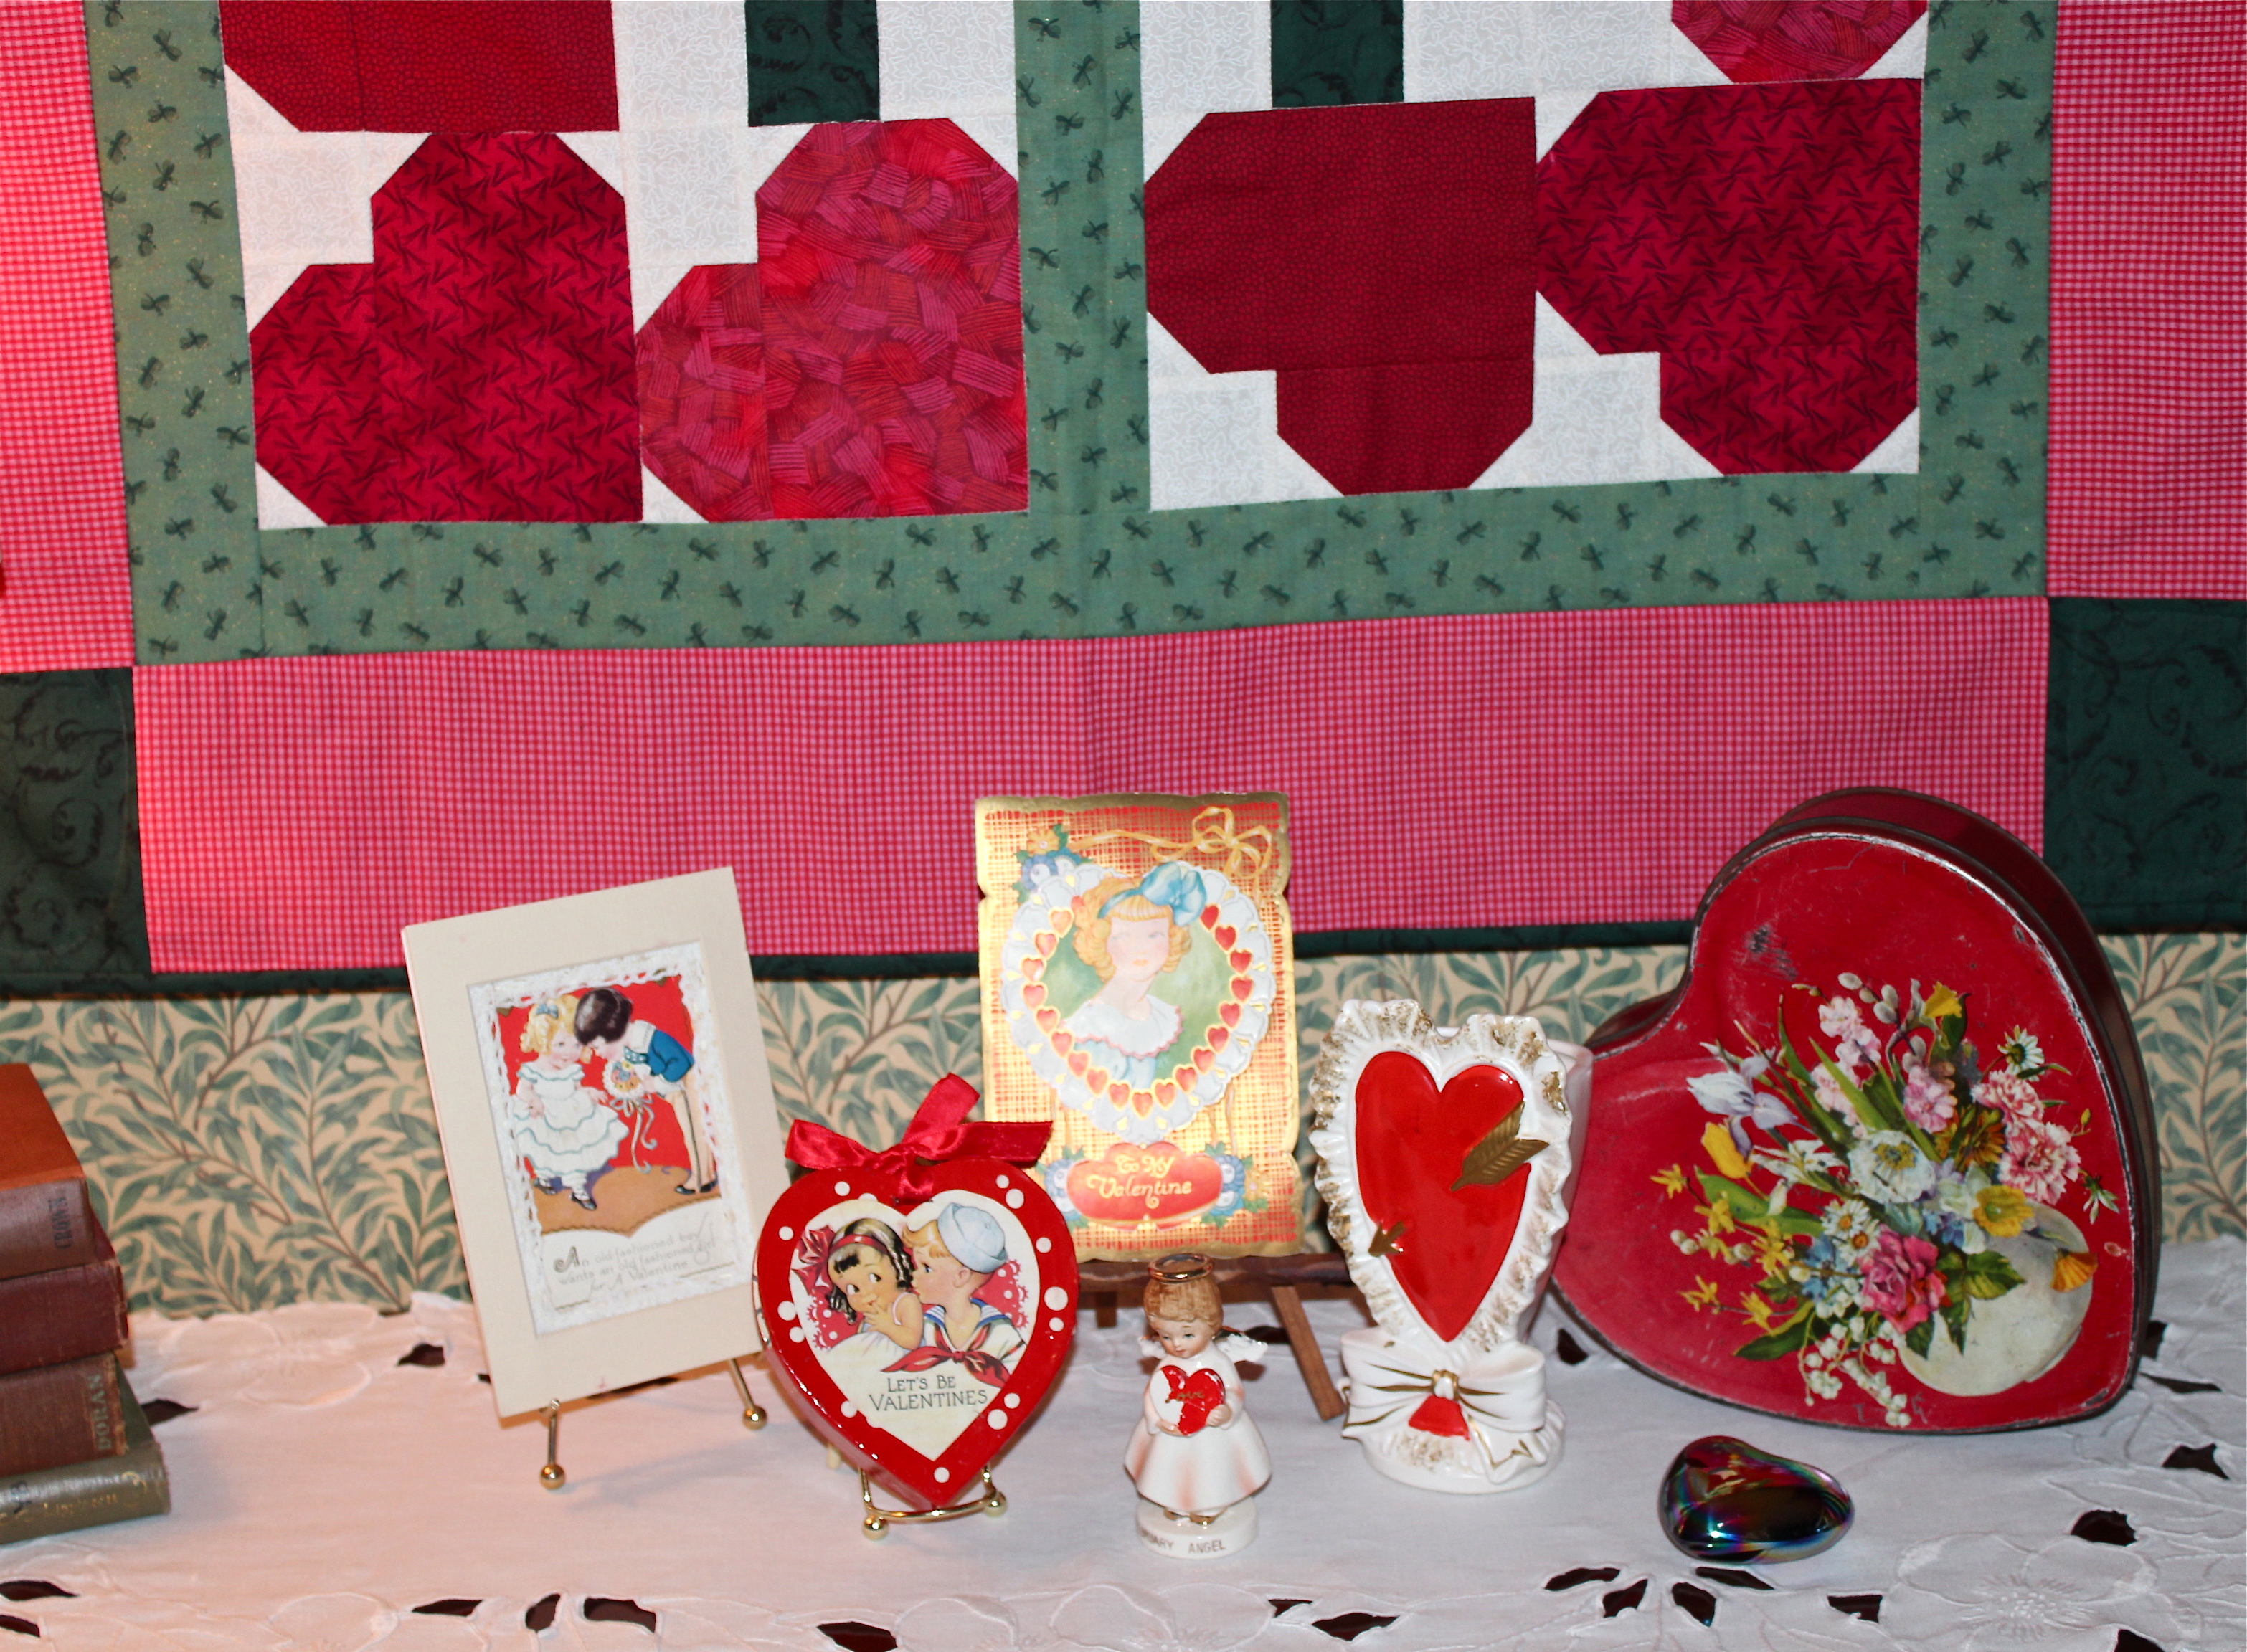
A small part of my collection of vintage valentine memorabilia.
This display is on a console table in our foyer. Hanging on the wall is a valentine quilt that I made.

Vintage valentines and an old vase.
The heart-shaped vase is just the right size for a bouquet of roses.

Candy box and a February angel.
The heart box opens at the top where it is tied, to reveal a pocket for some candy or a handkerchief. The little angel has such a sweet face, and even though the paint on her heart is half gone, she is no less dear. Her base is printed with the words, “February Angel”. I hope you enjoyed this glimpse of my valentine treasures from the past.
PINK HEART SANDWICH COOKIES
YIELD: depends on size of cookies. I got 44 1 1/2 -inch cookies, and 6 2 1/2-inch cookies.
- 2 cups all-purpose flour, plus more for rolling out cookies

- 1/2 teaspoon baking powder
- 1/4 teaspoon salt
- 1 stick unsalted butter, softened
- 1 cup sugar
- 1 egg
- 1 teaspoon vanilla extract
- red and pink food coloring
- cream filling—recipe follows
1. Whisk together the flour, baking powder and salt. In mixer bowl, beat together the butter and sugar on medium speed until pale and fluffy, about 3 minutes. Beat in egg and vanilla. Reduce speed to low and gradually add flour mixture beating until just incorporated.
2. Divide dough into as many pieces as you will color, depending on how many shades of pink you would like your cookies to be. Working with one piece of dough at a time, add food coloring, 1 drop at a time, mixing and kneading to combine until desired shade is reached. Flatten each piece of dough into a disc and wrap in plastic wrap. Refrigerate until firm, at least 1 hour or up to over night. Bring back to room temperature, about 10 minutes, before rolling.
3. Preheat oven to 325*. Prepare baking sheets by lining with parchment. Roll out each disc of dough on a lightly floured surface to just under 1/4-inch thick. Cut out cookies using various sizes of heart cutters ( if you have them), making sure you have an even number of each color and size. Place cookies 1 – inch apart on prepared baking sheets and freeze until very firm, about 15 minutes.
4. Bake until barely golden brown around edges, about 8 minutes for 1 1/2- inch cookies, 10-minutes for 2 1/2 inch cookies. Let cookies cool completely on baking sheets set on wire racks.

Cooling on the baking sheet.
5. Spread or pipe filling onto bottom side of half the cookies, and sandwich with remaining cookies, pressing gently. Cookies can be stored in an air-tight container at room temperature up to 1 week.
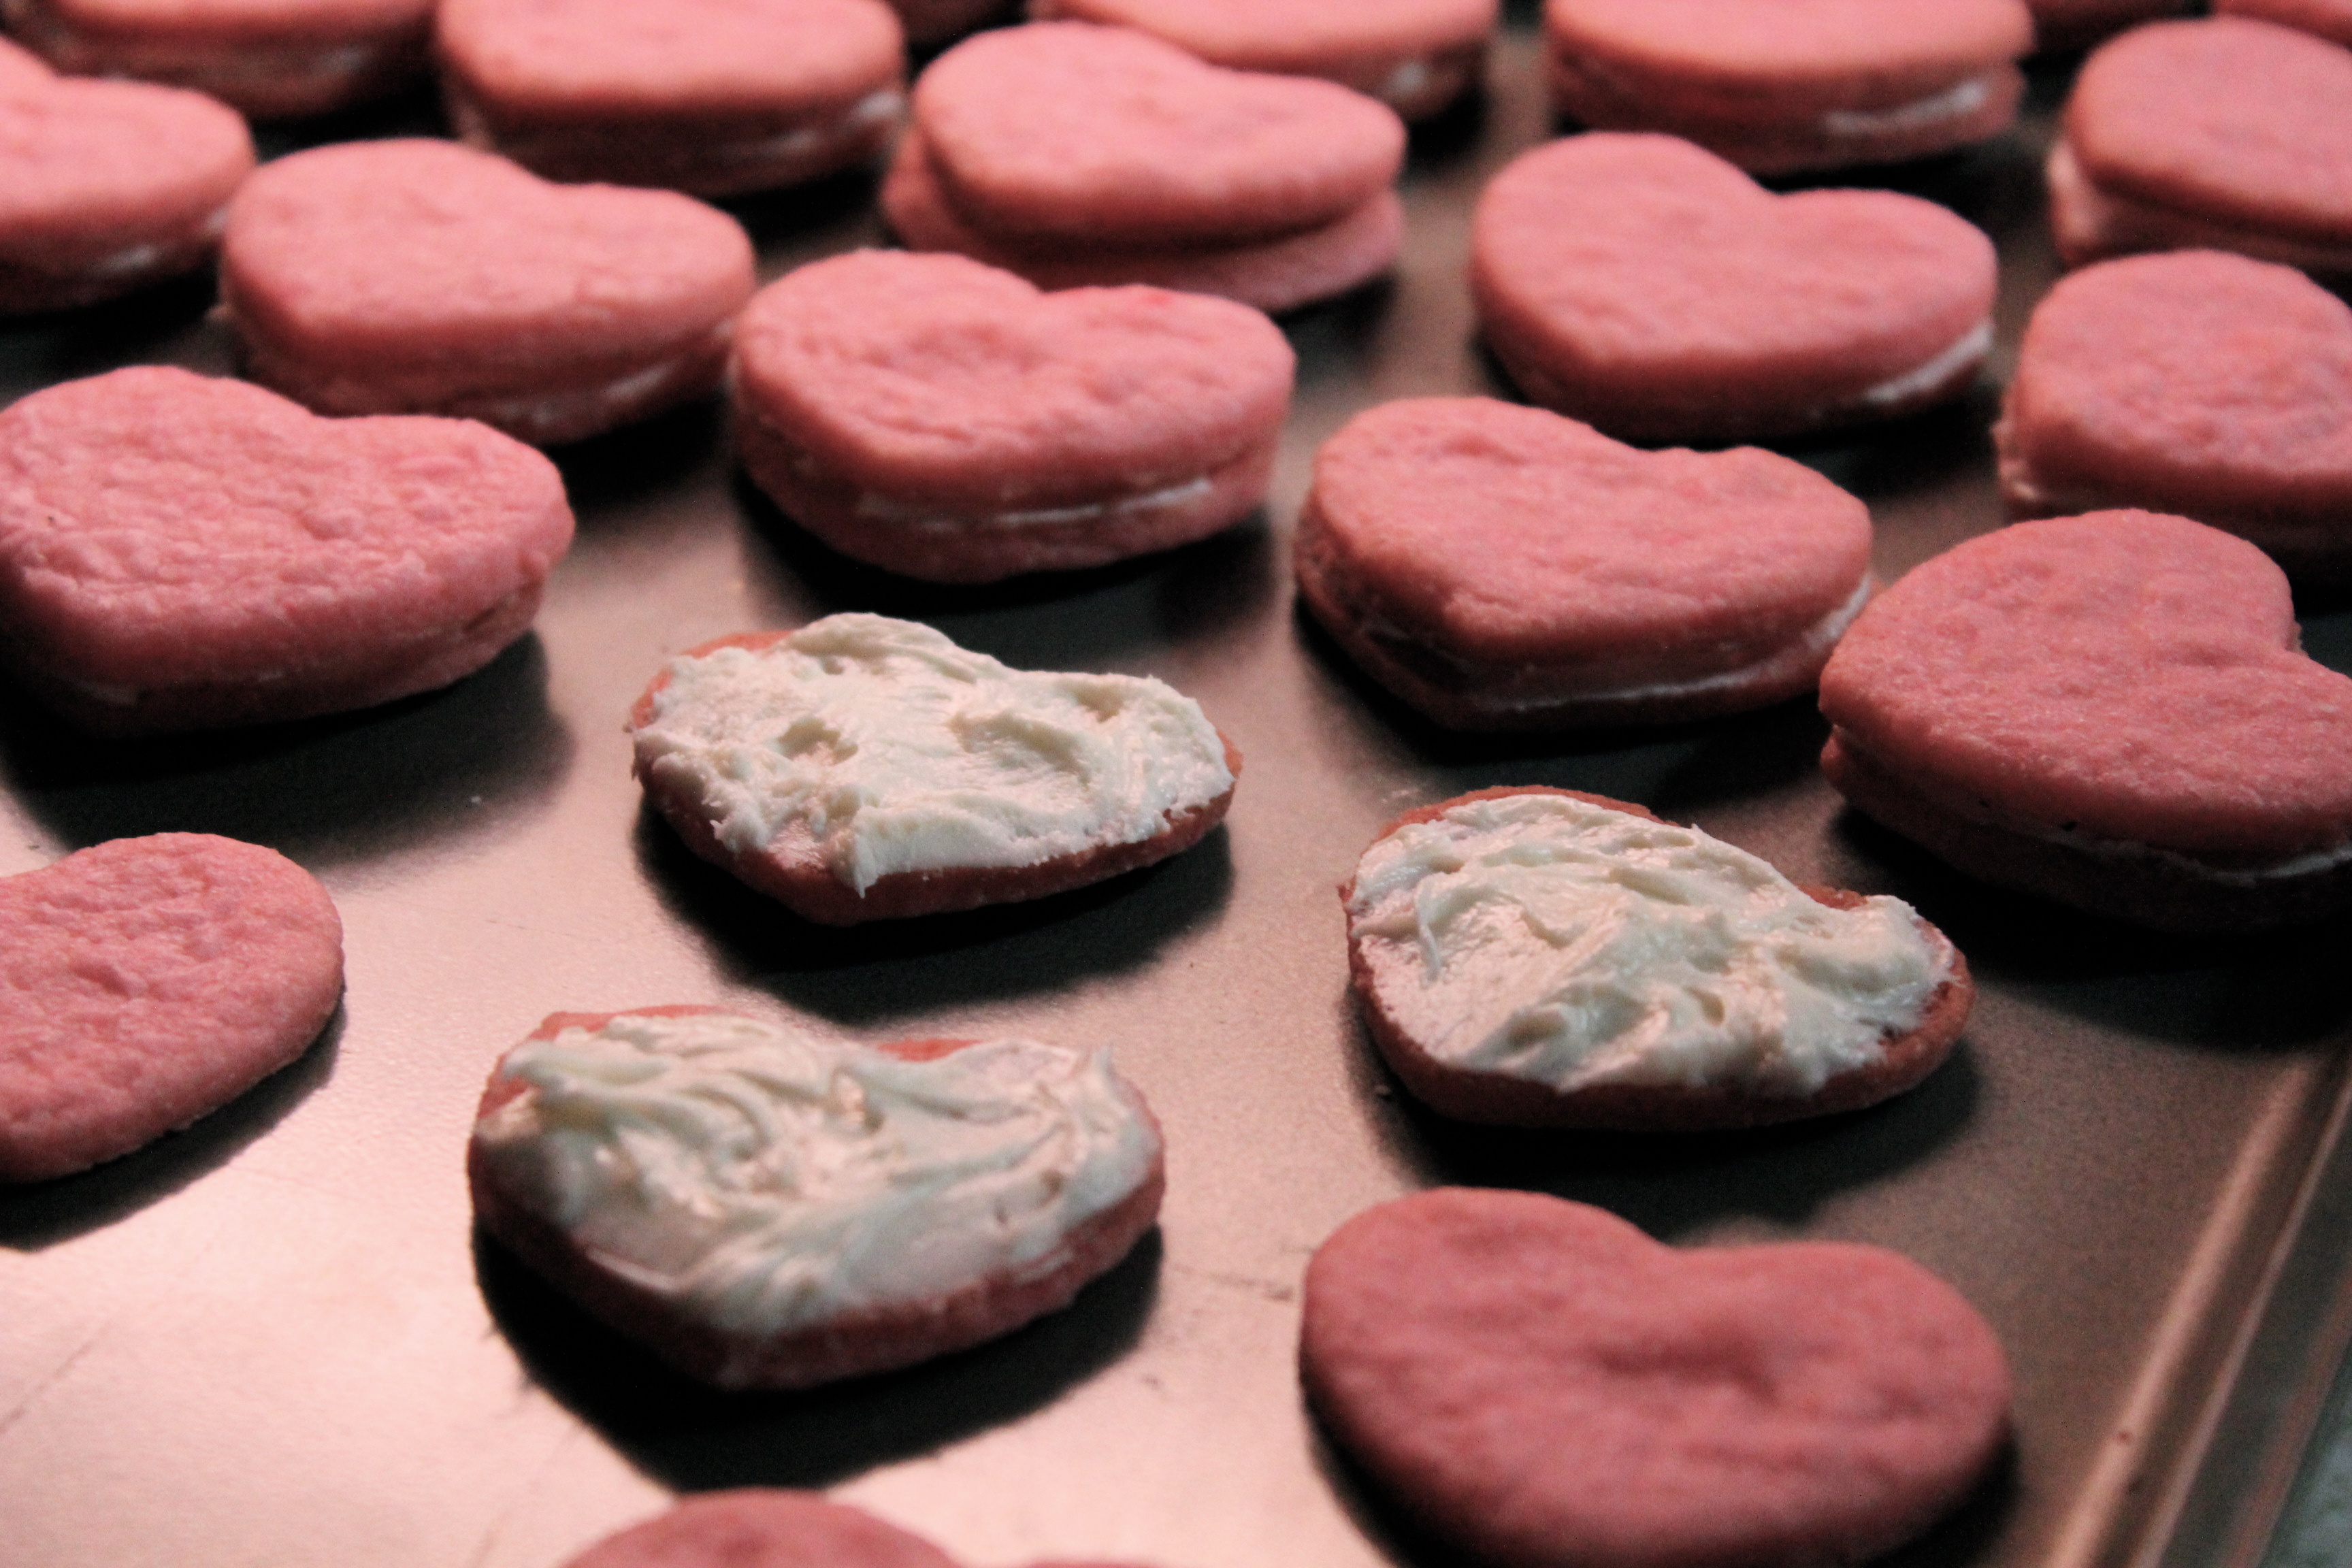
Making the sandwiches with cream filling.
CREAM FILLING
YIELD: about 1 1/4 cups, enough to fill one recipe of the above cookies.
- 1/2 stick unsalted butter, softened
- 1 1/2 cup confectioners’ sugar
- 1/4 cup granulated sugar
- 1 teaspoon vanilla extract
- 1 – 2 Tablespoons milk, if needed
1. Beat butter with a mixer on medium speed until light and fluffy, about 3 minutes. Reduce speed to low, and gradually add the sugars, beating until thoroughly combined. Beat in vanilla. Add milk as needed to make mixture a spreading consistency.

So pretty and festive, just right for a sweet gift.
SOURCE: Martha Stewart Living Magazine, Feb. 2013