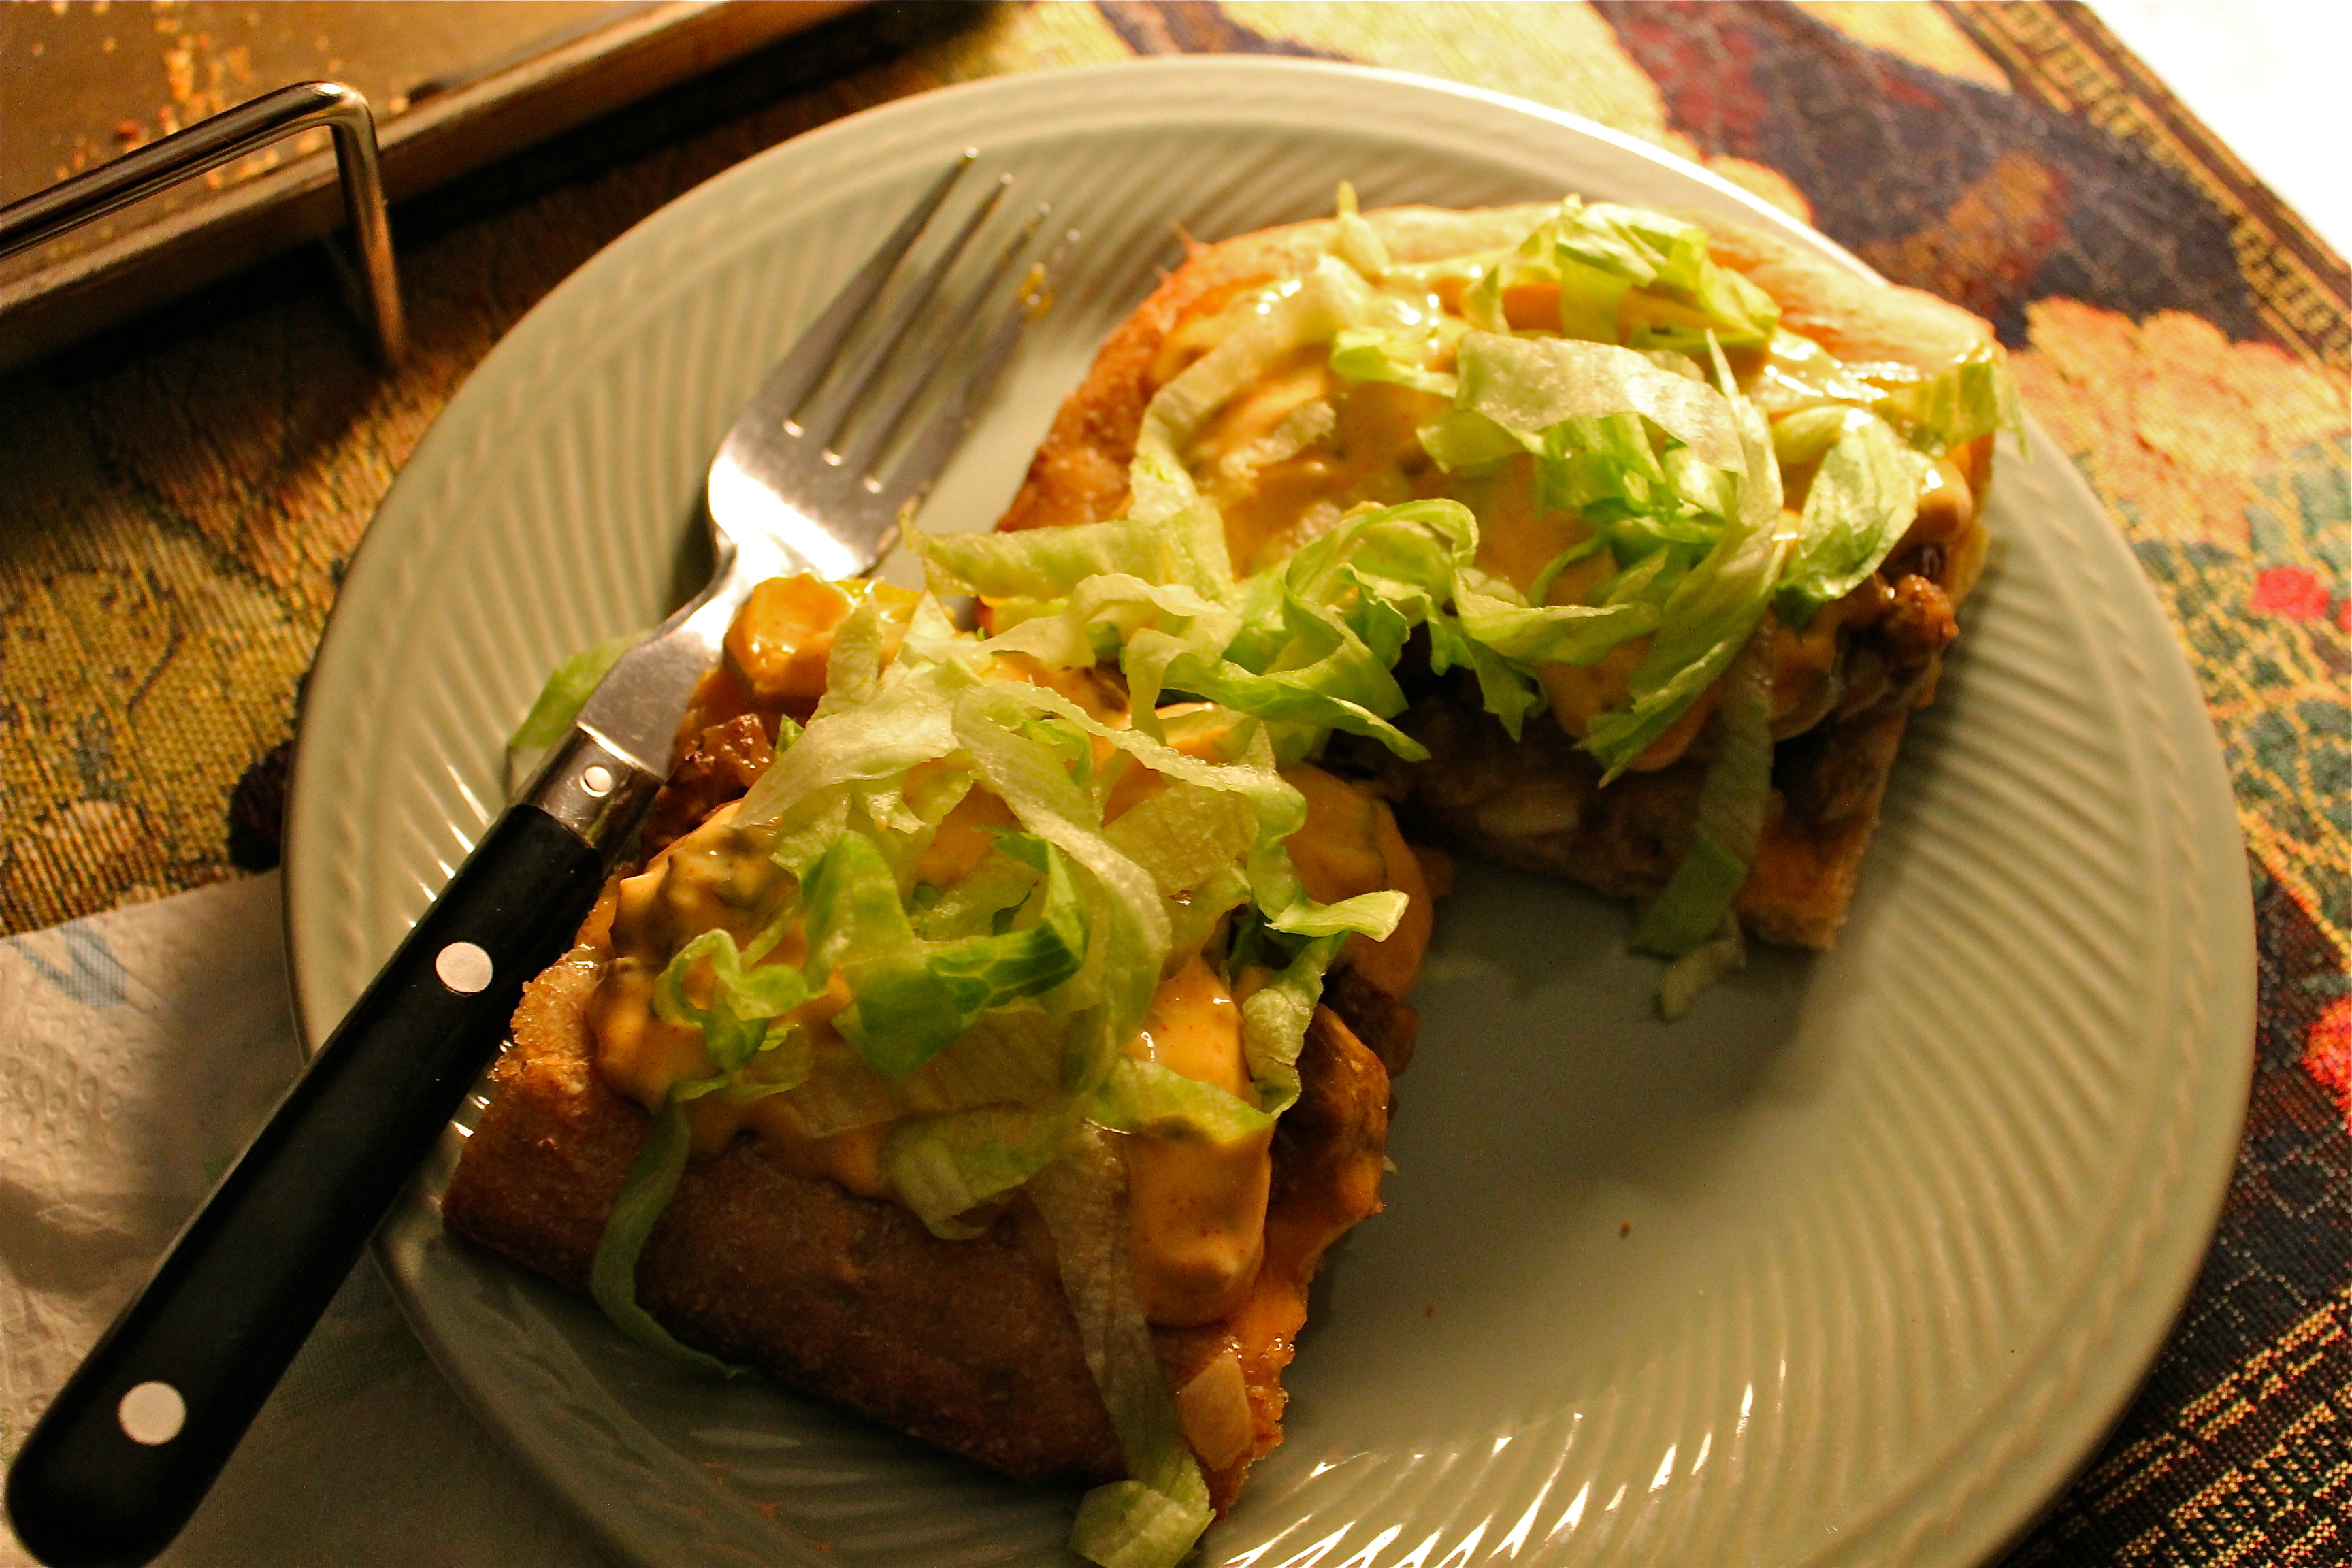
Beefy Mac and Cheese
Don’t you think it’s about time we get down to the real thing?….We’ve roasted vegetables, cut up pumpkin, and peeled apples. Now let’s eat some mac and cheese. Here we are into November and we have every right to put apples in our pancakes, chicken in our pot pies, and chili beef in our Mac and Cheese. We have every right to all the comfort foods we can possibly eat.

Routines are comforting don’t you think? I have my routines. I get my oil changed every 3000 miles, I get my hair cut every 6 weeks, I drag myself out of bed every morning and back into it every night somewhere between 11 and 12m. It all feels good, and right. In the catalog of sometimes mundane routines is this Mac and Cheese recipe.
About three times a year I over-indulge and make this dish and wonder why I don’t make it a part of my more pressing monthly routine. Then I remember the calories, making the roux, assembling it all and baking it. Its worth it though, but still it remains my every-once-in-a-while dish. Maybe that’s why I enjoy it so much when I do make it. Something about absence making the heart grow fonder?
My variation: the recipe calls for 8 oz. ground beef, but I like the dish heartier, so I use 1 pound of beef and double up on the tomato paste and chili powder. This makes a thicker layer of chili beef under the mac and cheese, and you get more in every bite. Use either half or a whole pound of beef, it’s up to you, and either way it’ll be delicious! That’s what we do it 🙂

BEEFY MAC AND CHEESE
Yield: Serves 4
Ingredients:
- 8 ounces medium pasta shells
- 3 Tbsp, unsalted butter, divided
- 1 small onion, chopped
- 1 Tbsp. tomato paste
- 1 Tbsp. chili powder
- 8 ounces ground beef
- 2 Tbsp. all-purpose flour
- 1 cup low-fat milk ( 1%)
- 2 2/2 cup shredded Mexican cheese blend ( about 8 oz,)
- 2 Tbsp. breadcrumbs, preferably panko
- 2 scallions, thinly sliced
Directions:
1. Bring a pot of salted water to a boil. Add the pasta and cook as the package directs. Reserve 3/4 cup of the cooking water, then drain the pasta.
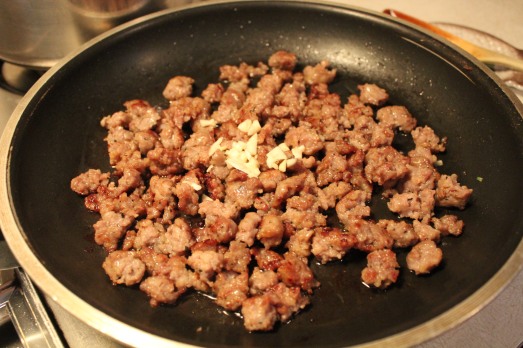
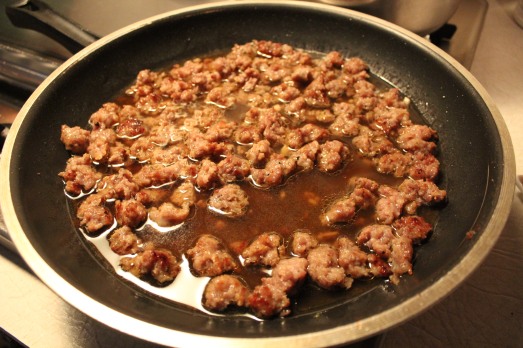
2. Meanwhile, melt 1 Tbsp. butter in a large nonstick skillet over medium heat. Add the onion and cook, stirring, until soft, about 5 minutes. Add the tomato paste and chili powder and stir until brick red, about 2 minutes. Add the beef and cook, stirring, until browned, 4 minutes.

Browning the beef.
Stir in 1/2 teaspoon salt. Spread the mixture in a 3-quart baking dish. Preheat the oven.
3. Having cooked the beef, now we make a roux. Melt the remaining 2 tablespoons butter in the same skillet over medium heat. Add the flour and cook, stirring, 1 minute. (It’s a thick and goopy mess. You’re totally doing it right.) Slowly add the milk and reserved cooking water.

Making the roux.
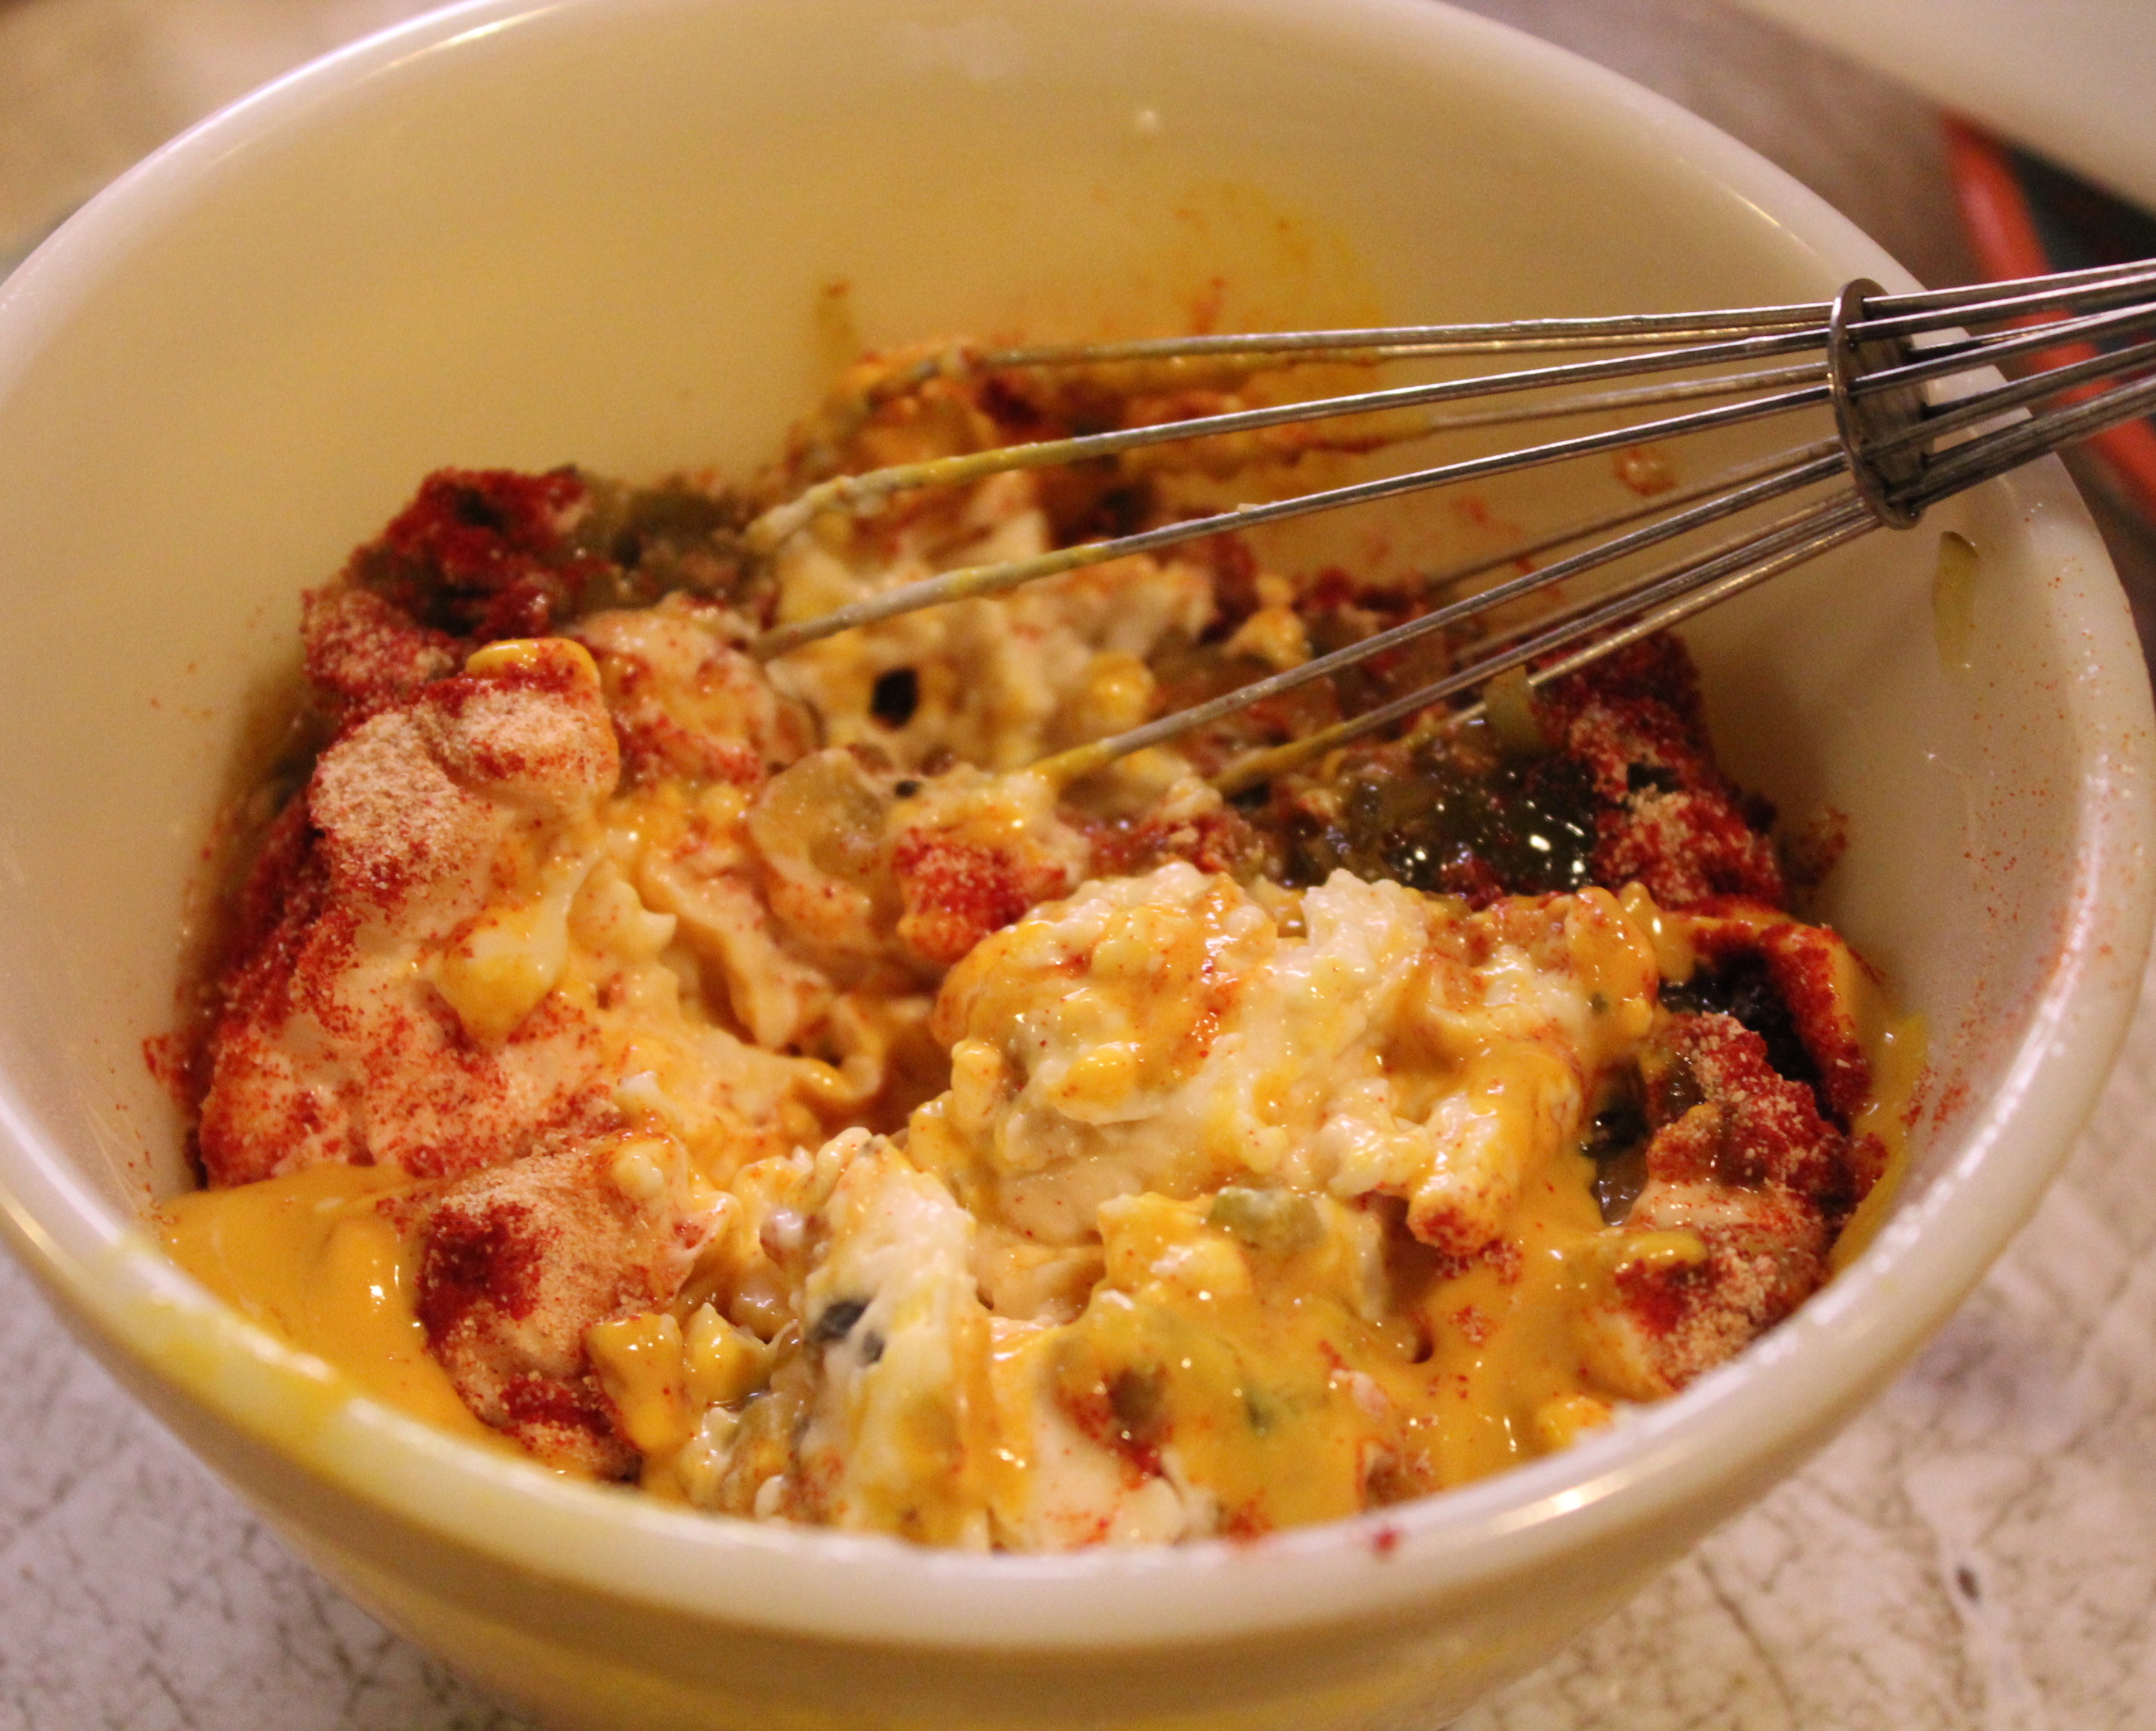
Bring to a simmer and cook, whisking away until thick, about 2 minutes. Add 2 cups cheese, the cooked pasta and 3/4 teaspoon salt and stir until the cheese melts.

Stir in the cheese and let it melt.

All that cheesy sauce gets inside the shells…Oh, Wow!
Spread over the beef mixture. This is all about layering flavors.
4. Mix the remaining 1/2 cup cheese and the breadcrumbs; sprinkle over the pasta mixture and bake for about 20 minutes.

Top with remaining cheese and crumbs and bake for 20 minutes.
Before removing from the oven, turn on the broiler, and broil until the top is golden and crunchy. Top with the scallions and serve.

Oh man… this is really good!
SOURCE: Cooking Light