Roast chicken with vegetables, a one-pan meal.
What I love about this meal is it simplicity; vegetables and chicken roasted together in one pan. The only time you spend on it is prepping the vegetables. Put everything together with the chicken in a roasting pan, stick it in the oven and relax until its done. If I’ve done some advance planning of my menus then I might add extra vegetables so there will be some left over for another night.
My favorite combination of vegetables include potatoes, carrots, onions, and fennel. Other cuts of meat can be used in place of the chicken such as pork loin. A little white wine added along with some seasonings produces a gravy that is perfect. You can swap vegetables in and out to suit your taste; the whole point being how easy it is to put a great meal on the table without a whole lot of work.
This is how I put it together:
ROAST CHICKEN IN WINE SAUCE
SERVINGS: 4 – 6
- Chicken pieces: 4 bone-in thighs, and 4 drumsticks. or leg quarters cut into sections. ( dark meat is best for roasting)
- 1/2 teaspoon Kosher salt, divided
- 1/2 teaspoon pepper, divided
- 2 teaspoons canola or olive oil
- 1 large onion, chopped
- 1 large or 2 medium ribs celery, cut into chunks
- 1 Tablespoon garlic. minced
- vegetables of choice, such as potatoes, carrots, fennel, turnip, cut into large chunks
- 1/2 – 1 cup white wine (depends on amount of vegetables, i.e., more veg. = more wine)
- 1 Tablespoon grainy mustard such as Dijon.
1. Preheat oven to 350*F.
2. Heat a Dutch oven over medium heat. Sprinkle chicken pieces with 1/4 teaspoon salt and 1/4 teaspoon pepper. Add oil to pan, swirl to coat. Add half the chicken pieces and brown on all sides. Remove to a plate, and repeat with remaining chicken pieces. Set the chicken aside.

Pre-browning the chicken makes the skin crisp and keeps the chicken moist.
3.To the drippings in the pan, add the onion, celery, and garlic. Cook for a few minutes till they begin to soften. Mix the mustard with the wine, and add to the pan. Cook for 1 – 2 minutes scraping to loosen browned bits.
4. Add the mixed vegetables to the pan and arrange across the bottom. Sprinkle with the remaining 1/4 teaspoon salt and 1/4 teaspoon pepper.
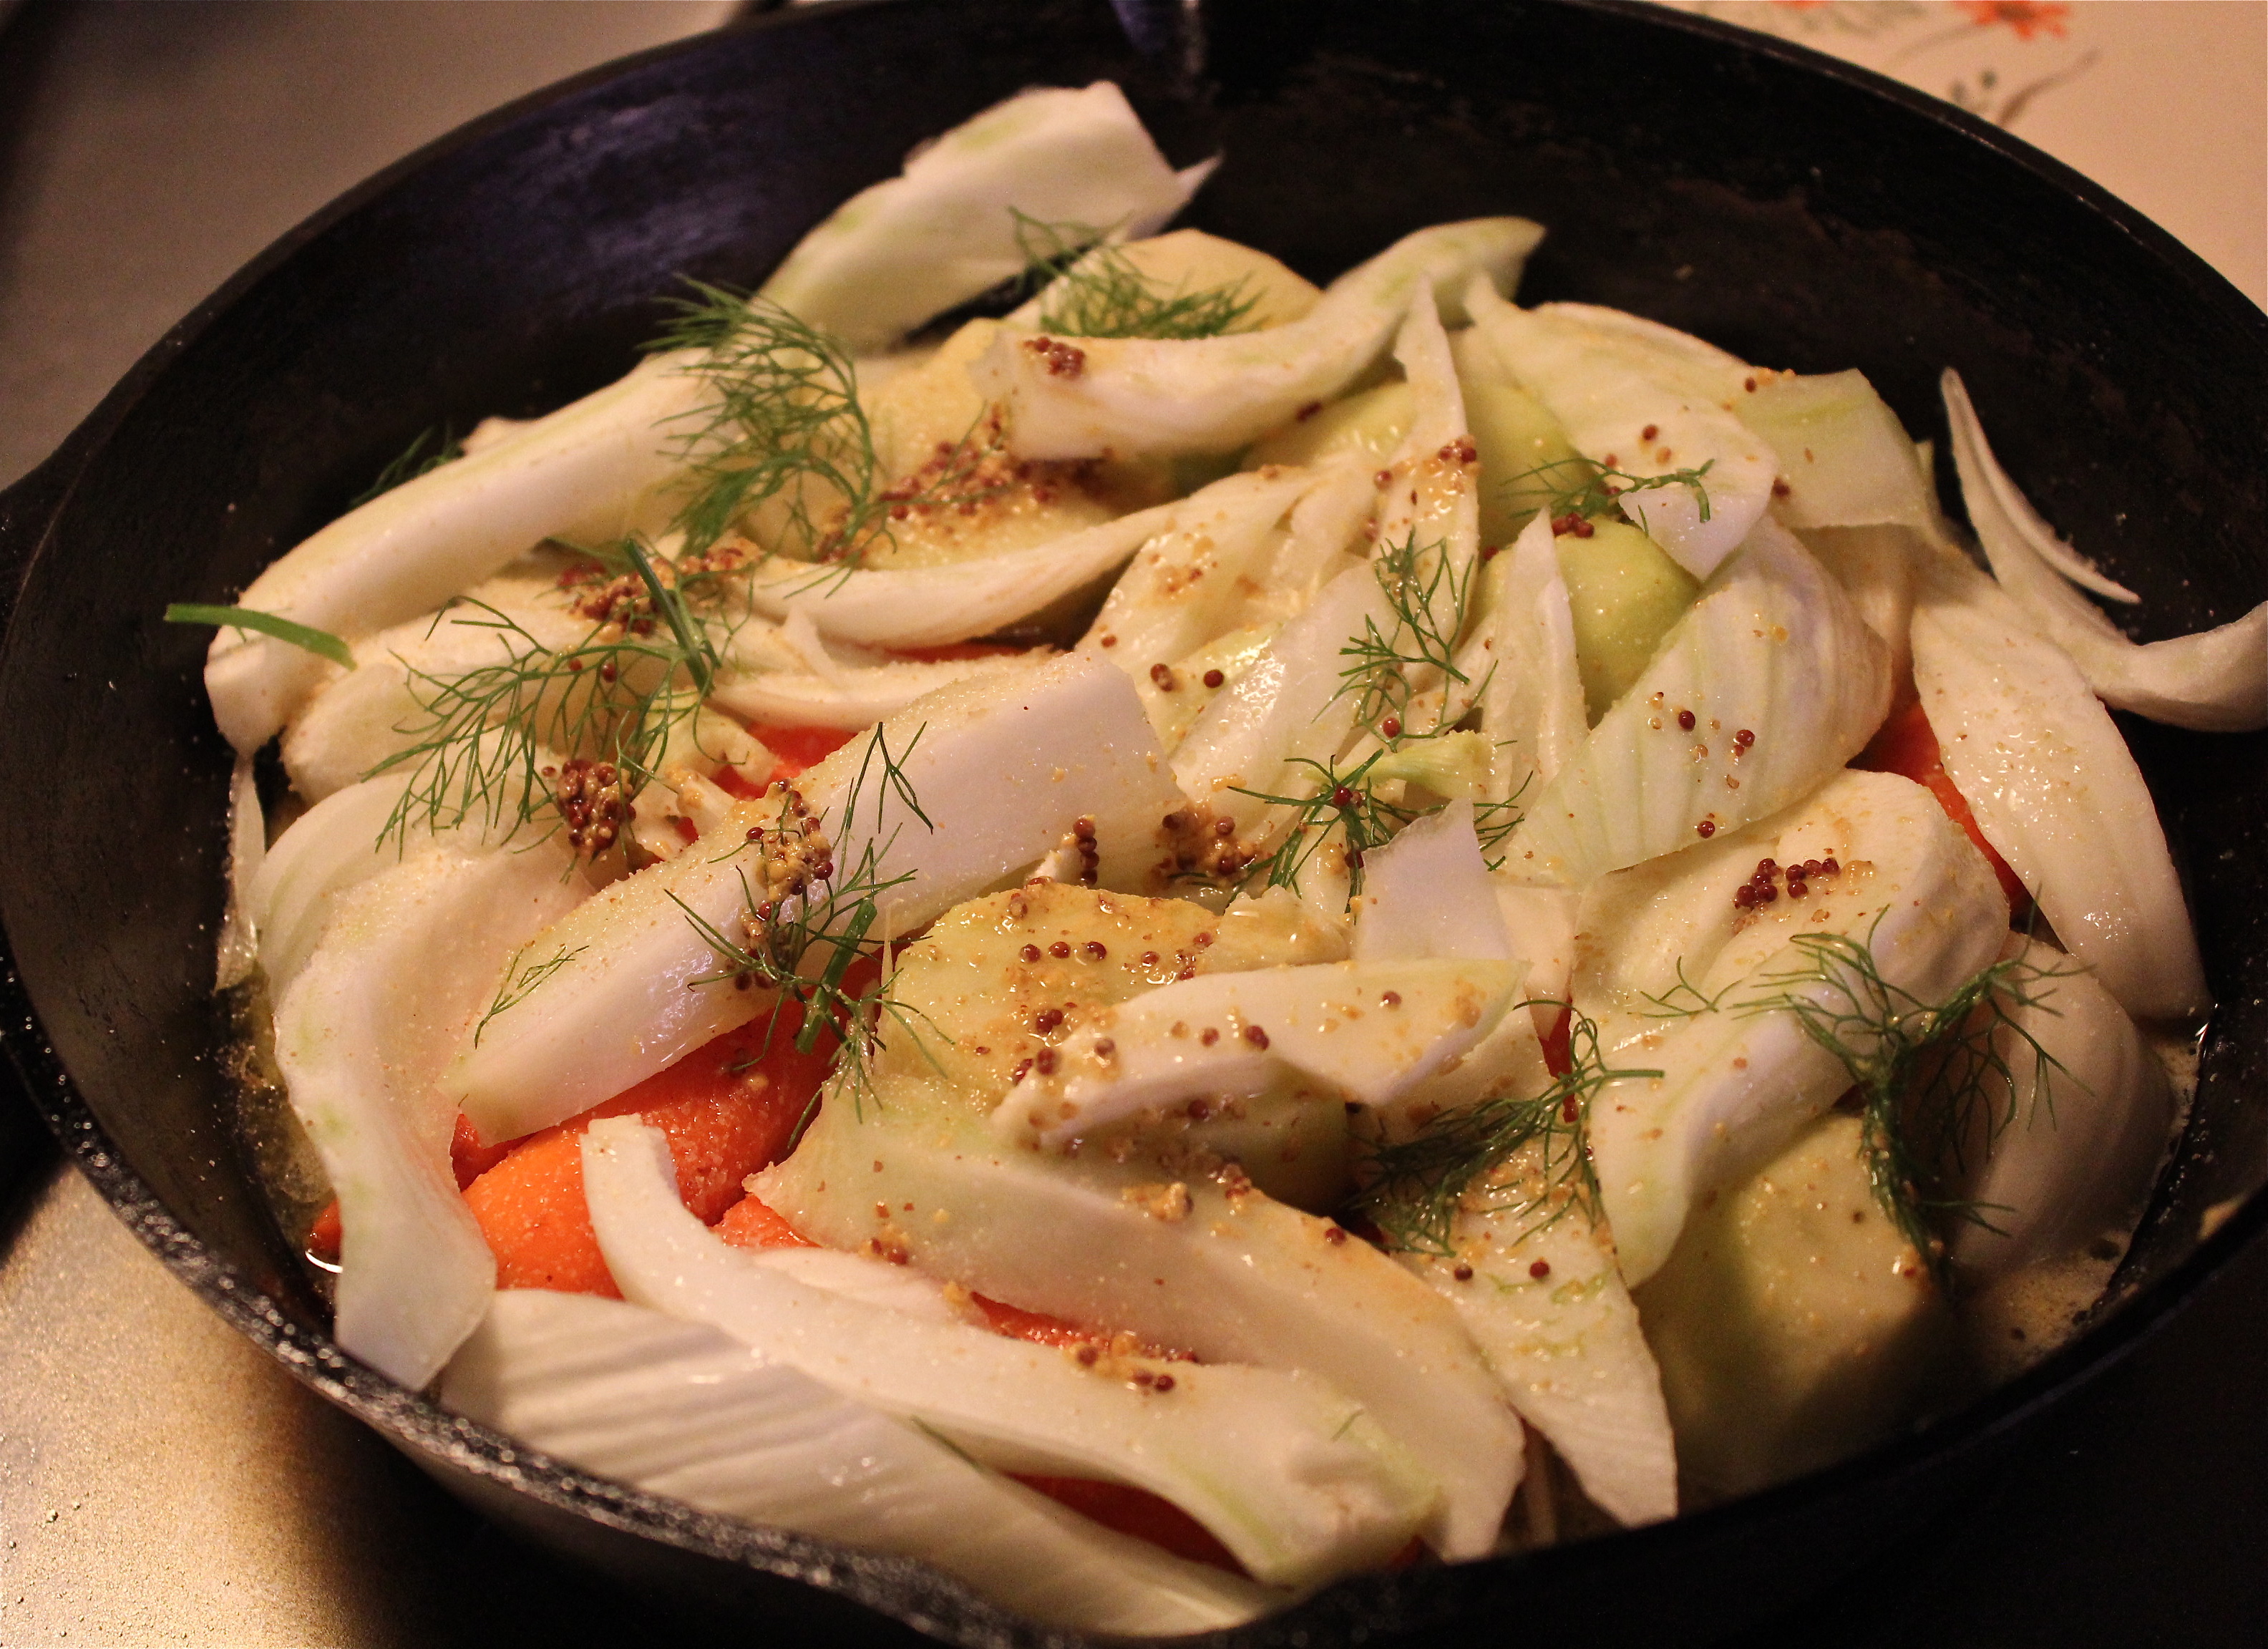
Place vegetables on the bottom of the pan.
Place chicken pieces on top of vegetables, cover and transfer pan to the oven.
5. Bake at 350*F. for about an hour until chicken and vegetables are tender.

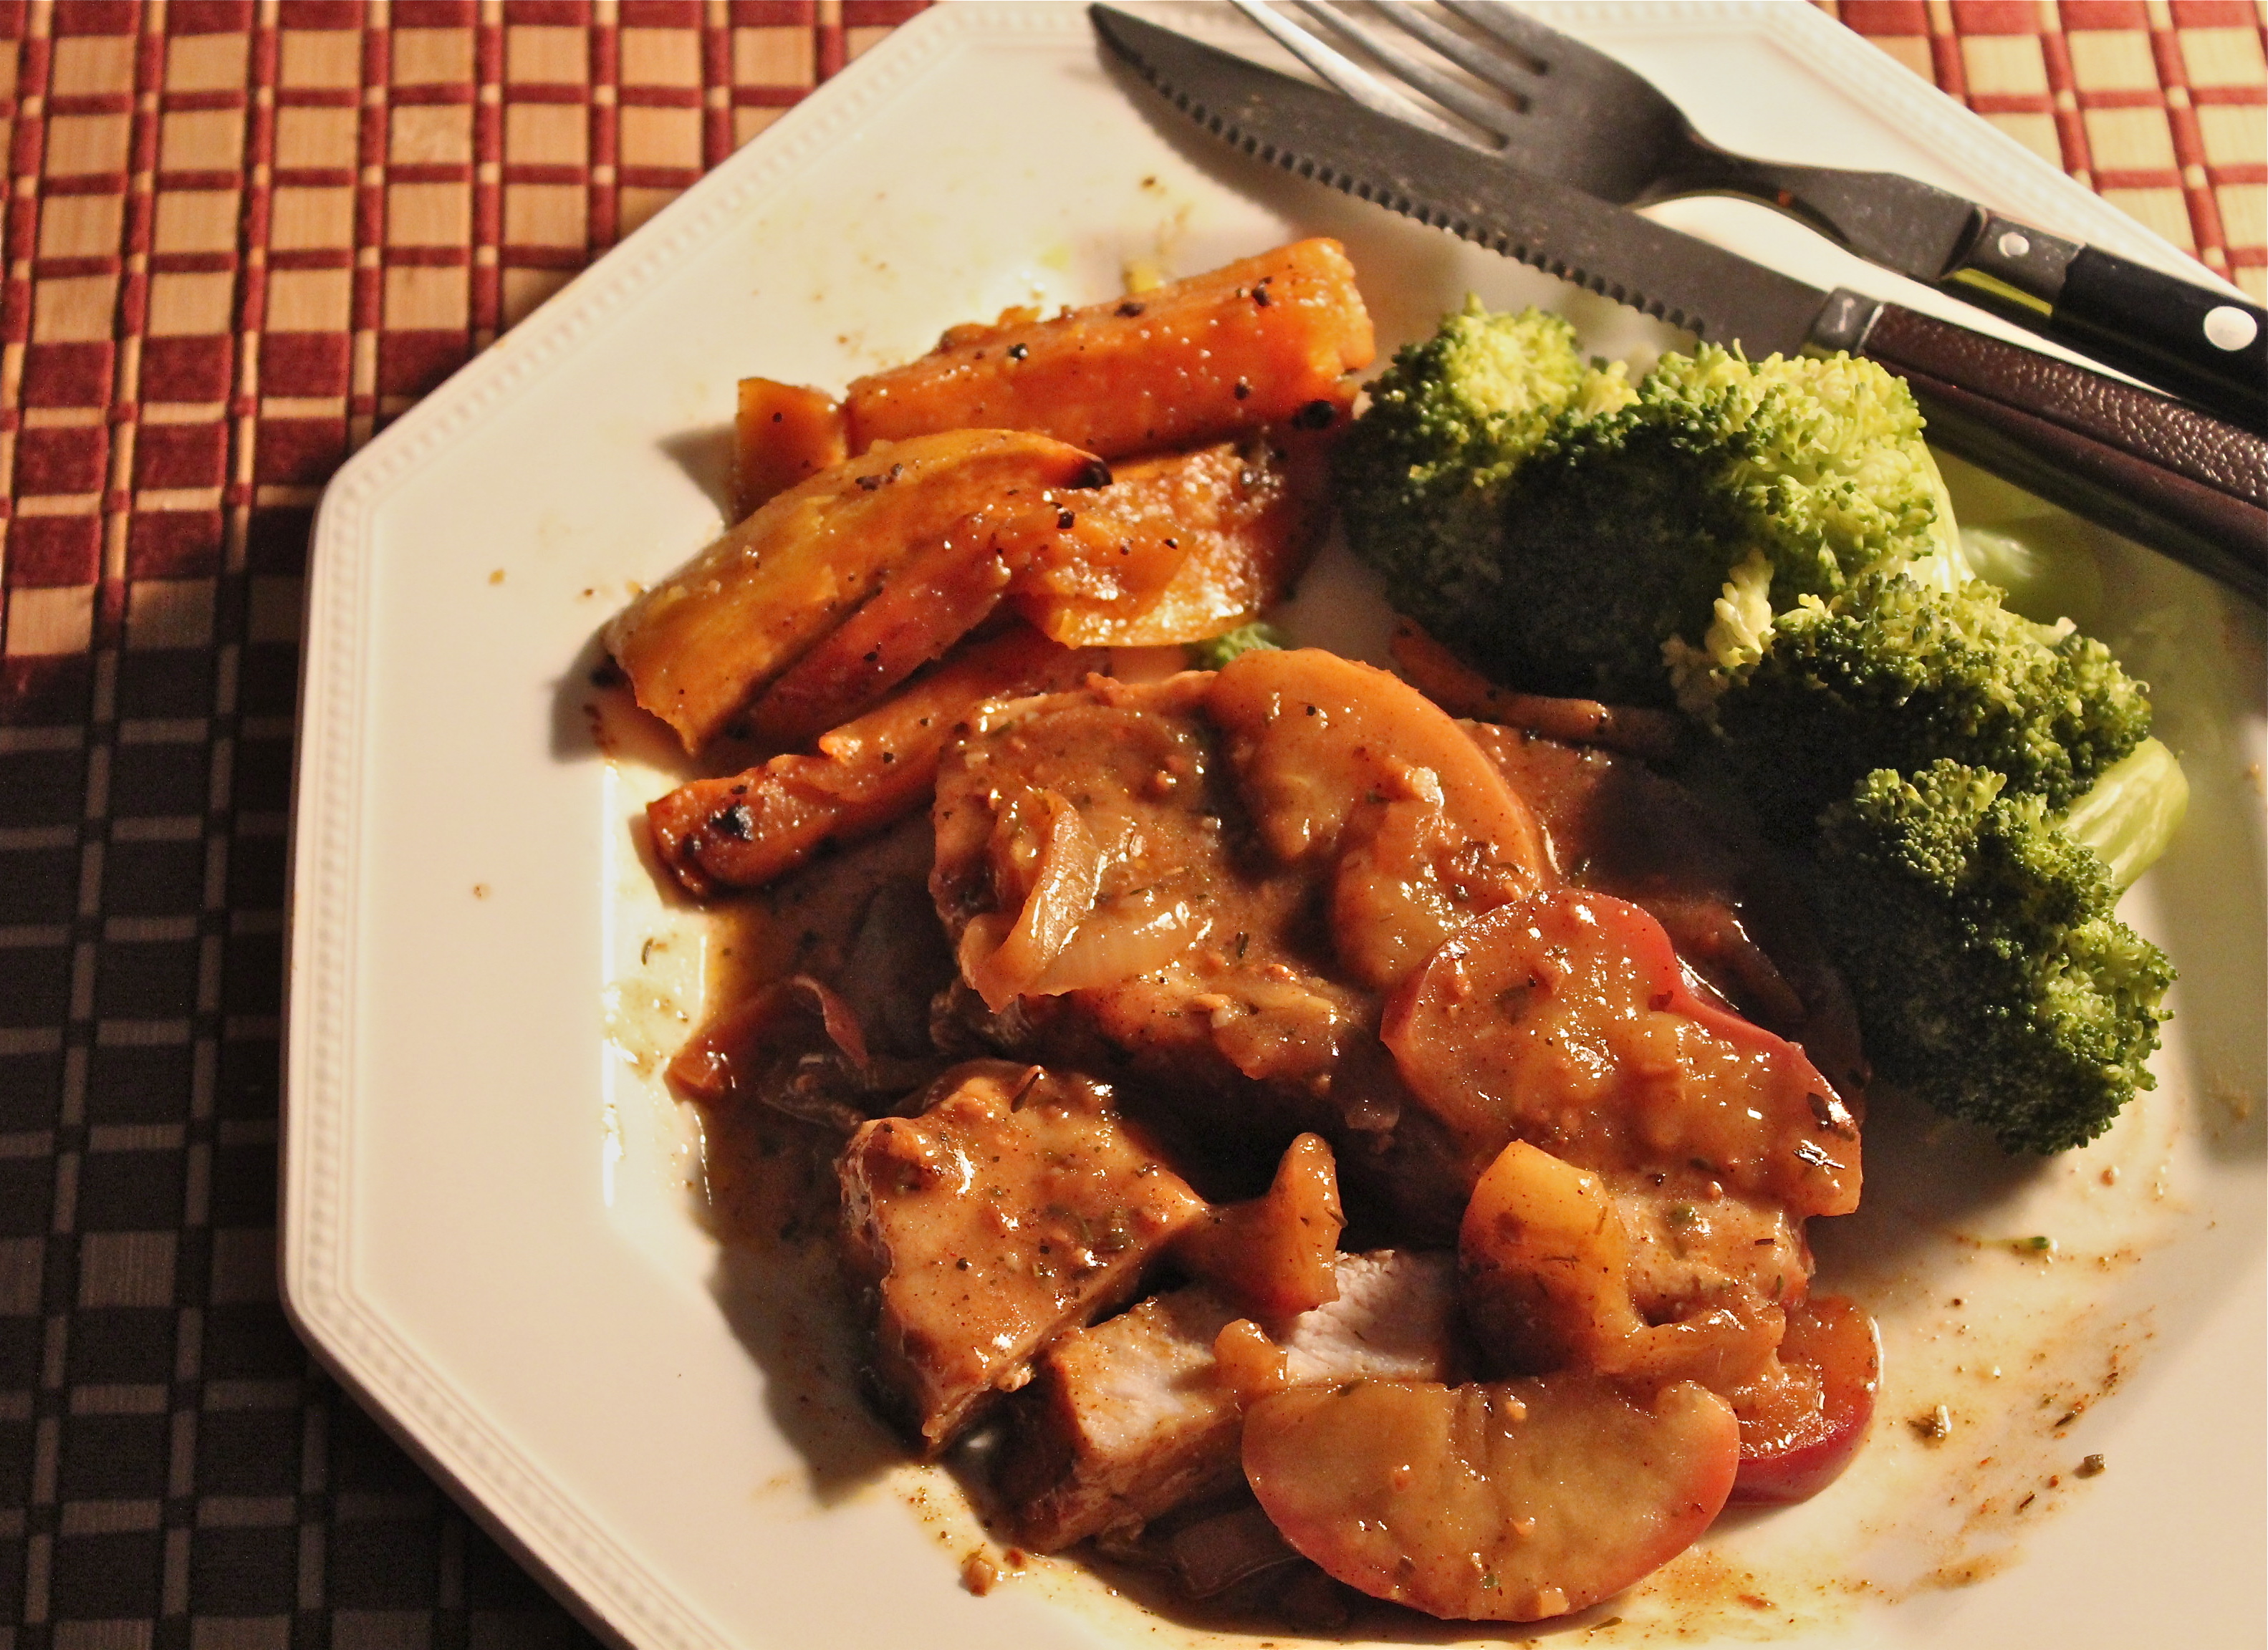
Moist, tender chicken and flavorful vegetables.
Note: For the wine, if you will be having a glass of white wine with this meal use some of the same wine for the roast chicken. Otherwise use any wine that may be open and needing to be used up.

An easy and satisfying meal.
SOURCE: Carolyn’s own recipe