Tomato Pie
Sometimes a recipe will contain ingredients that make you wonder how such diverse items could possibly go together and taste good. Such is the case with this recipe. This is a dish that I find unusual and out of the ordinary, not because of what the ingredients are, but the way in which they are put together.
Let’s take the tomatoes— not at all unusual in a sandwich with mayonnaise, or even with a slice of cheese. But how about if the tomatoes get combined with mayonnaise and cheese in a piecrust? Add some roast garlic to this combination and top the whole thing off with crumbled Ritz crackers. This is not a dessert pie, but a side dish. And let me tell you it is wow-worthy!
Sorry I couldn’t cut a piece for a photo.
I believe this dish may be southern in origin, one that is popular at pot-luck get-togethers. So I made it recently to bring to an end-of-the-year pot-luck picnic. First came the questions: “what is this?” Then sounds of delight, ” wow, this is so good, who made it?”, “may I have the recipe?” I’ll admit, I was doubtful that I would like it, but after one taste I was hooked. I encourage you to give it a try, with a small suggestion. When fresh tomatoes become plentiful, you may want to use them, and roast them as the recipe directs, to decrease their juiciness. But when fresh tomatoes are not available, good quality canned ones are great also, as that is what I used in making it for the first time, and what the recipe actually calls for.

We are going to a pot-luck picnic supper.
TOMATO PIE
Yield: Makes 8 servings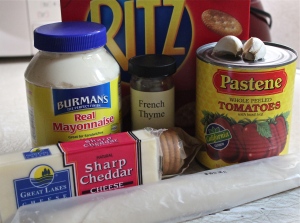
Ingredients:
- 1 ( 9-inch) piecrust – store-bought or make your own favorite recipe for single crust pie
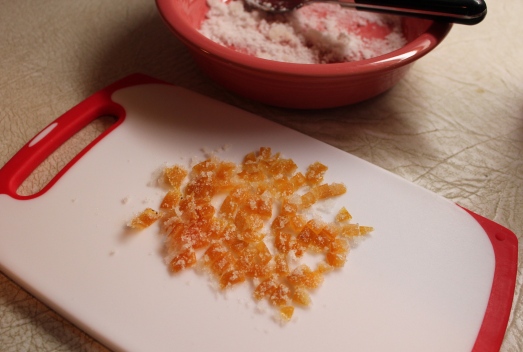
- 1 (28-ounce) can peeled whole tomatoes, preferable San Marzano, drained, seeded, and cut into 1-inch pieces
- 2 large garlic cloves, unpeeled (use 3-4 if you really like garlic)
- 1/4 cup olive oil ( I thought this was a more than needed)
- 2 tablespoons fresh thyme, plus more for garnish ( or use 1 teaspoon dried)
- 1 cup grated sharp Cheddar ( about 4 ounces)
- 3/4 cup mayonnaise
- 1 teaspoon ground pepper
- 1/4 teaspoon salt
- 1/3 cup crumbled Ritz crackers
Directions:
1. Preheat oven to 375*F. On a lightly floured surface, roll piecrust dough into a 1/4-inch-thick, 11-inch round. Fit into a 9-inch pie plate; trim any excess dough and crimp edge. Note: use a standard pie dish, not a deep-dish one.
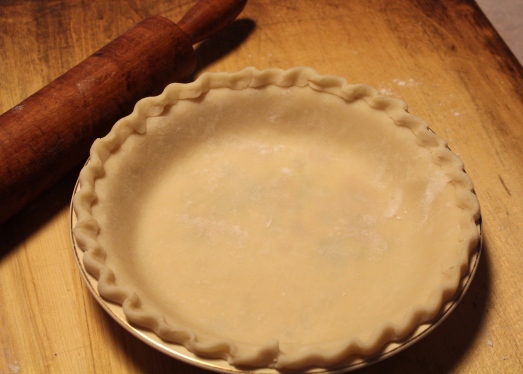
Prepare pie shell for single crust pie.
Line pastry bottom with a round of parchment paper and fill with dried beans or pie weights.
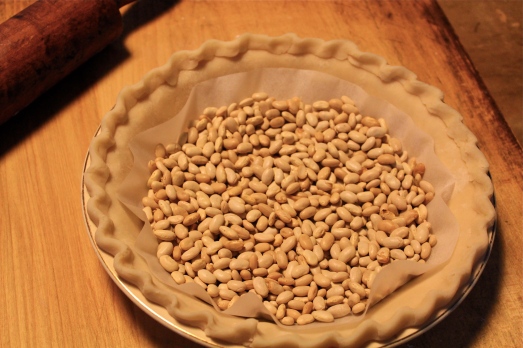
Fill with dried beans or pie weights prior to blind baking.
Bake until edge is golden brown but bottom is still pale, 15 – 20 minutes. Set aside to cool on a wire rack.
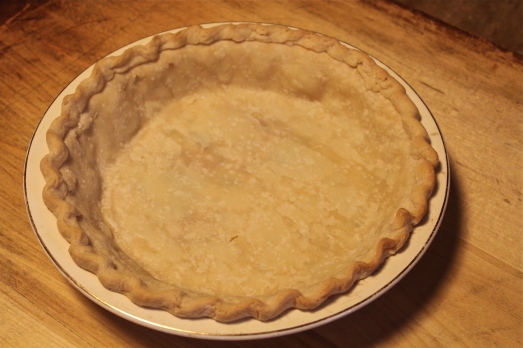
Baked pie shell.
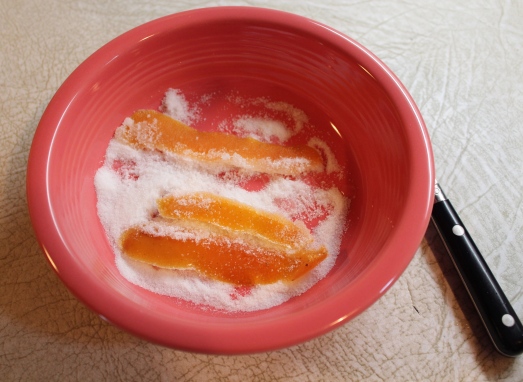
2. Reduce heat to 350*F. Arrange tomatoes and garlic in a single layer on a rimmed baking sheet; drizzle evenly with olive oil and sprinkle with thyme. Roast tomatoes until slightly shriveled and starting to brown around the edges, about 15 minutes. Remove from oven and let cool in pan.
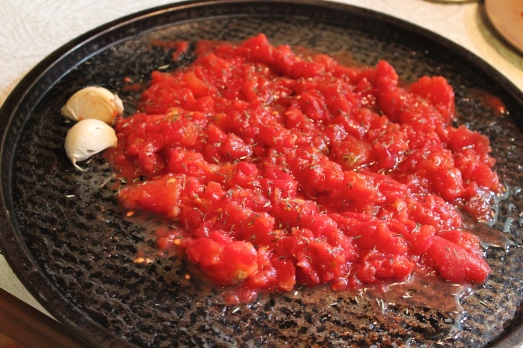
Roast tomatoes and garlic cloves on a baking sheet.
3. Meanwhile in a medium bowl, combine Cheddar, mayonnaise, pepper, and salt. Set aside.
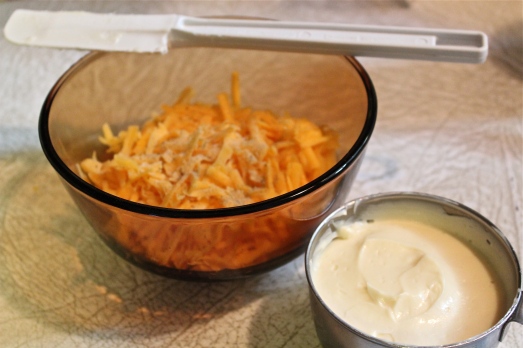
Mix together mayonnaise and shredded cheese.
4. Squeeze roasted garlic from its skin onto piecrust. Using an offset spatula or your fingers, spread the garlic paste evenly to cover bottom of piecrust. Layer tomatoes on top of the garlic paste. Spread the cheese-mayonnaise mixture over the tomatoes.

Spread cheese mixture over tomatoes in pie shell.
Sprinkle top with crushed Ritz crackers.
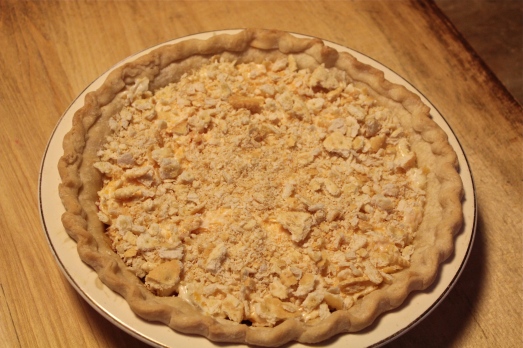
Top with crushed Ritz crackers.
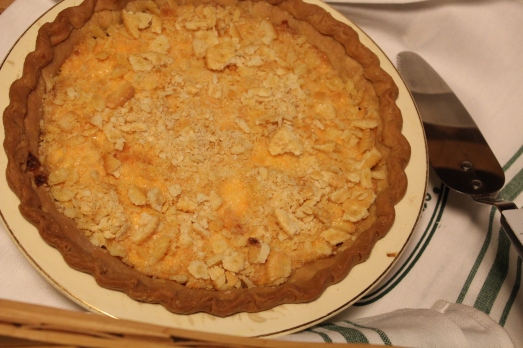
Bake until cheese is bubbly and pie top is golden brown, about 20 minutes. Garnish with a sprig of thyme, if desired.
Sorry I couldn’t cut a piece for a photo.
SOURCE: Country Living Magazine


 2. In a blender container, combine gelatin mixture, yogurt and berries. Process until blended and smooth.