
Homemade Mayonnaise
Today we are making mayonnaise. I had never tried to make my own mayo before this, but when I came across the recipe it looked so easy I just had to try it.
Mayonnaise is a condiment that I think we all take for granted. It’s always there in the refrigerator when we need/want it. But have you ever given any thought to what goes into mayonnaise? It’s basically egg yolks and oil blended together to form an emulsion plus a little vinegar, salt and pepper. Commercially prepared mayonnaise contains stabilizers and other additives to extend its shelf life, but we don’t need all those extra things.
Let’s face it mayonnaise contains a lot of fat. My guy, Mr. D. loves mayonnaise slathered on his sandwiches. No matter that I try to reduce the amount of fats (and calories) in the foods I prepare, he often overturns my best efforts by (over)using mayonnaise. I’m just wondering, is that a guy thing? Because I know several other guys who love mayonnaise, but I don’t see that in my women friends. Any comments along those lines? Hmmm?
Back to the task-at-hand: making mayonnaise. I like the fact that I can make a small amount. I’ve had the experience where I’ve purchased a large jar of mayonnaise and after a while, even though it’s refrigerated, it starts to have an “off ” taste, as the oils get old. By making your own, you can make variations in flavor too, thus saving the cost of buying all those name-brand items like chipotle, smoky ranch, wasabi, or Dijon mayonnaise. These lively flavored spreads can really change a sandwich from ho-hum, to WOW! So let’s make our own. It’s cost-saving, you control what’s in it, and you can have a variety of flavors in small amounts.
HOMEMADE MAYONNAISE
Yield: Makes 3/4 cup

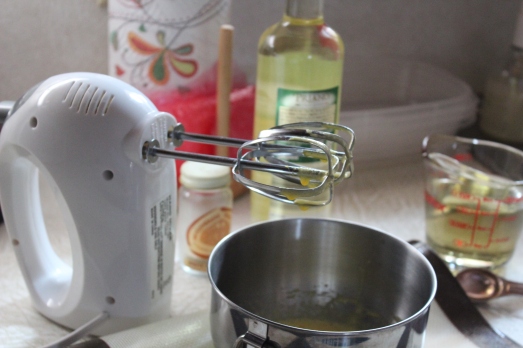
All it takes is canola oil, egg yolks, white vinegar, and salt and pepper.
Ingredients:
- 2 large egg yolks
- 3/4 cup canola oil ( or olive oil, if you prefer)
- 1 1/2 tablespoons white wine vinegar
- 1/2 teaspoon salt
- 1/2 teaspoon ground white pepper (optional)
Directions:
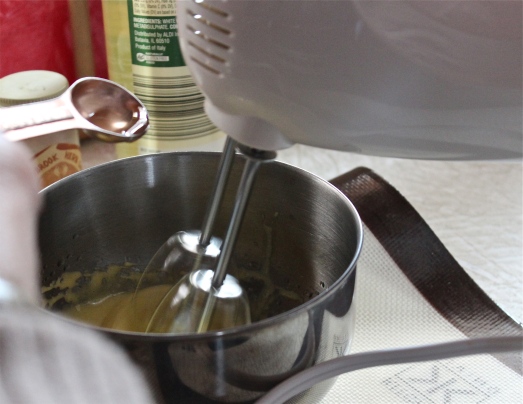
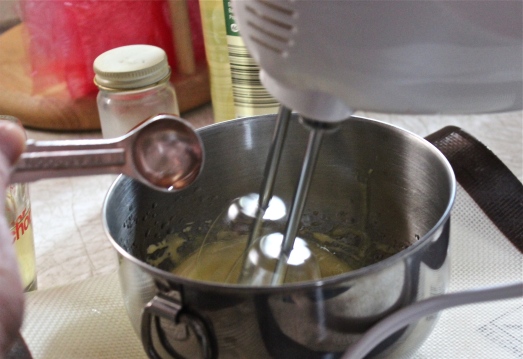
1. Place a medium bowl on a non-slip surface, such as a silicone baking sheet or a damp dish towel. In the bowl, whisk egg yolks until light and frothy.
Beat the egg yolks till light and frothy.
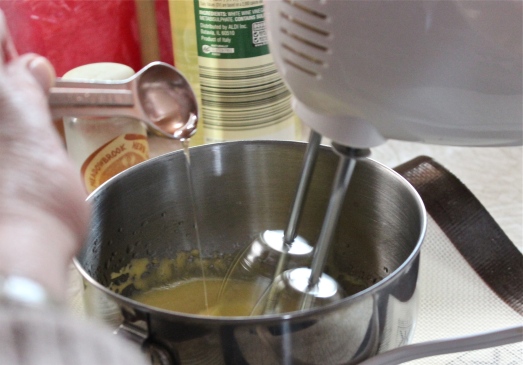
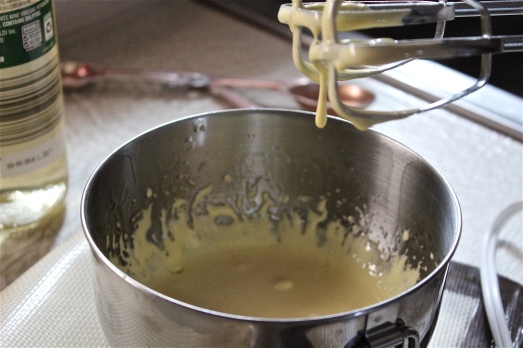
Slowly drizzle in 2 1/2 teaspoons oil, continuing to whisk until yolks become paler and thicken, about 40 seconds. If oil begins to pool rather than emulsify, stop drizzling and whisk yolks vigorously before adding any more oil. Then add remaining oil in a slow drizzle, continuing to whisk.
Start to drizzle in the oil while beating the yolks.
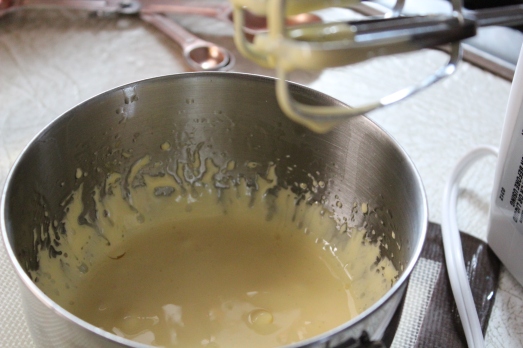
Continue beating while slowly adding the rest of the oil.
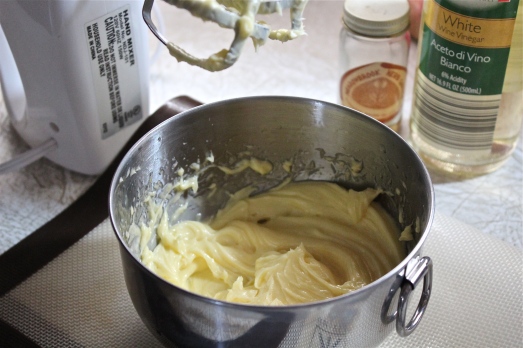 The mixture will become quite thick.
2. Whisk in the white vinegar and salt. Add white pepper if desired.
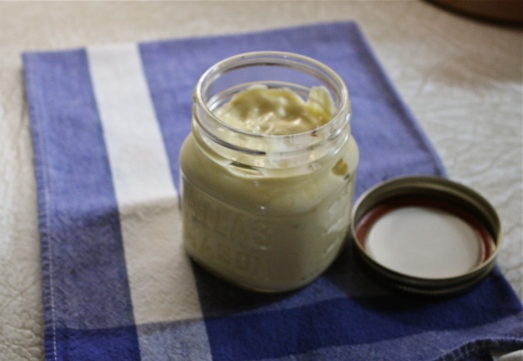
Transfer mayonnaise to a clean container with screw top, or cover with plastic wrap, and keep refrigerated.
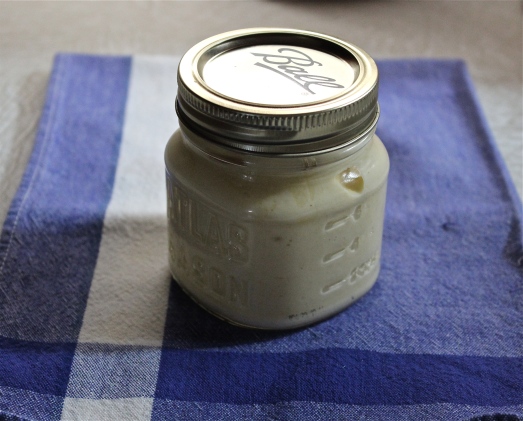
I just made about 3/4 cup mayonnaise. It was Fun!!
Hint: Try adding some Dijon mustard, about 1 – 2 teaspoons to the above recipe, and use in egg salad. So good!!
FLAVOR VARIATIONS:
1. HORSERADISH: Stir in 1/4 cup drained, prepared horseradish, 2 teaspoons fresh lemon juice, 3/4 teaspoon Worcestershire sauce, and 1/2 teaspoon ground black pepper.
2. CAPER-DIJON: Add 1/4 cup drained, chopped capers and 1 tablespoon Dijon mustard.
3. FRESH HERB: Fold in 1 1/2 tablespoons chopped parsley, 2 teaspoons chopped tarragon, and 1 teaspoon chopped thyme.
4, CHILI-LIME: Mix in 1 1/2 tablespoons fresh lime juice, 1 tablespoon lime zest, and 2 teaspoons each of honey and chili sauce.
5. BACON – CHIVE: Combine with 3 slices finely chopped cooked bacon and 1 1/2 tablespoons chopped chives.
6. BARBECUE-BACON: add freshly cooked and crumbled bacon plus 2 tablespoons BBQ sauce for a unique dipping sauce.
SOURCE: Adapted from Country Living


