Cheeseburger Pizza
“Two all beef patties, lettuce, cheese,…….. on a sesame seed bun”. Sound familiar? Today, I’m going to show you a fun way to recreate this fast food burger without a trip to the drive-in.
I was somewhat doubtful that the sauce would come close to tasting like the one on the well-known burger, so I made up a half-recipe just to try it. My gosh, it is spot on! This is a great sauce to have made up ready to top off your burgers even if you don’t use all the other toppings. You could surprise your friends/family this summer with a cookout, serving this “secret” sauce on the burgers.
With that piece of the recipe having proven itself, I was ready to make the whole thing. Included here is a good recipe for the dough, but if you don’t want to make you own dough or don’t have the time, a one pound package of pizza dough purchased at the supermarket will do just fine, and it’s a great time saver.
CHEESEBURGER PIZZA
YIELD: 1 large pizza, 8 – 12 pieces
For the crust:
- 3 cups all purpose flour
- 1 1/4 teaspoon salt
- 2 teaspoons instant yeast
- 2 tablespoons olive oil
- 3/4 cup + 2 Tablespoons lukewarm water
- 1-2 Tablespoons sesame seeds
1. Combine all the above ingredients (except sesame seeds) and mix and knead to make a smooth, soft dough, using a stand mixer, bread machine, or your hands.
2. Place dough in a lightly greased bowl ( or leave it in the bread machine to rise) and let it rise until it’s very puffy, about 1 1/2 – 2 hours.
3. Spray a large rimmed baking pan ( 15″ x 10″ is good ) with non-stick cooking spray. Sprinkle sesame seeds into the pan, if desired; they’re there to mimic the burger’s ” sesame seed bun.”
4. Deflate the risen dough, and stretch it into and oval with your hands. Plop the oval onto the baking sheet, and then press it towards the edges. When it starts to fight back, walk away for 10-15 minutes. When you come back, you should be able to continue pressing it to the edges, nearly to the corners. If you can’t, give it another rest and try again. The dough should cover as much of the pan as possible—without making yourself crazy over it.

Spread dough in the baking pan.
5. Cover the dough, and let it rise until puffy, about 90 minutes. While the dough is rising, prepare the toppings.
TOPPINGS
- 1 pound ground beef
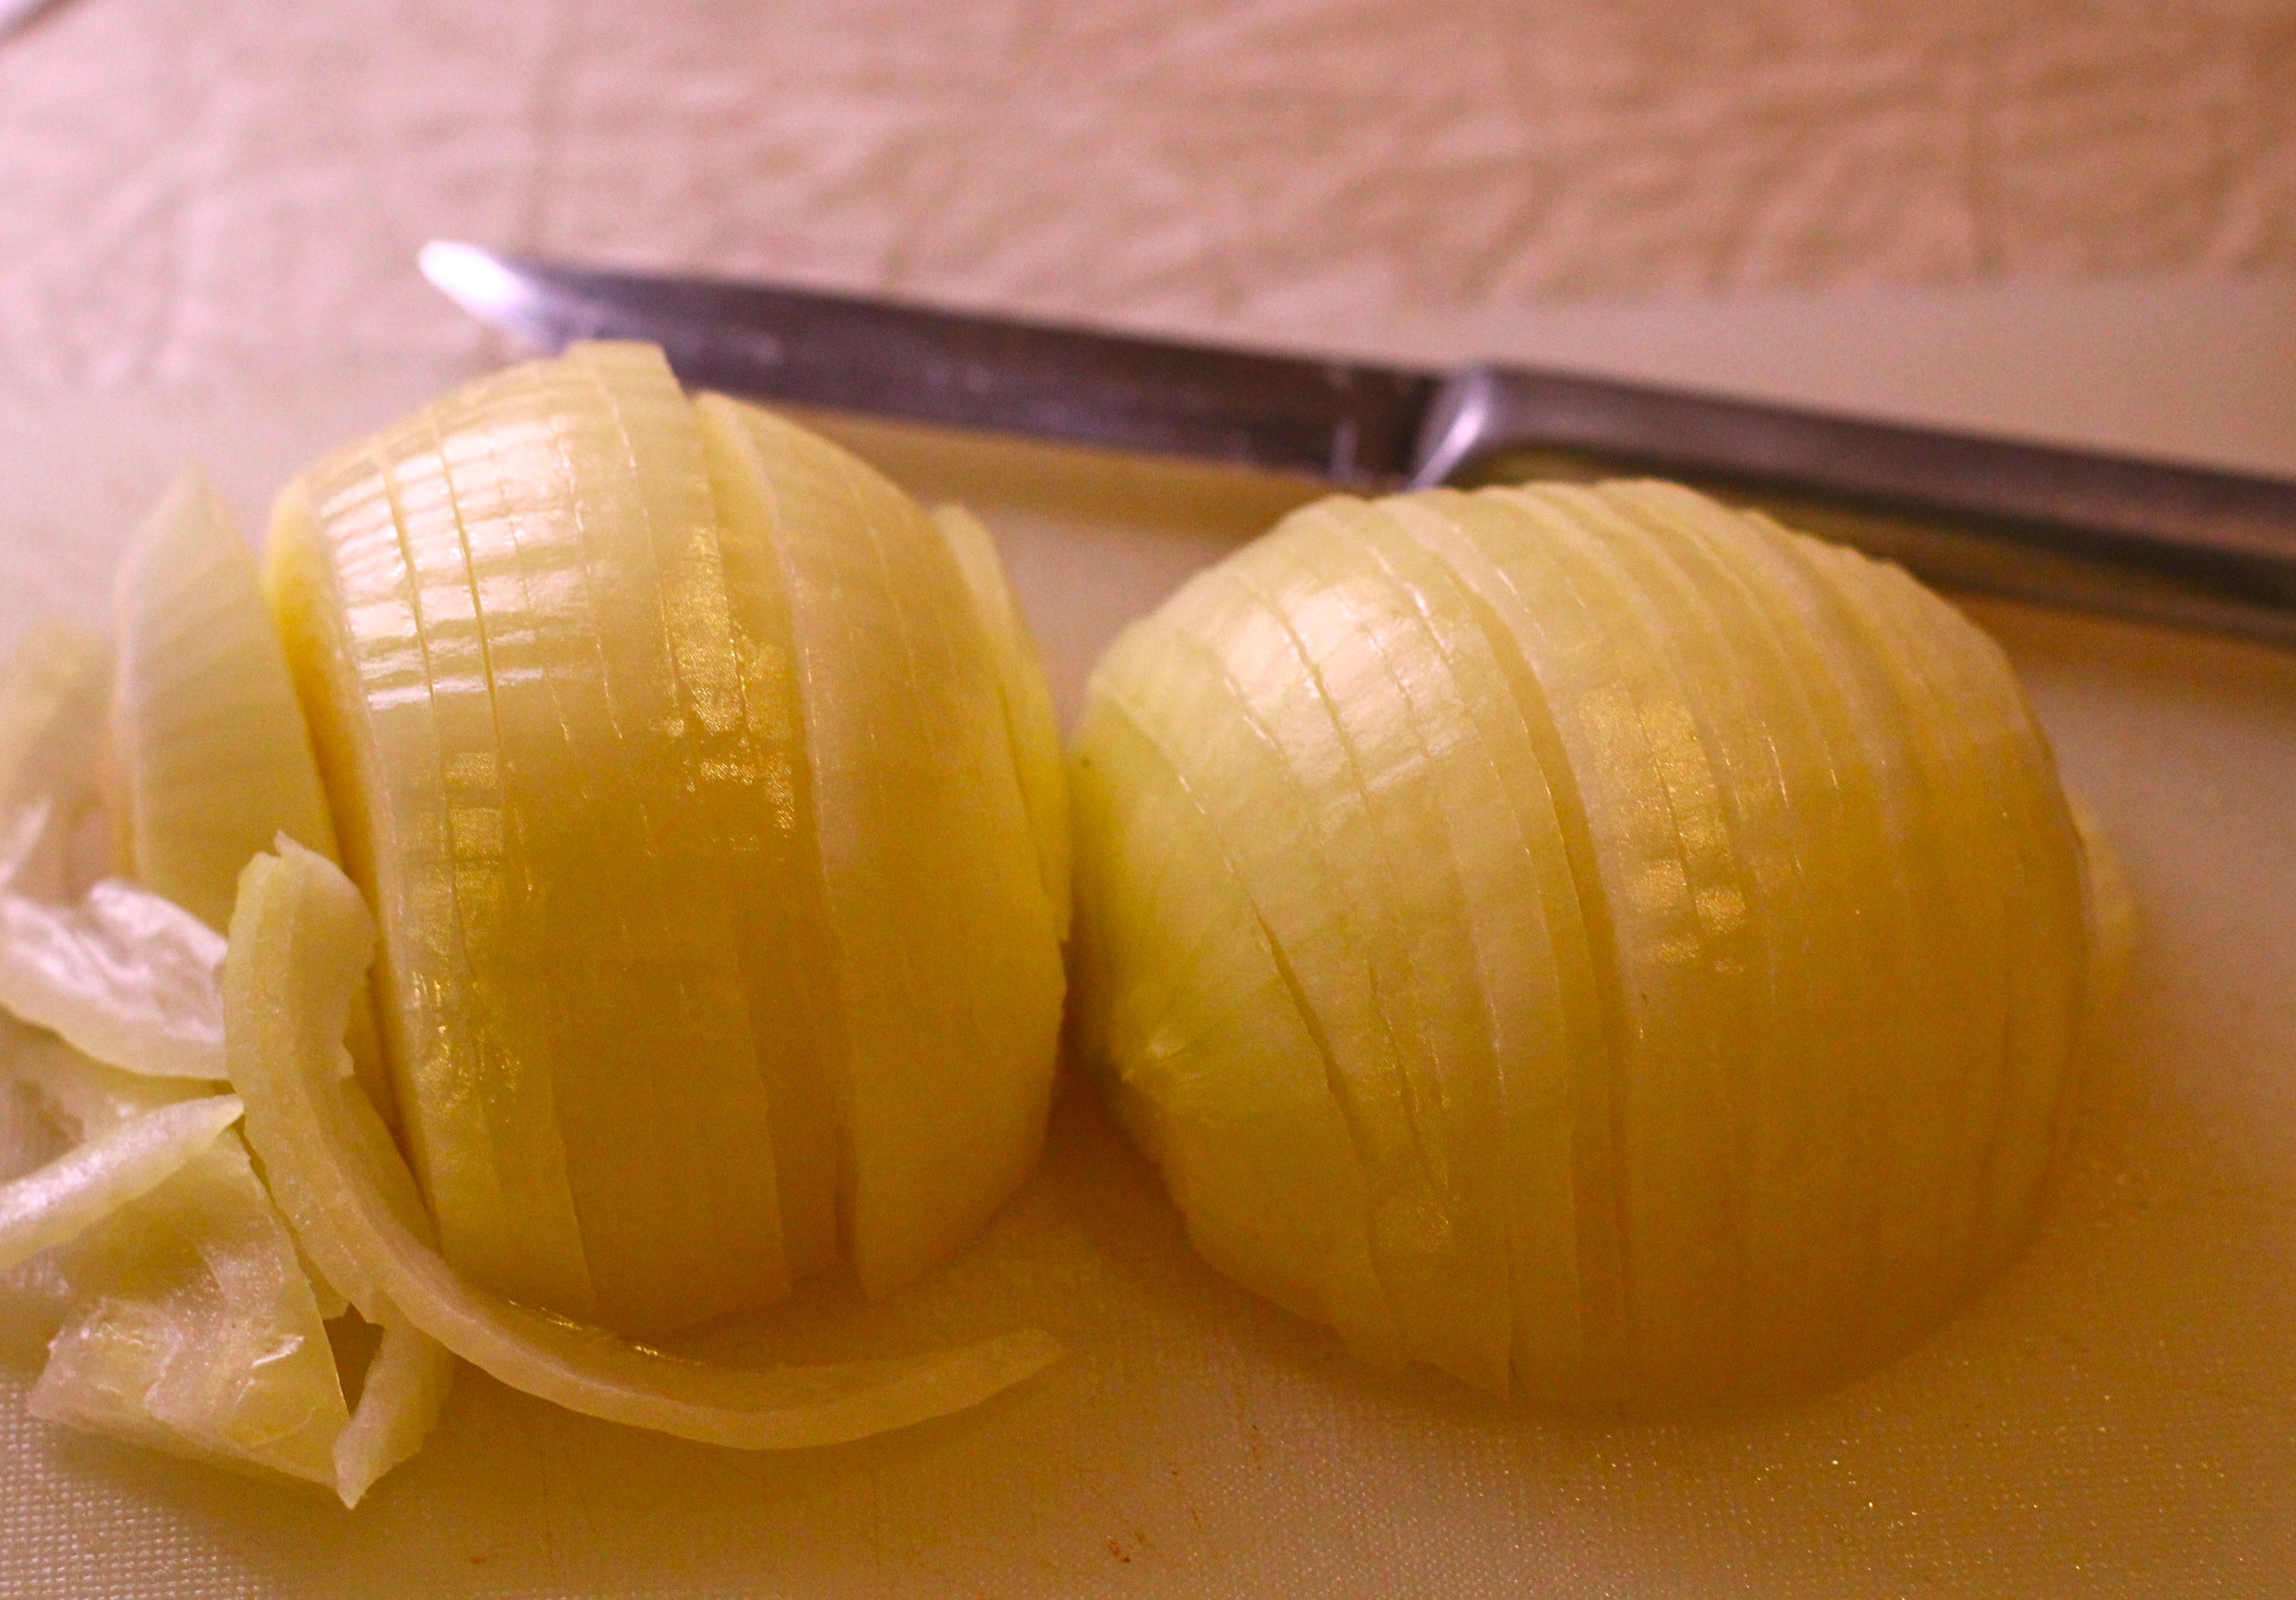
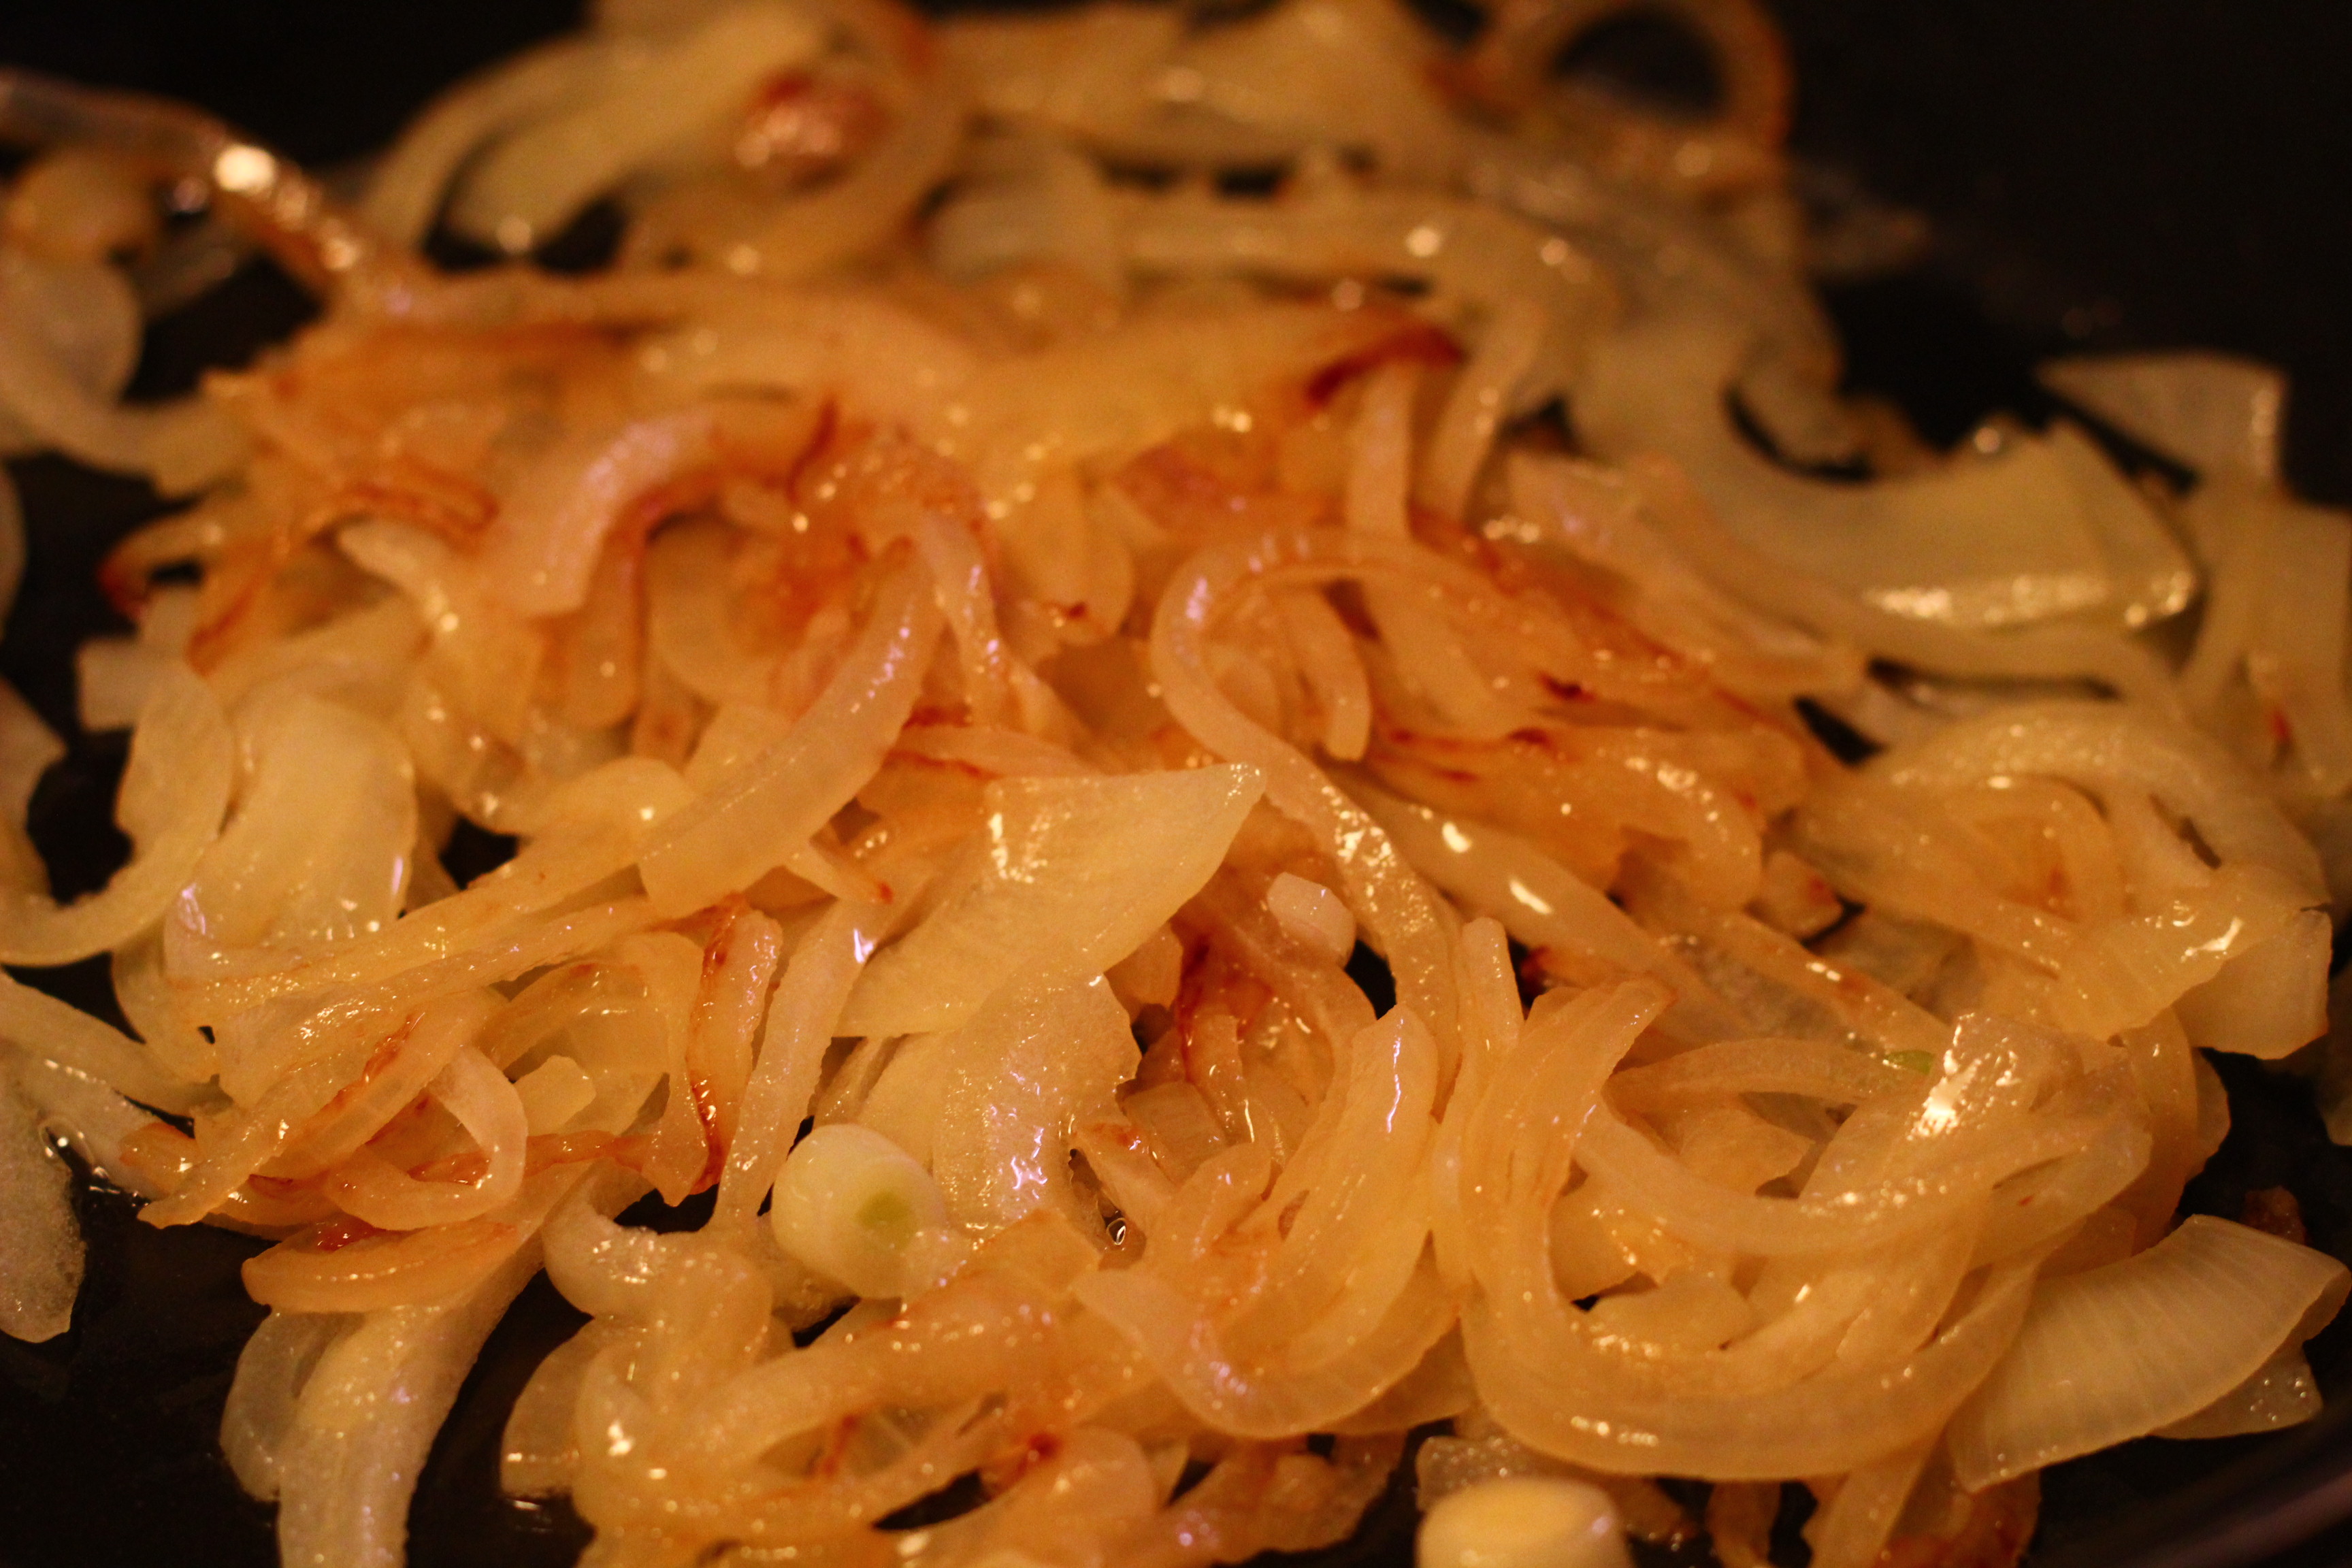
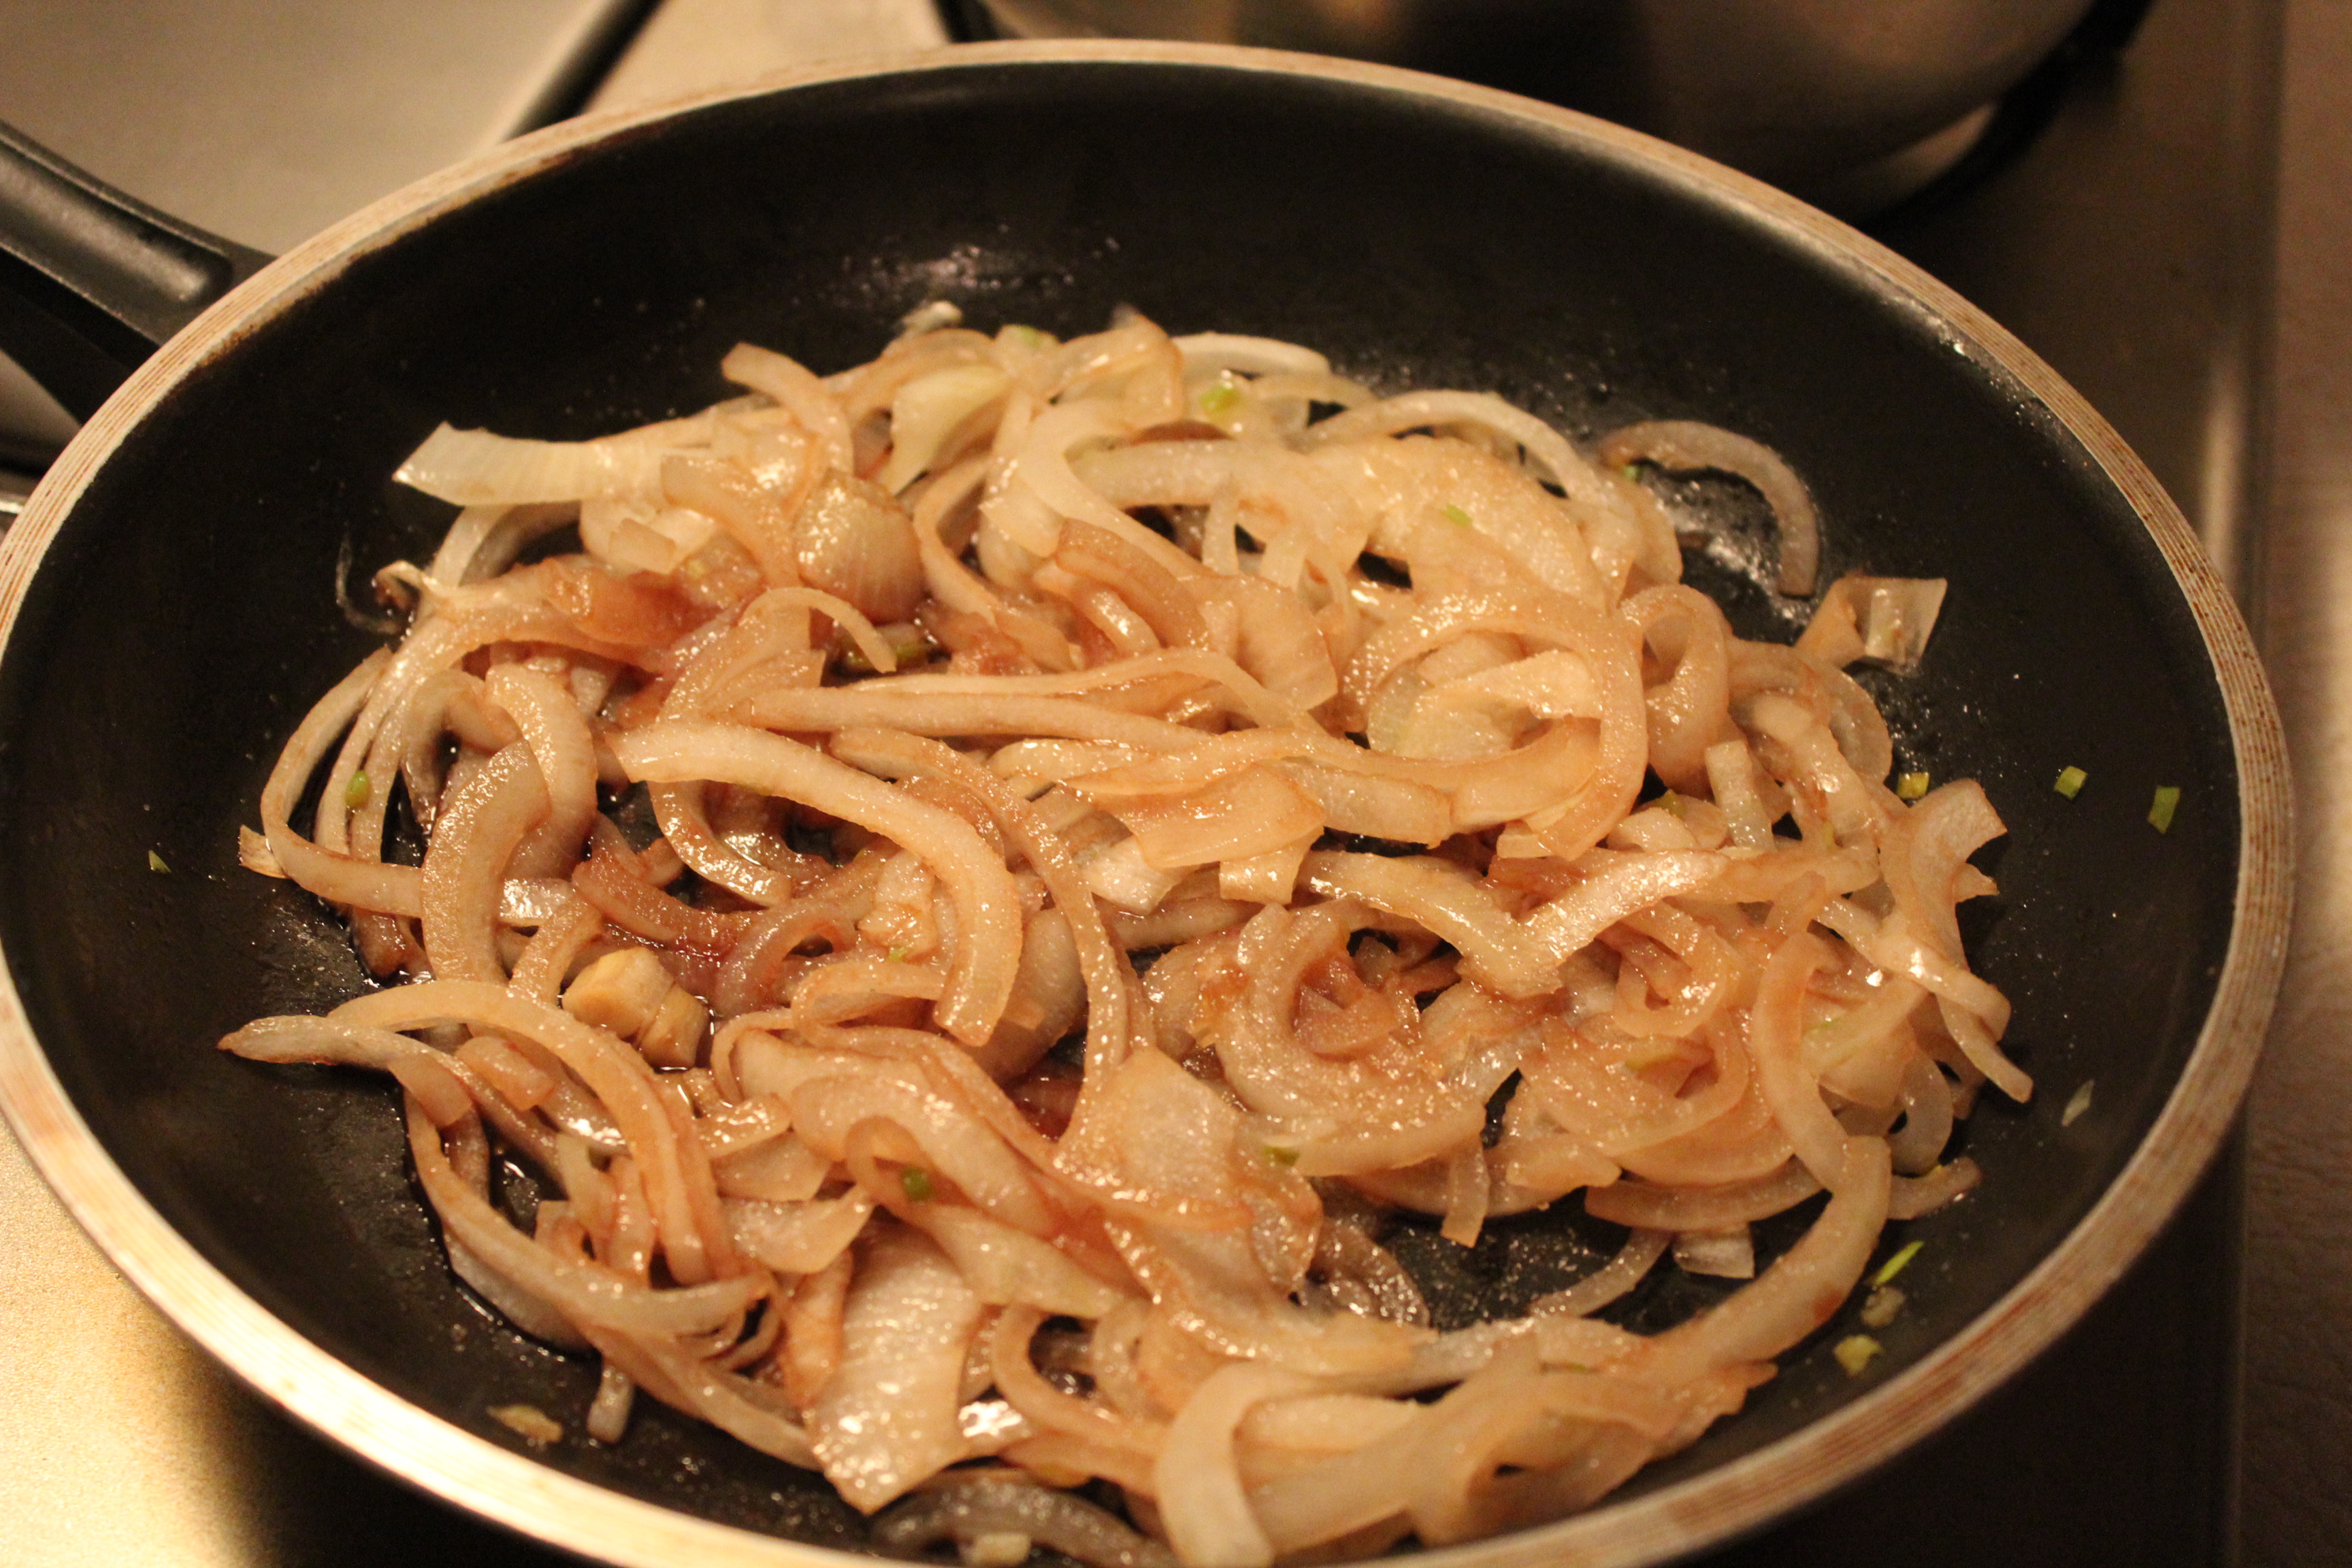
- 1 medium onion, peeled and diced
- dill pickle slices
- 10 -12 slices American cheese
- shredded lettuce
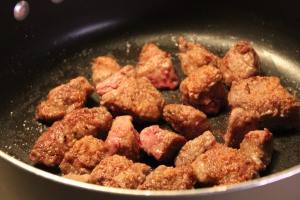
6. Season the ground beef with 3/4 teaspoon salt, and fry until brown; drain off the fat. Dice the onions, and shred the lettuce. If using whole dill pickles, slice 1-2 large pickles.
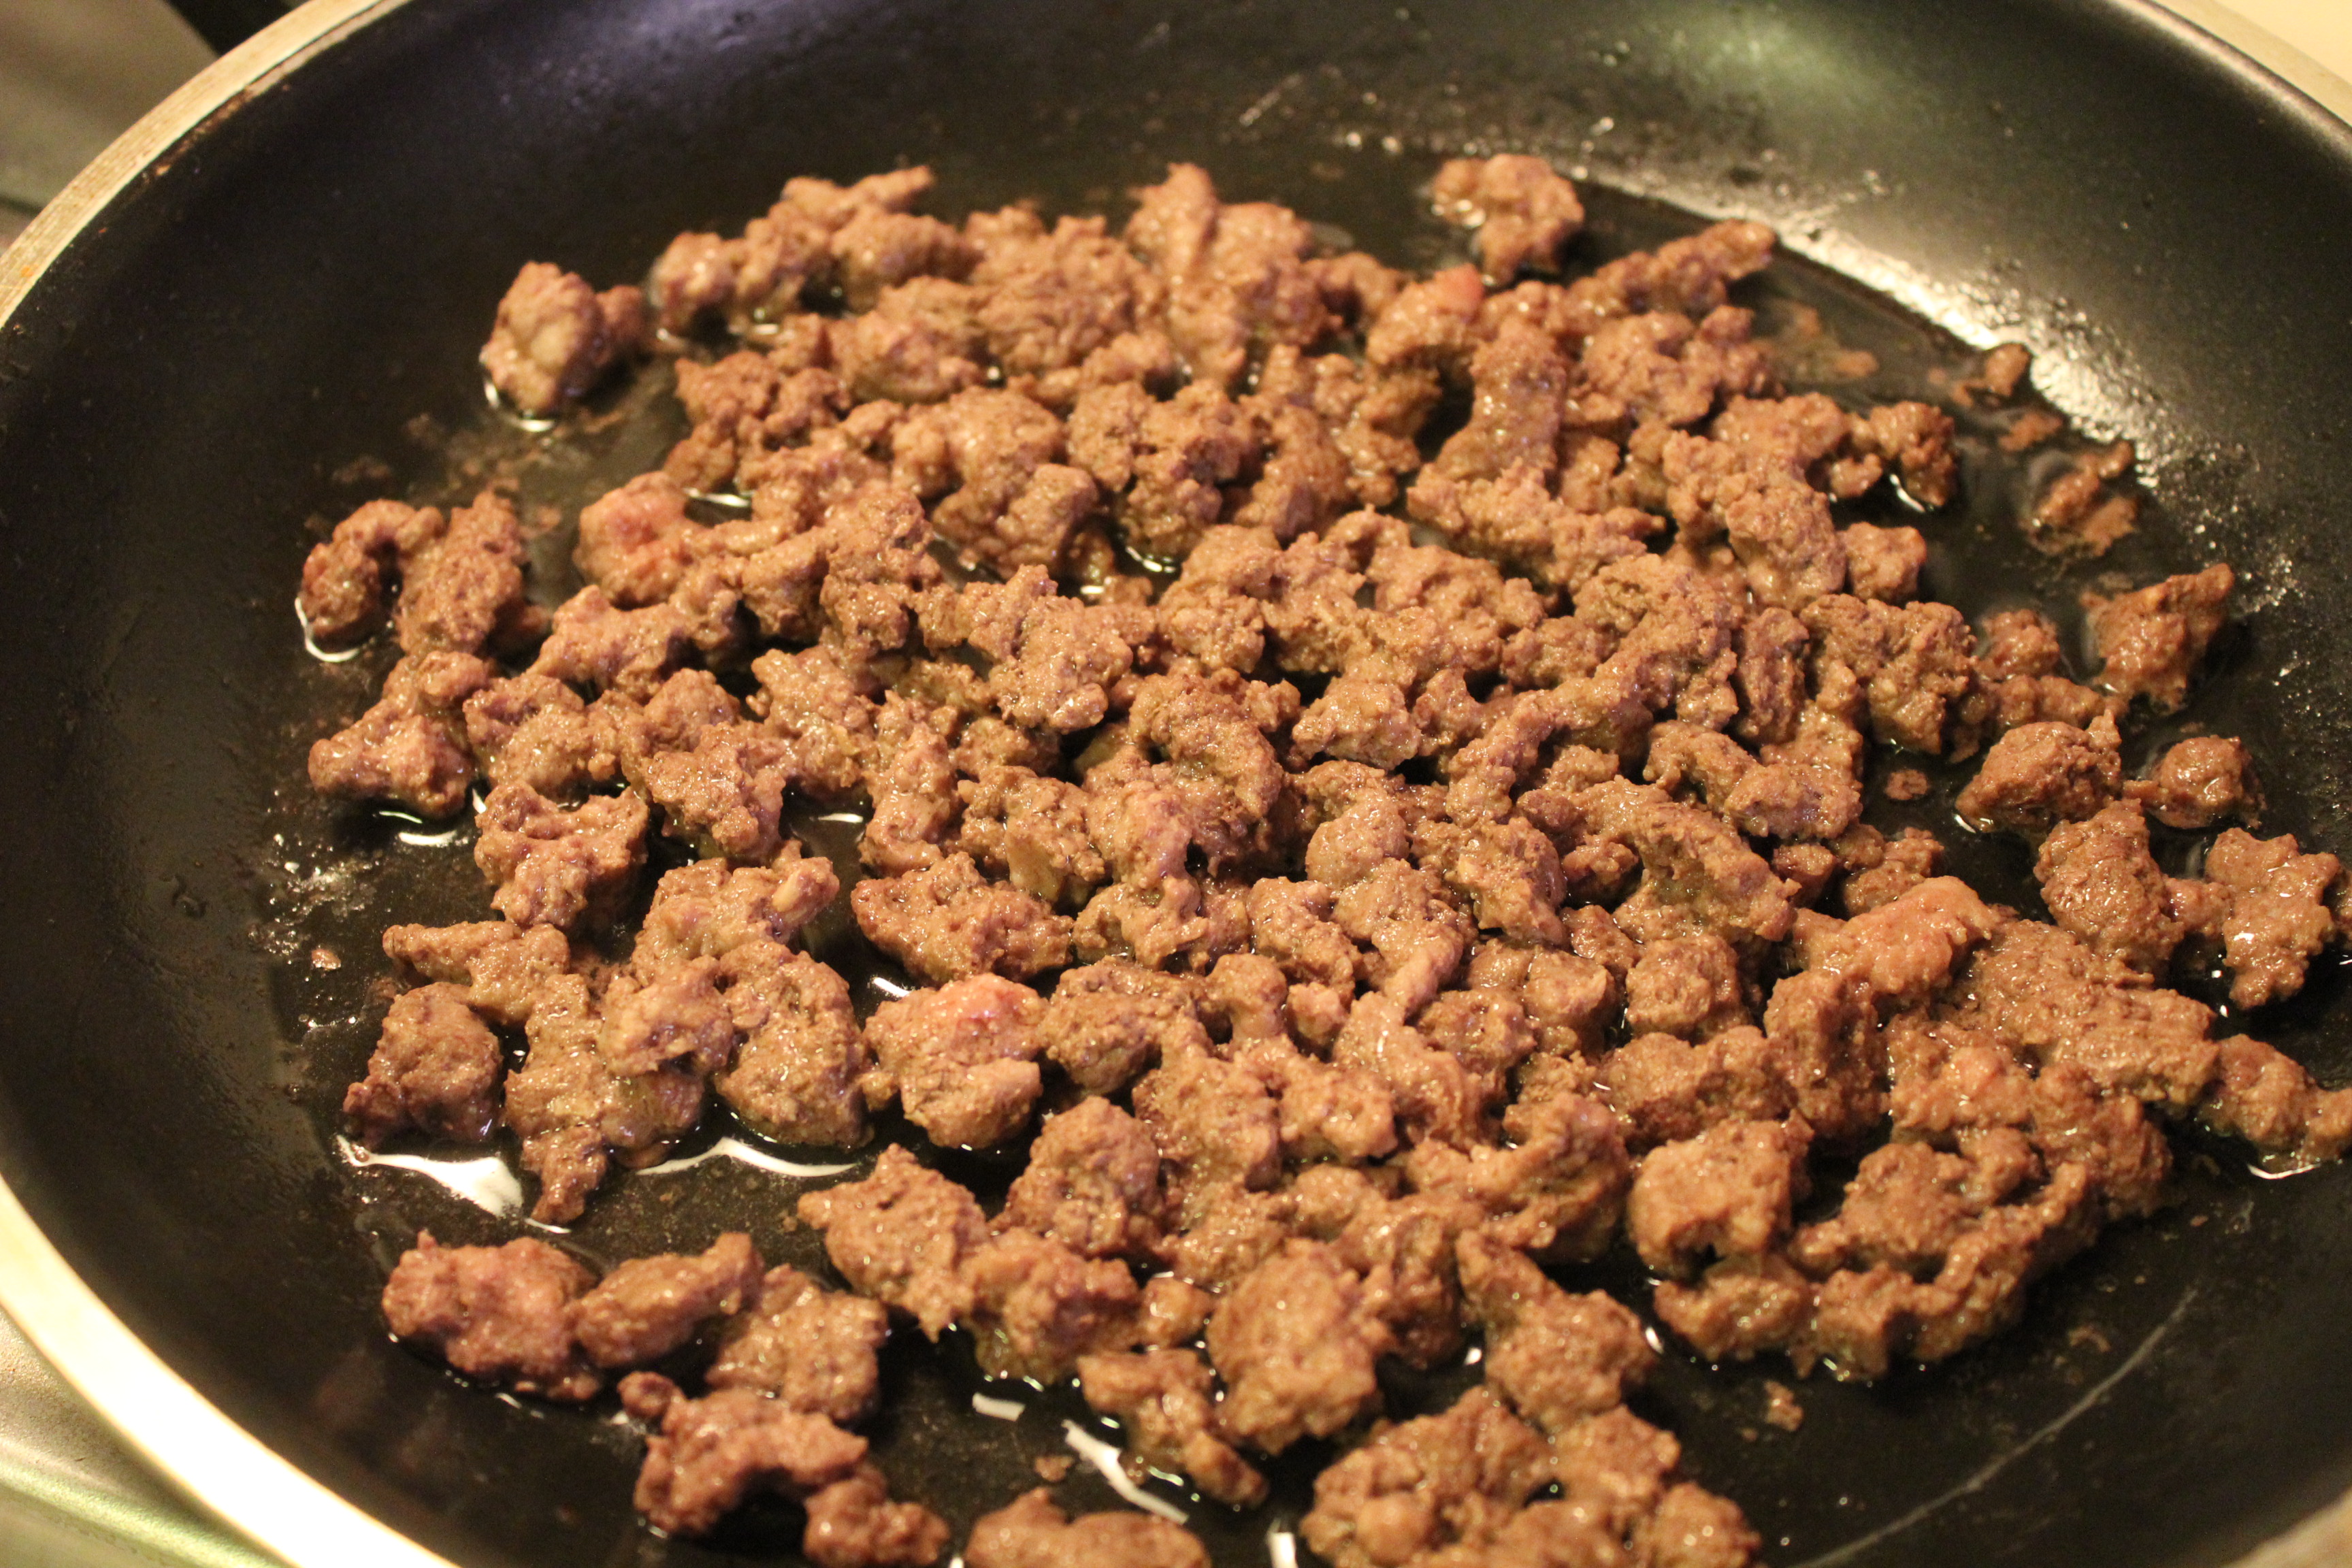
Brown the ground beef.

Chop the onions and slice the dill pickles.
SAUCE
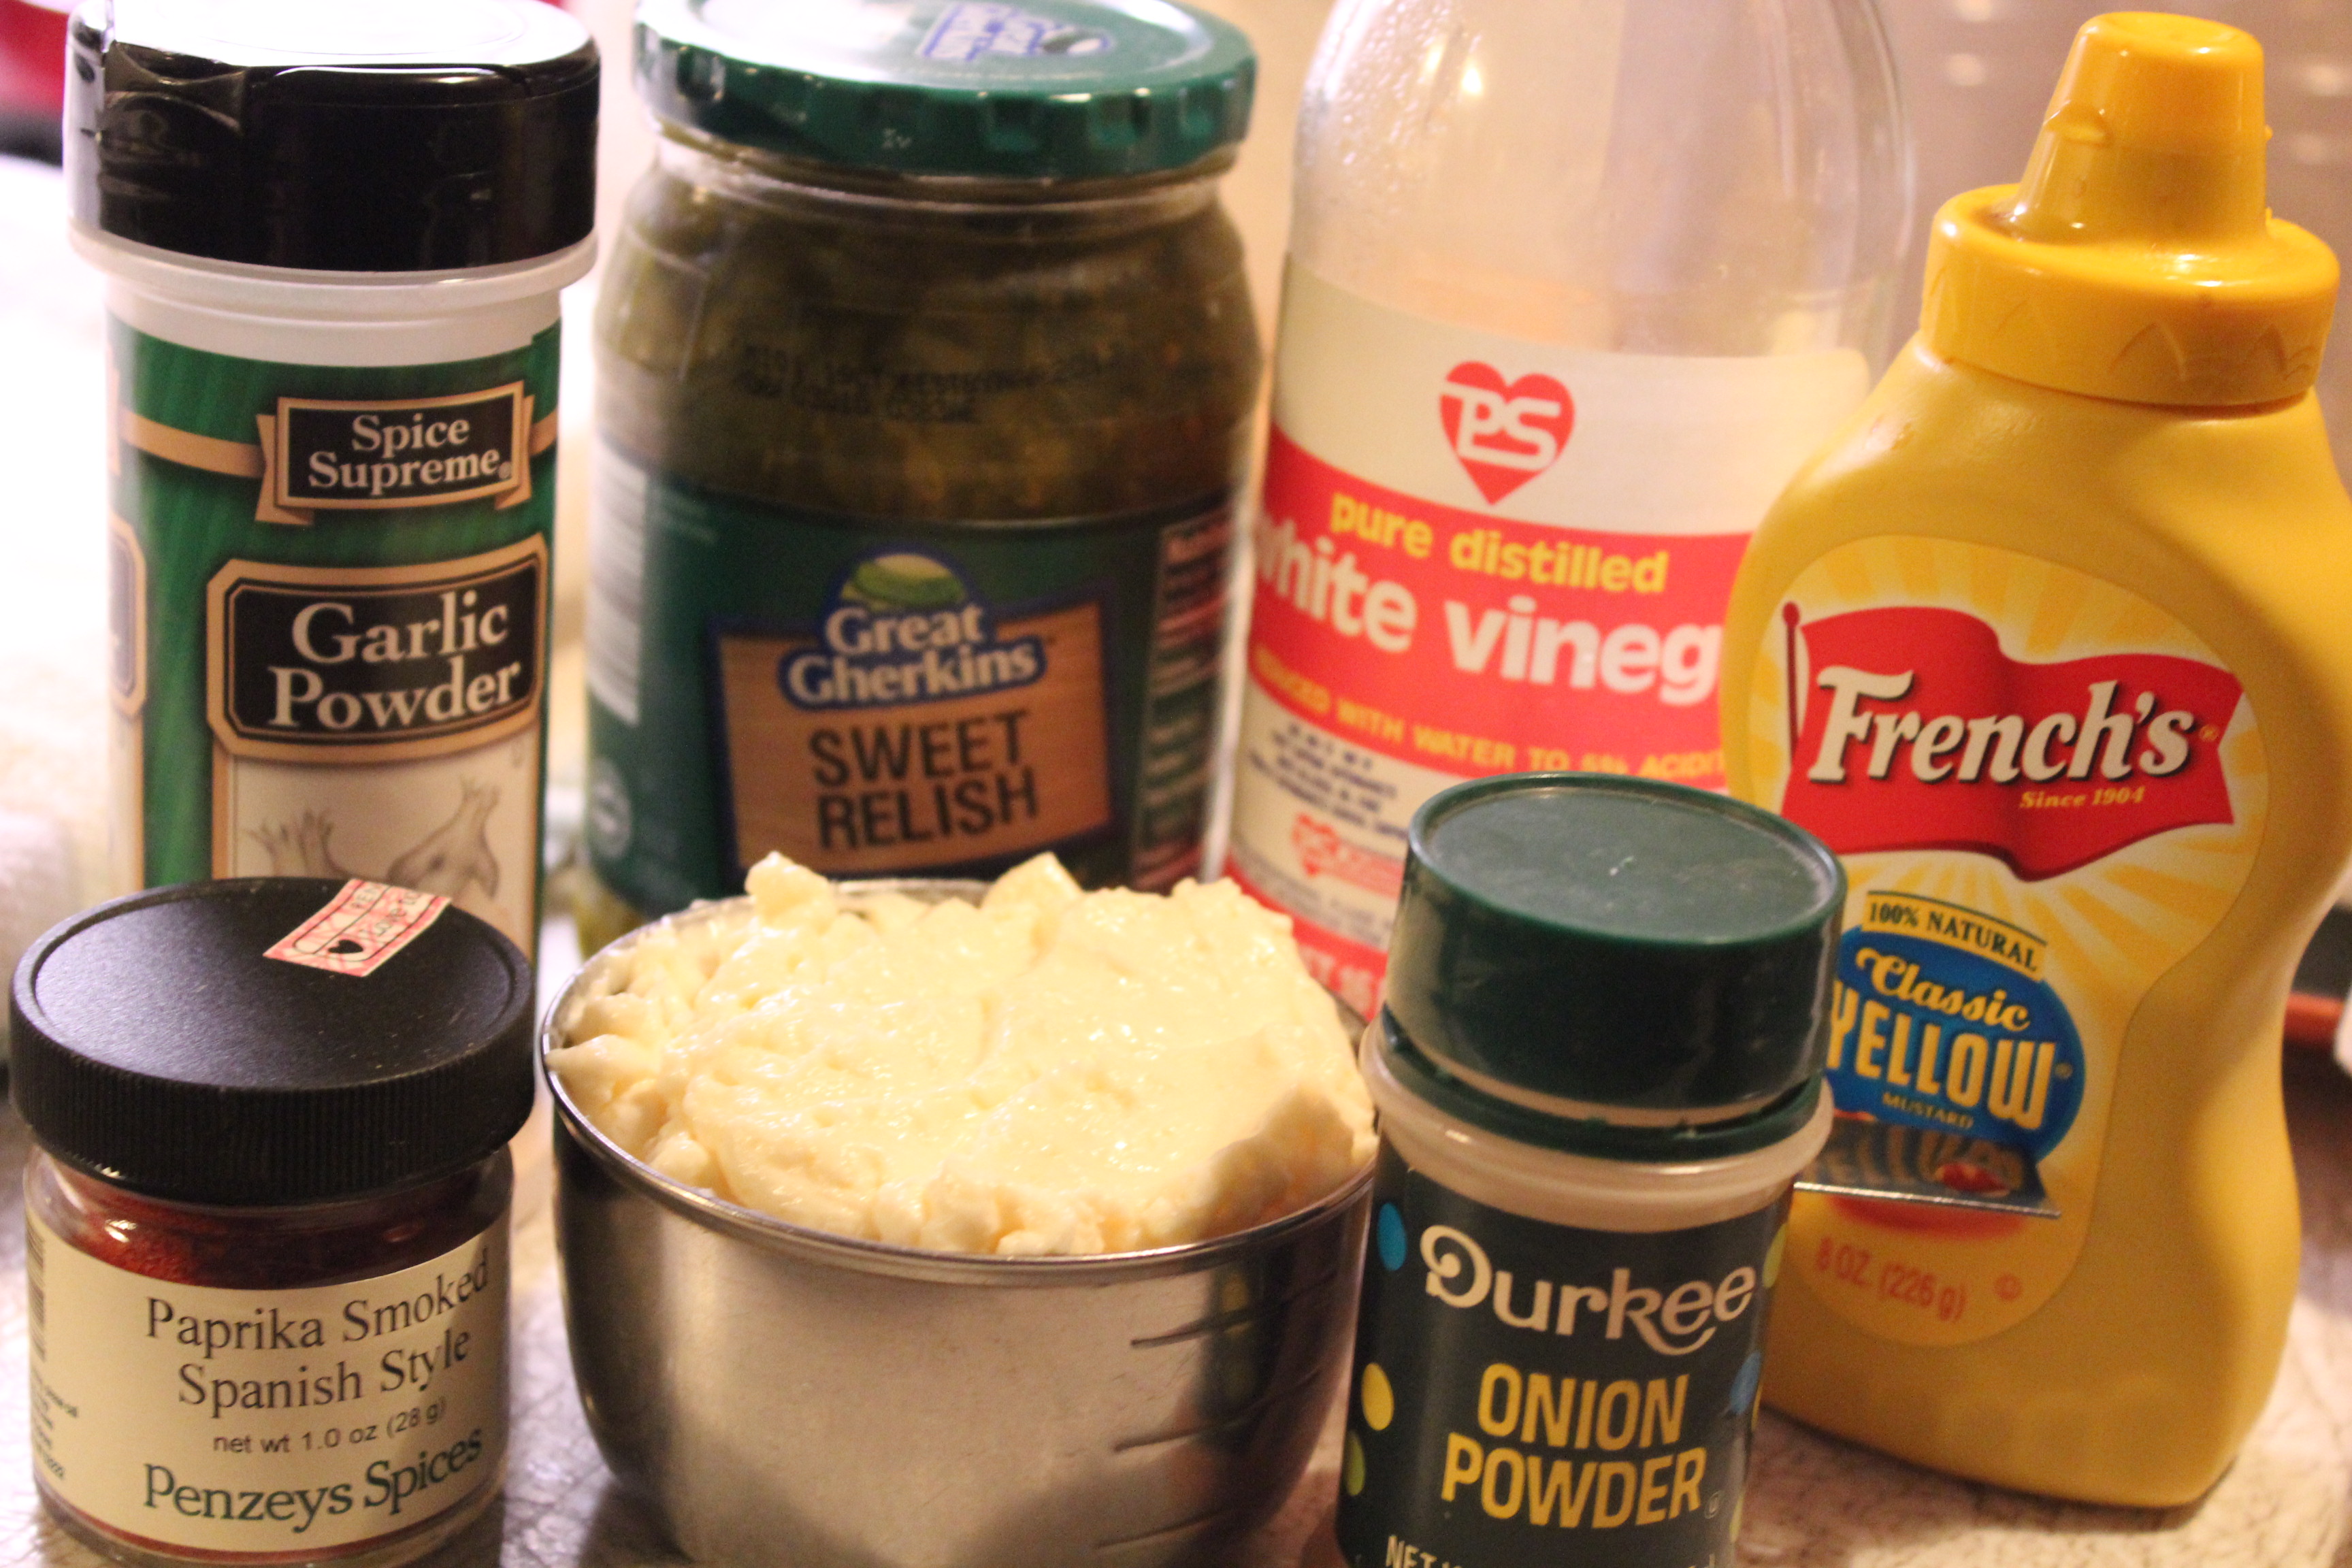
Sauce ingredients.
- 1 cup mayonnaise
- 1/3 cup green pickle relish
- 2 Tablespoons yellow mustard
- 1 teaspoon white vinegar
- 1 teaspoon garlic powder
- 1 teaspoon onion powder
- 1 1/2 teaspoon sweet paprika (can substitute smoked or hot paprika, if desired)
7. Combine all the ingredients, mixing until smooth. Refrigerate until you’re ready to use.
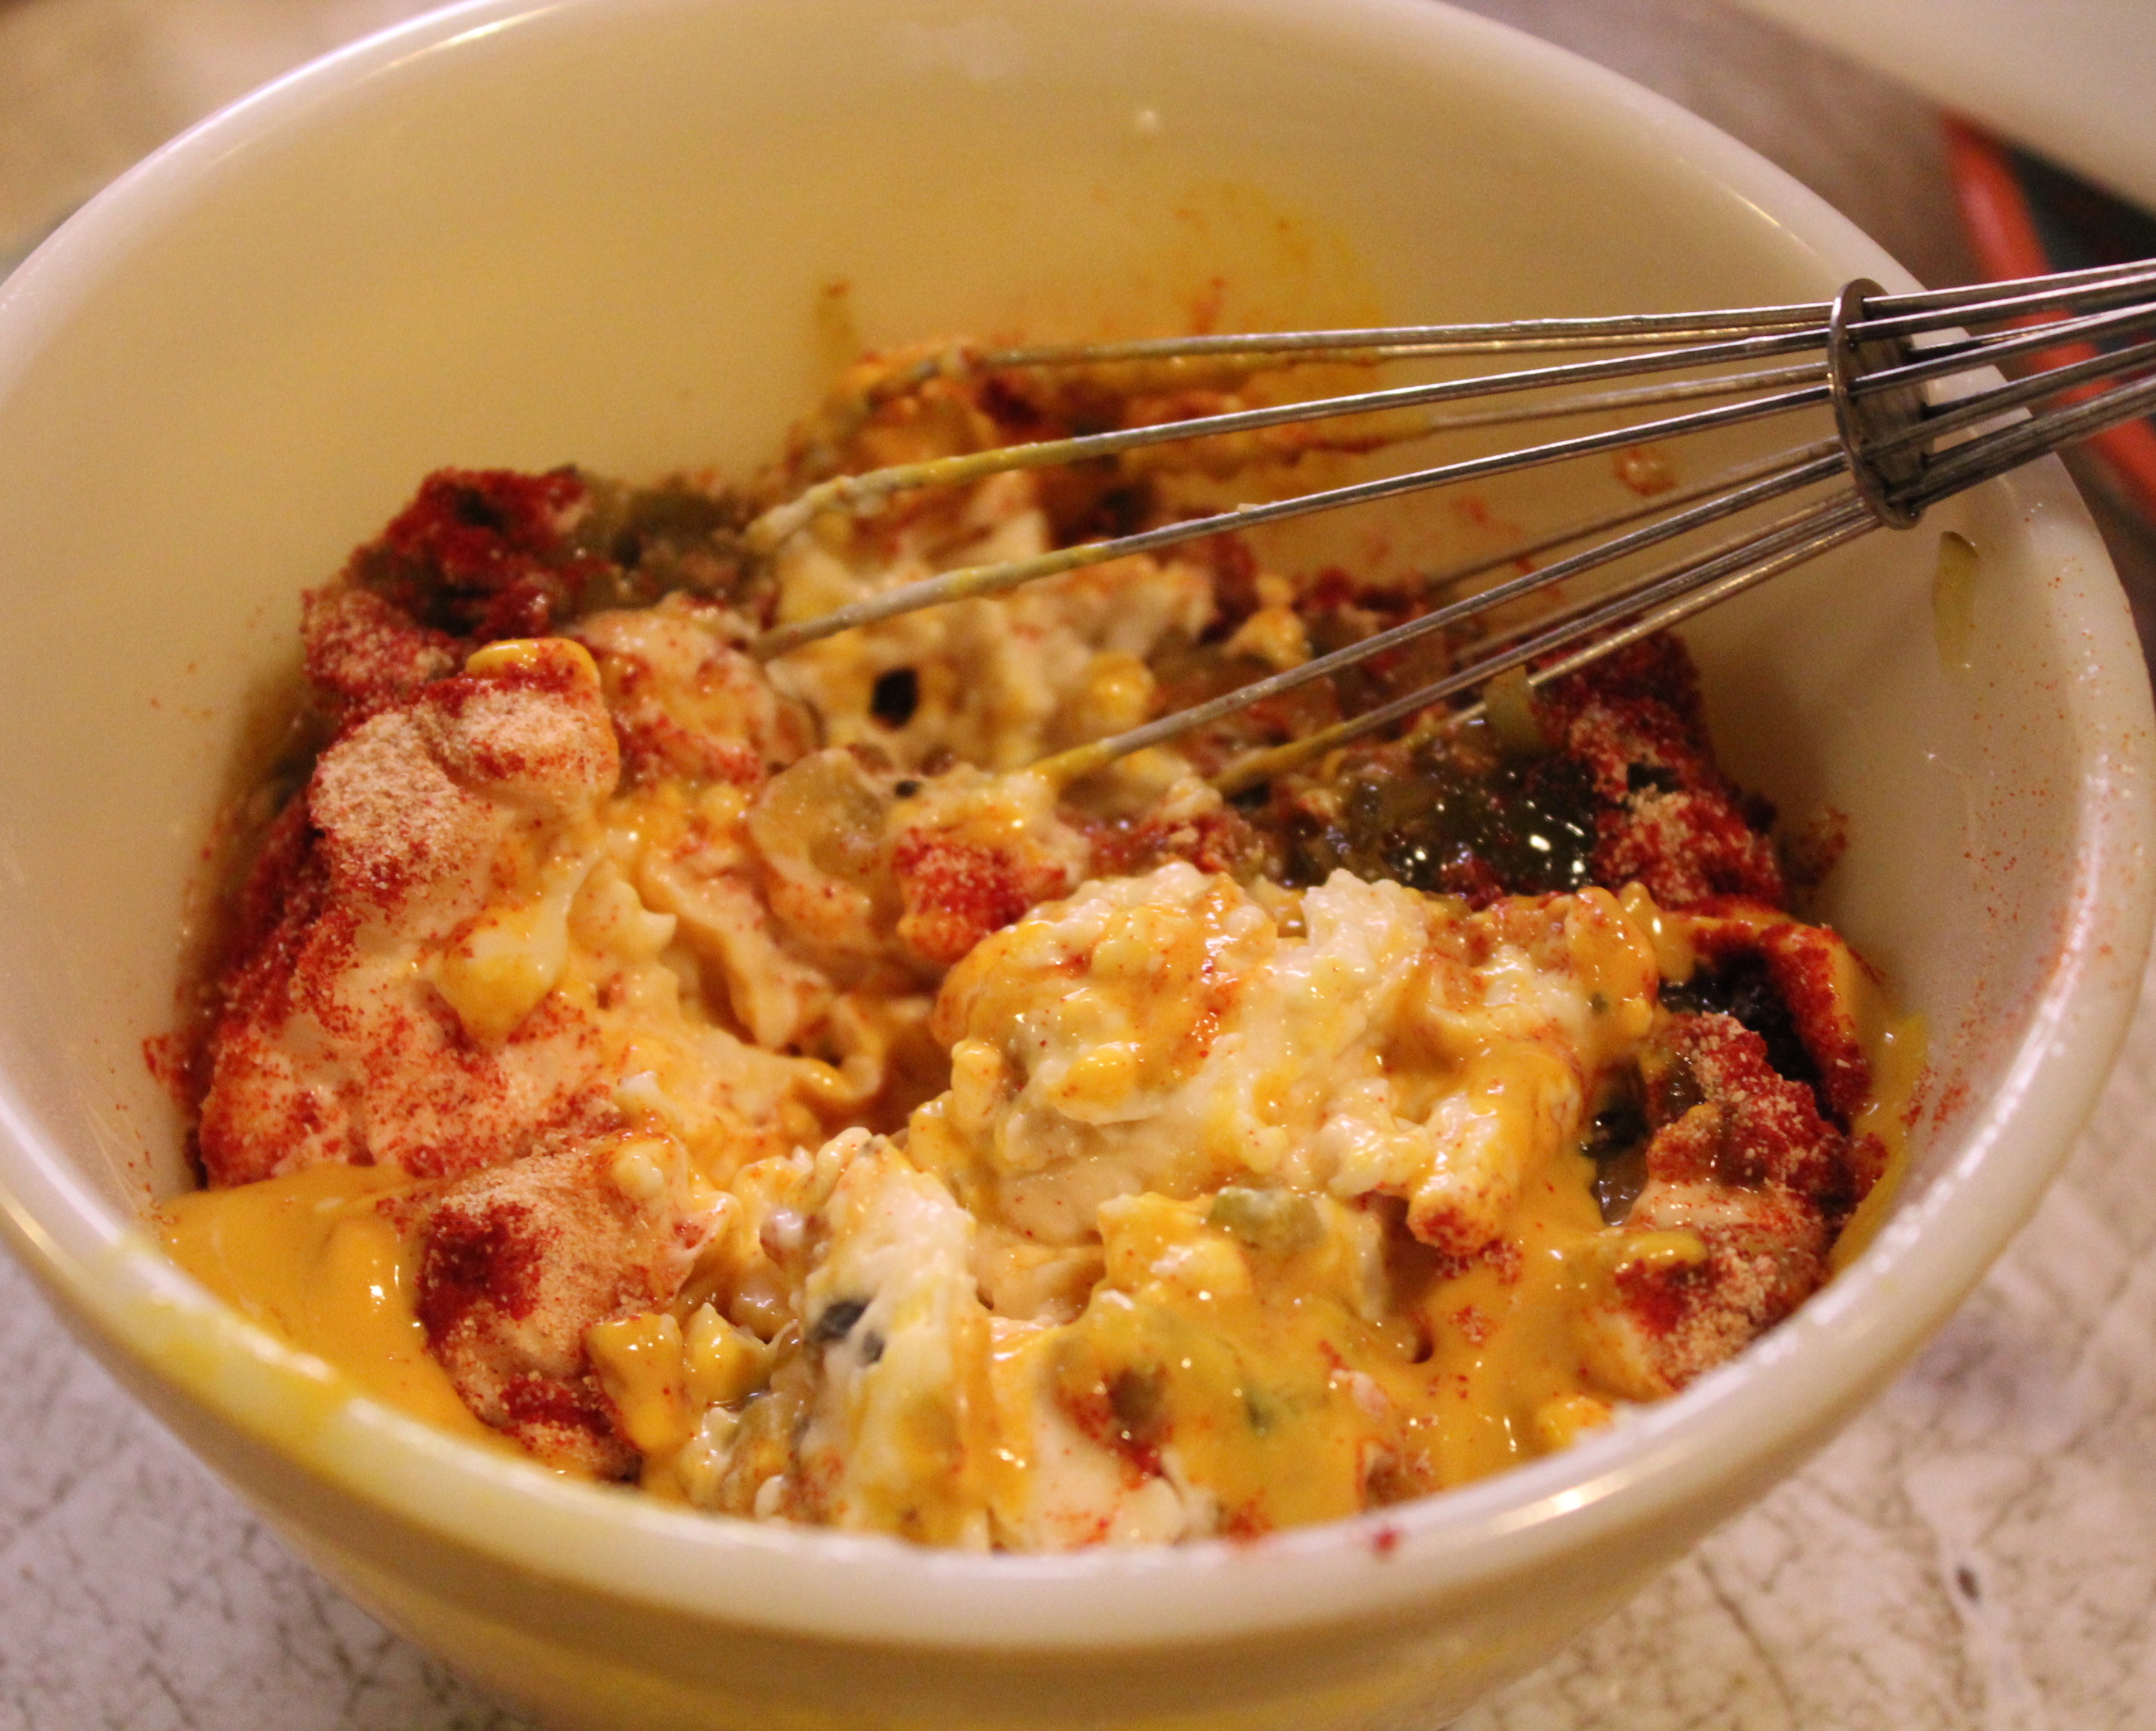
Mixing up the sauce.
8. Towards the end of the rising time, preheat the oven to 425 *F. Bake the crust for 10 minutes, or until very light brown.
9. Remove crust from the oven, and top it with the diced onion, then the ground beef. Return pizza to the oven, and bake for 10 minutes.

First layer: chopped onions and ground beef.
10. Remove from the oven, and top with the pickle slices, then the sliced cheese. Return to the oven, and bake for 10 minutes, or until the cheese is melted and the edges of the crust are brown.

Second layer: sliced pickles and melted cheese.
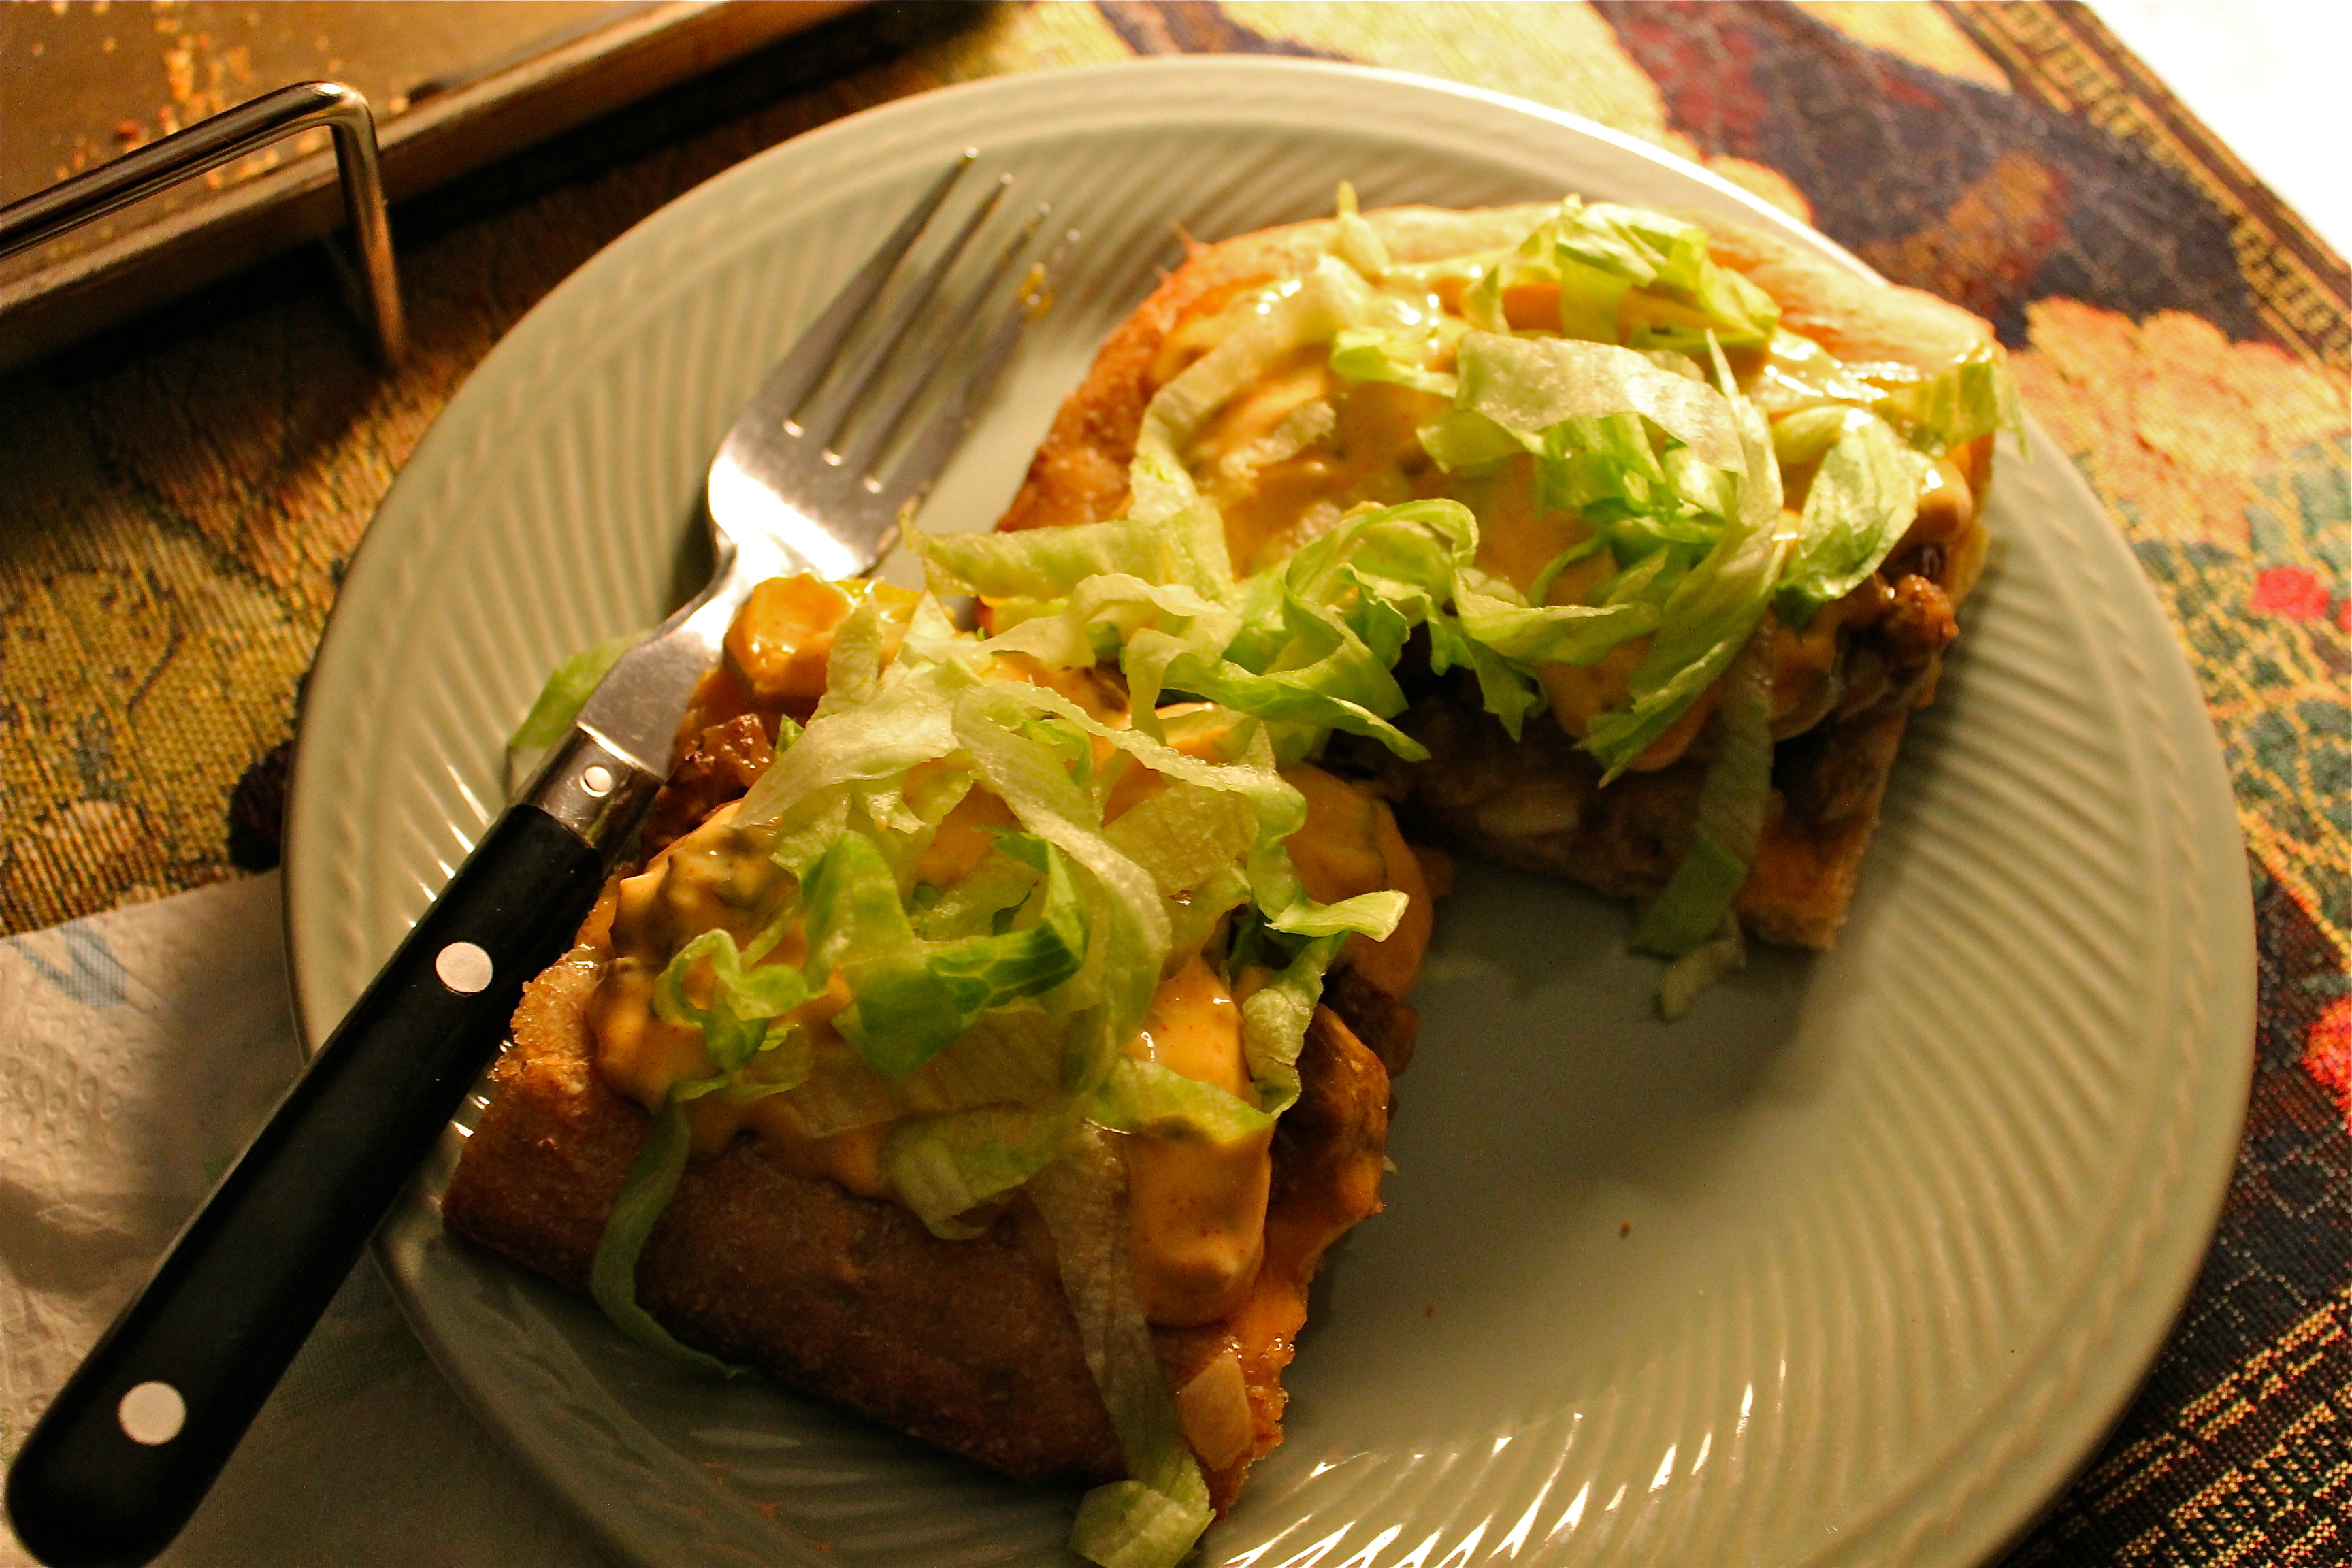
11. Remove the pizza from the oven, and spread with the sauce. Finally, sprinkle with the shredded lettuce. Cut into 8 – 12 pieces and serve immediately.
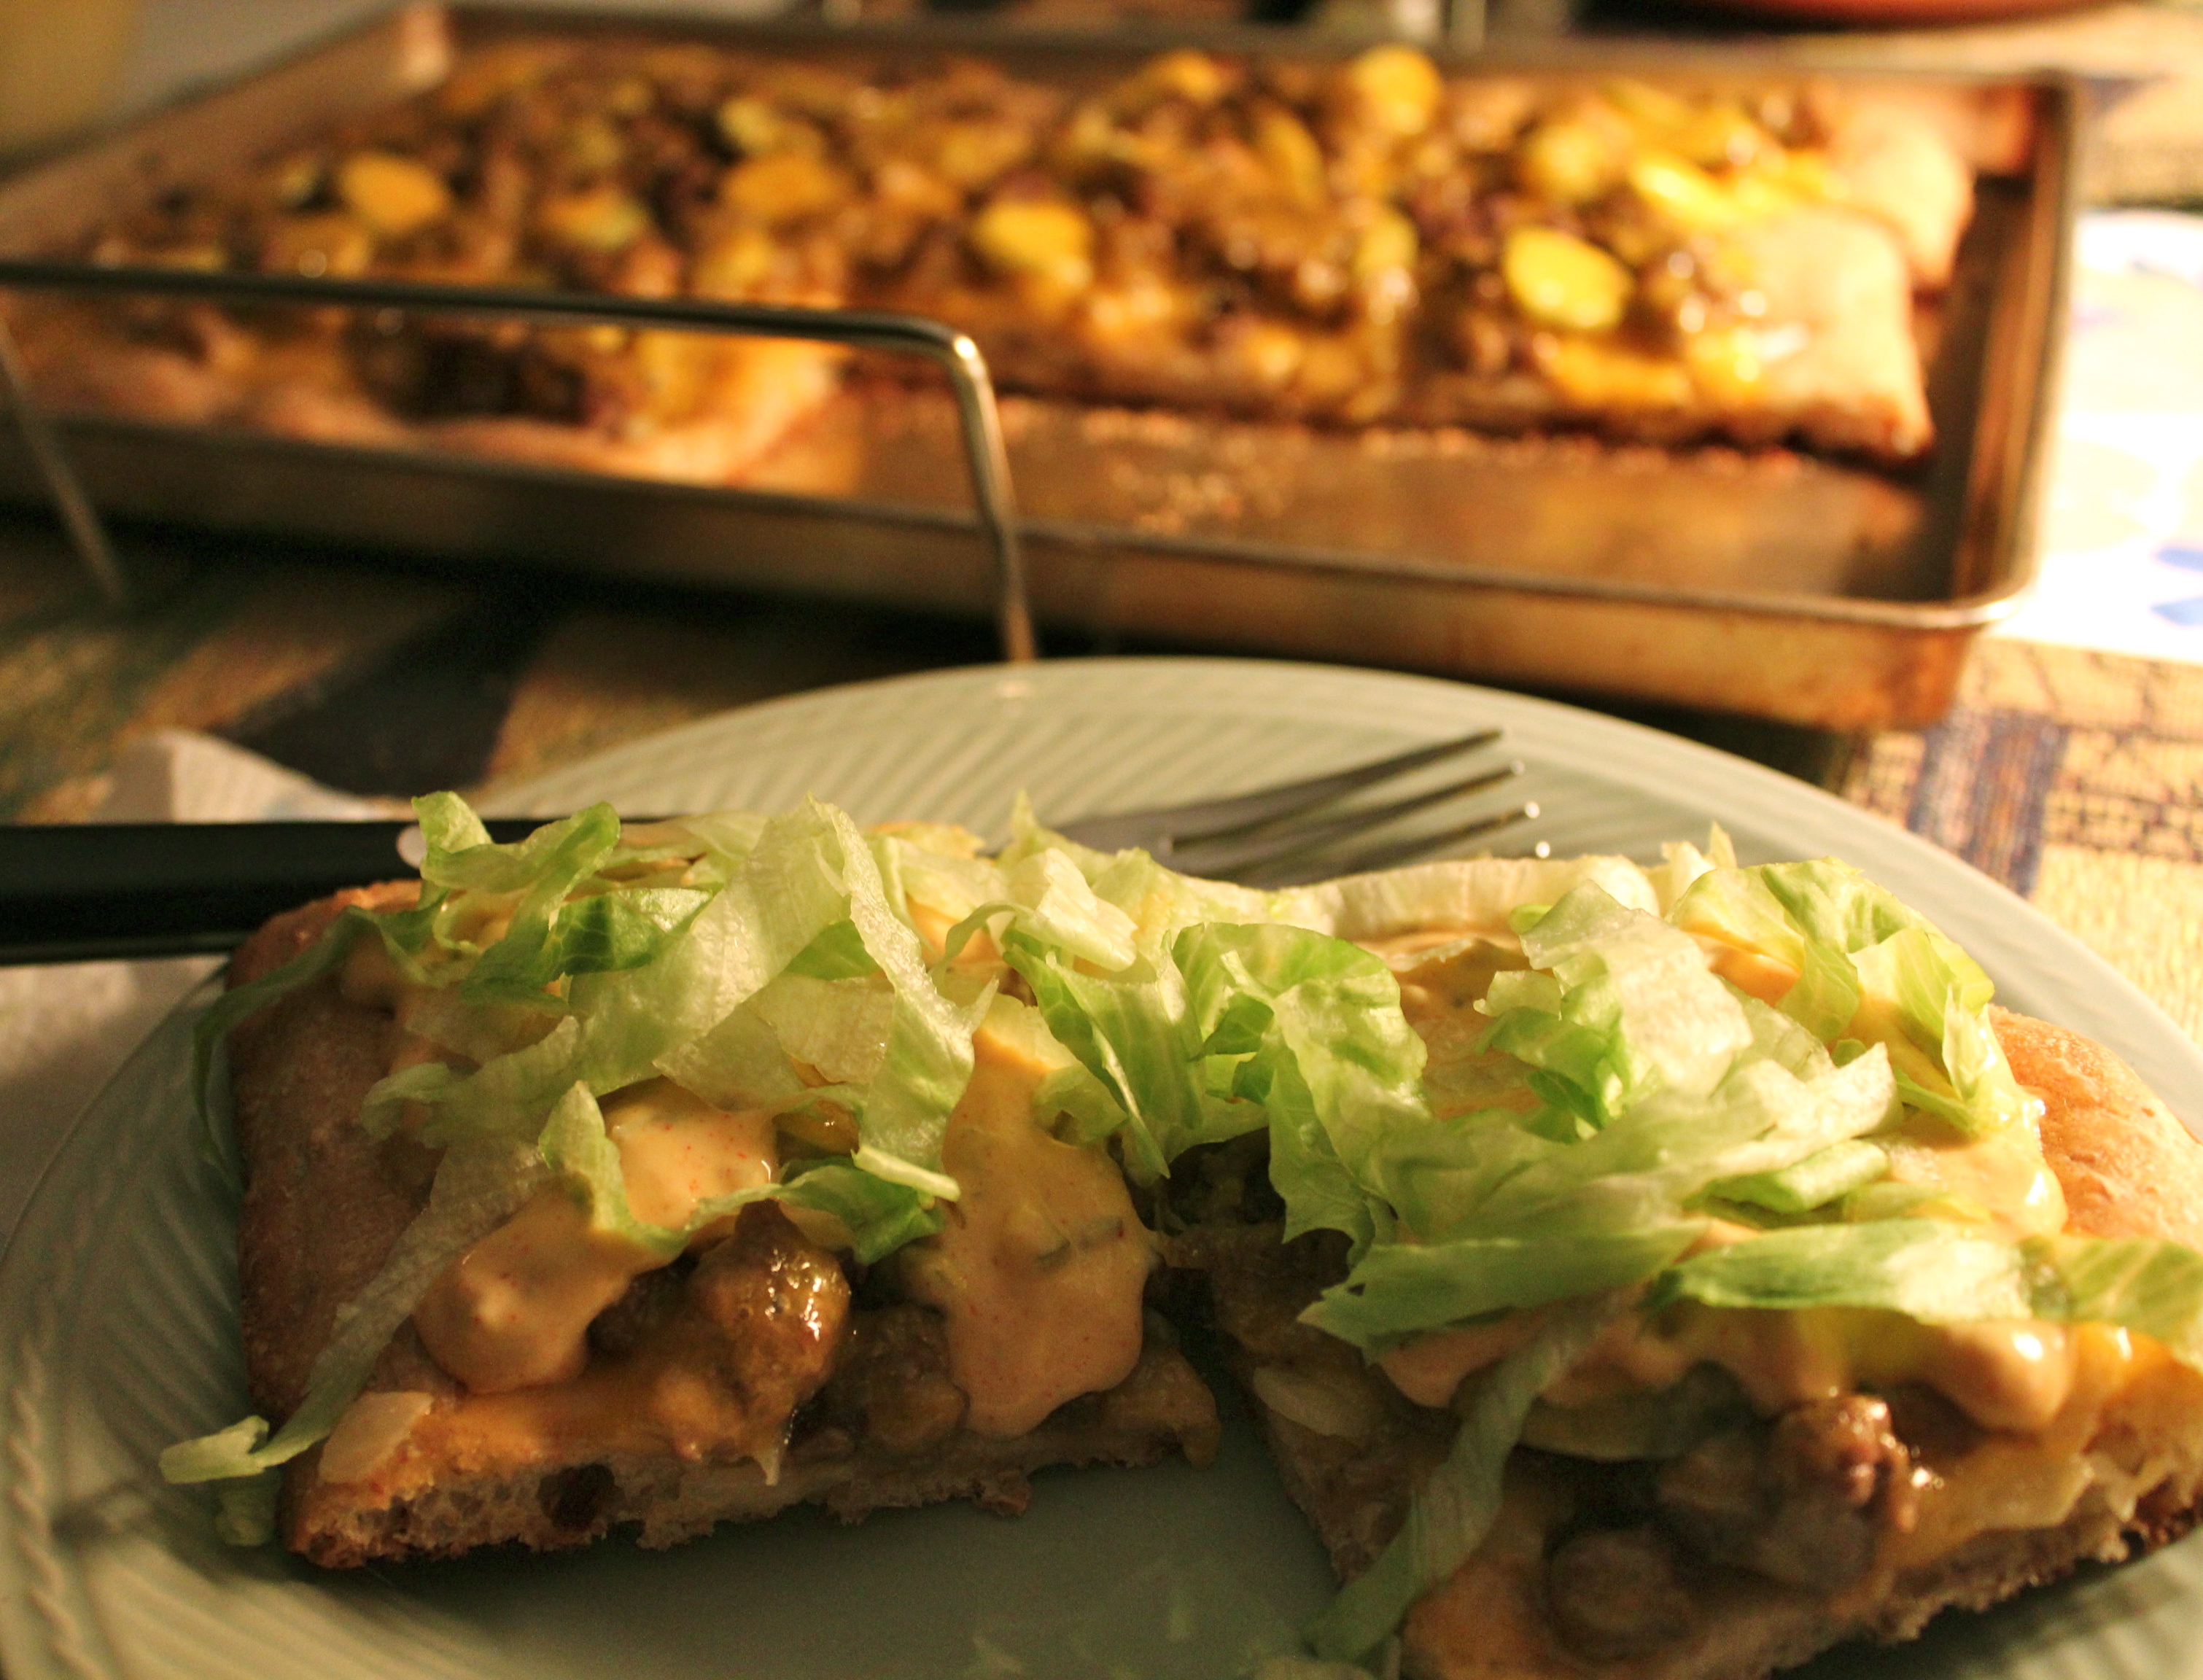
This size pizza was more than two of us could eat, so we spooned some sauce and then some lettuce on each piece as we ate it. This tasted just like the famous burger it mimics. The next day I wrapped the remaining piece in foil and heated it in a low oven, spooning sauce and topping it with lettuce as we had before. We loved it and I will definitely be making it again.

It tastes just like the burger, without going to the drive-in.
SOURCE: King Arthur Flour