Blackberry Pie Bars.
Once again I’ve been called upon to provide the dessert for a pot-luck affair. As we approach the end of the school year, many other activities also take a break for the summer and the last meeting of many organizations often involve food in the form of a picnic or pot-luck dinner. So here we go again —-not that I mind, it gives me the chance to bake, maybe try out something new, and then tell you all about it. How cool is that?

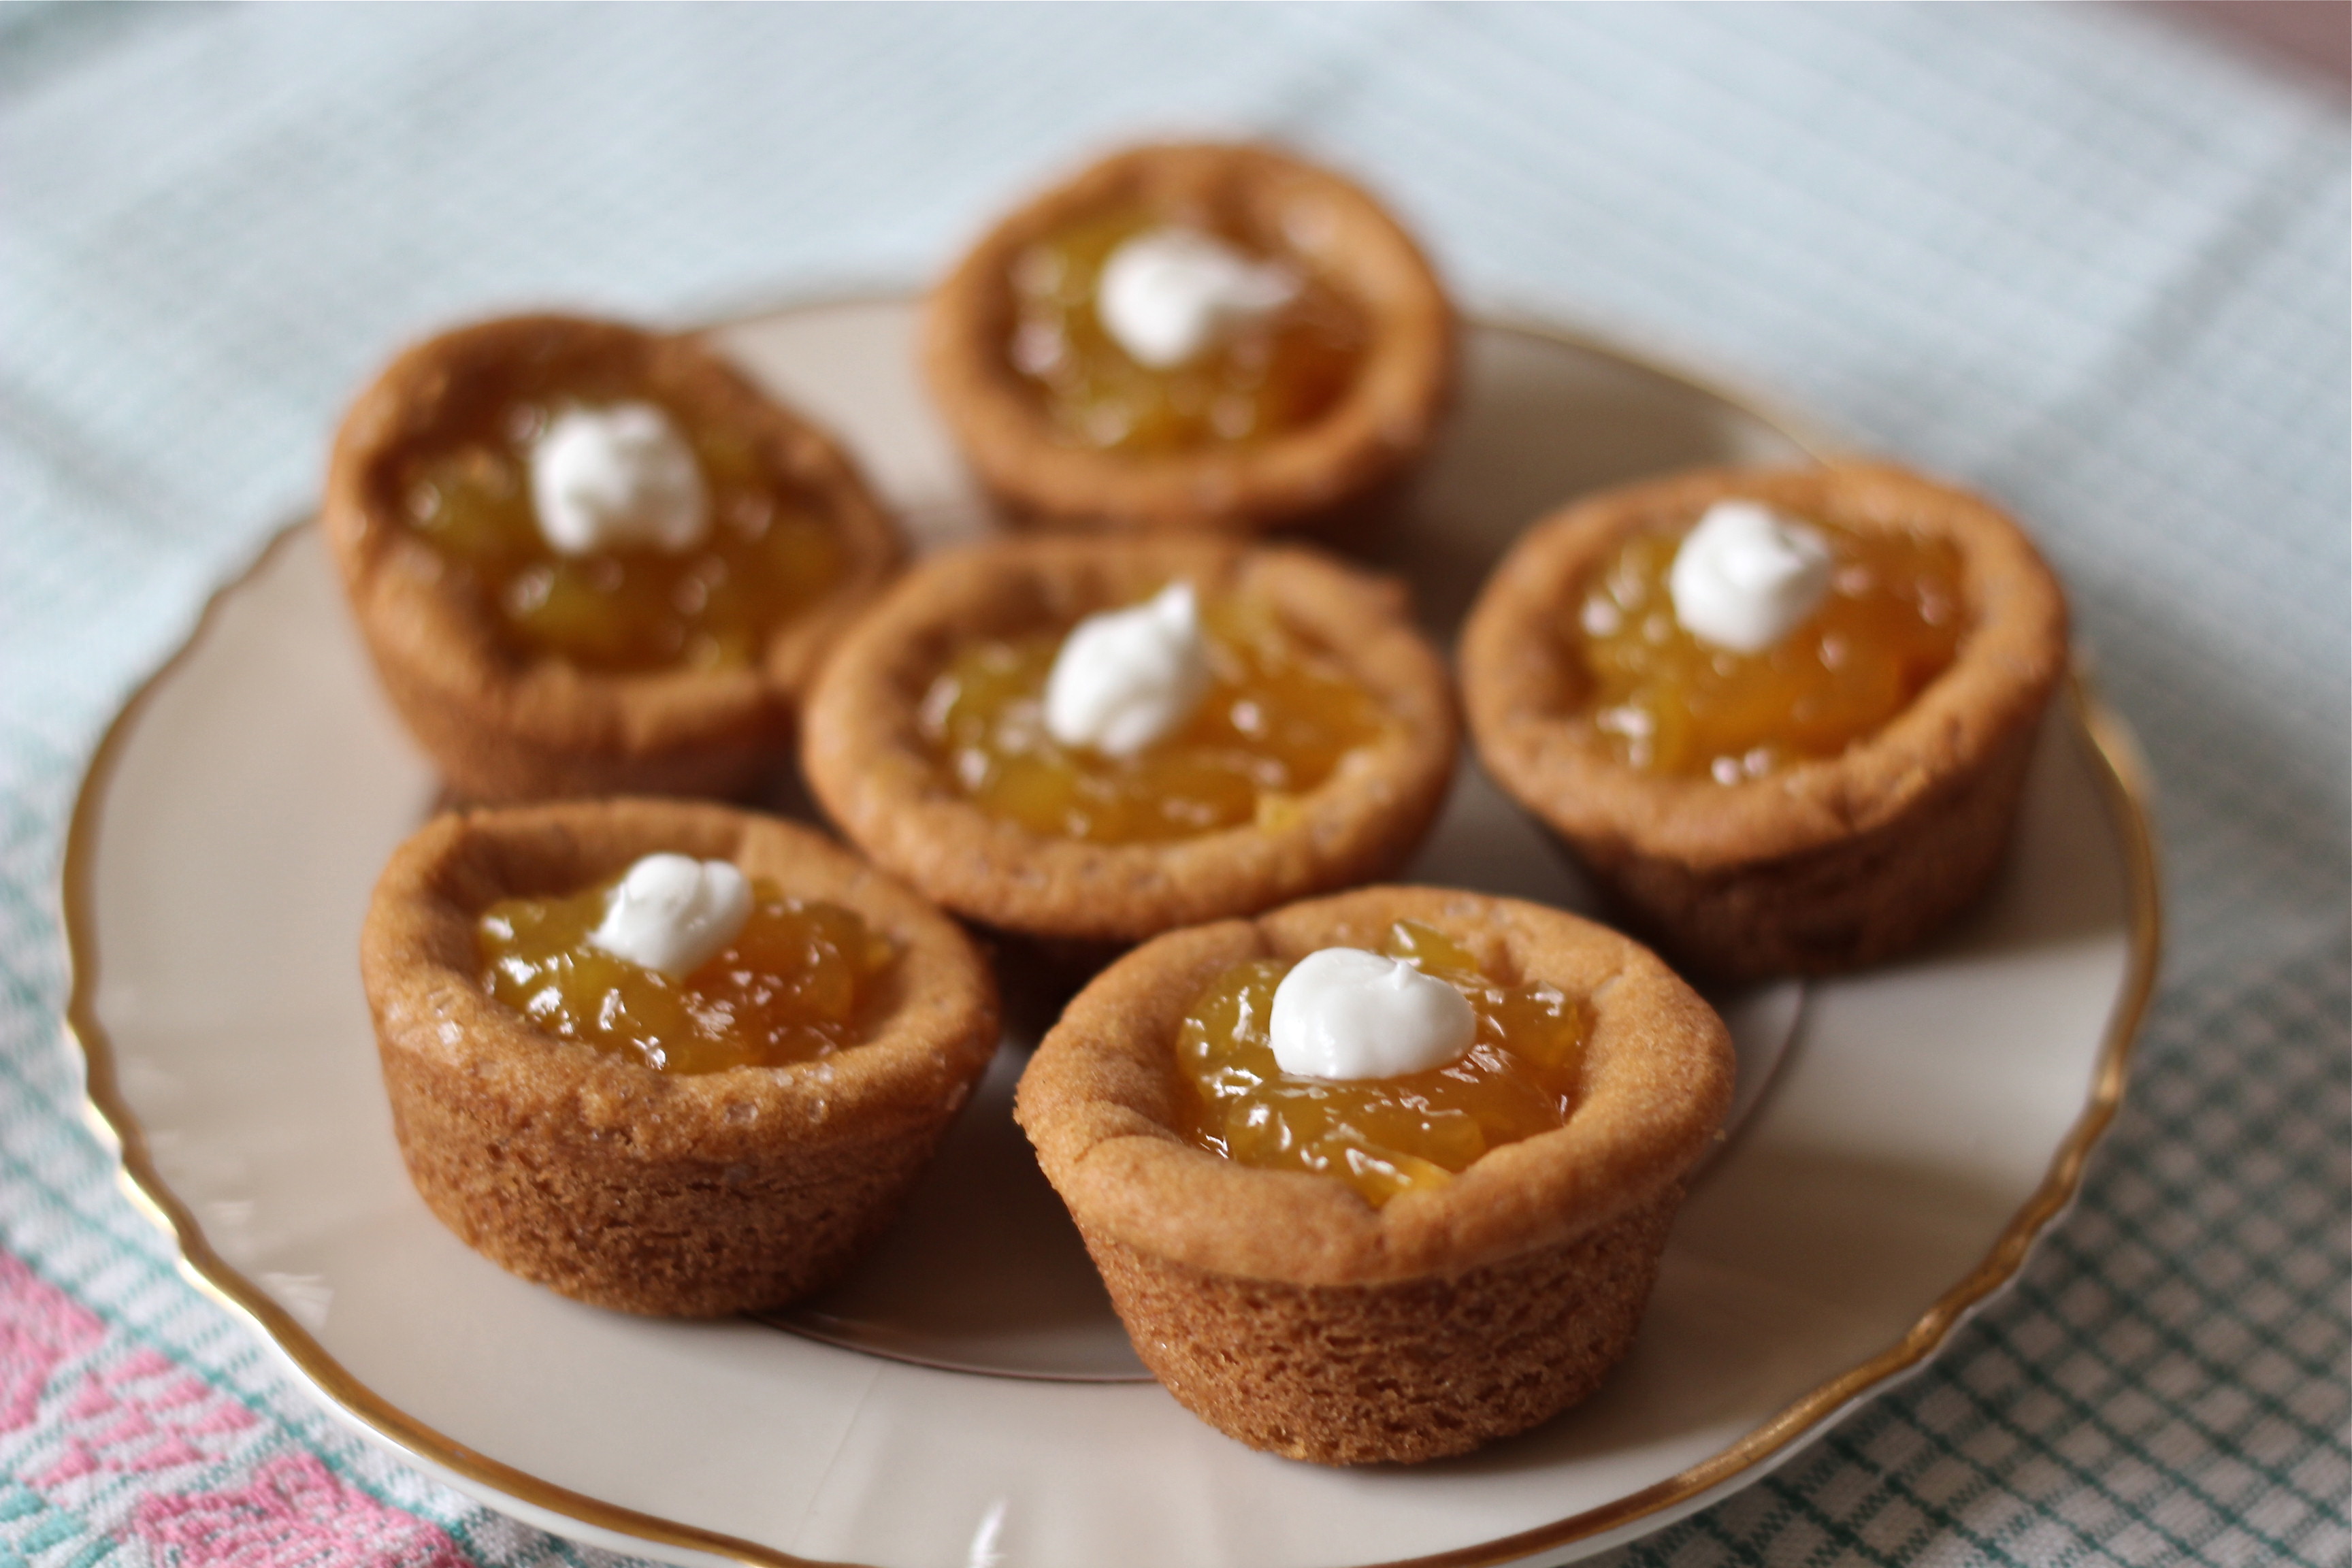
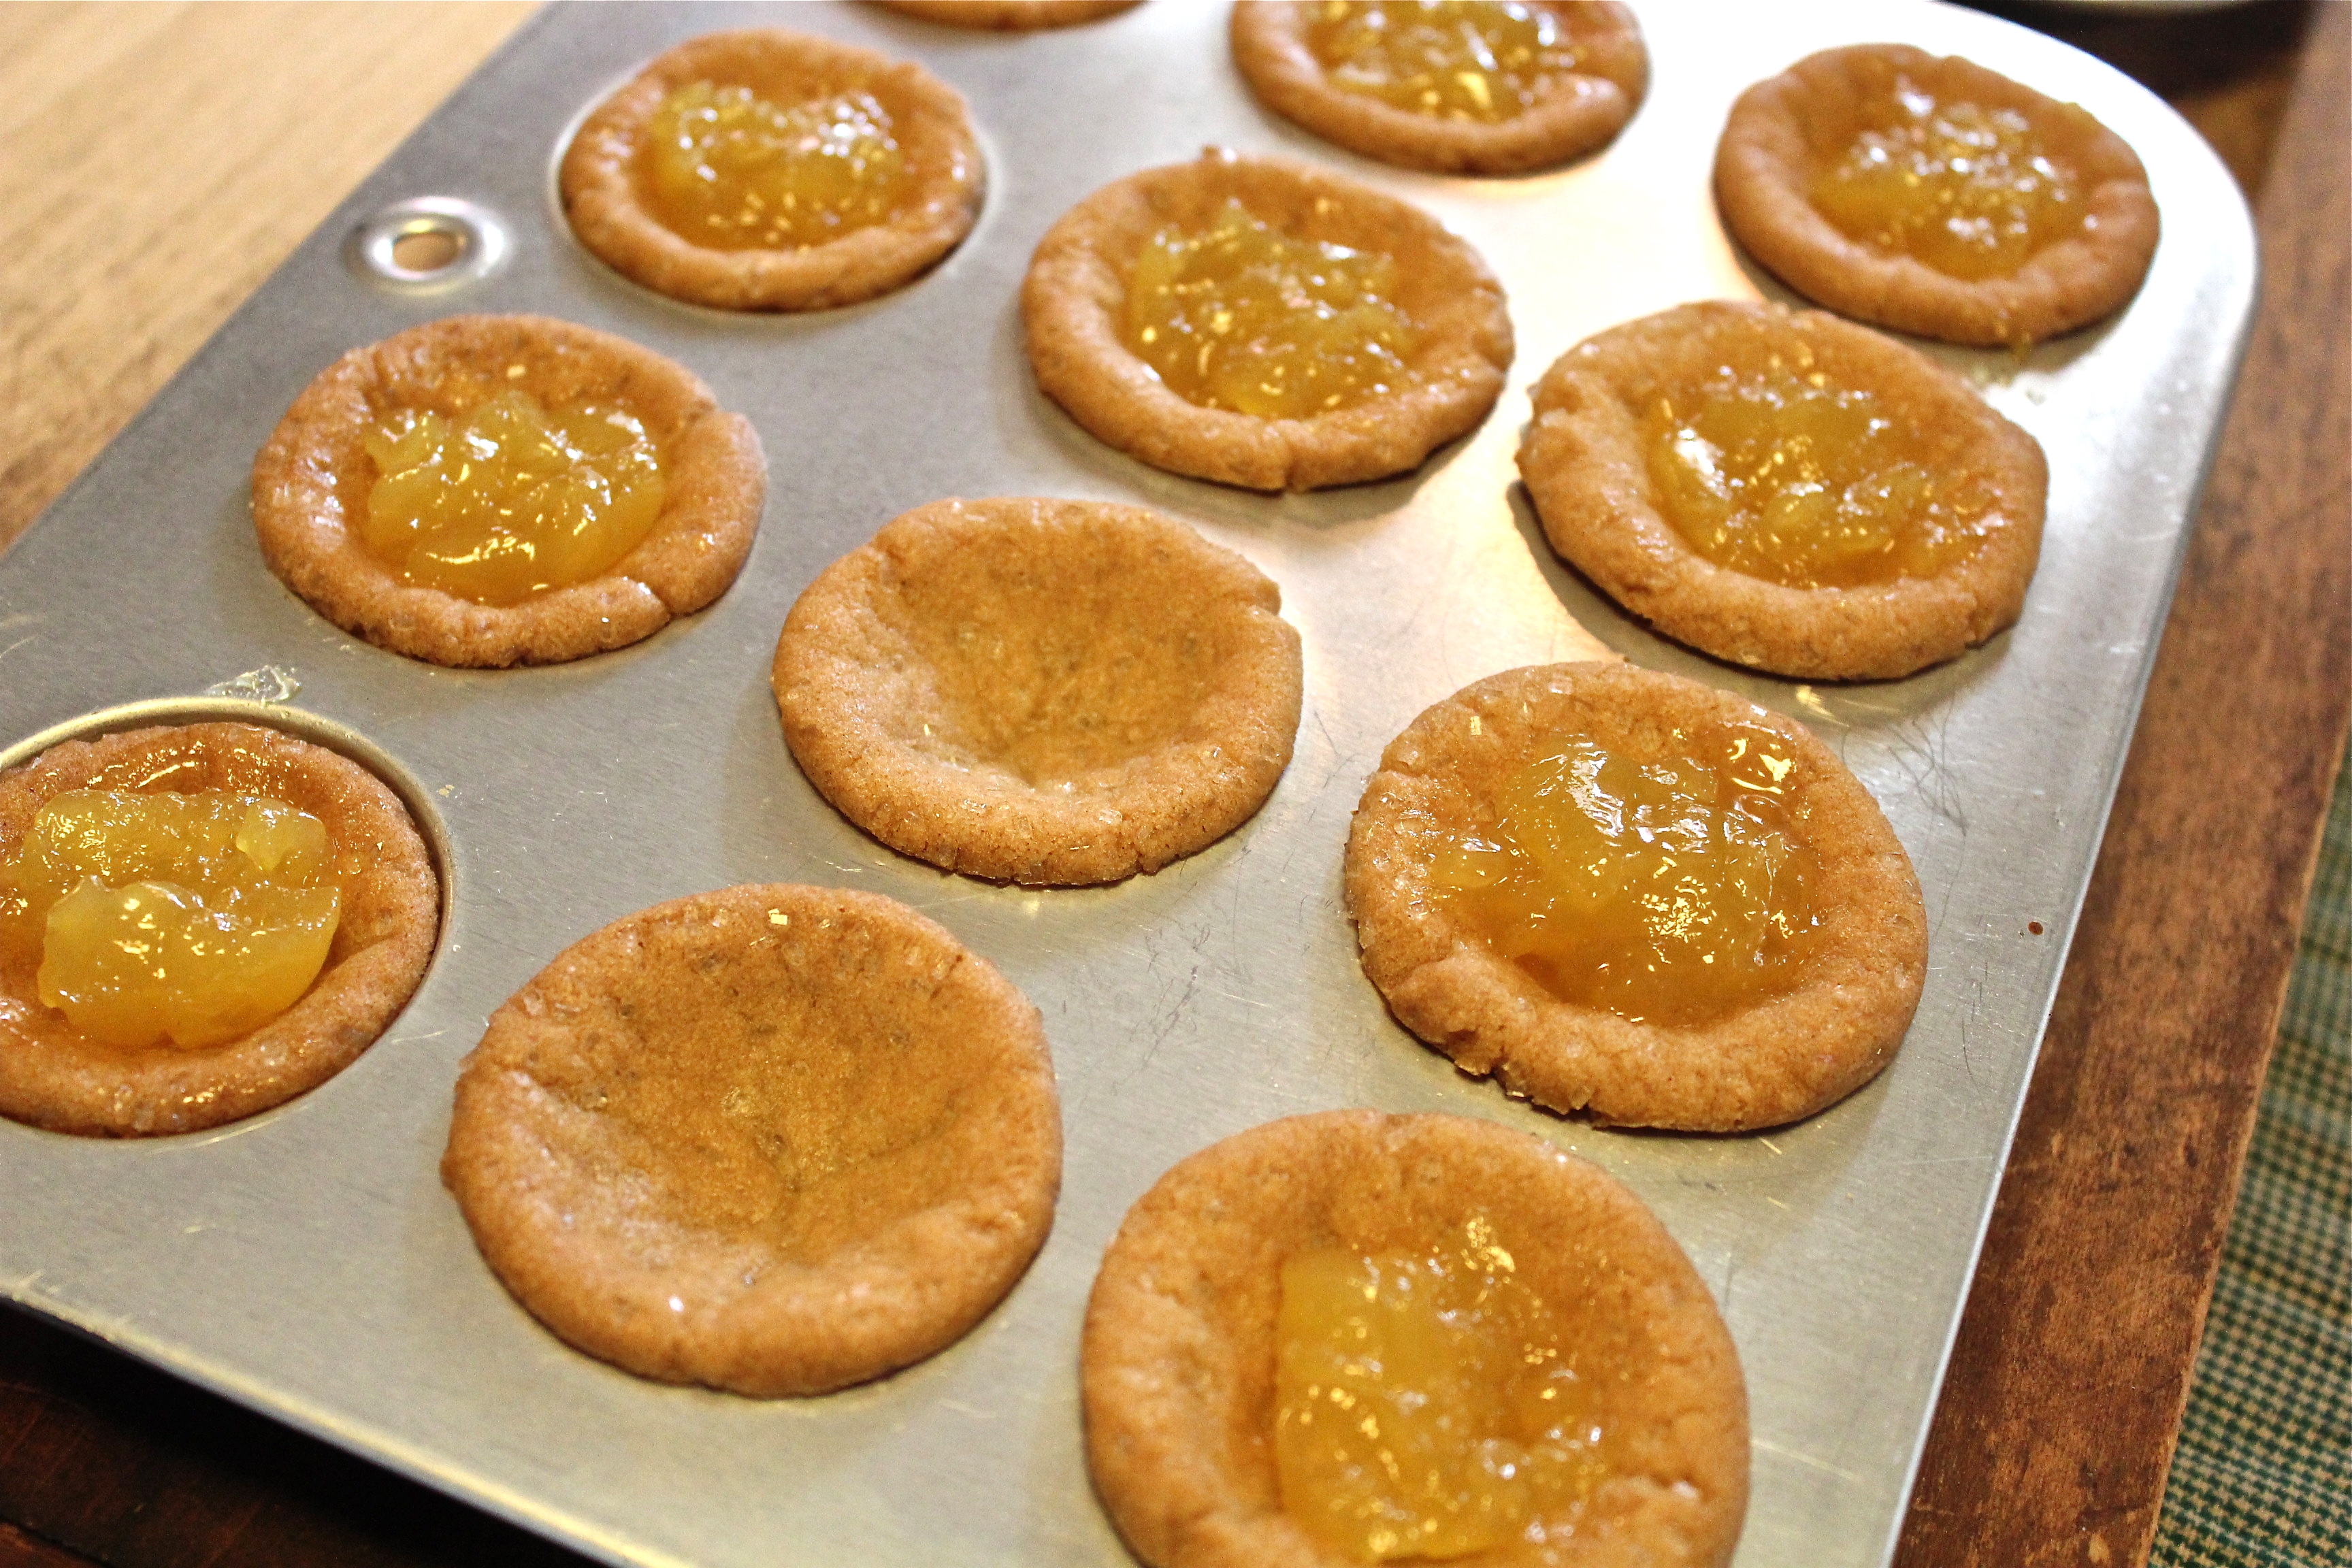
Buttery crumb crust, creamy blackberry filling, more buttery crumbs on top.
While today’s recipe is called “pie’ bars, they’re not really like pie at all. There is a bottom crust made of buttery crumbs, with a sprinkle of more crumbs to top, and in the middle a “berry” filling. The recipe calls for black berries and that is what I used here, but I’ve made these before using raspberries, and they were super yummy too. These bars are quick to put together, and are a great way to use up frozen berries you might have in your freezer; you know, to make room for more berries over the summer.

Oh yeah, these are simply the best!.
I added a little lemon zest to the crust, and lemon juice to the filling and I think it brightens up the flavor, and makes an irresistible combination. They bake up quite thick, so I cut them into small-ish squares to be eaten with fingers, but if serving them on a plate, these would be set off nicely by a dab of vanilla ice cream. I like them while still a little warm from the oven, but they are also excellent served chilled straight from the fridge. Once you give these a try they will undoubtedly become a staple for bringing to summertime parties and get-togethers. Be adventurous and try other fruits as well.
BLACKBERRY PIE BARS
Yield: 16 – 20 bars
Ingredients:
For the crust and topping:
- 1 1/2 cups all-purpose flour
- 3/4 cup sugar
- pinch salt
- zest of half a lemon
- 3/4 cup (12 Tbsp.) unsalted butter, cold

Blackberries—-the stars of
the show!.
For the filling:
- 2 large eggs
- 1 cup sugar
- 1/2 cup sour cream or greek yogurt
- 6 Tbsp. all-purpose flour
- pinch of salt
- juice of half a lemon
- 1 tsp. vanilla extract
- 15 – 16 oz. blackberries, fresh or frozen (thawed and drained of excess juices)
Directions:
Preheat the oven to 350*F. Line a 9 x 9 inch baking pan with foil and grease lightly. In the bowl of a food processor or electric mixer, combine the flour, sugar, salt and lemon zest. Pulse briefly to blend. Cut the butter into small pieces, then add to the bowl with the dry ingredients. Process in short pulses to cut the butter into the dry ingredients until only small pieces of butter remain and the mixture is crumbly.
Reserve 3/4 cup of the mixture for topping the bars. Add the rest of the mixture to the prepared pan and press to form an even layer of crust on the bottom of the pan. Bake 12 – 15 minutes, until light golden. Let cool 10 -15 minutes before proceeding.
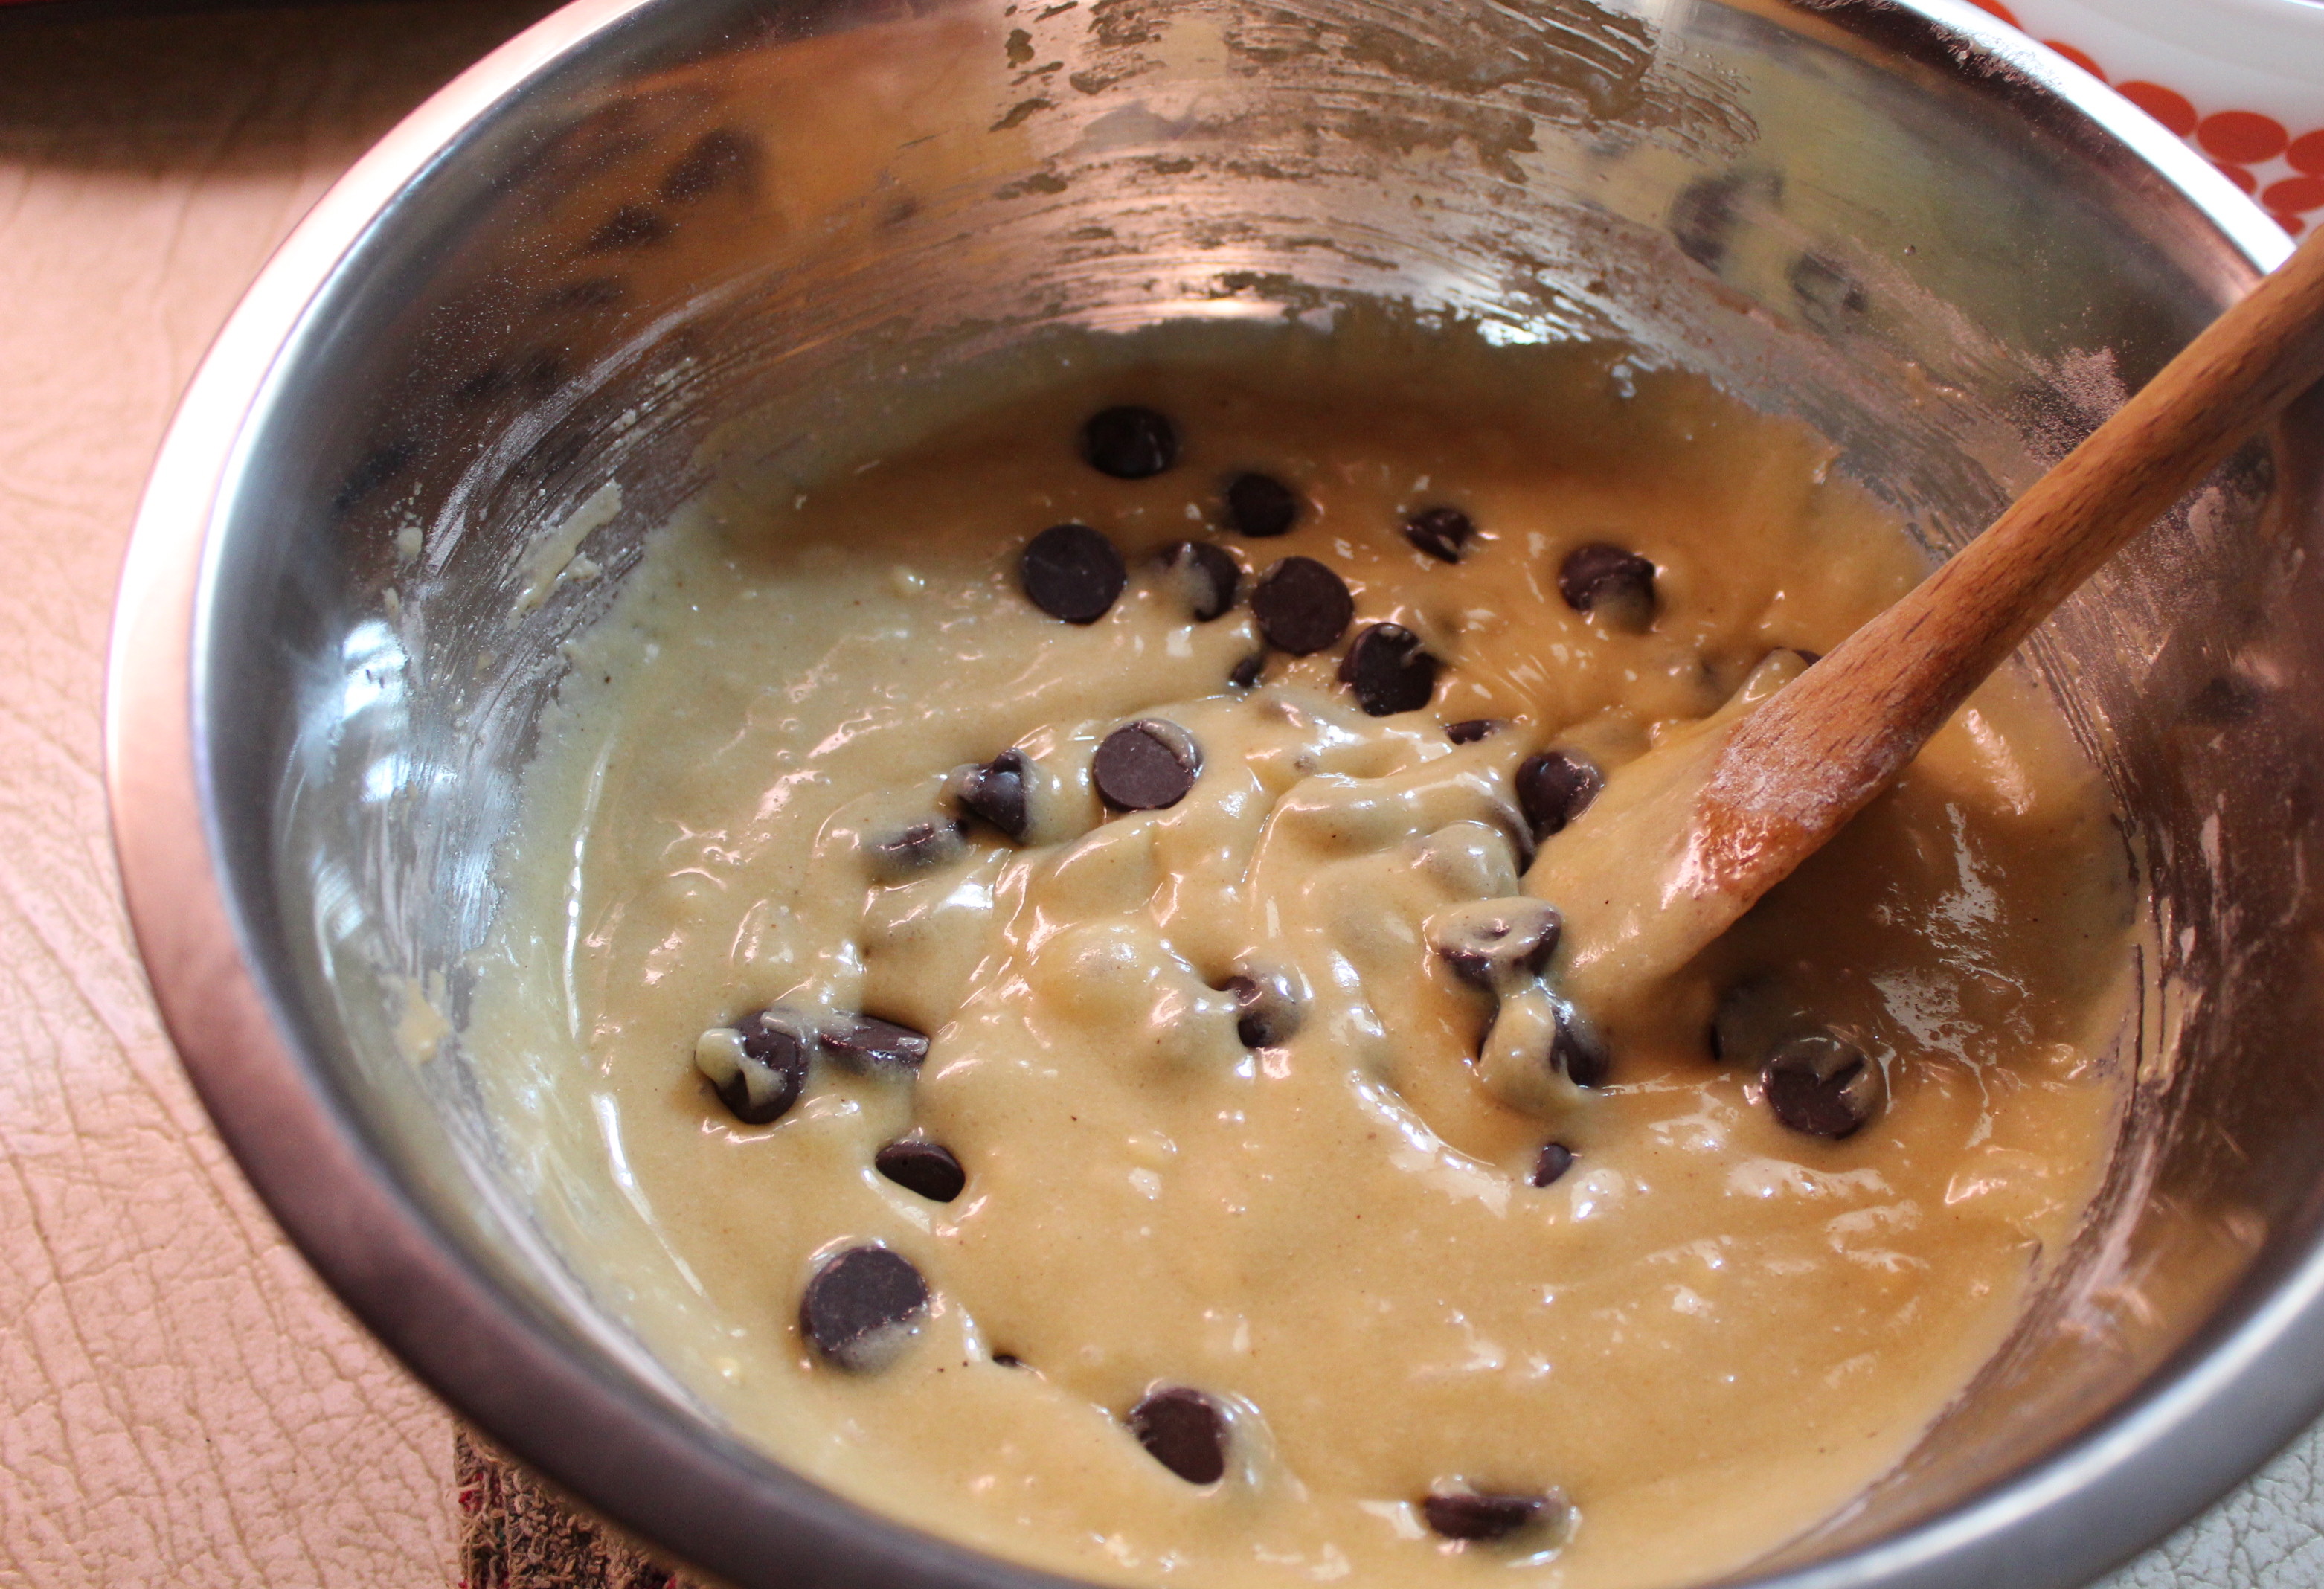
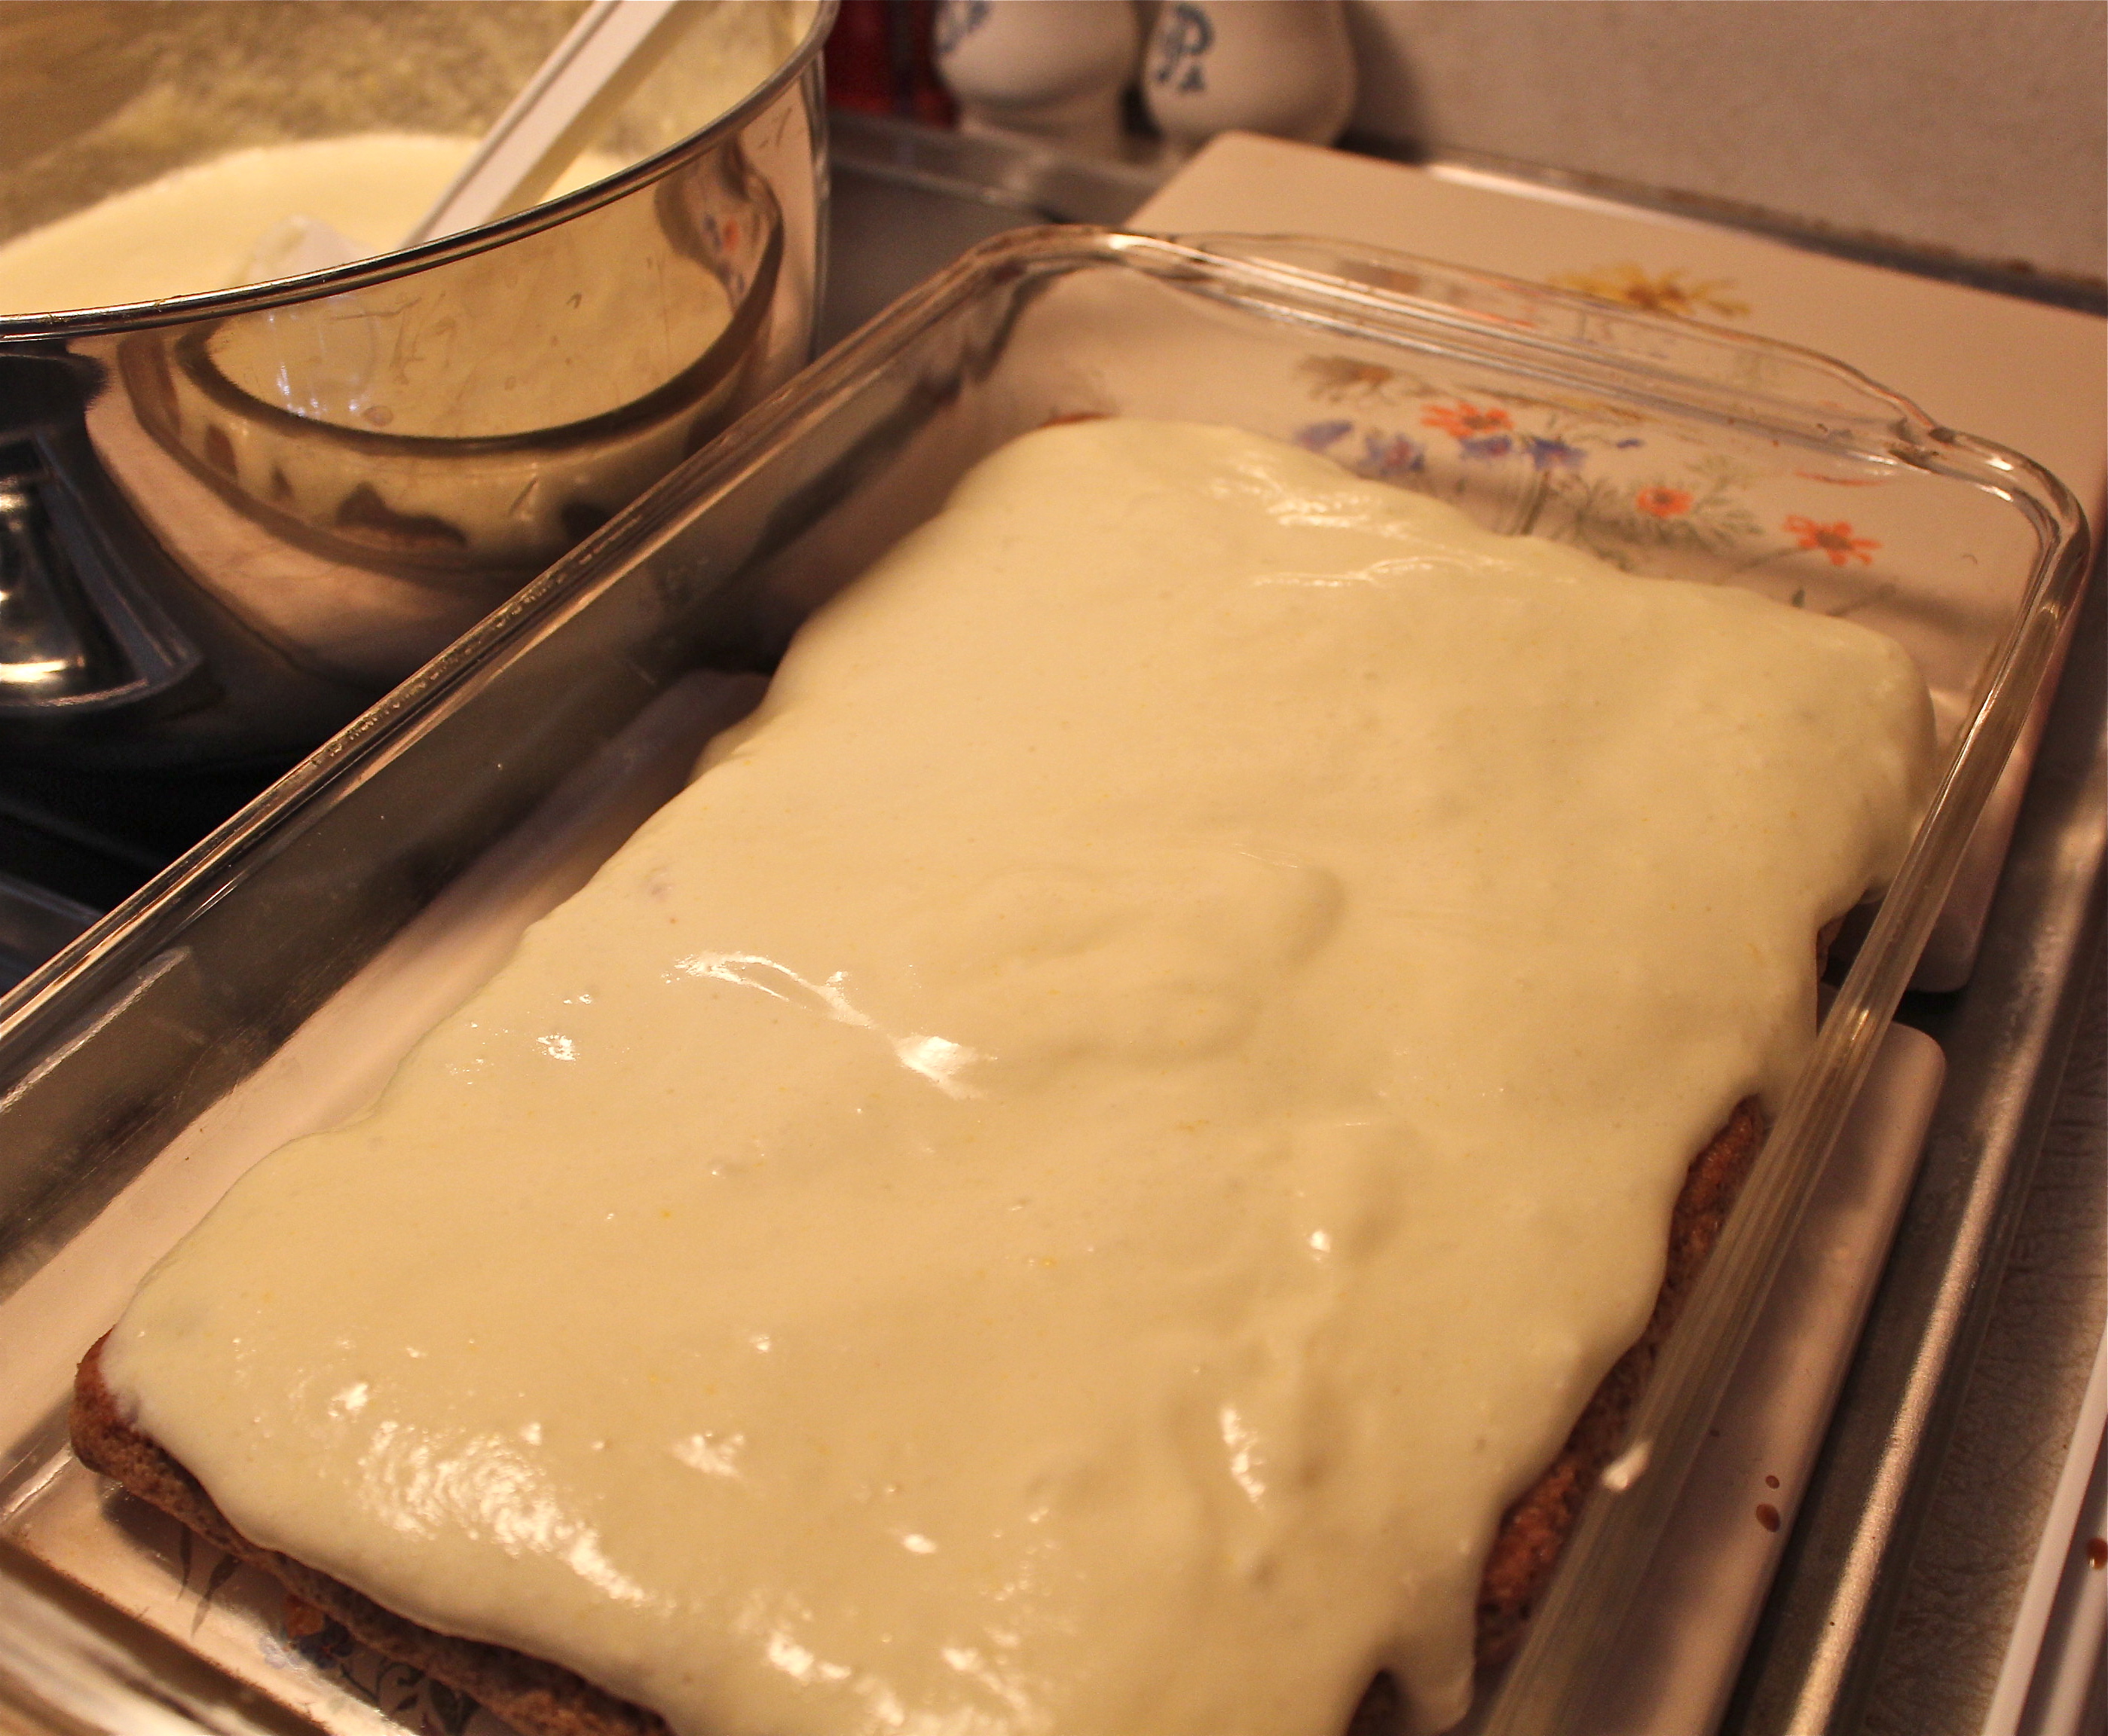
In a medium bowl, make the filling mixture. Combine the eggs, sugar, sour cream, flour, salt, lemon juice an vanilla. Whisk until smooth. Gently stir in the blackberries with a spatula. Spread the filling mixture over the pre-baked crust in the baking pan. Crumble the reserved topping mixture evenly over the filling.
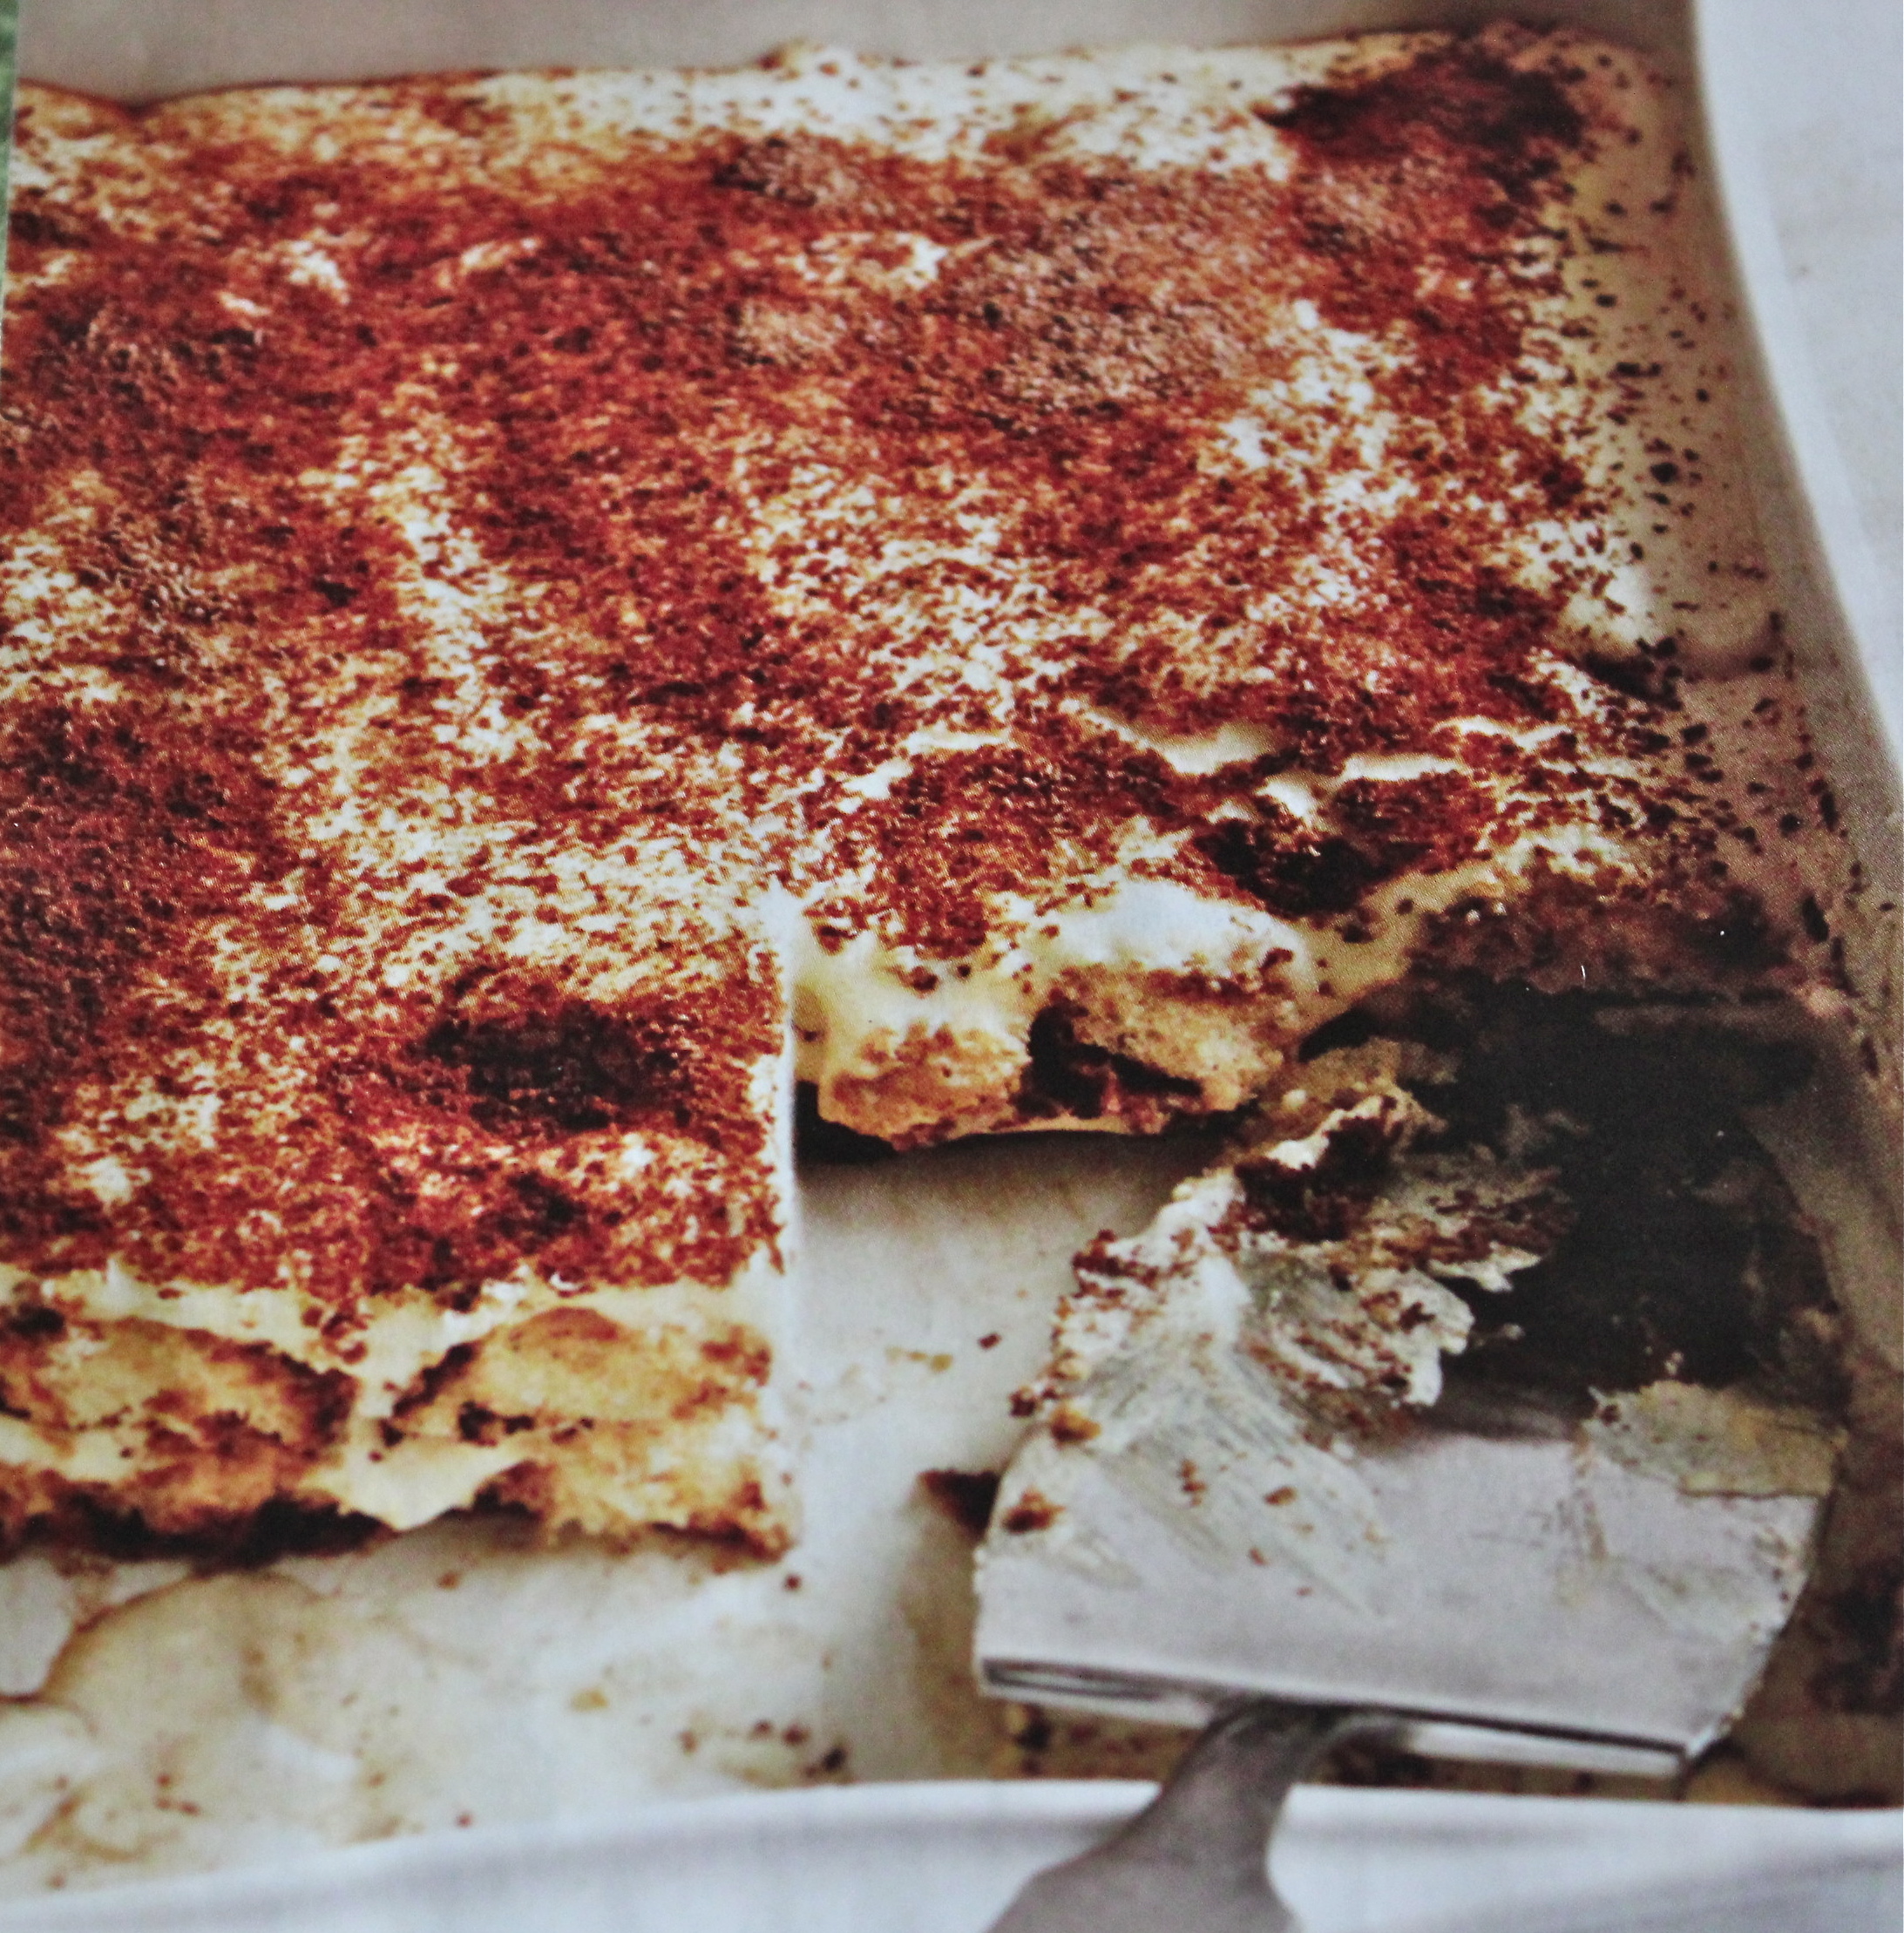
Bake until the top is beginning to brown and the bars are just set, about 45 minutes. Let cool completely on a wire rack. Chill to firm up before slicing and serving.

SOURCE: The Pastry Queen by Rebecca Rather