Open-Faced Pimiento Cheese BLTs

Pimiento Cheese BLT's

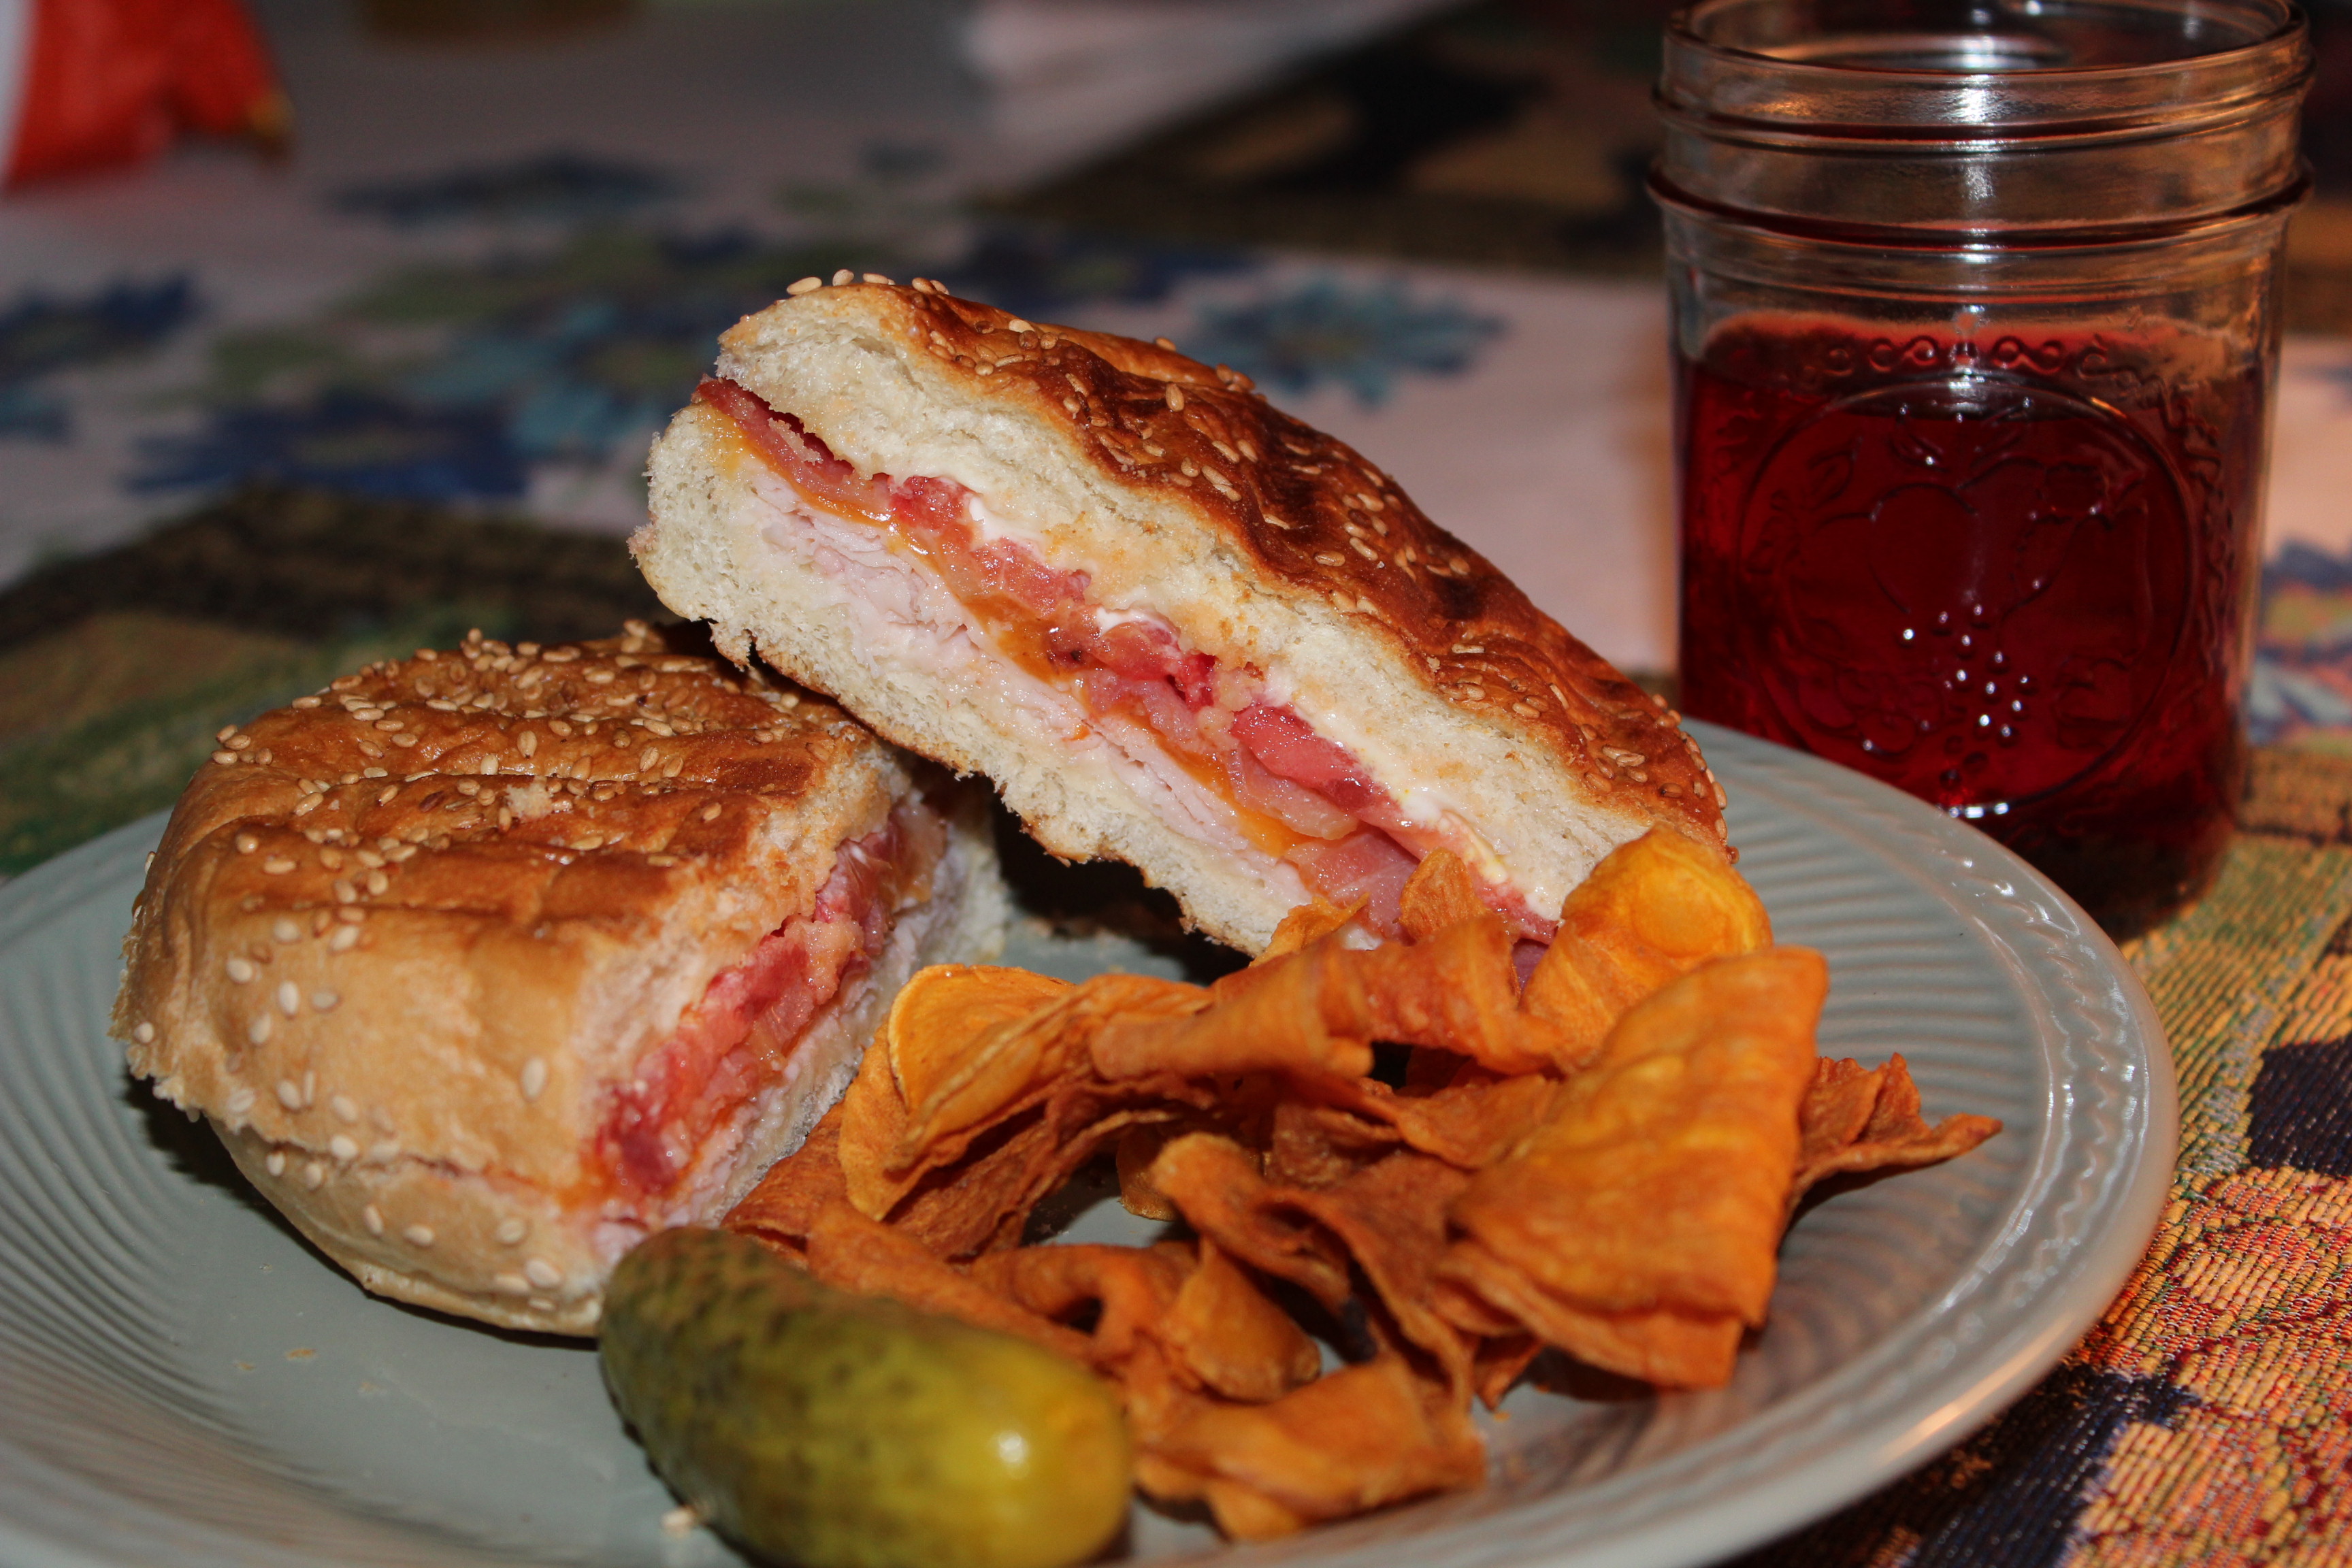
Pimiento Cheese BLT’s

I must apologize in advance for giving you what is sure to become a new sandwich addiction, but really, I had no choice.  Somebody besides me has to know about this wonderful sandwich.  What got me started on this was a big dish of warm cheesy dip that had bacon, pimientos, and all sorts of other fabulous things mixed into it.   I remember thinking as it came out of the oven there was no way we were going to eat all of that.  But lo and behold before very long it was all gone.  I’m sure I had more than my fair share of it.

Within a few days I was craving it again.  Rather than making a big bowl of dip for just two of us to devour, I decided to use most of the ingredients that went into the dip in another, more healthy and nutritious form;  a sandwich.  This meal probably contains a few, Ok, a lot, more calories than you want to eat, so its a good idea to plan ahead for when you will be having it.  Blame all that cheese, and mayo, and bread.  So in preparation, have a light breakfast and lunch, go to the gym and work out really hard, and finally make only what you will eat, and no extra.

IMG_4341

OPEN-FACED PIMIENTO CHEESE BLTs

Yield:   Serves 4

Ingredients:

All the yummy ingredients, plus mayo.

All the yummy ingredients, plus mayo.

  • 2 Tablespoons bottled diced pimientos, drained
  • 1 Tablespoon grated, peeled shallots
  • 1 scallion, chopped
  • 2 Tablespoons canola mayonnaise
  • 1 teaspoon cider vinegar
  • 1/4 teaspoon black pepper
  • 4 ounces shredded sharp cheddar cheese (about 1 cup)
  • 1/3 cup grated Parmesan cheese
  • 4 slices country-style bread toasted (sour dough bread is good)
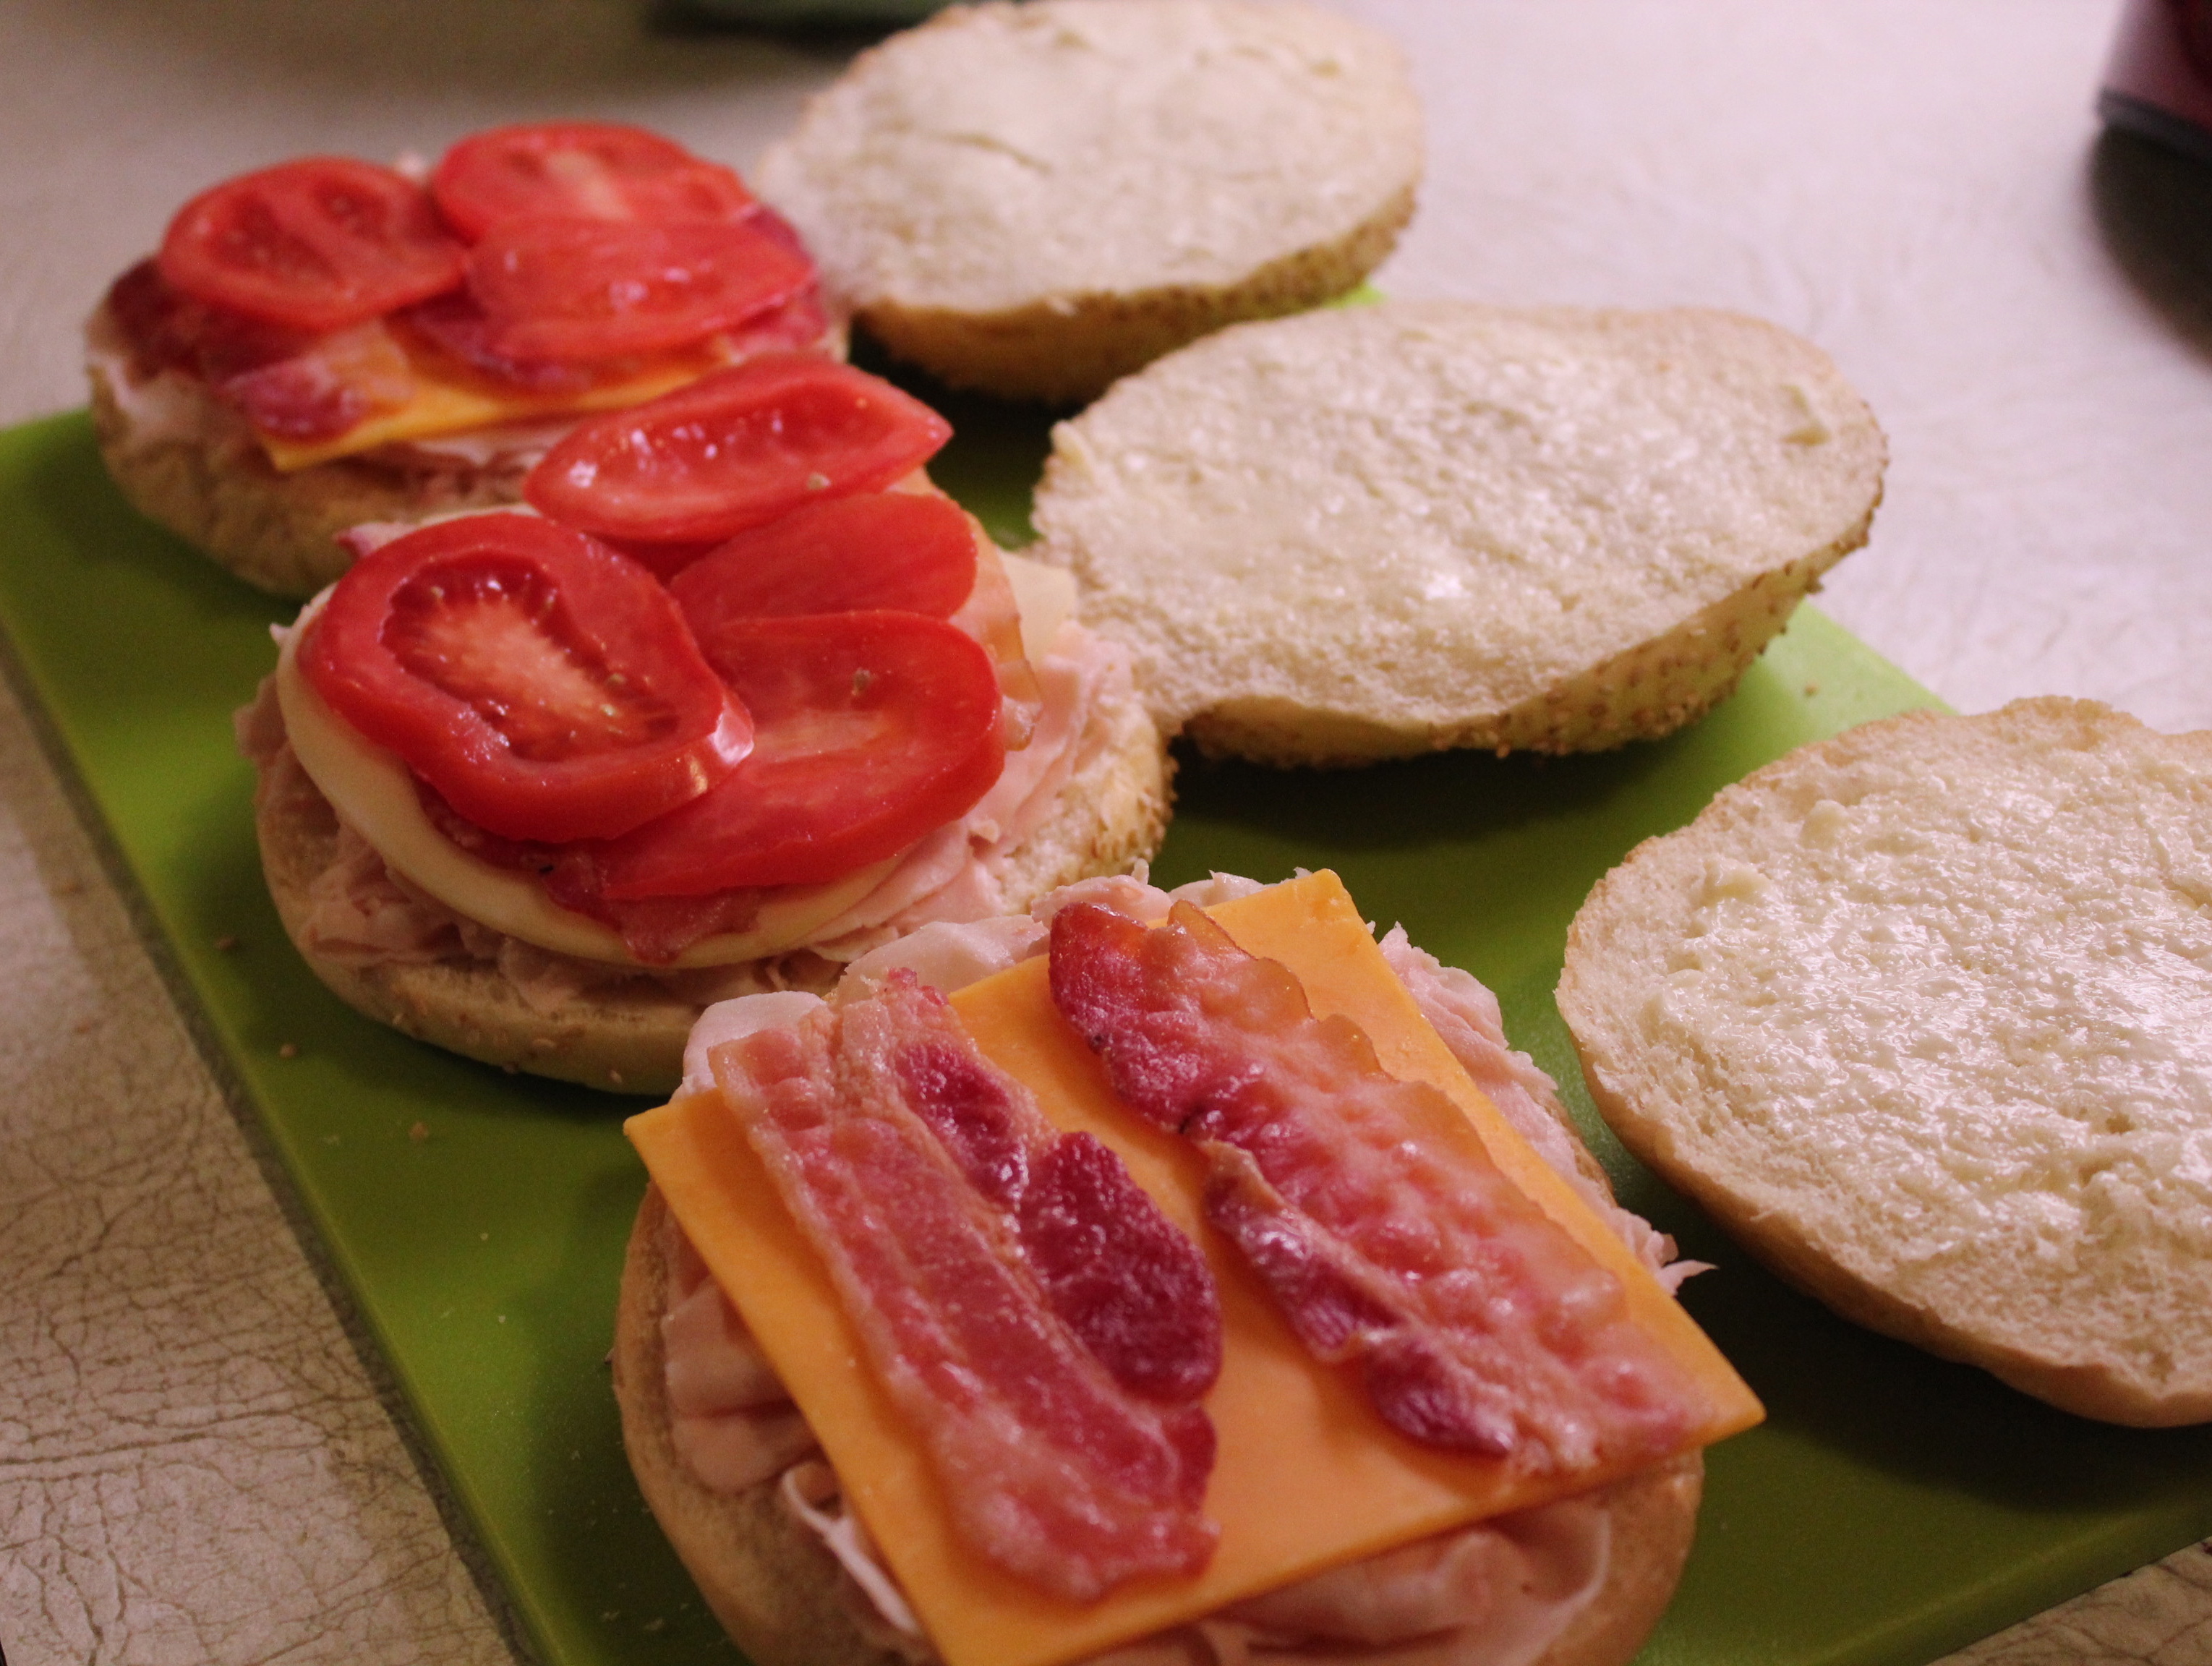
  • 12 tomato slices (colorful heirlooms are nice, here)
  • 1/4 teaspoon salt
  • 4 center-cut slices bacon, cooked and halved
  • 1 cup baby arugula leaves, or other green leaf lettuce of choice
We're ready to build a sandwich!

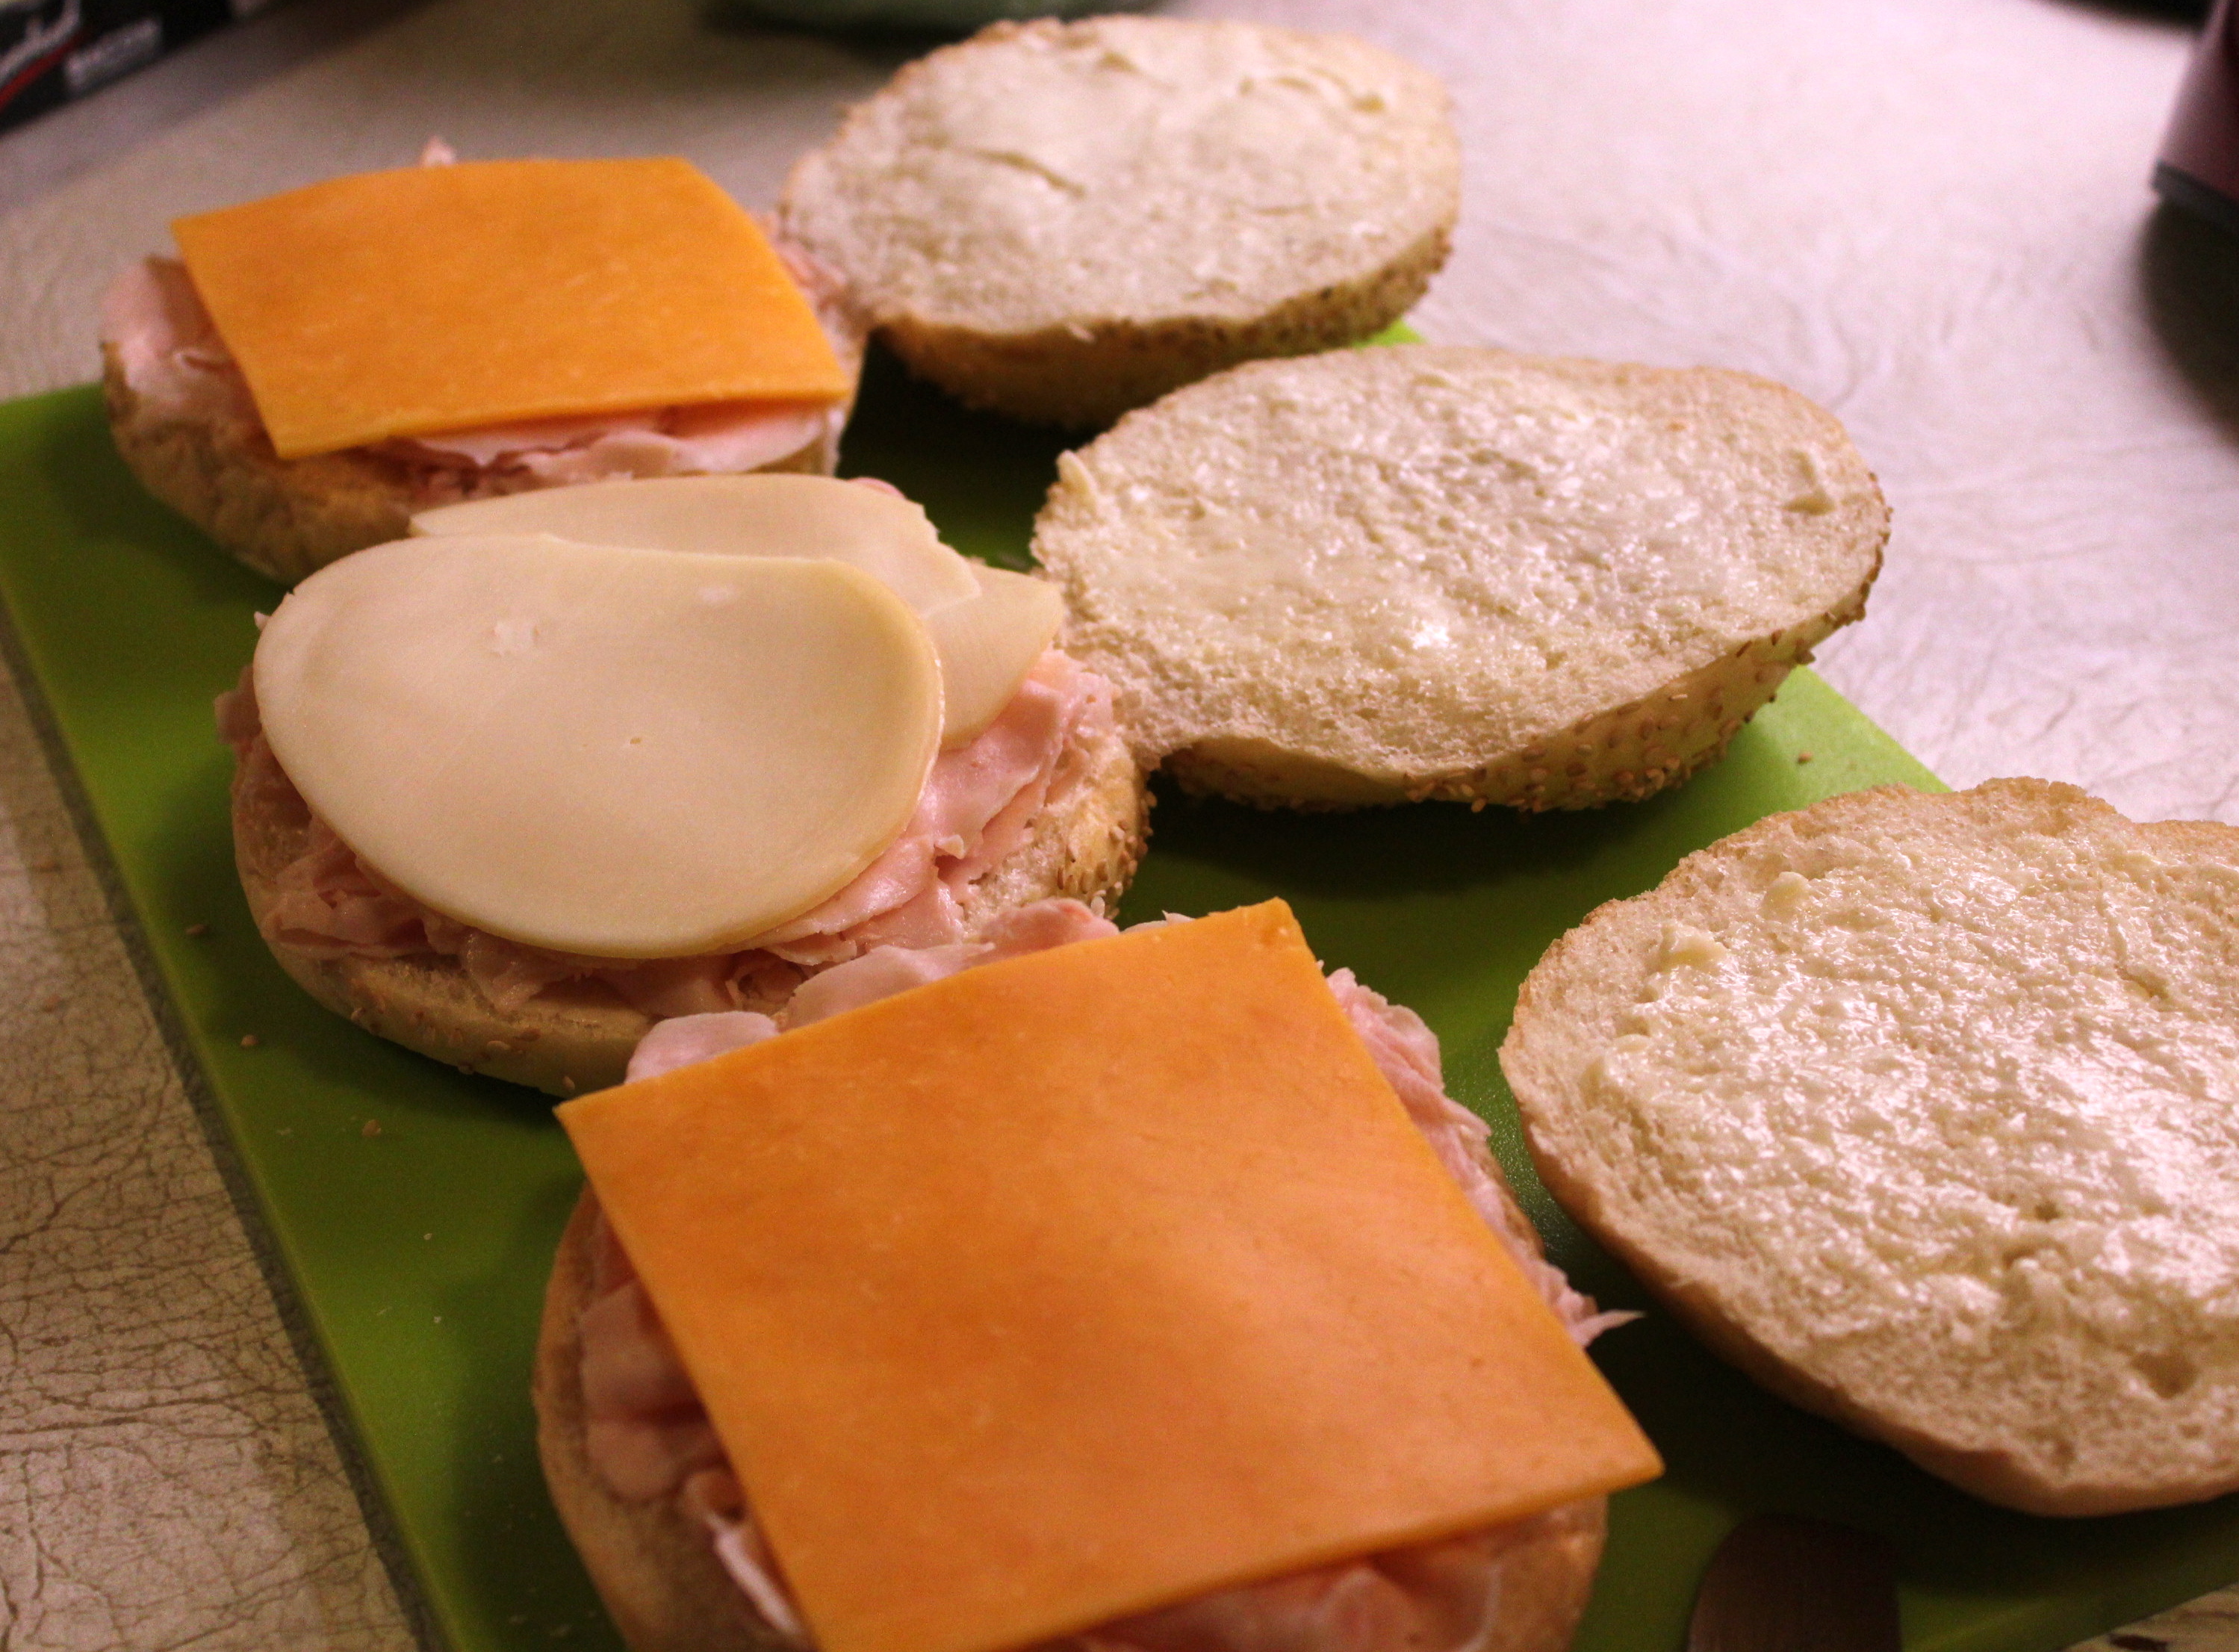
We’re ready to build a sandwich!

What you do:

Combine first 7 ingredients in a large bowl.  Spread 3 tablespoons cheese mixture on each bread slice; top each with 3 tomato slices.  Sprinkle tomato slices evenly with salt.  Top each sandwich with 2 bacon halves and 1/4 cup arugula.

You will probably want to eat this with a knife and fork.

You will probably want to eat this with a knife and fork.

To round out this meal, serve with sweet potato fries, or sweet potato chips.

SOURCE:   a Carolyn Original

Horseradish and Caramelized Onion Pork Sandwiches

Horseradish and caramelized onion pork sandwich.

Horseradish and caramelized onion pork sandwich.

As a spin-off from my recipe for Herb-Crusted Pork Tenderloin, I used the remainder of the meat to make these hearty sandwiches.  They worked into my menus for the week on an evening when Mr.  D. was working late and I needed to go out before he got home.  I was able to make his sandwich and mine leaving his covered in the refrigerator for his convenience when he got home.  His comment when I saw him later in the evening was that  “it was an outstanding sandwich”.  I had to agree with him.

Sweet onions ( I used a large Vidalia) are slowly caramelized with some complimentary seasonings and then paired with a spicy-hot creamy sauce in this fancy sandwich. The recipe calls for using a small French bread split lengthwise, but I used a small focaccia loaf.  Its heartiness and rustic texture seemed to suit the sandwich better, but the choice is yours as to what kind of bread you make it on,

IMG_4144

HORSERADISH AND CARAMELIZED ONION PORK SANDWICHES

Yield:   4 servings,  1-quarter of a loaf

Ingredients:

  • 1 Tablespoon. olive oil

    These seasonings really compliment the onions.

    These seasonings really compliment the onions.

  • 4 cups vertically sliced onion  (about 1 1/4 pounds)
  • 1  1/2 Tablespoons sugar
  • 1 Tablespoon red  wine vinegar
  • 1 Tablespoon low-sodium soy sauce
  • 1 teaspoon chopped fresh thyme, or 1/2 tesp. dried
  • 1/4 teaspoon ground red pepper
  • 2 garlic cloves, minces
  • 2 Tablespoons reduced-fat sour cream
  • 1 Tablespoons low-fat mayonnaise
  • 1 Tablespoon prepared horseradish
  • 1  ( 8-oz. ) loaf French bread, halved lengthwise
  • 1 cup torn lettuce leaves
  • 1 large tomato, sliced
  • 1  1/2 cup thinly sliced Herb-Crusted Pork Tenderloin (about 8 oz.), or any other sliced roast pork
Cooked roast pork, thinly sliced for a sandwich.

Cooked roast pork, thinly sliced for a sandwich.

1.  Heat oil in a large nonstick skillet over medium heat.  Add onion and next 6 ingredients (through garlic) to pan; cook 30 minutes or until onions are golden, stirring occasionally.  Remove from heat, let cool.

The small of these  onions slowly cooking is fantastic.

The small of these onions slowly cooking is fantastic.

2.  Combine sour cream, mayonnaise, and horseradish; spread a layer evenly over cut side of bottom half of bread.  Arrange lettuce over the top, then onions.

Lettuce is the first layer, followed by the onions.

Lettuce is the first layer, followed by the onions.

Arrange the sliced pork over the onions,

Sliced pork goes on next, to be topped by sliced tomatoes.

Sliced pork goes on next, to be topped by sliced tomatoes.

top with sliced tomatoes, and spoon on remainder of sauce.  Cover with top half of bread.

A handful of sandwich.  So good!

A handful of sandwich. So good!

SOURCE:  COOKING LIGHT

Pineapple Chicken (or Turkey) Salad

Pineapple chicken salad

Pineapple turkey salad

This is one of my favorite ways to make use of left-over chicken or turkey.  Ordinarily we would associate cranberries with chicken or turkey, but here the fruit is pineapple.  You might think it rather odd, but trust me it really works.  The sweet bits of pineapple provide a counterpoint to the other savory ingredients.  Once this salad is made you have several options about how to serve it.

Second-time-around turkey makes a delicious salad.

Second-time-around turkey makes a delicious salad.

The obvious way to eat it would be as a sandwich on a crusty roll,  or you could serve it as part of a salad plate as I have done here, or it makes a very nice wrap, either using a tortilla or just a large lettuce leaf.  The recipe is quick to make, and seems like a perfect light meal for springtime or any special occasion you may have coming up.  I hope you enjoy it!

The original recipe called for chicken, but I substituted turkey as that is what I had left over.

PINEAPPLE CHICKEN SALAD

turkey salad on romaine, with tomatoes, cucumbers, and pineapple.

turkey salad on romaine, with tomatoes, cucumbers, and pineapple.

Yield:   about 6 servings

Ingredients:

  • 2  1/2 cups shredded or diced chicken  (or turkey)
  • 1/2 cup coarsely shredded carrots
  • 1/4 cup finely chopped green onions
  • 1/4 cup finely chopped celery
  • 3/4 cup diced fresh pineapple
  • 1/3 cup low-fat mayonnaise
  • 1/3 cup plain low-fat yogurt
  • 1 Tbsp. Worcestershire sauce
  • 1/2 tsp. garlic powder
  • 1/4 tsp salt
  • 1/4 tsp pepper

Directions:

In a large mixing bowl, combine the shredded chicken, carrots, green onions, celery and pineapple .

In another small bowl, mix together the mayonnaise, yogurt, Worcestershire sauce, garlic powder, salt and pepper.  Stir well to combine.

Add dressing to chicken mixture and stir well to coat and evenly combine.  Taste and adjust seasonings as needed.  Refrigerate until ready to serve.

A light, refreshing springtime lunch.

A light, refreshing springtime lunch.

SOURCE:    Cooking Light

Corned Beef Grilled Cheese Sandwich

Grilled Corn Beef and Cheese Sandwich.

Grilled Corn Beef and Cheese Sandwich.

Did you know  that everyday is some kind of National Food Holiday?  And some days celebrate more than one kind of food.  I don’t usually pay much attention to this sort of thing because some of them are just plain silly.  For instance, you could get pretty tipsy if you celebrate National Mulled Wine Day,  or bust a gut for National Nutella Day, or get really greasy fingers on National Fried Chicken Day. See what I mean?

However there is one that I could get into in a big way.  I really love grilled cheese sandwiches, and if there was a day to celebrate them, I would eat them all day.  Well,  SURPRISE! Grilled cheese is so highly regarded it has not just a day, but a whole month devoted to it, and this is it.  April is National Grilled Cheese Month.  Yea, I am totally in.

If you like corned beef and you love grilled cheese sandwiches, then you are gonna love this sandwich that combines both along with some glazed onions cooked in dark beer.  WOW! what a combination.

With some corned beef left from our Irish meal, I made these sandwiches for a weekend lunch.  You can make the sandwich anytime using corned beef from the deli, but I used what I had on hand.  You start by slowly cooking sliced onion in a little butter with some sugar, salt and pepper, then add dark beer such as porter or stout.  Let that cook slowly to condense it into a syrupy liquid.  Add the corned beef and heat it up.  Then layer up the sandwich, and grill it.  Rich, gooey, filling and soooo good.

CORNED BEEF GRILLED CHEESE SANDWICH

Worcestershire sauce and whole grain mustard contribute their flavors, too.

Worcestershire sauce and whole grain mustard contribute their flavors, too.

MAKES  2

  • 1  1/2  Tablespoons unsalted butter
  • 1 small onion, thinly sliced
  • 1 Tablespoon sugar
  • salt and pepper
  • 3/4 cup dark beer, such as porter or stout
  • 2 ounces deli sliced corned beef, cut into strips
  • 2 teaspoons Worcestershire sauce
  • 1 Tablespoon whole grain mustard
  • 1  1/2 cups grated cheese
  • 4 slices marble rye bread

1.  Melt 1/2 Tablespoon butter in a large skillet over medium-high heat.  Add the onion and sprinkle with the sugar, 1/2 teaspoon salt and pepper to taste.  Cook, stirring occasionally, until soft and golden, about 10 minutes.

Cooking the onions with seasonings.

Cooking the onions with seasonings.

Add the Worcestershire sauce, mustard, and beer and continue cooking, stirring occasionally, until the onions are tender and the liquid is slightly syrupy, about 8 more minutes.  Remove from heat and stir in the corned beef.

Corned beef added into the pan.

Corned beef added into the pan.

2.  Divide half the cheese between 2 bread slices;  top with the corned beef mixture, and the remaining cheese and 2 bread slices.

Layer up the ingredients on the rye bread.

Layer up the ingredients on the rye bread.

3.  Melt the remaining 1 Tablespoon butter in a large skillet over medium heat.  Add the sandwiches and cook, pressing occasionally with a spatula, until the bread is toasted and the cheese melts, about 4 minutes per side, adding more butter to the pan if needed.***

***  I used my panini pan to grill the sandwiches, and instead of using butter to toast them, I spread mayonnaise on the outer sides of the bread.  This makes a nice golden toasted sandwich.   I read somewhere that chefs in restaurants use mayonnaise for grilled sandwiches, so now I do it, too.

Don't let the remainder of that beer go to waste, enjoy it with your sandwich.

Don’t let the remainder of that beer go to waste, enjoy it with your sandwich.

SOURCE:  Food Network Magazine,  March, 2013

Chicken Crescent Ring

Chicken Crescent Ring

Chicken Crescent Ring

I made this recipe just recently for a birthday party where the menu consisted of appetizers, finger sandwiches and desserts.  I’ve had this recipe for a long time and had completely forgotten about it until I read a blog posting over at the Rantings of an Amateur Chef where he describes this sandwich.  I suddenly knew it would be perfect for the birthday party we were going to.  So, thank-you to Pat for his post and for reminding me of this great sandwich idea.

Many years ago I went to a Pampered Chef house party.  The hostess was preparing baked items on a pizza stone, and talking about how useful the stone is in addition to making pizza on it.  I was one of many who purchased the pizza stone that evening.  I’ve used it often and always have success in getting a nice crispy crust on my pizzas, but I don’t think to use it for much else, until I made this sandwich. It is not essential to have a pizza stone, so if you don’t have one don’t worry,  you can use a metal pizza pan just as well.

When you serve this, your guests will be impressed with your creativity, and how delicious the sandwich is.

CHICKEN CRESCENT RING

SERVINGS:   about 16

INGREDIENTS

  • 1 can chicken, broken up  ( about 1 cup )
  • 4 slices bacon, cooked crisp and crumbled
  • 1 cup Monterey Jack cheese, shredded
  • 1 cup mayonnaise
  • 2 Tablespoons Dijon mustard
  • 1 Tablespoon dried parsley
  • 1 1/2 Tablespoon green onions, sliced
  • 2 Roma tomatoes, sliced vertically into wedges
  • 1 medium red pepper
  • 2 cups lettuce, shredded
  •  2 rolls, refrigerated crescent rolls

1.  Preheat oven to 375*F.  Lightly grease a pizza pan or stone,

2.  Mix mayonnaise, mustard, parsley, and sliced green onion.   Set aside.

Make the dressing with mayo, mustard, parsley and green onions.

Make the dressing with mayo, mustard, parsley and green onions.

3.  Mix chicken, bacon, 3/4 cup cheese and 1/3 cup mayonnaise mixture.

Mix together, chicken, bacon and shredded cheese.

Mix together, chicken, bacon and shredded cheese.

4.  Unroll crescent dough, separating into triangles.  Arrange in a circle, overlapping wide ends in and points hanging out over the edge.  Leave a  5 – 6 inch circle empty in the center.  ( see picture )

Lay out triangles in a circle with wide ends toward the middle, and points out.

Lay out triangles in a circle with wide ends toward the middle, and points out.

5.  Spoon chicken salad onto rolls at the wide ends.

Spoon chicken salad onto wide ends of triangles.

Spoon chicken salad onto wide ends of triangles.

Wrap the points over and tuck underneath.

Wrap points over and tuck under.

Wrap points over and tuck under.

6.  Slice tomatoes into wedges and tuck one piece into each open space in the ring.

Tomato wedges tucked into each open space.

Tomato wedges tucked into each open space.

7.  Bake 20 – 25 minutes.  Just before end of baking time, sprinkle remaining cheese on top and allow to melt.  Remove from oven to cool slightly.

8.  To serve:  Cut top off red pepper, remove ribs and seeds.  Spoon in remainder of dressing.  Place pepper in center of ring, and garnish around pepper with shredded lettuce.  Cut into servings so that each one has a piece of tomato.

Serve with red pepper in the center and garnished with shredded lettuce.

Serve with red pepper in the center and garnished with shredded lettuce.

I must apologize for the poor quality of the pictures of the finished dish.  In my hurrying I forgot to bring my camera, and so these pictures were taken by someone else with their  camera and then sent to me via e-mail.  I think you can still get the idea of how attractive this is to serve, however.

SOURCE:   Pampered Chef,   via The Ranting Chef.com

A Loaded Panini

By day #4 of not having a refrigerator, I’m really getting to the bottom of the barrel in terms of what I can create for a meal.  This is what I have to work with:  some deli sliced smoked turkey,  sliced cheddar cheese and sliced provolone,  a few strips of bacon, and a tomato.  Does that sound to you like it could become a sandwich?   That’s what I thought, too.  EXCEPT we don’t have any bread.  So, I had to cheat a little.  I stopped at the grocery store and got a few rolls.  So for dinner this evening we had Toasted Panini Sandwiches with Sweet Potato chips and pickles.

 Grilled turkey, bacon, cheese and tomato panini.

Grilled turkey, bacon, cheese and tomato panini.

A while ago I treated myself to a Panini//Grill pan.  I’m so glad I did.  I no longer use the electric sandwich toaster I had been using, choosing now to make grilled sandwiches on the stove top using the panini grill.  Plus this grill pan is great for grilling burgers or steaks and chops quickly indoors if you can’t use the outdoor grille.  Note that the pan comes with a weighted flat cover that is used to compress sandwiches, or anything else that you want to keep flat as it grills.

Panini Grill Pan

Panini Grill Pan

This is a little off today’s subject, but I also have a George Forman Grill that I don’t use.  I’m not pleased with the results when I use it.  Instead of getting a nice browned sear on meats, mine seem to steam-cook rather than grill.   Am I doing something wrong?  If anyone reading this has any suggestions for me I’d love to hear them.  Thanks.

The rolls I purchased were sesame bulky rolls.  So, starting with the rolls, slice each one in half, and spread each cut side with a little mayonnaise.   Next start layering in the fillings:  thinly sliced turkey breast, as many slices as you like, and  sliced cheese.

Sliced turkey and sliced cheese placed on the split rolls.

Sliced turkey and sliced cheese placed on the split rolls.

Then lay on the already cooked bacon slices, and sliced tomatoes.  A sprinkle of seasoned salt on the tomatoes is good, or regular table salt.

Lay on the bacon and tomato slices.

Lay on the bacon and tomato slices.

Lightly butter the bottom of each roll and place on the heated panini grill pan.  Place the flat weight on top of the sandwiches to press them, and toast till nicely browned on the bottom.  Now lightly butter the tops and flip over so the top get toasty and browned, the filling continues to heat and cheese melts.  Be careful to keep the heat on low or the rolls will become too crisp before the fillings heat and melt.

This is what the sandwiches looked like while grilling,

Sandwiches grilling.

Sandwiches grilling.

And this is what the finished sandwiches look like:

Plated sandwich with sweet potato chips and pickle.

Plated sandwich with sweet potato chips and pickle.

Note the  top side of the sandwich; it has grill markings on it, and the top is nice and toasty.  I like to use sesame rolls for this because the sesame seeds get toasted and their flavor is more pronounced.   Yum!  Wish you could taste this—-it was great.

A great sandwich whether for lunch or a light supper.

A great sandwich whether for lunch or a light supper.

Cranberry Tarragon Chicken Salad Sandwich

Sandy has come and gone, but certainly won’t  be forgotten.  Good-bye to a not-so-nice lady!  I’m so thankful that we came through it in good shape.  Our only hardship was the loss of electricity for about 48 hours. Compared to other families who suffered extensive damage and even loss of life I feel particularly lucky.  The shorelines of Ct., New York and New Jersey were devastated and it will take a very long time- if ever- to get things back to normal.

In preparation for the super storm and the  likelihood of not having any power for some time, I roasted a chicken so I would have some meat to work with in creating other dishes. That worked out well because  I have a gas stove so we were in pretty good shape.   One of the lunches I fixed was this recipe for chicken salad sandwiches.

Cranberry Tarragon Chicken Salad Sandwich

Usually, when I make chicken salad I put in a little dried tarragon, along with the chopped celery, and green onion.  But this time I also added some dried cranberries.  The inspiration for this came from the fact that on my last trip grocery shopping I found a loaf of Cranberry Wheat bread.  This is available for a limited time from now through the Holidays, and I thought it would be good toasted,  but it also worked out very well as a backdrop to the chicken salad.

I served these yummy sandwiches with some sweet potato chips and apple cider.  For two people in the midst of a hurricane, this was quite a good lunch, if I do say so.  If you decide to try this, try to find bread or rolls with either cranberries or orange in it.  That seems to elevate the sandwich to something a little more special.

CRANBERRY TARRAGON CHICKEN SALAD SANDWICH

YIELD:   makes 4 sandwiches

This is what you do;

In a medium-size bowl, mix together all of the following:

  • about 2 cups chopped cooked chicken,  white and dark meat mixed
  • 1 rib celery, finely chopped, leaves included
  • 1 scallion, sliced,  white and green parts
  • 1 teaspoon dried tarragon
  • 1 Tablespoon dried cranberries
  • salt and pepper to taste
  • 1/4 cup mayonnaise, or more as needed to moisten it all.

Bread or rolls of choice, preferably with added cranberries.

Sweet potato chips make a nice accompaniment.

Substitute some of that left-over Thanksgiving turkey in place of the chicken, for another variation on this sandwich.

SOURCE:  A Carolyn Original

Grilled Cheese with Apples and Bacon

Grilled Cheese with Bacon and Apple Sandwich

Are you ever at the point where you just crave something really simple but oh, so good?  That happened to me not long ago.  We had been out doing Saturday morning errands and  it was rainy, windy  and chilly.  When I got home I just wanted something hot, and satisfying.  My husband suggested Grilled cheese sandwiches, which I thought was a good idea, but as I got started preparing them one thing led to another and I ended up creating these sandwiches that were oooey, gooey good with the addition of crisp bacon and thinly sliced apples with the cheese.  These have now become my new go-to sandwich for when I need some comfort at lunch time.

GRILLED CHEESE WITH BACON AND APPLES

YIELD:  makes 2 sandwiches.  Scale ingredients up to make  more.

  • 4 slices bacon

    Maple Syrup, Apples and Cheese, Yum!

  • 1 Tablespoon maple syrup
  • 4 slices whole-grain bread
  • 4 slices cheddar cheese
  • 1 apple, peeled, seeded and thinly sliced
  • soft butter

1.  Preheat oven to 400 degrees.  Brush each side of bacon slice with maple syrup.  Place on a foil-lined baking sheet and bake at 400 degrees for about 8 minutes.  Turn over, and continue baking for another 8 minutes.  Since bacon slices will vary, times are approximate.  Watch closely that it does not become too crisp or burned.

2.  To assemble the sandwich, butter one side to each slice of bread. Lay two bread slices buttered side down, top with a slice of cheese.  Lay 2 bacon strips on top, then some sliced apple, another slice of cheese, and then the last piece of bread, buttered side up.

Building the Sandwich

3.  Place sandwiches, buttered side down, in a hot skillet or grill pan, and cook until cheese is melted, turning over about half way through.  Sandwich should be golden and melty.

Ooey, Gooey, Good!

Grilled Cheddar and Bacon Waffle Sandwich

It seems that when ever I make waffles there are always some left over.  Does this happen to you, too?  What I usually do is toast the pieces in the toaster and have them for breakfast or a snack, spread with jam or peanut butter.  Well as luck would have it on the day I made the Summertime Vegetable Soup, (see July 16 post)  I had a few pieces of left-over waffle in the refrigerator.  I was planning on making grilled cheese sandwiches to go with the soup, when inspiration struck:  how about using the waffles instead of bread for the sandwiches.  Bingo!  I was all over that in a second!

Out came the waffles, some sliced cheddar cheese, and some precooked bacon.  On a hot grill pan I placed the bacon just to crisp it up, and it was nice enough to leave behind a tiny bit of fat to grease the pan.  Next I lay the bottom waffle piece on the pan, covered it with slices of the cheddar cheese, lay on the bacon, more cheese to cover, then the top layer of waffle.   Couldn’t be more simple.   Keep the heat on low to let the sandwich toast slowly, so the cheese will melt, but not burn the waffle, since it’s already cooked.   WOW!  These were delicious, and a perfect accompaniment to the soup.