Chicken and Broccoli Alfredo
A one-dish meal that is easy and quick to prepare using a short cut: Rotisserie Chicken. I see absolutely nothing wrong with making my life a little easier at times by picking up a rotisserie chicken at the super market and building a meal around it. After the first meal, I usually use what’s left for chicken salad sandwiches.
What brought me to making this dish was Mr. D’s request for Chicken Fettuccine Alfredo. What better time than now when I had a bunch of broccoli on hand and the remains of the rotisserie chicken. I just combined all that and what resulted was this dish that was very close to what he asked for. This is how it went together…..
CHICKEN AND BROCCOLI ALFREDO
Yield: serves 4
- Fettuccine or other favorite pasta, cooked according to package directions
- 1 to 2 cups fresh broccoli florets, add to last 3 minutes of pasta cooking time
- 1/4 cup (1/2 stick) butter
- 1 clove garlic, minced
- 2 cups whole milk or half and half
- 1/8 tsp. black pepper
- 1/4 cup freshly grated Parmesan cheese
- 2 cups cooked chicken, cut up
Directions:
1. Cook fettuccine according to package directions adding broccoli during last 3 minutes of cooking time. Drain. Set aside.
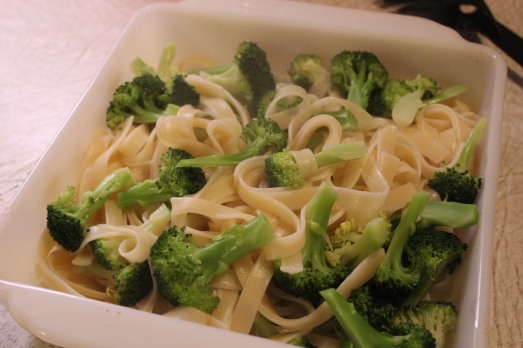
Place cooked fettuccine and broccoli in a serving dish.
2. Meanwhile, melt butter in medium saucepan over medium heat. Add minced garlic and sauté briefly. Add milk or half and half, and pepper.
3. Simmer, uncovered, for 10 – 12 mintes or until thick, stirring frequently. When sauce has reached desired consistency, stir in Parmesan cheese.
4. Add cooked chicken to Alfredo sauce and heat through. Pour over noodles and broccoli……
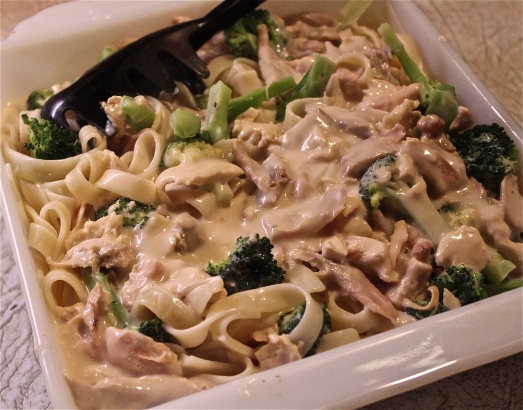
Pour on Alfredo sauce and chicken. Mix together.
Transfer to serving dish and serve with additional Parmesan to grate on at the table.
Chicken Broccoli Alfredo
After having made this recipe I would make these changes next time around: add 2 Tablespoons flour to the melted butter before adding the milk to help the sauce thicken up more; add some shredded Asiago to the Parmesan for a stronger cheese flavor. You could also use heavy cream in place of milk for a much richer sauce. This is definitely a fantastic meal, one that reheats well in the microwave the next day.
SOURCE: The Girl Who Ate Everything