
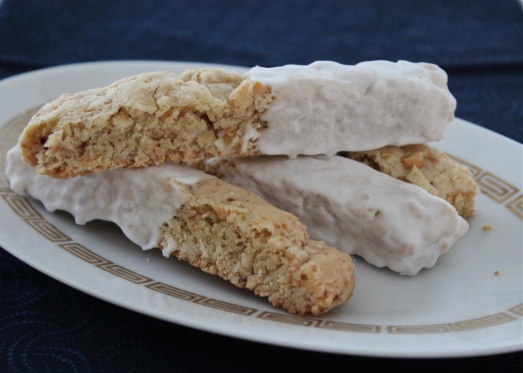
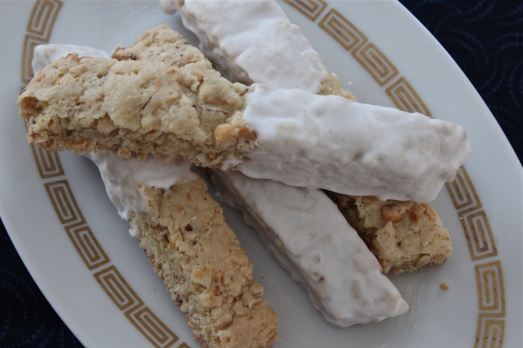
Coconut Biscotti
When you serve biscotti, you’re styling’, did you know that? These crunchy, nutty, hard cookies are custom-made for dunking in a frothy cappuccino, or nibbling on between sips of dark, thick, espresso. Or maybe you’re having them at the end of the day with a glass of sweet dessert wine. If it’s wine you’re having, make it a wine from Tuscany, the reputed home of biscotti.
A surprising fact to me is that biscotti were first developed for Lent, when all types of festive and fancy baking was curtailed. Their plain appearance is deceiving. You may think that the cookie is plain and boring, but not so. In going through my recipes recently, I noted that I have quite a number of recipes for biscotti, and they are all different. The several characteristics they all share are the elongated shape, usually cut on a diagonal, the inclusion of toasted nuts, and the fact that they are twice baked, making them crisp and crunchy.
The name of these cookies, when translated, breaks down to bis (twice) and cottare (to cook). Because they are a firm, sturdy cookie they are perfect for packing and shipping to someone far from home.
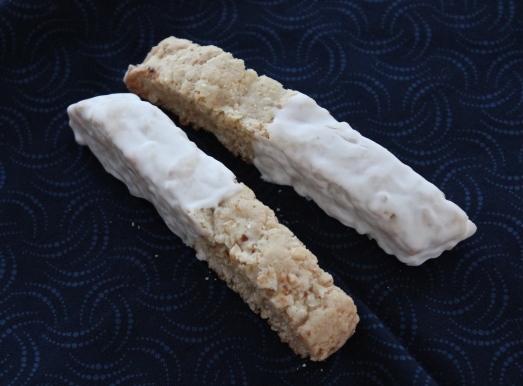
This recipe utilizes coconut in several forms; toasted and finely ground in the dough, and coconut oil used for shortening in the dough; there is also coconut cream (liquid) and coconut flavoring in the glaze. The basic cookie is not sweet, but the glaze they are dipped into adds a touch of sweetness at the end. If you choose not to dip them into the glaze, they will still be a very enjoyable mildly sweet treat.
The nuts called for in the recipe are salted macadamia nuts, chopped; however I didn’t have any so I used a combination of hazelnuts and cashews from a jar of salted nuts, and they worked just fine.
If you have never made biscotti before this could be the recipe to get you started, especially as we approach the start of Lent. I have never given up sweets for Lent because I can’t survive without a goodie now and then, but I do try to abstain from rich decadent desserts. With biscotti on hand, I know I can have my “goodie” without going overboard.
COCONUT BISCOTTI
Yield: Makes about 24 cookies
Ingredients:
- 1 1/2 cups unsweetened coconut flakes
- 1 cup granulated sugar
- 2 cups all-purpose flour

Coconut oil, melted, is the shortening in this recipe.
- 1 tsp. baking powder
- 1/4 tsp. baking soda
- 1/4 tsp. salt
- 1/3 cup coconut oil
- 1 tsp. vanilla extract
- 1/2 cup salted macadamia nuts, chopped
- 1 cup confectioners’ sugar
- 2 Tbsp. coconut cream ( may use milk or cream instead)
- 1/8 to 1/4 tsp. coconut extract
- coarse sugar for decorating, if desired
Directions:
1. Position racks in the upper and lower thirds of the oven; preheat to 350*F. Line 2 baking sheets with parchment paper.
2. Spread 1 cup coconut flakes on a baking sheet and bake until toasted, about 3 minutes.

Coconut flakes, toasted
Let cool completely. Transfer to a food processor; add the granulated sugar and pulse until finely ground.
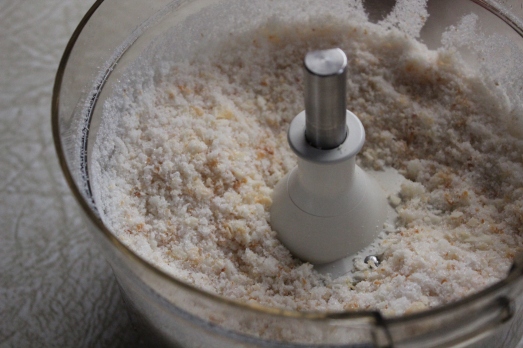
Pulse in processor with sugar.
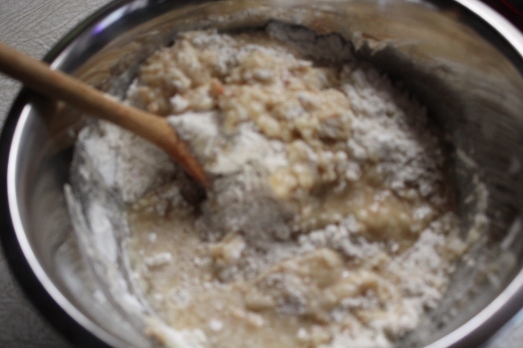
3. Whisk the coconut-sugar mixture, the flour, baking powder, baking soda and salt in a bowl.
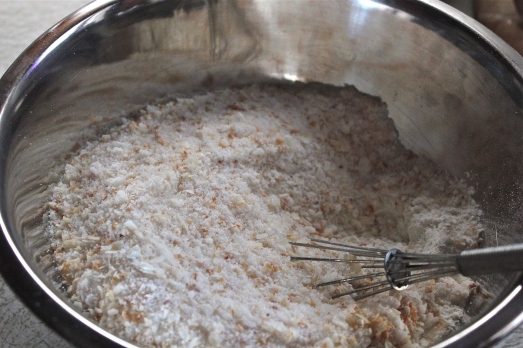
Mix all the dry ingredients together.
Melt the coconut oil in the microwave; add to the flour mixture along with 1/3 cup water and the vanilla, and mix with a wooden spoon until a stiff dough forms.
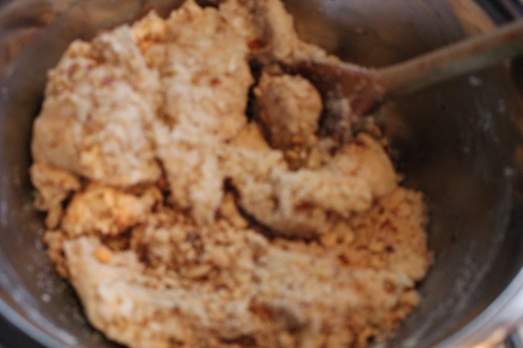
Stir in the chopped nuts and the remaining 1/2 cup coconut flakes, gently knead until the dough comes together.
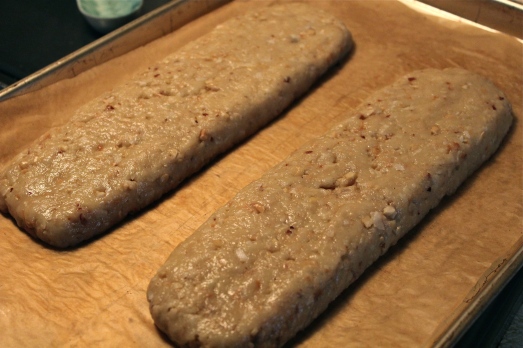
4. Divide the dough in half and shape into two 9-by-2-inch logs; place 1 log on each baking sheet.
Bake, switching the pans halfway through, until the logs are firm and golden, about 25 minutes. Reduce the oven temperature to 300*F.
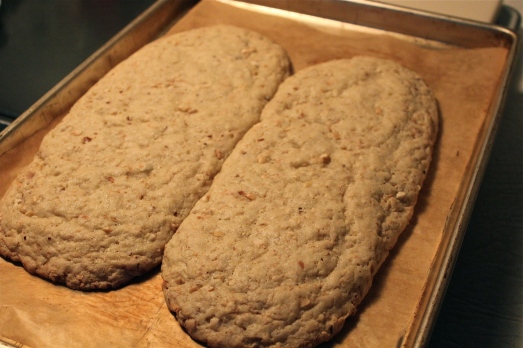
I baked them both on one sheet and they spread into each other.
5. Let the logs cool 10 minutes, then transfer to a cutting board. Slice diagonally, with a serrated knife, into 3/4-inch thick pieces.
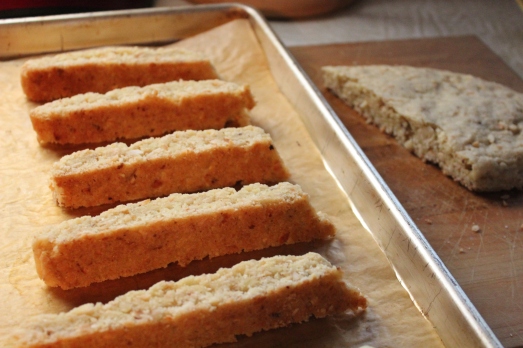
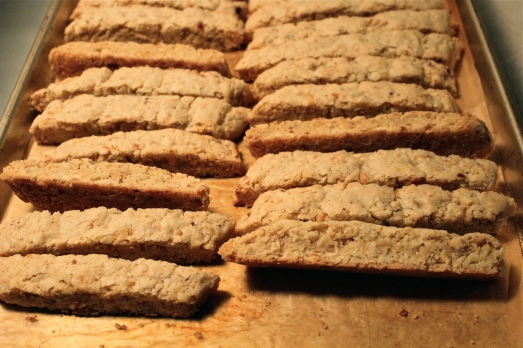
Cut on the diagonal and lay flat on baking sheet to be re-baked.
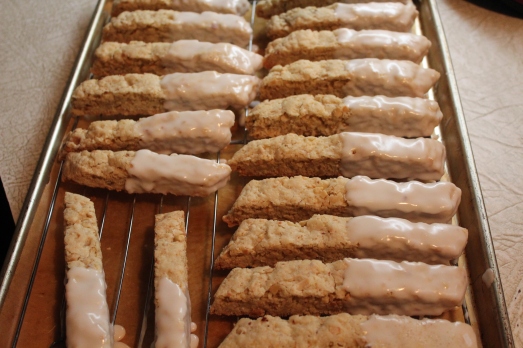
Arrange the slices cut-side down on the baking sheets. Bake, flipping halfway through, until just golden and centers still have a little give, 20 to 25 minutes. (It has been my experience that over-baking can happen at this stage of the game, so I underbake a little to be cautious.) With these cookies, I baked 8 minutes on the first side, turned them over and baked for 10 minutes more. They were plenty crispy, and they continue to crisp up as they cool. Cool completely on wire racks before glazing.
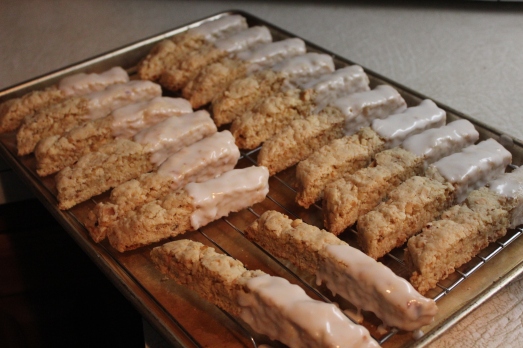
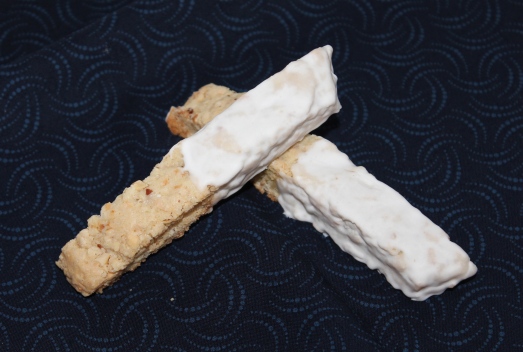
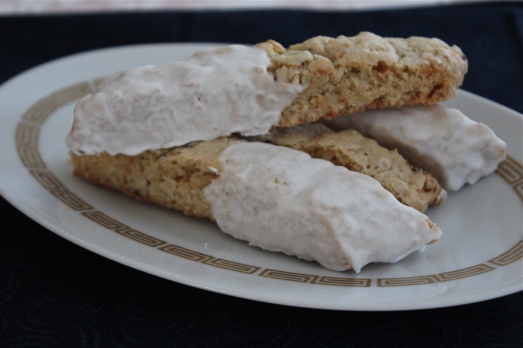
6. Whisk the confectioners’ sugar, coconut cream, (or milk) and coconut extract in a small bowl until smooth. Dip the biscotti in the glaze and sprinkle with decorative sugar if desired.
To store: Allow the glaze to harden completely before storing in an air-tight container. Separating the layers with wax paper will keep the cookies from sticking together. They will keep “forever”, but we always eat them up way before then 🙂
SOURCE: FoodNetwork Magazine


