Sizzling hot and so pretty, good enough to eat!
Mention fajitas and I can hear that sizzling pan already. Don’t you love that sound when the waiter brings a cast iron pan to your table sizzling with steak, onions and peppers waiting to be wrapped up in a flour tortilla? OK, so we can’t go out as often as we might like to enjoy this kind of food, but how about making it at home! You won’t believe how easy it is to recreate fajitas and other restaurant favorites right in your own kitchen. And there are benefits besides. You’ll save money, perhaps eat more healthfully, AND have it whenever you want it.
Starting with today’s offering, I will be periodically posting a recipe called “Eat out at Home” that will feature a restaurant dish. Hopefully one that many people enjoy, and is universally popular.
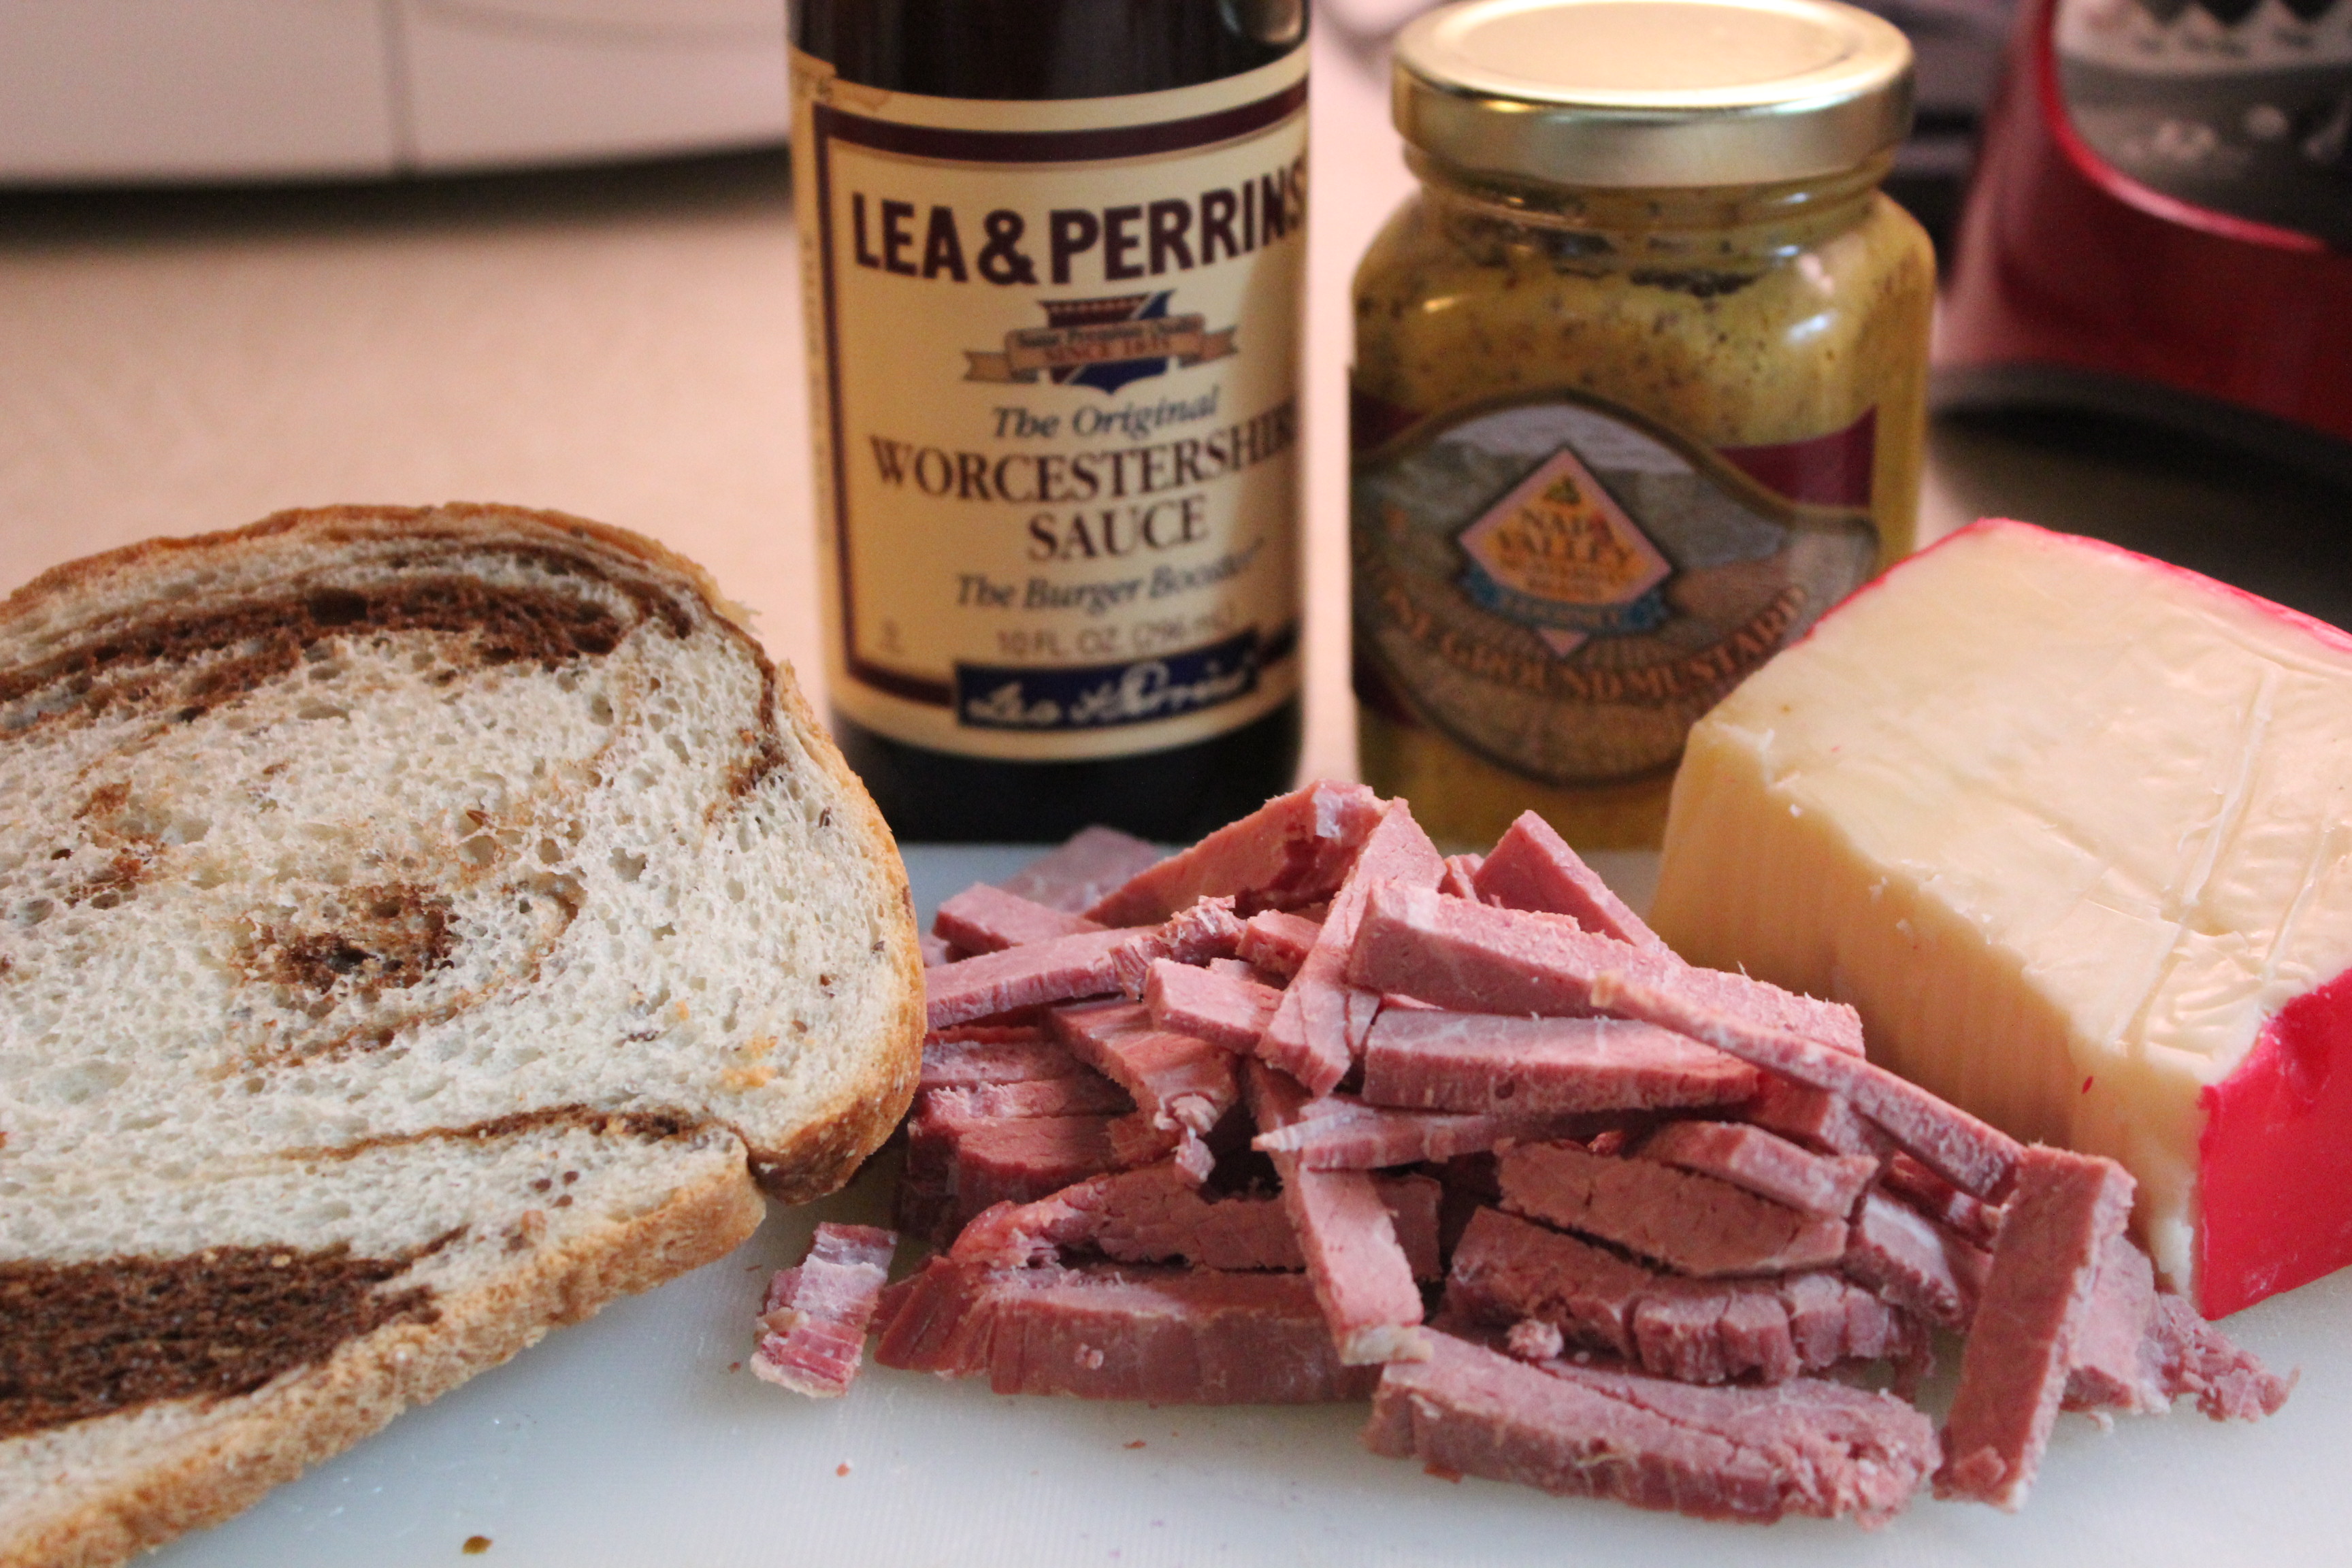
This recipe requires only a few ingredients that are readily available: a tender cut of steak, sliced onions, peppers, lime juice, soy sauce, tortillas, and garnishes such as grated cheese, diced tomatoes, cilantro and sour cream. I hope you enjoy it as much as we did.
SEARED STEAK FAJITAS
YIELD: These amounts serve 2, so adjust accordingly
INGREDIENTS
- 3/4 pound top round, skirt steak or sirloin tip steak
- 1 Tablespoons soy sauce (seem strange?, it adds a depth of flavor)
- 1/4 cup fresh lime juice ( 2-3 fresh limes)
- coarse salt and ground pepper
- 1 Tablespoon extra-virgin olive oil
- 1 garlic clove, minced
- 1 large pepper, seeded and thinly sliced (I think red peppers are more colorful than green.)
- 1 large onion, halved and thinly sliced
- 4 tortillas ( corn or flour, your choice), warmed
- 1/2 cup grated cheese; Jack cheese, cheddar or Mexican Blend are good
- 1 large tomato chopped, or halved grape tomatoes
- cilantro, chopped for garnish
DIRECTIONS
1. In a shallow dish or bowl, combine steak, soy sauce, and 1/4 cup lime juice. Refrigerate 1 hour, turning steak several times.
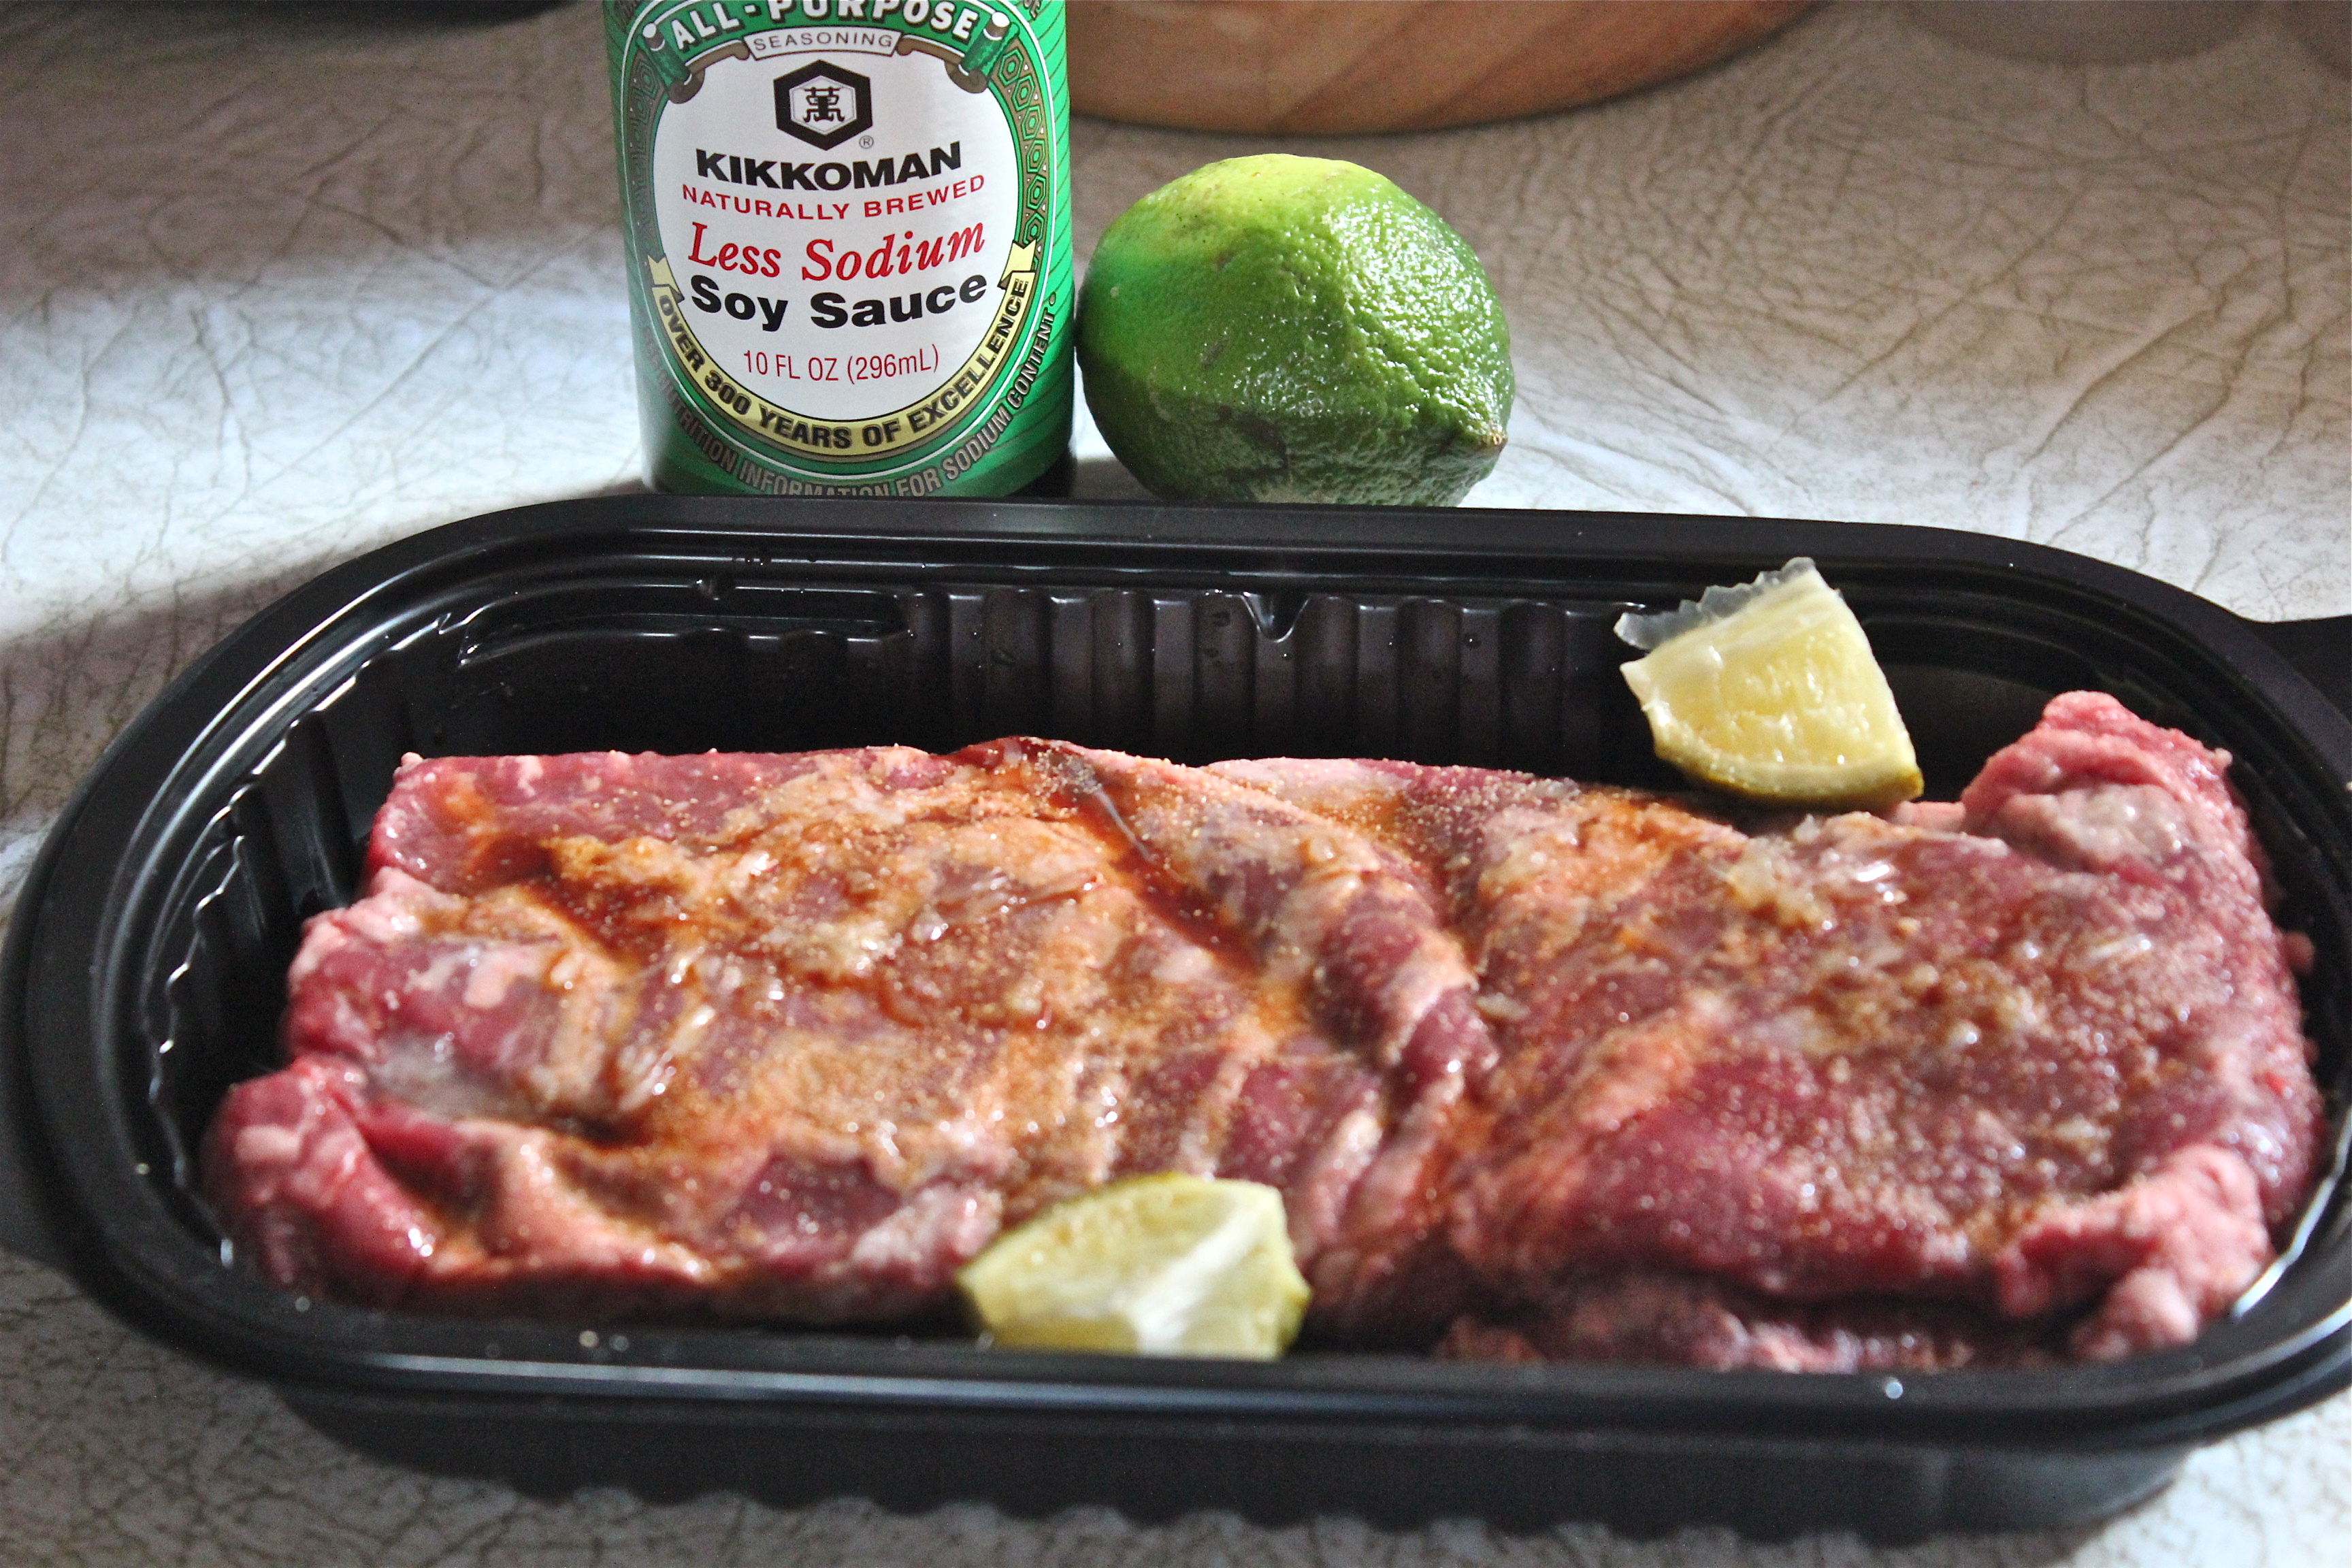
Marinate steak in soy sauce and lime juice.
2. Remove steak from marinade and blot dry with paper towels. Necessary to get a good sear, as moisture will cause the steak to steam rather than fry. Season with salt and pepper. In a heavy skillet — cast iron is best because it can get really hot and hold the heat–heat 1 teaspoon olive oil over medium-high. When the oil begins to shimmer, add the steak and cook about 2 minutes per side for medium rare, or to your taste. It is important to get a nice sear on the steak as that contributes to its flavor. Transfer to a platter, and tent with foil to keep warm.
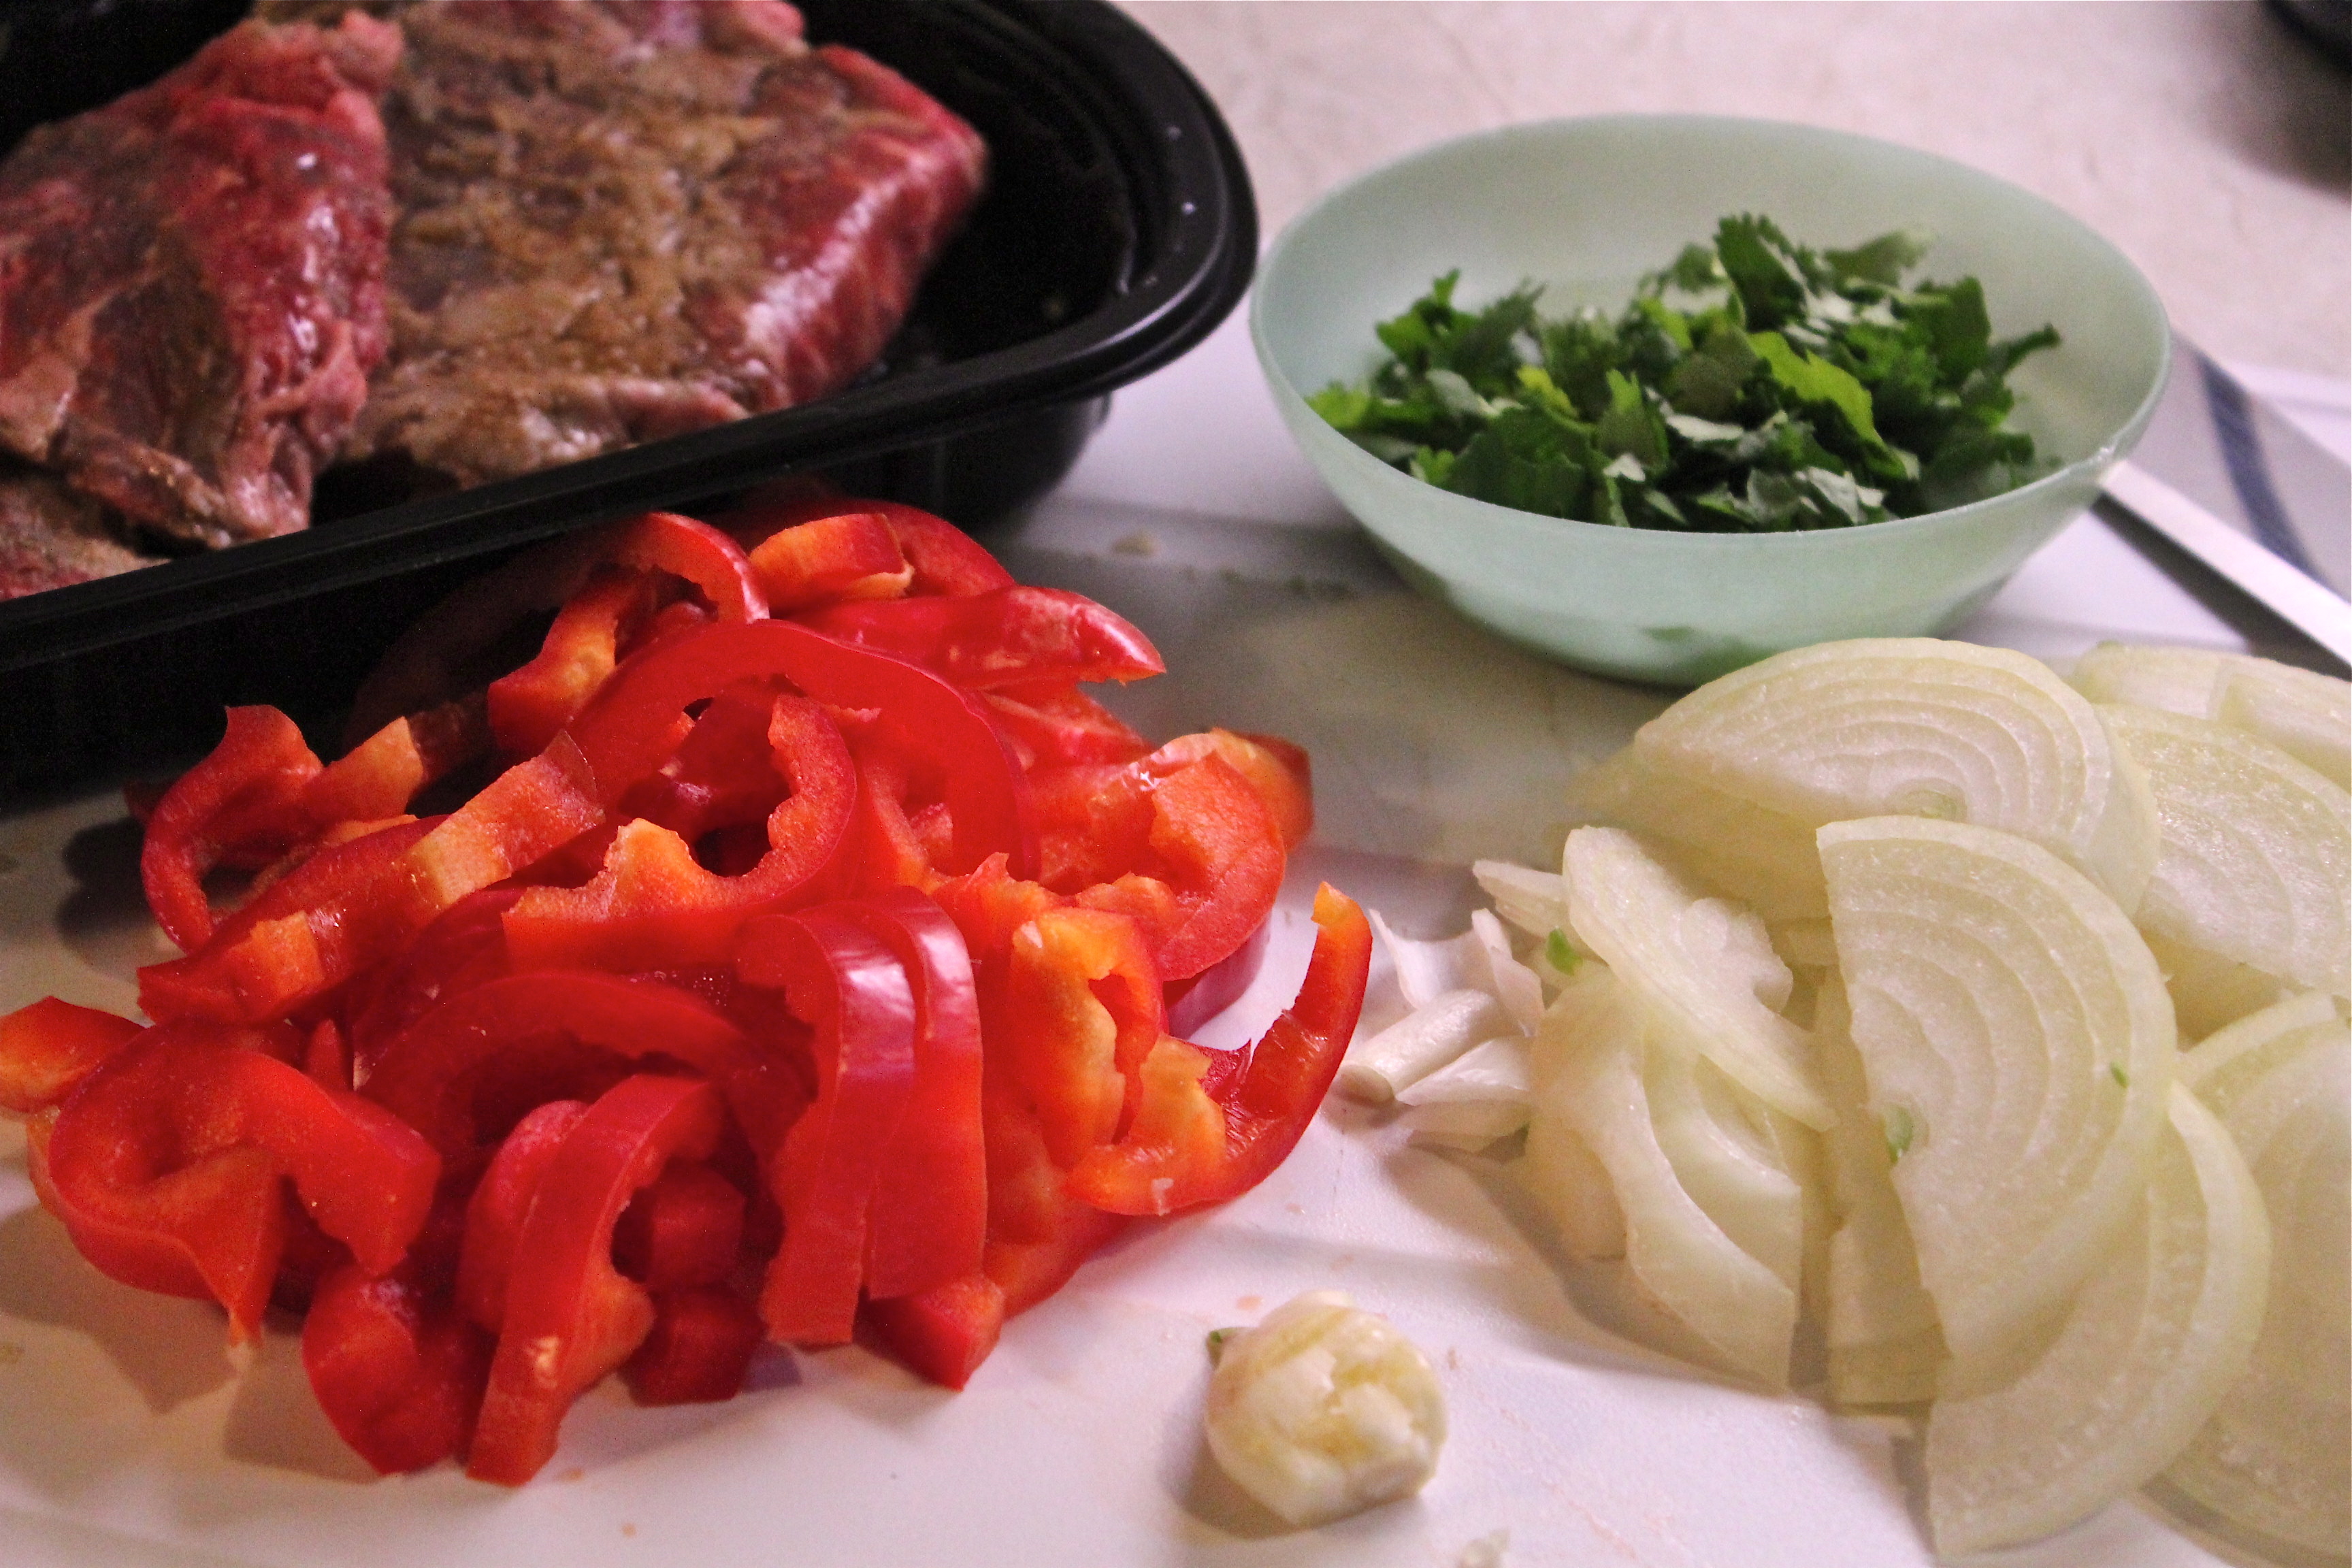
Have all ingredients cut up and ready to cook.
3. Add a small amount of additional oil to the pan if needed, add the peppers and onion, minced garlic, and season with salt and pepper. Cook, stirring, until vegetables are crisp-tender, 4 – 6 minutes. Squeeze the juice of half a lime over the top, and lightly mix in.
4. While the vegetables are cooking, warm the tortillas in the oven or microwave. Wrap in foil to keep warm.
5. Thinly slice the steak and serve with the vegetables, tortillas, cheese, tomato and cilantro.
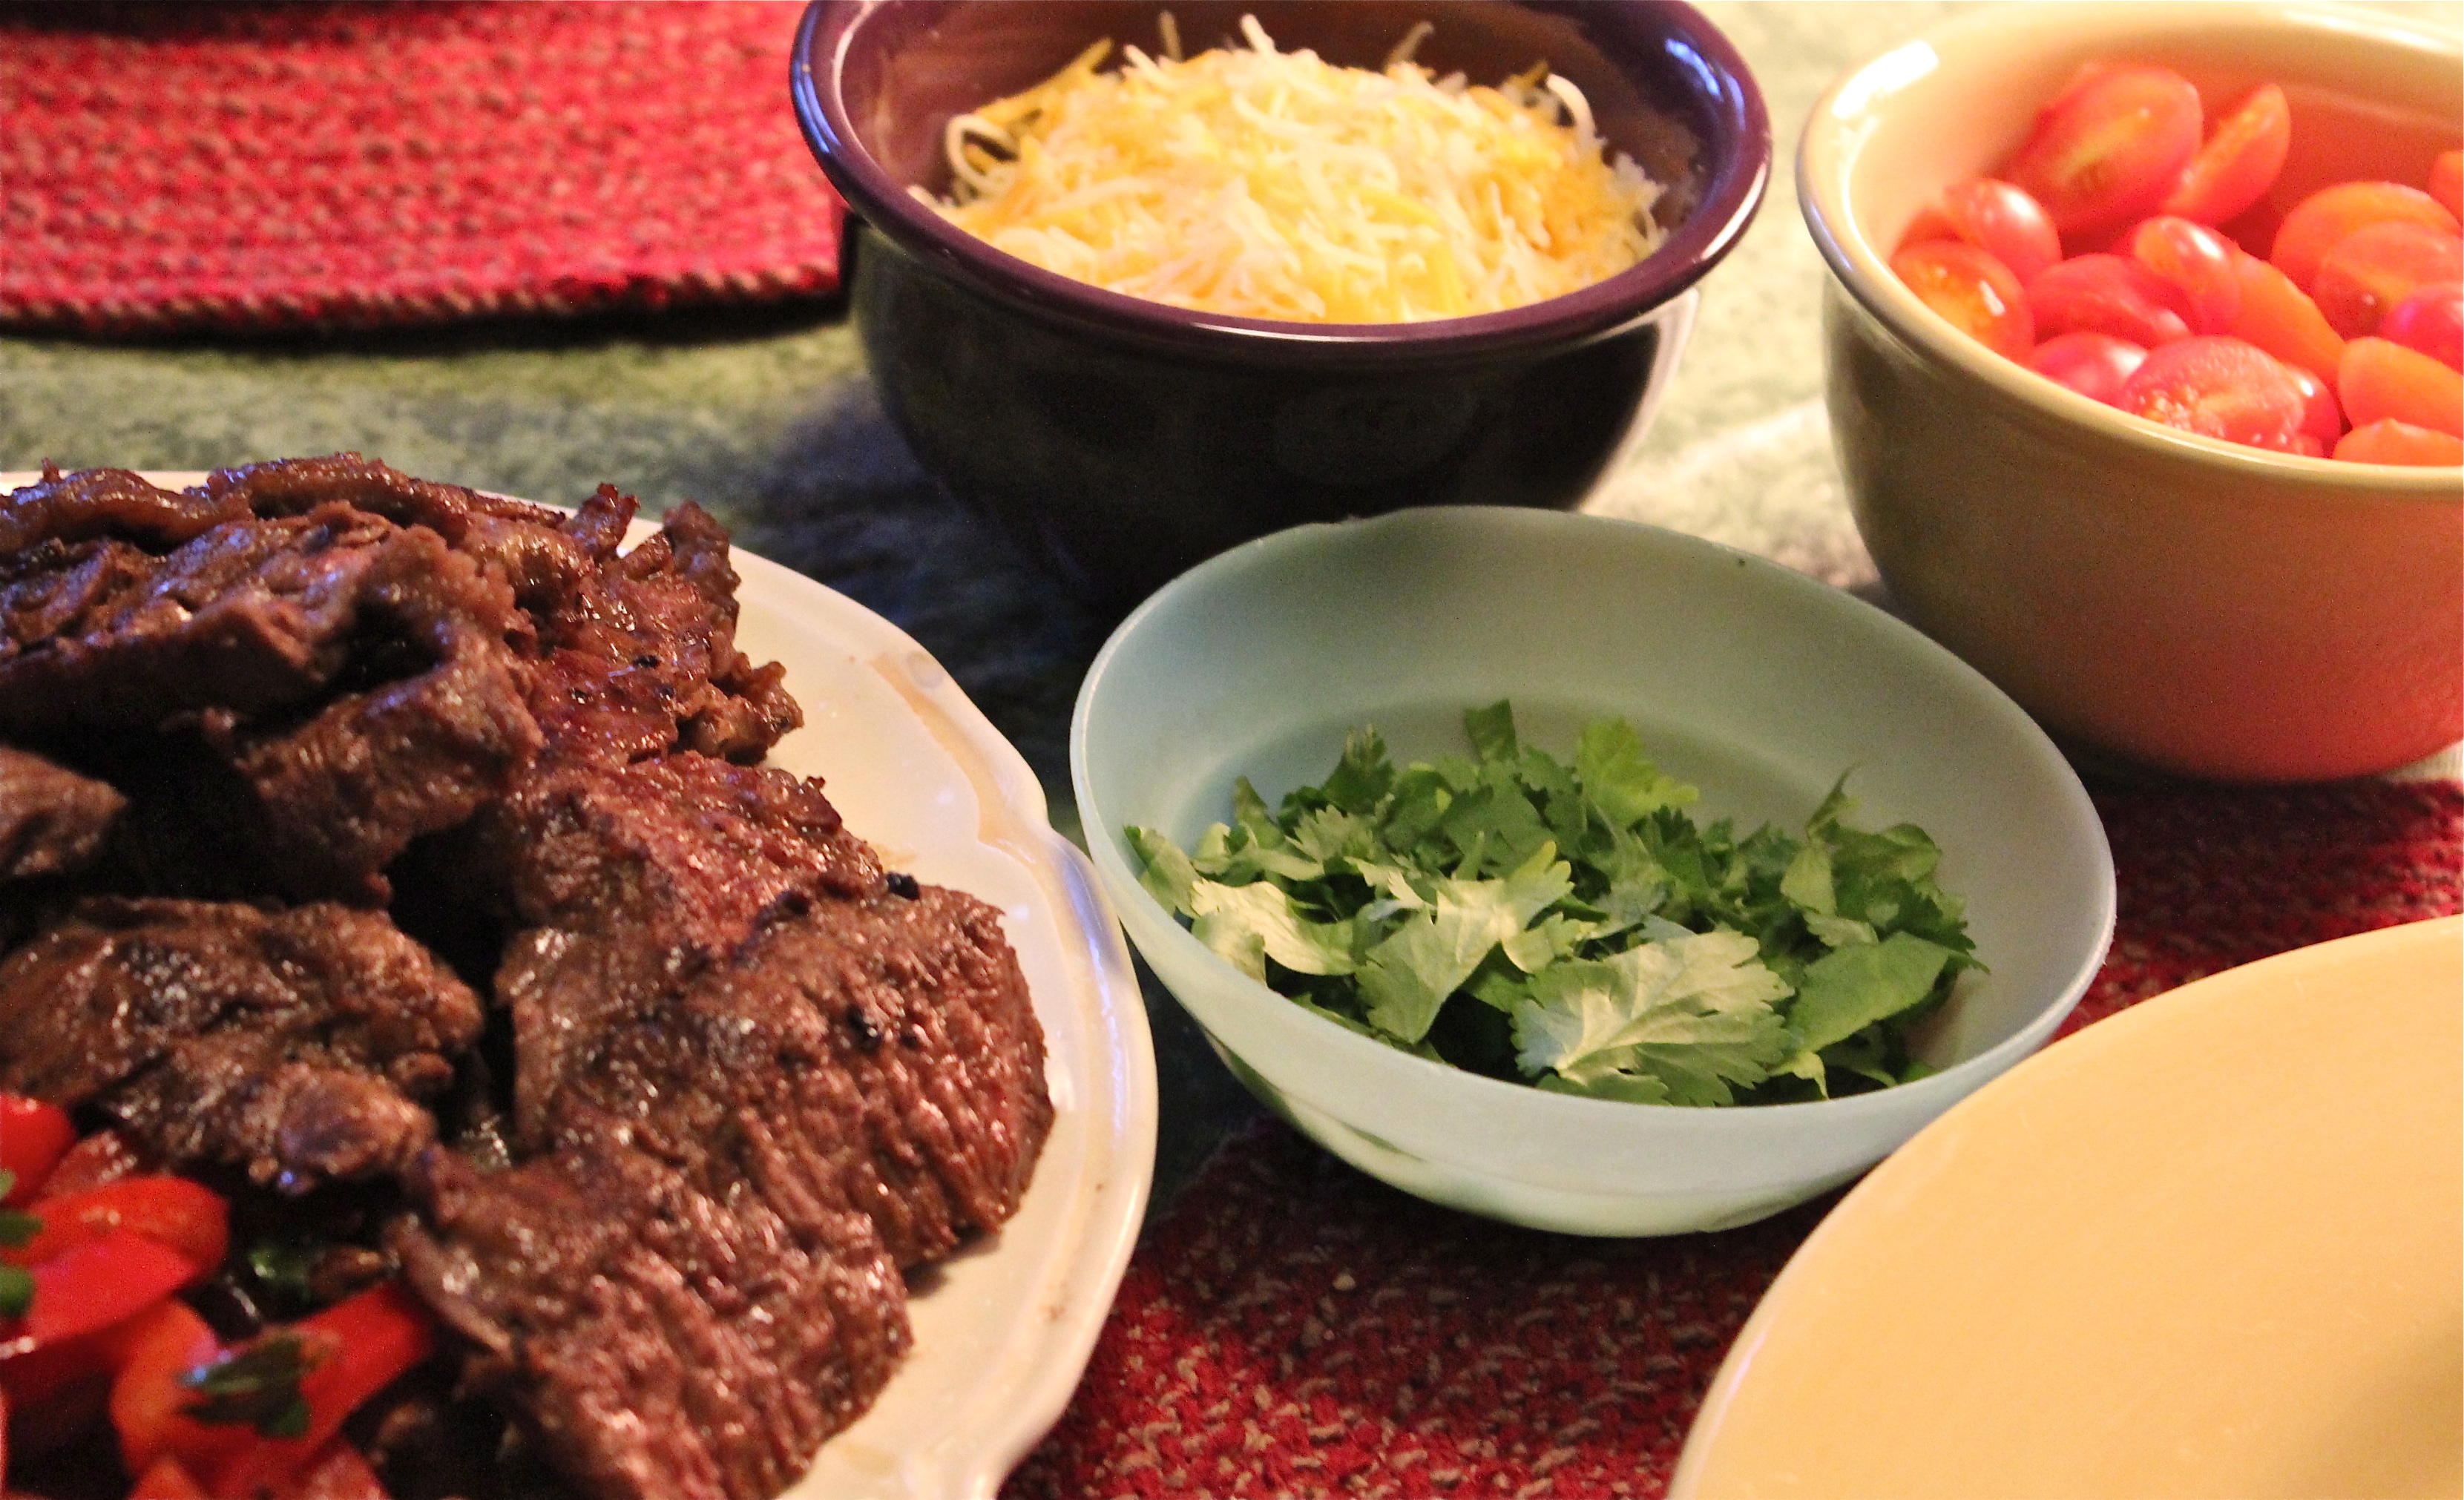
Additional garnishes at the table.

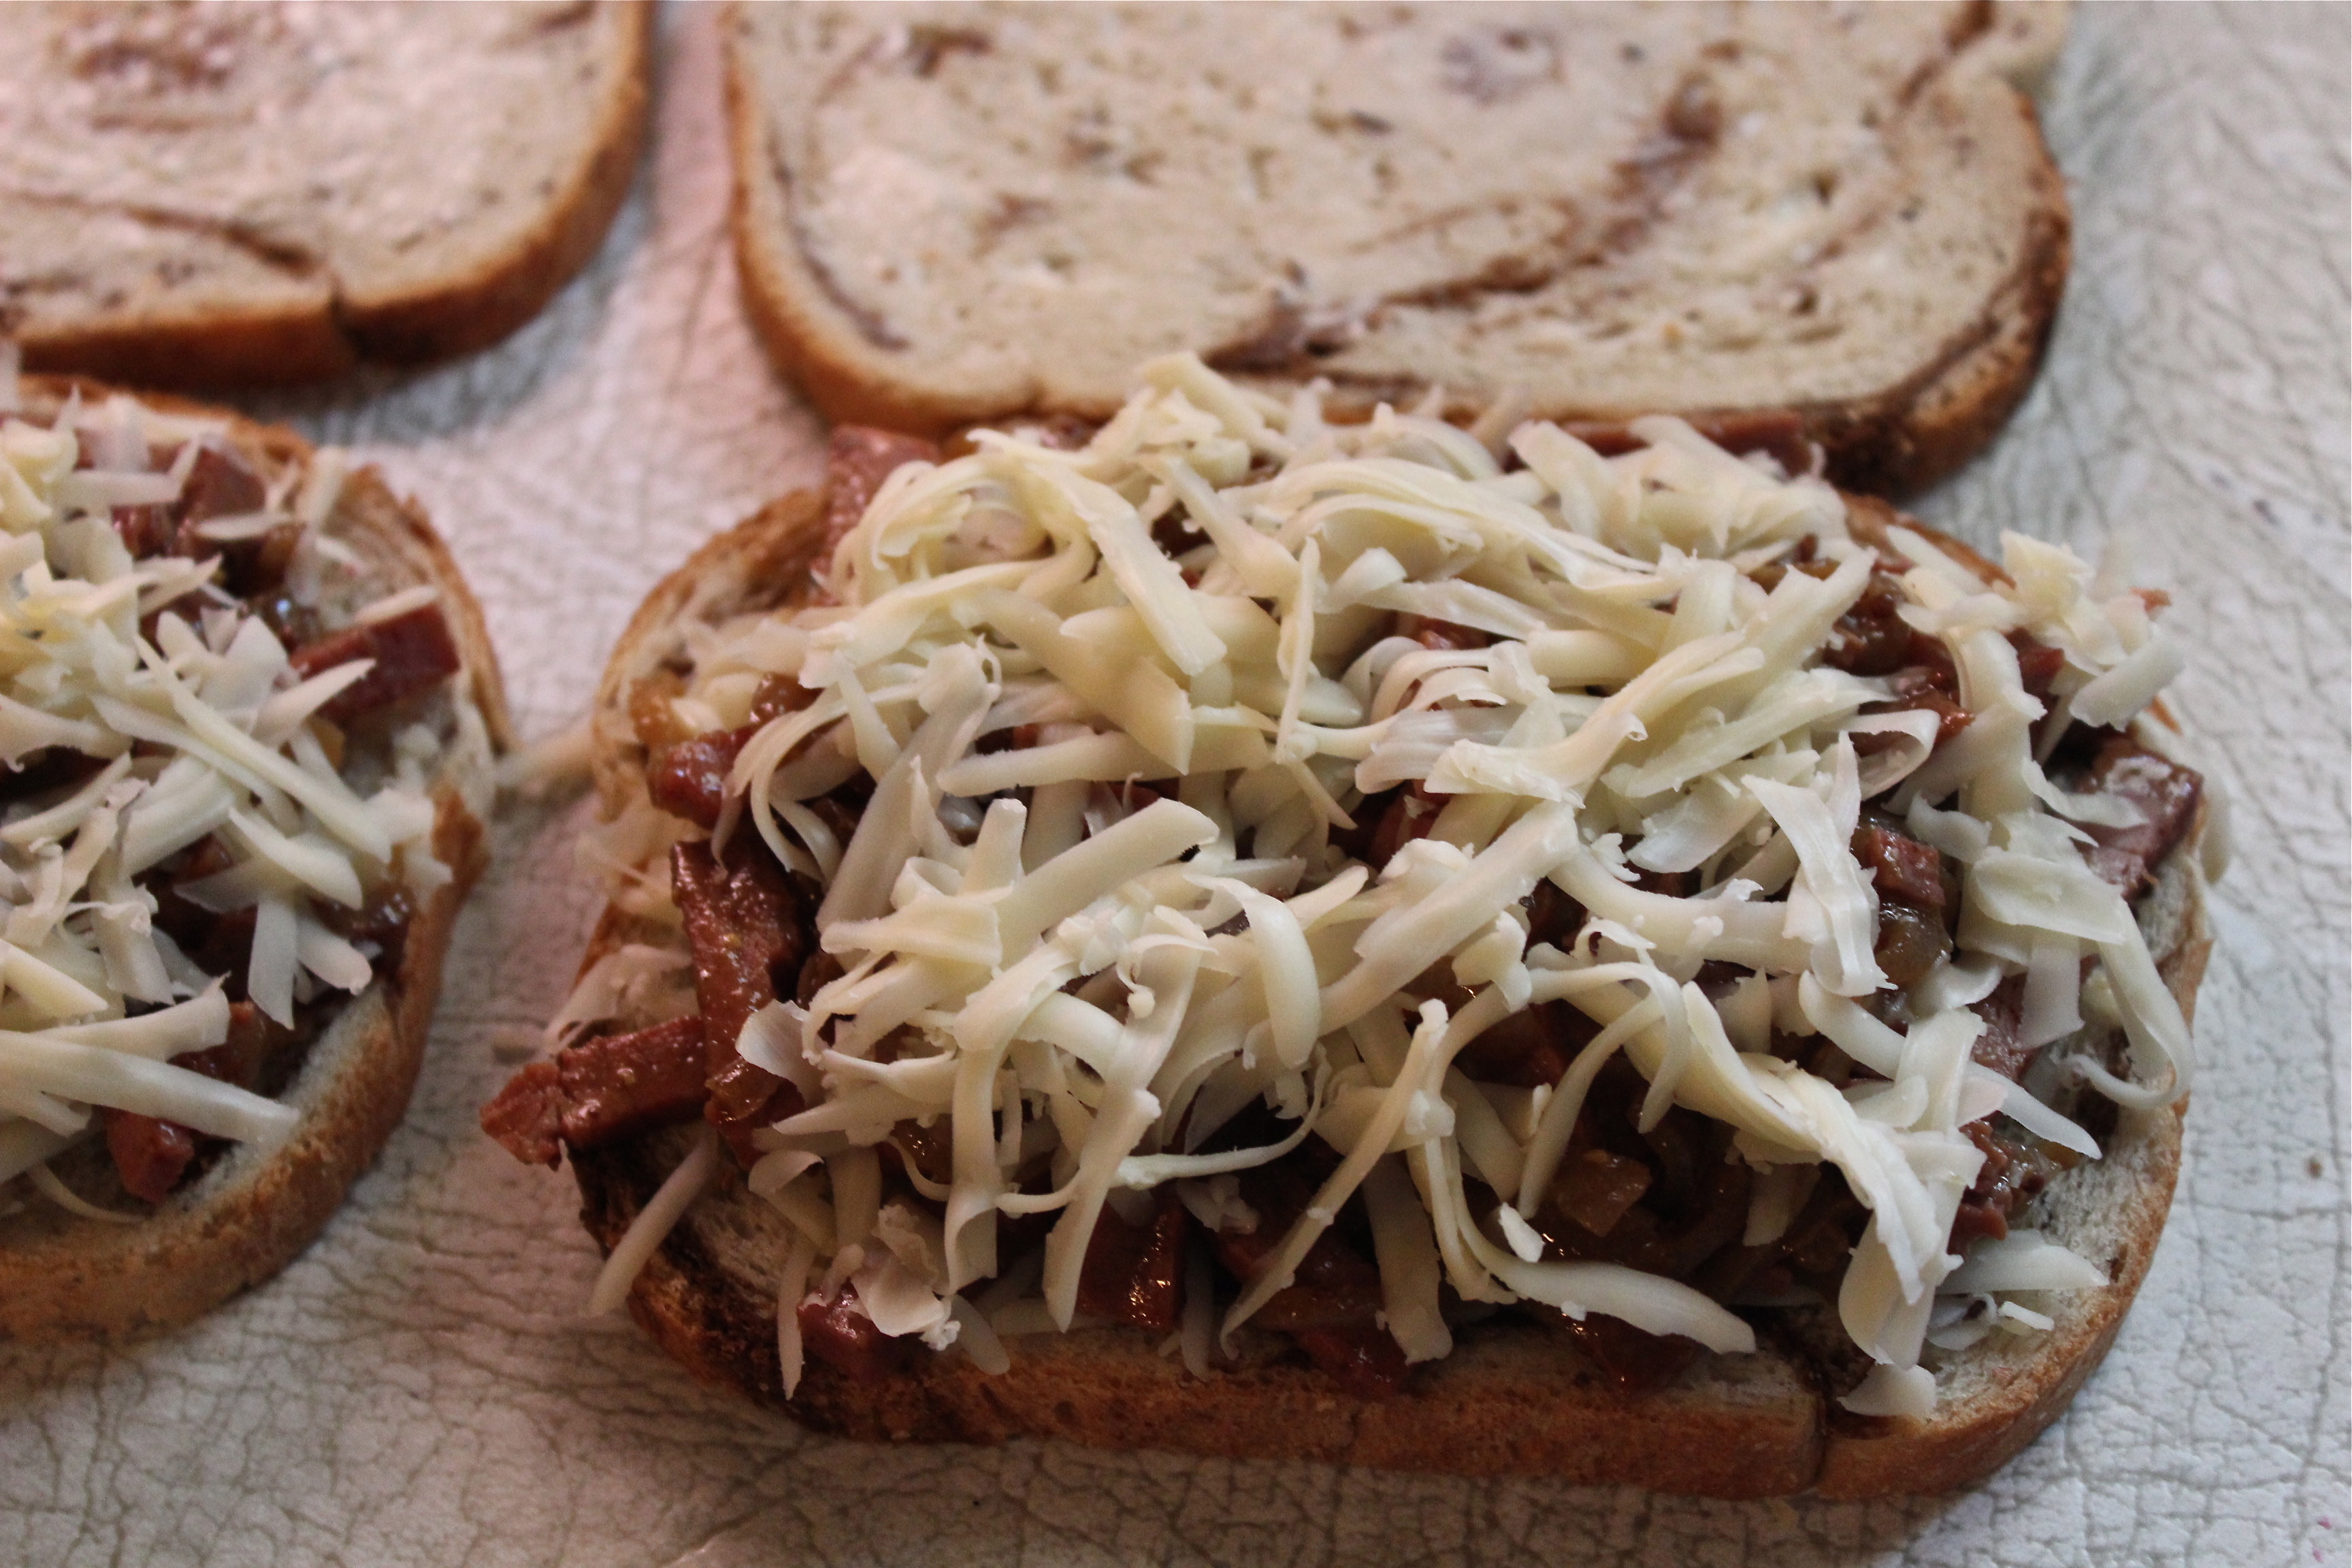
Building the Fajita.
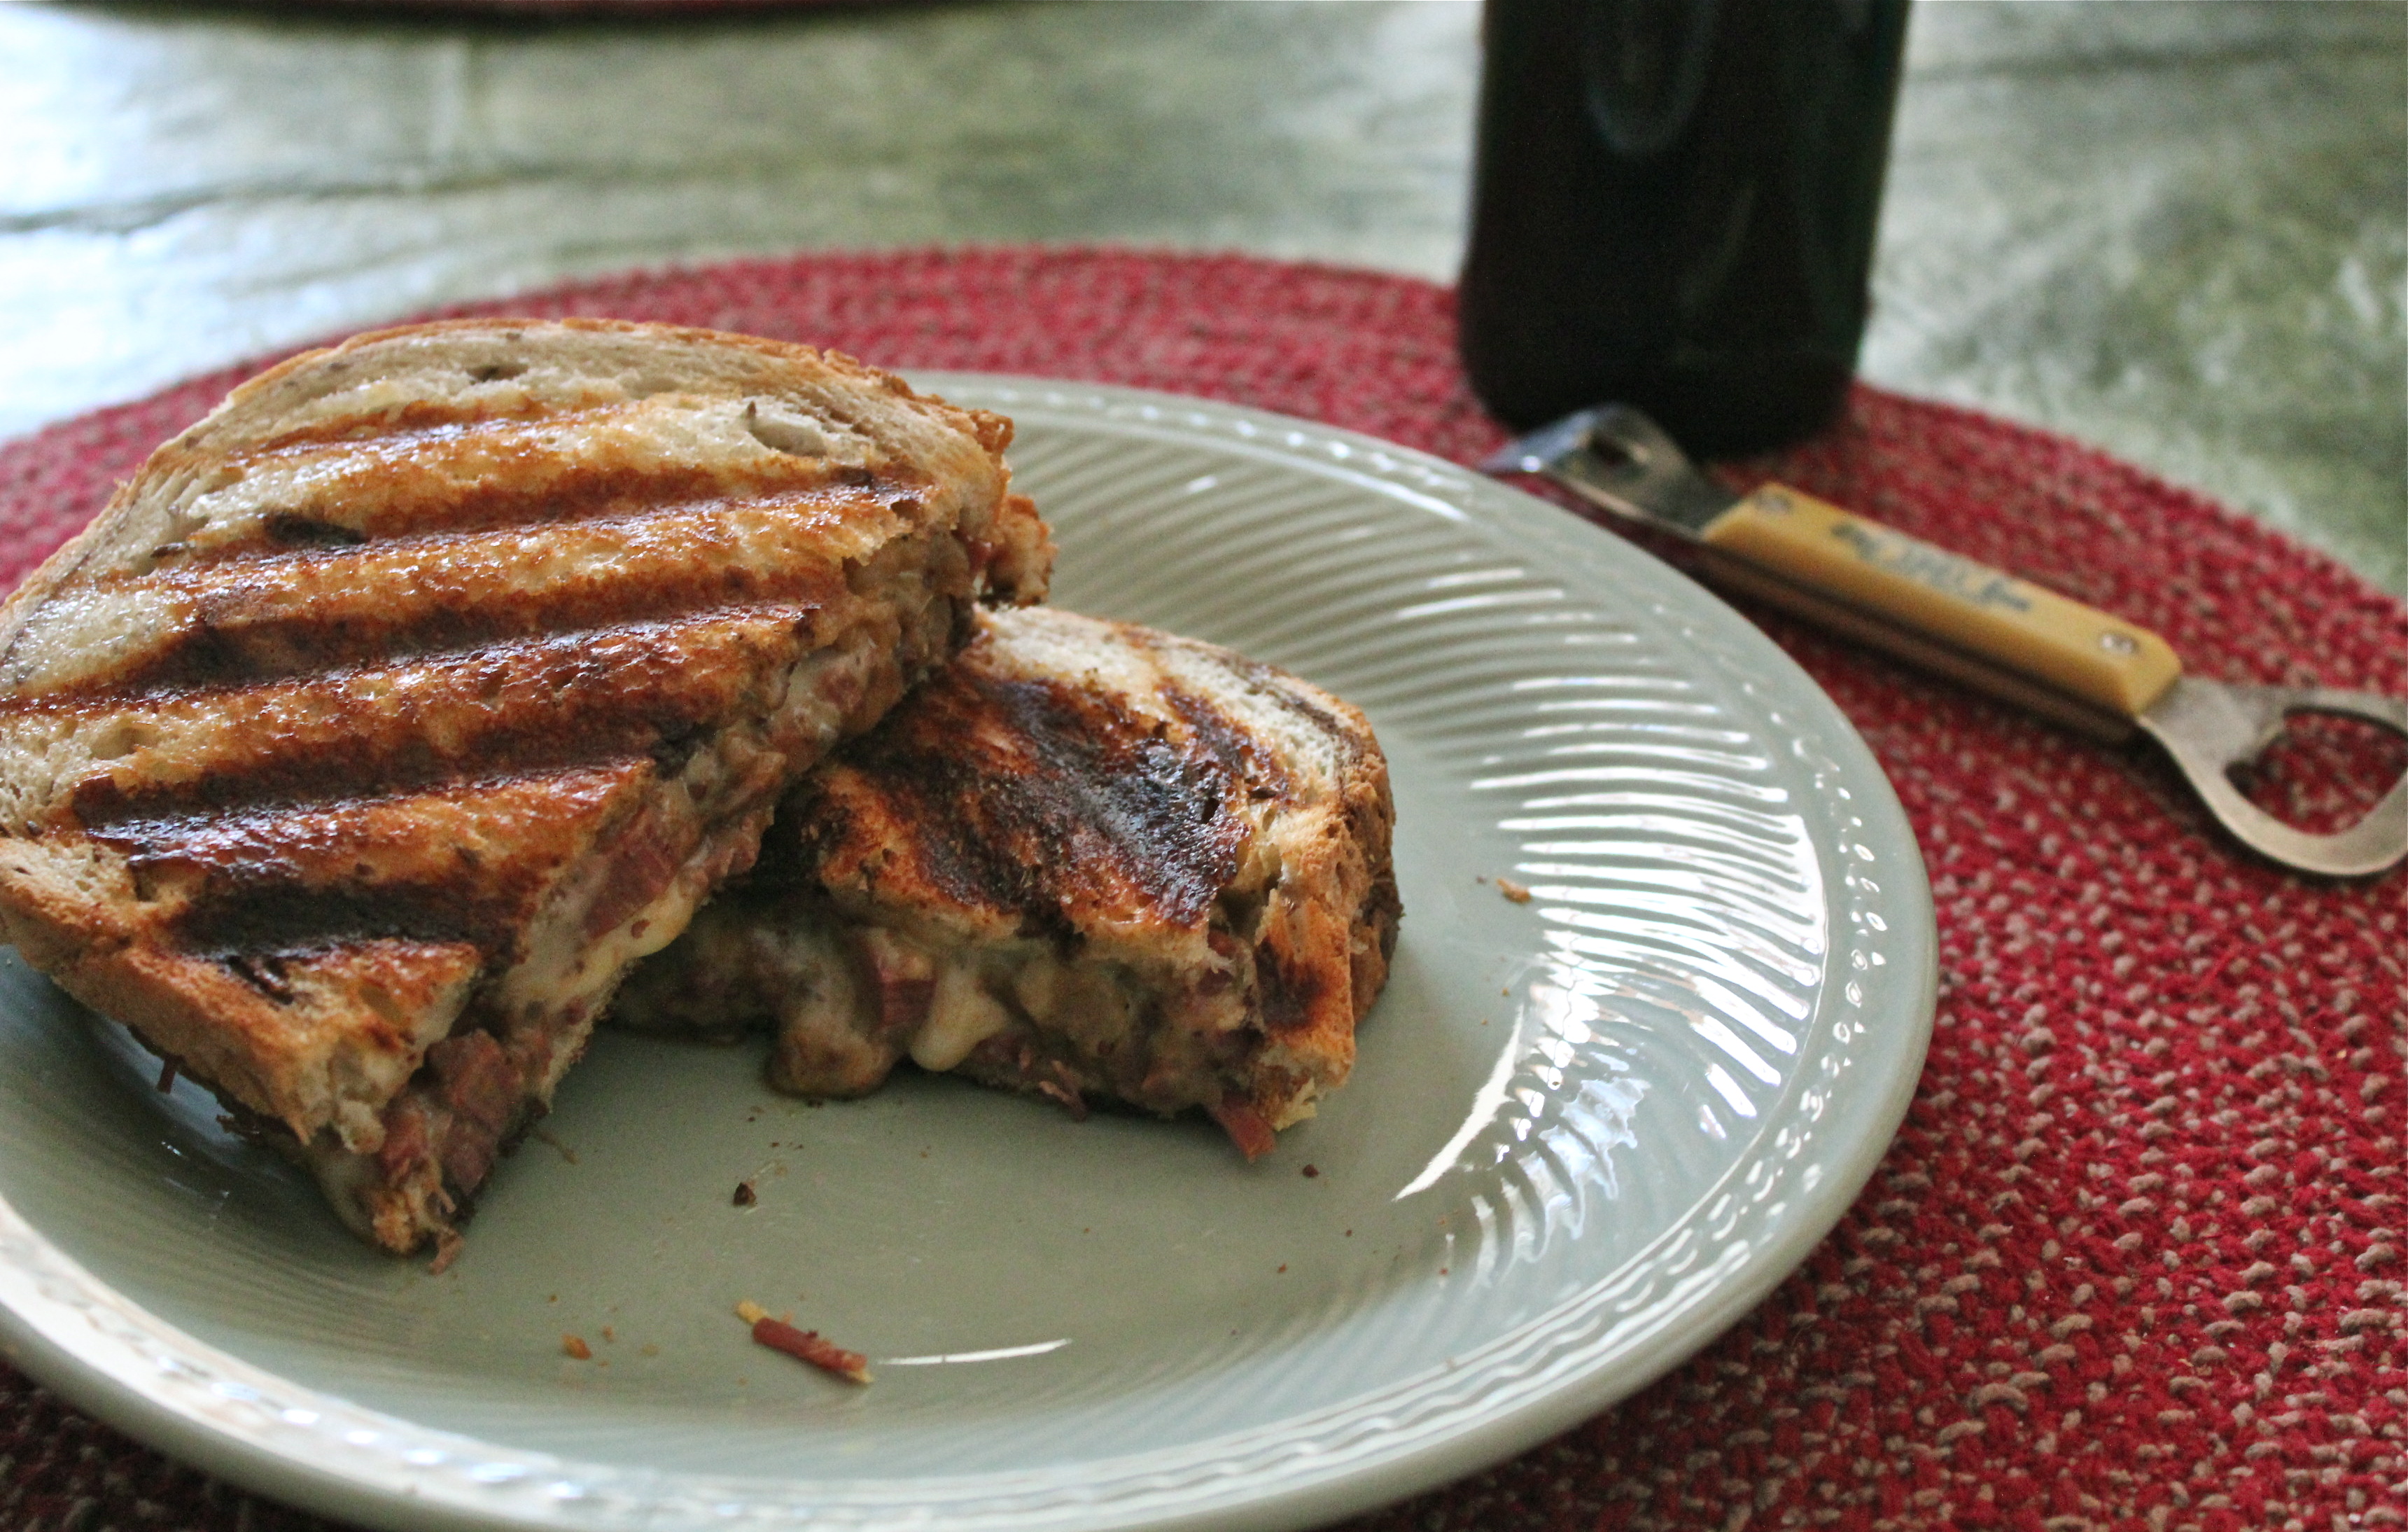
This may not be truly authentic, but it sure is good!

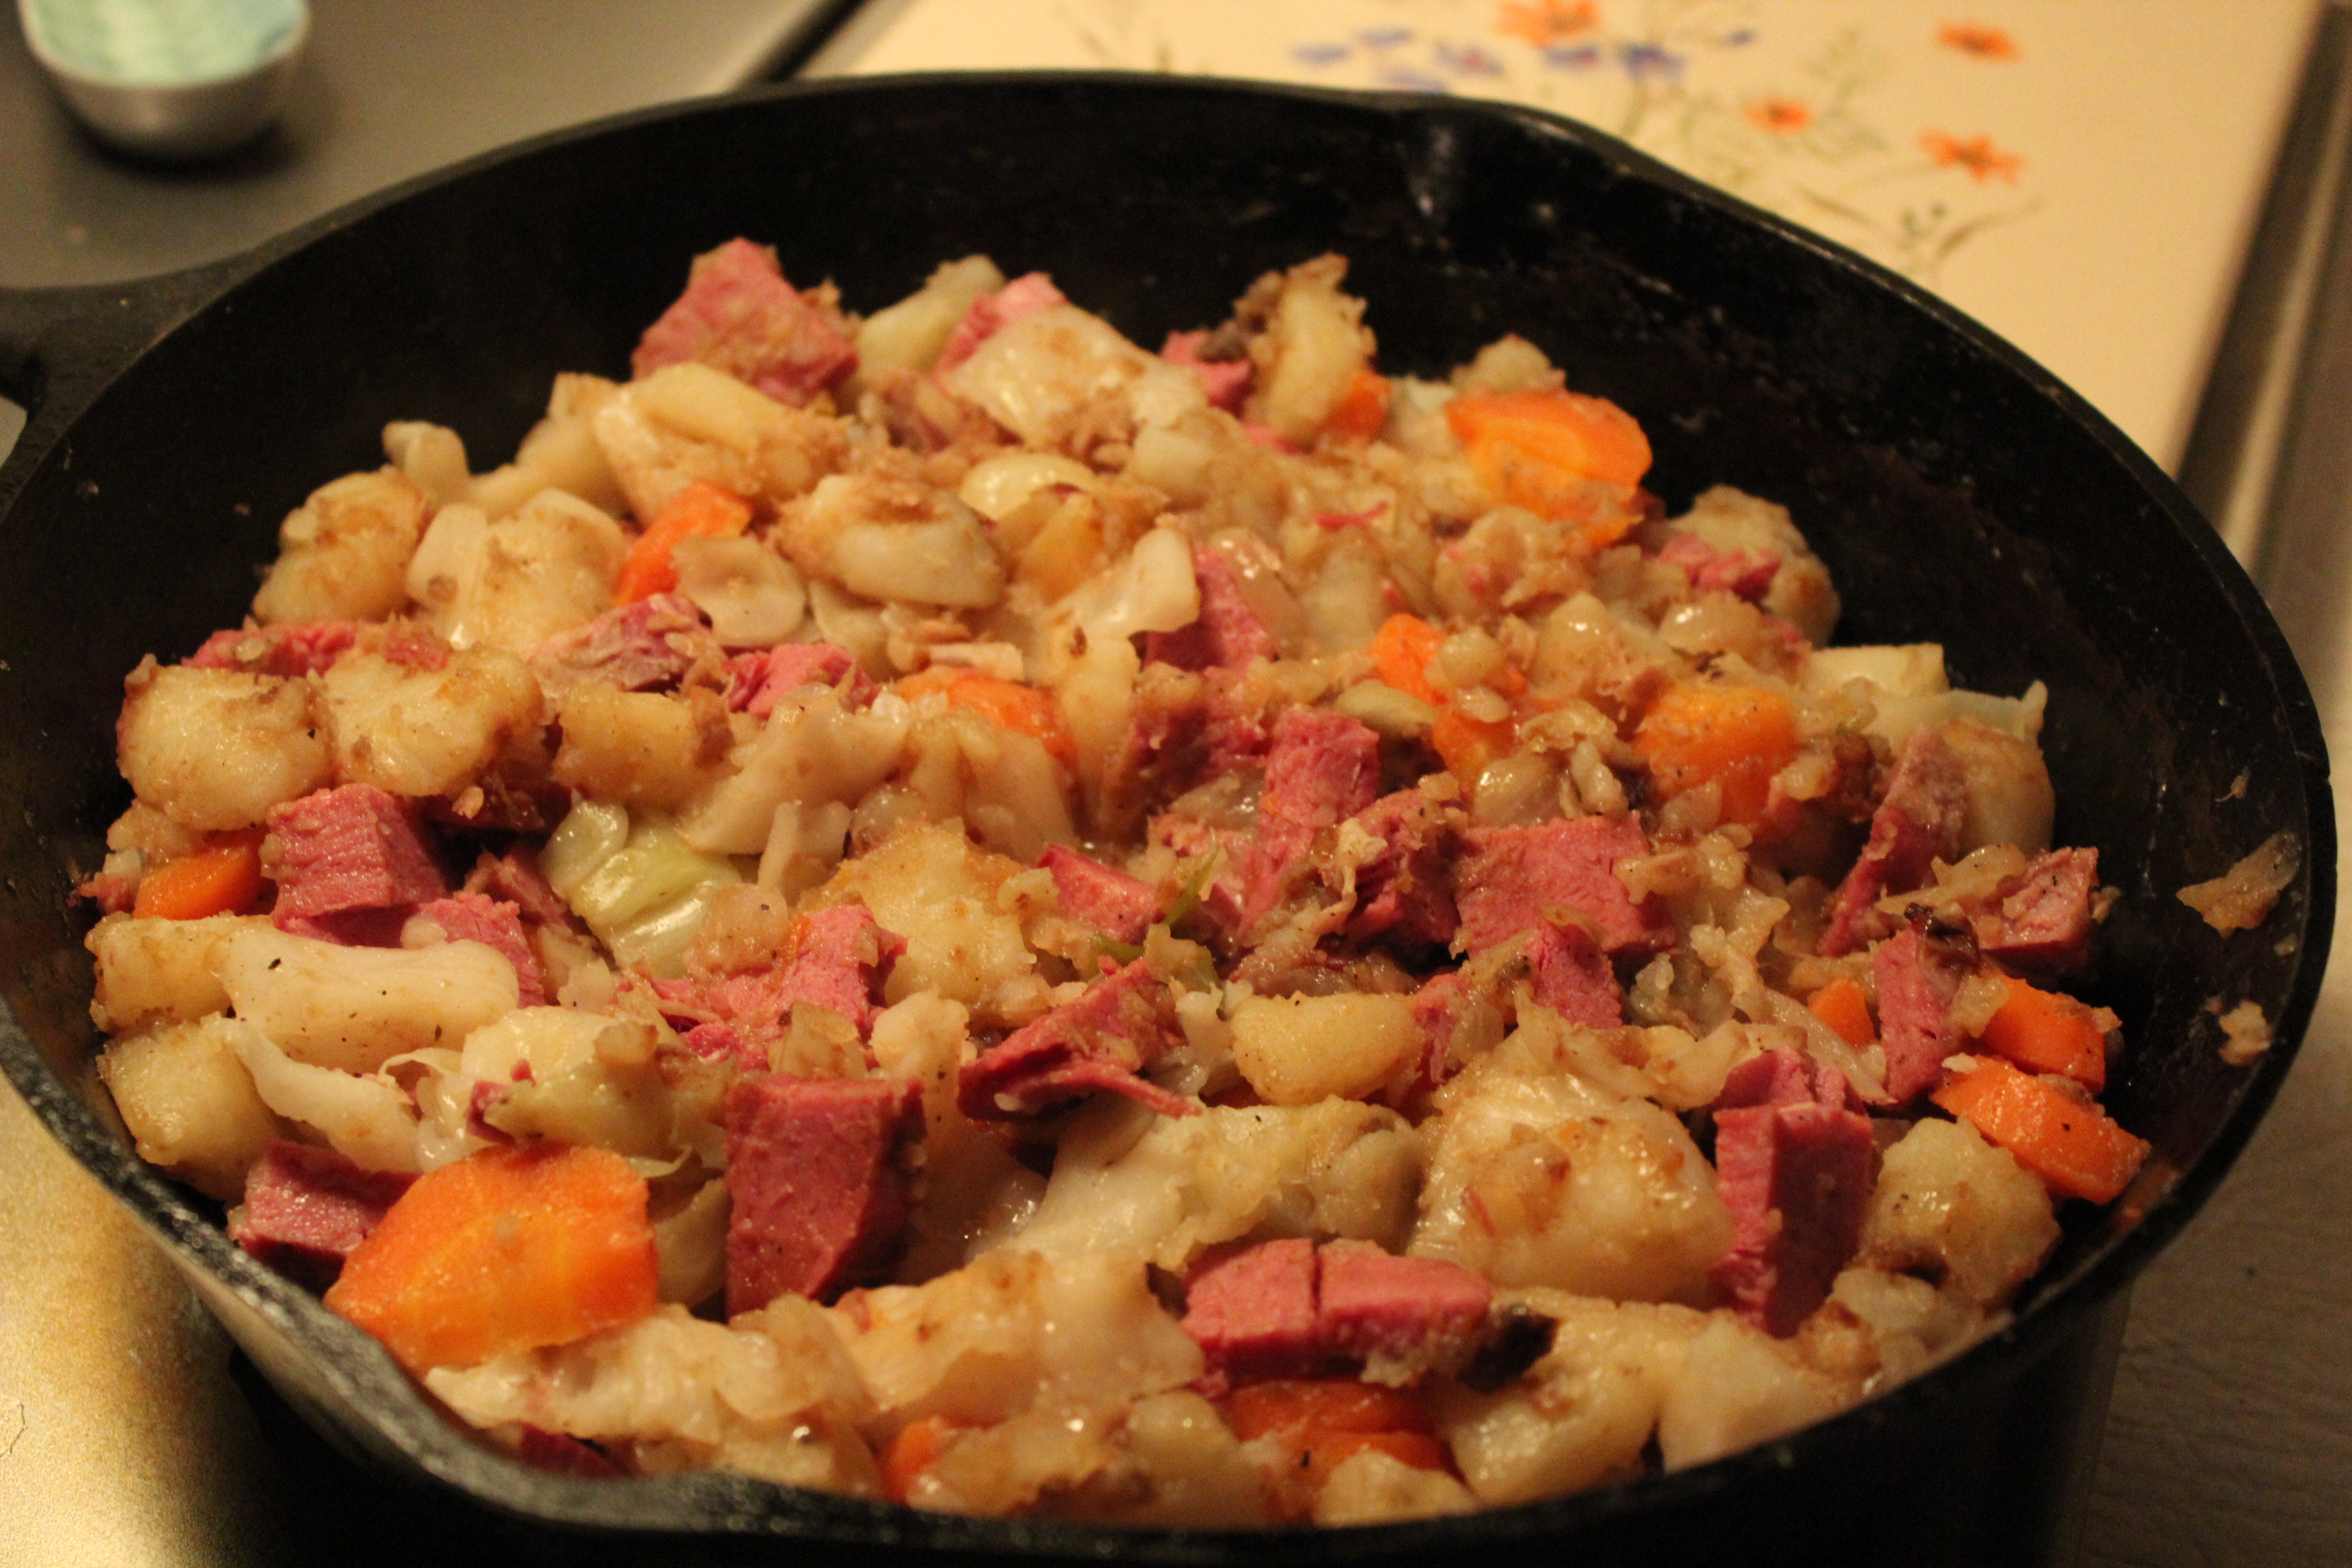
This is what was left!
SOURCE; Martha Stewart, Everyday Foods