Ahhhh, Baked macaroni and cheese!!! One of the nice things about the return of cool weather is that we can indulge in some of our favorite casseroles. The one casserole dish that stands out above all others at my house is Baked Macaroni and Cheese. Mr. D. goes nuts-o for it!
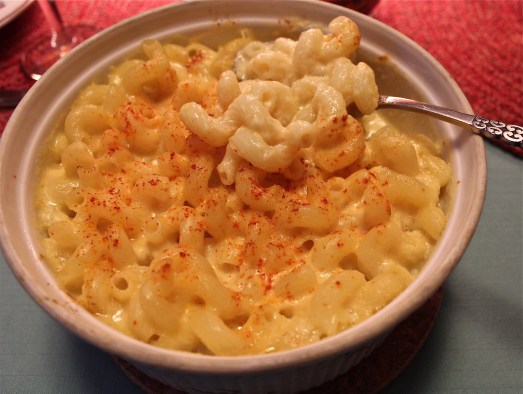
Baked cavatappi with three cheeses
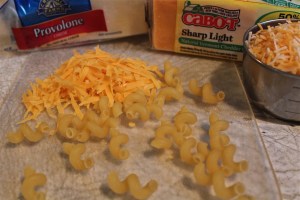
This is another of those dishes that everyone probably has a favorite recipe for, or they just make it without a recipe. That’s usually what I do. But back in 2006, (Yup, way back then), I came across this recipe that incorporates three different cheeses into the mix, and the resulting cheesiness is outstanding. The other thing I like about it is using a different shape pasta. Most everyone I know uses elbows, and there’s nothing wrong with elbows, I love them, too. But, ya know? Sometimes I just need a change!
So cavatappi is what is called for in this recipe, or any other interesting pasta that excites you. But be different, don’t use elbows. When choosing a pasta shape, think about what will hold all that cheese sauce best– something with curves or openings for the cheese to cling to. Along with the mac and cheese, I like to serve ham, and a green vegetable. The evening I made this I had sautéd beet greens, but spinach or broccoli would also be good with it. Omit the meat and serve with just a vegetable or a big salad and it becomes a great meatless meal.
Mr. D. said this meal was so special that it felt like a Birthday dinner. I told him I was practicing for his birthday! 😀
This recipe is one I prepare when I want to splurge a little and serve something rich and decadent, because of the quantity and quality of cheese used. You can certainly substitute different cheeses if you wish, but choose those that have good melting abilities.

CAVATAPPI CASSEROLE WITH THREE CHEESES
Yield: 6 – 8 servings
Ingredients:
- 1 pound cavatappi or other short, spiral shaped pasta
Squiggily pasta and three cheeses become a super mac and cheese dinner.
- 4 Tablespoons butter
- 4 Tablespoons all-purpose flour
- 4 cups milk
- 1/2 teaspoon salt
- 1/4 teaspoon freshly ground black pepper
- 1/8 teaspoon ground red pepper (optional)
- 8 ounces Gruyére cheese, grated ( 2 cups)
- 6 ounces Gouda cheese, shredded ( 1 1/2 cups)
- 2 ounces Parmesan cheese, grated, ( 1/2 cup)
Directions:
1. Cook pasta according to package directions. Drain and set aside. Lightly grease a 13 x 9-inch glass baking dish, or similar size casserole, or 6 – 8 individual ramekins, and set aside. Preheat oven to 350*F.
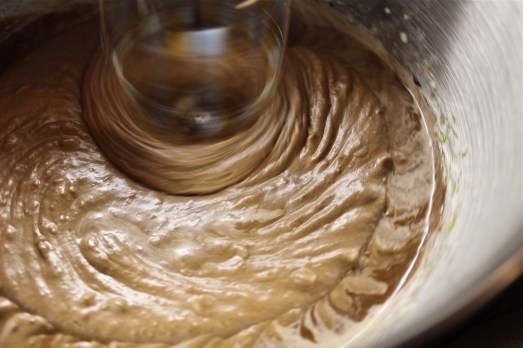
2. Melt butter in a Dutch oven over medium-high heat. Add flour, and cook whisking constantly, 1 minute. Slowly whisk in milk, and cook, whisking constantly. 5 minutes or until mixture comes to a boil and thickens. Whisk in salt, black pepper and if desired red pepper. Remove from heat, and add 1 cup Gruyére, whisking until smooth. Add Gouda and Parmesan, and whisk until smooth.

Add cheese sauce to cooked pasta.
3. Add sauce to pasta and stir to combine. Transfer mixture to prepared dish or ramekins, top with remaining 1 cup Gruyére, and bake at 350*F for 20 minutes or until bubbly.
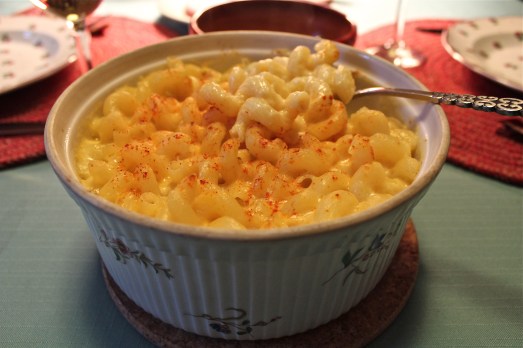
Doesn’t that look good?
SOURCE: Country Living