Pumpkin Crumb Cake
In the morning there are often “sleepy-heads” who take their time about getting to breakfast. If it’s your job to marshall the troops in the morning, this cake might just be the magic that gets everybody up and on their feet. What, cake for breakfast, you’re asking? Yes! This one has all good things in it to jump start the day.
Starting with pumpkin providing carotene and fiber, add eggs for protein, some walnuts with their heart-healthy oil, a topping that’s heavy on the oatmeal (but I won’t tell if you won’t), and milk. The flavor is outstanding–not sweet, just right– and the crumb will melt in your mouth especially if served warm.
I baked this cake on a Saturday afternoon intending it for Sunday morning, but we could not ignore the wonderful aroma of it baking. When I asked Mr. D. if he would like a piece with coffee he replied, “I thought you would never ask.” It was as flavorful and satisfying as the aroma promised and we both wanted another piece. (But we didn’t).

PUMPKIN CRUMB CAKE
SERVINGS: About 12
INGREDIENTS for the cake:
- 1 3/4 cups all-purpose flour
- 1 1/2 teaspoon pumpkin pie spice
- 1/4 teaspoon cloves
- 1 teaspoon baking soda
- 1 teaspoon baking powder
- 3/4 teaspoon salt
- 1/2 cup ( 1 stick ) unsalted butter (If you use salted butter, cut back on the salt.)
- 1 cup sugar
- 3 large eggs
- 1 cup pumpkin puree
- 1 teaspoon vanilla
- 1/3 cup milk
- 3/4 cup chopped walnuts

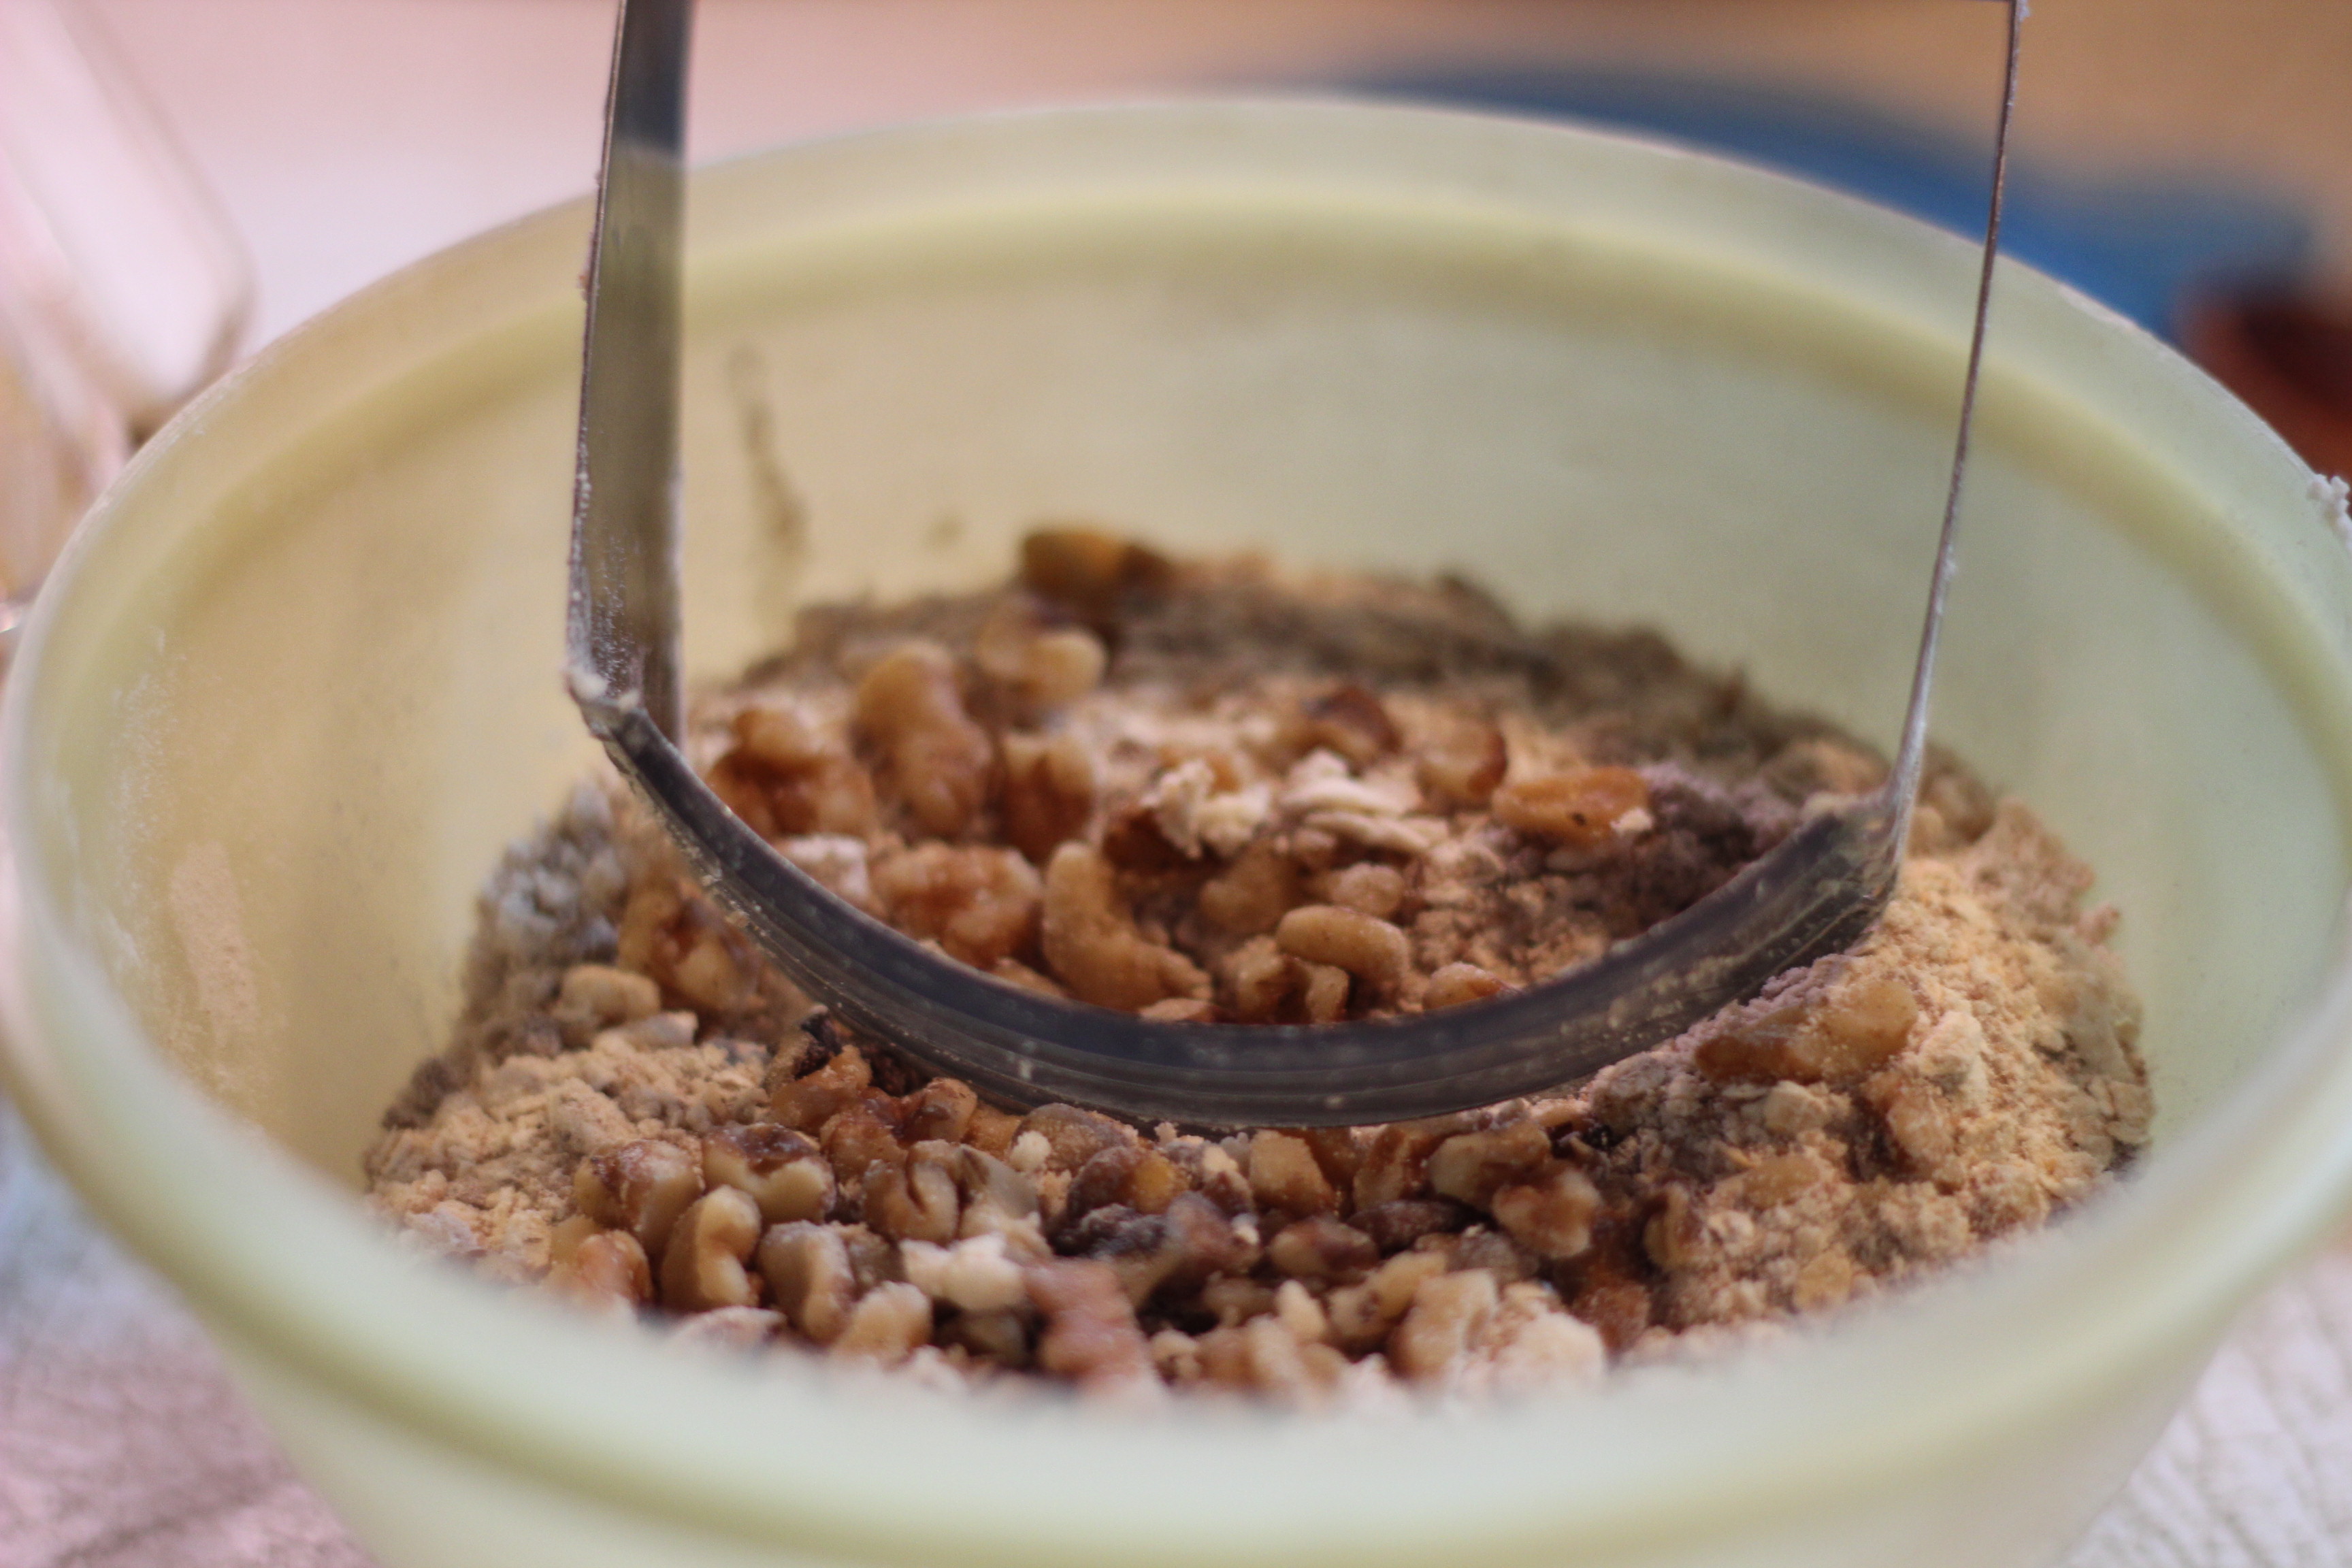
Making the crumb topping
For the TOPPING:
- 2/3 cup plus 2 Tablespoons rolled oats
- 1/2 cup flour
- 1/2 cup packed brown sugar
- 1/2 teaspoon cinnamon
- 6 Tablespoons unsalted butter
DIRECTIONS
1. Preheat oven to 350*, grease or spray a 8″ x 11″ baking dish.
2. In a medium bowl whisk together all the dry ingredients (flour through salt) and set aside.
3. In a large mixer bowl, cream the butter till light and fluffy. Gradually add in the sugar and continue creaming. Add the eggs one at a time scraping down the sides of the bowl after each.
4. Add the pumpkin and vanilla and mix in well.
5. Add in the dry ingredients alternately with the milk just till incorporated.
6. With a spoon, stir in the nuts. Pour into the prepared baking dish.
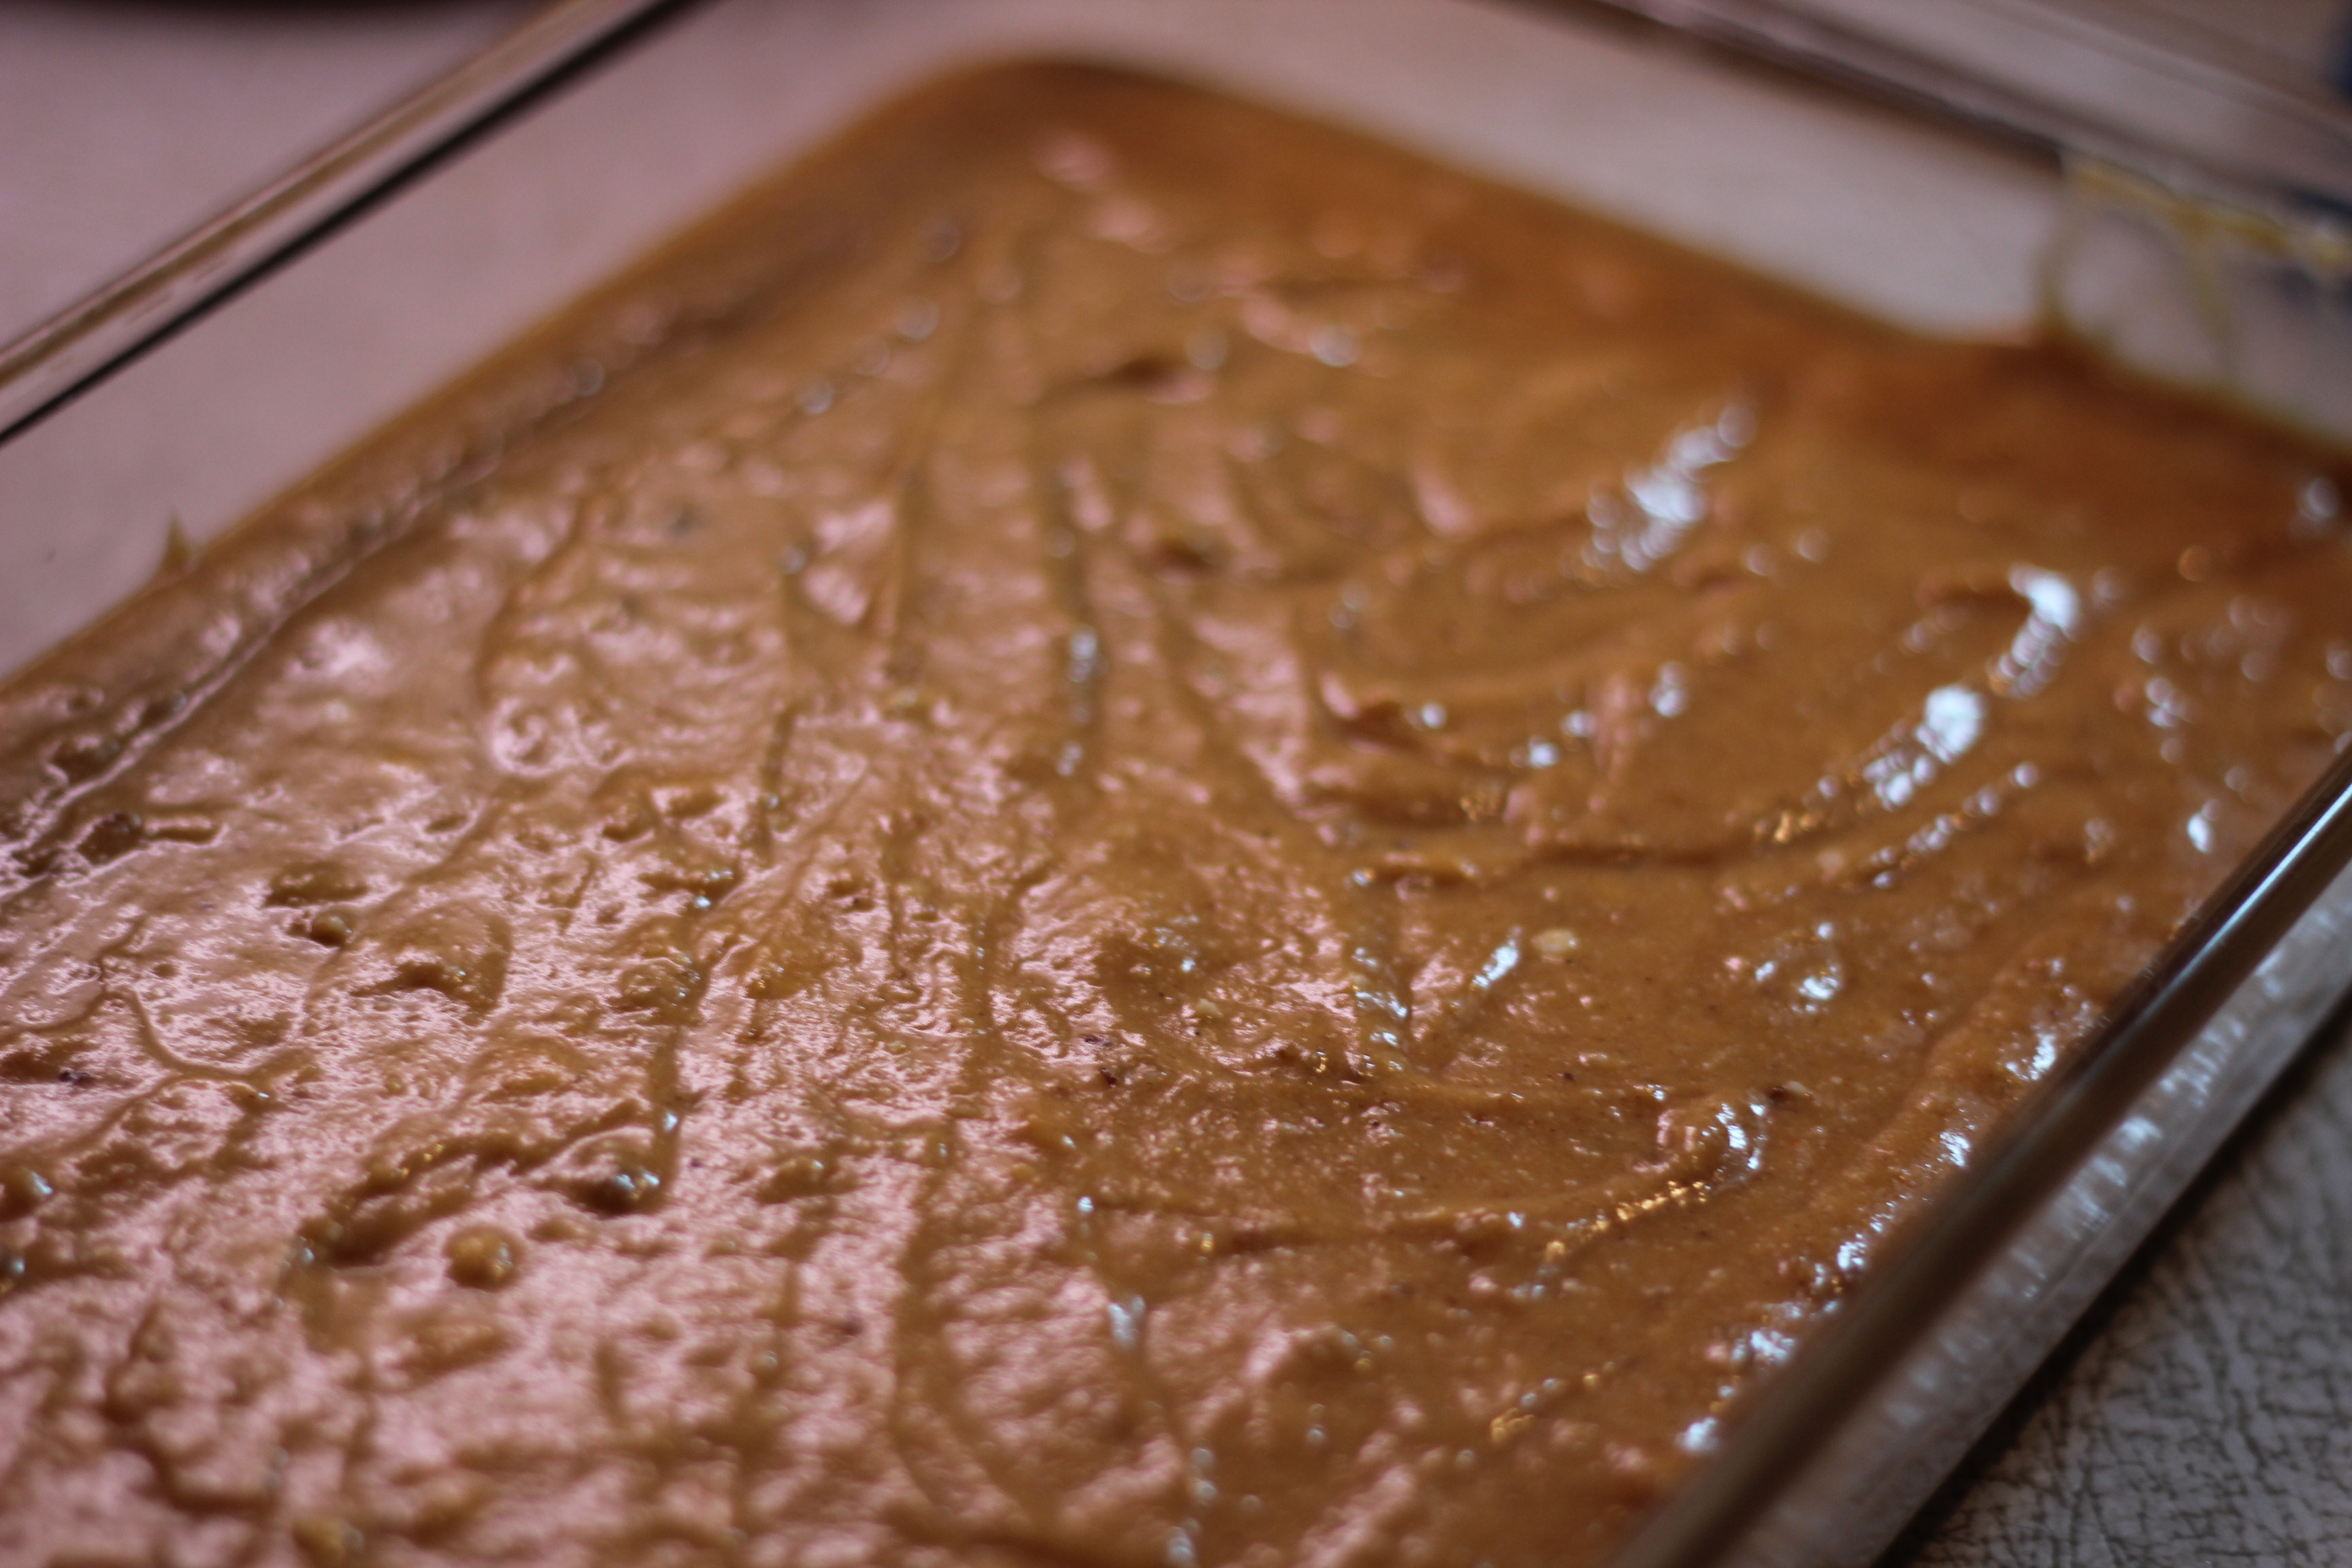
Cake batter in the baking dish.
7. Prepare the crumb topping: In the medium bowl, measure out the oats, flour, brown sugar and cinnamon. Whisk together. Cut in the butter using a pastry cutter or two knives. Sprinkle over the cake batter in the pan.
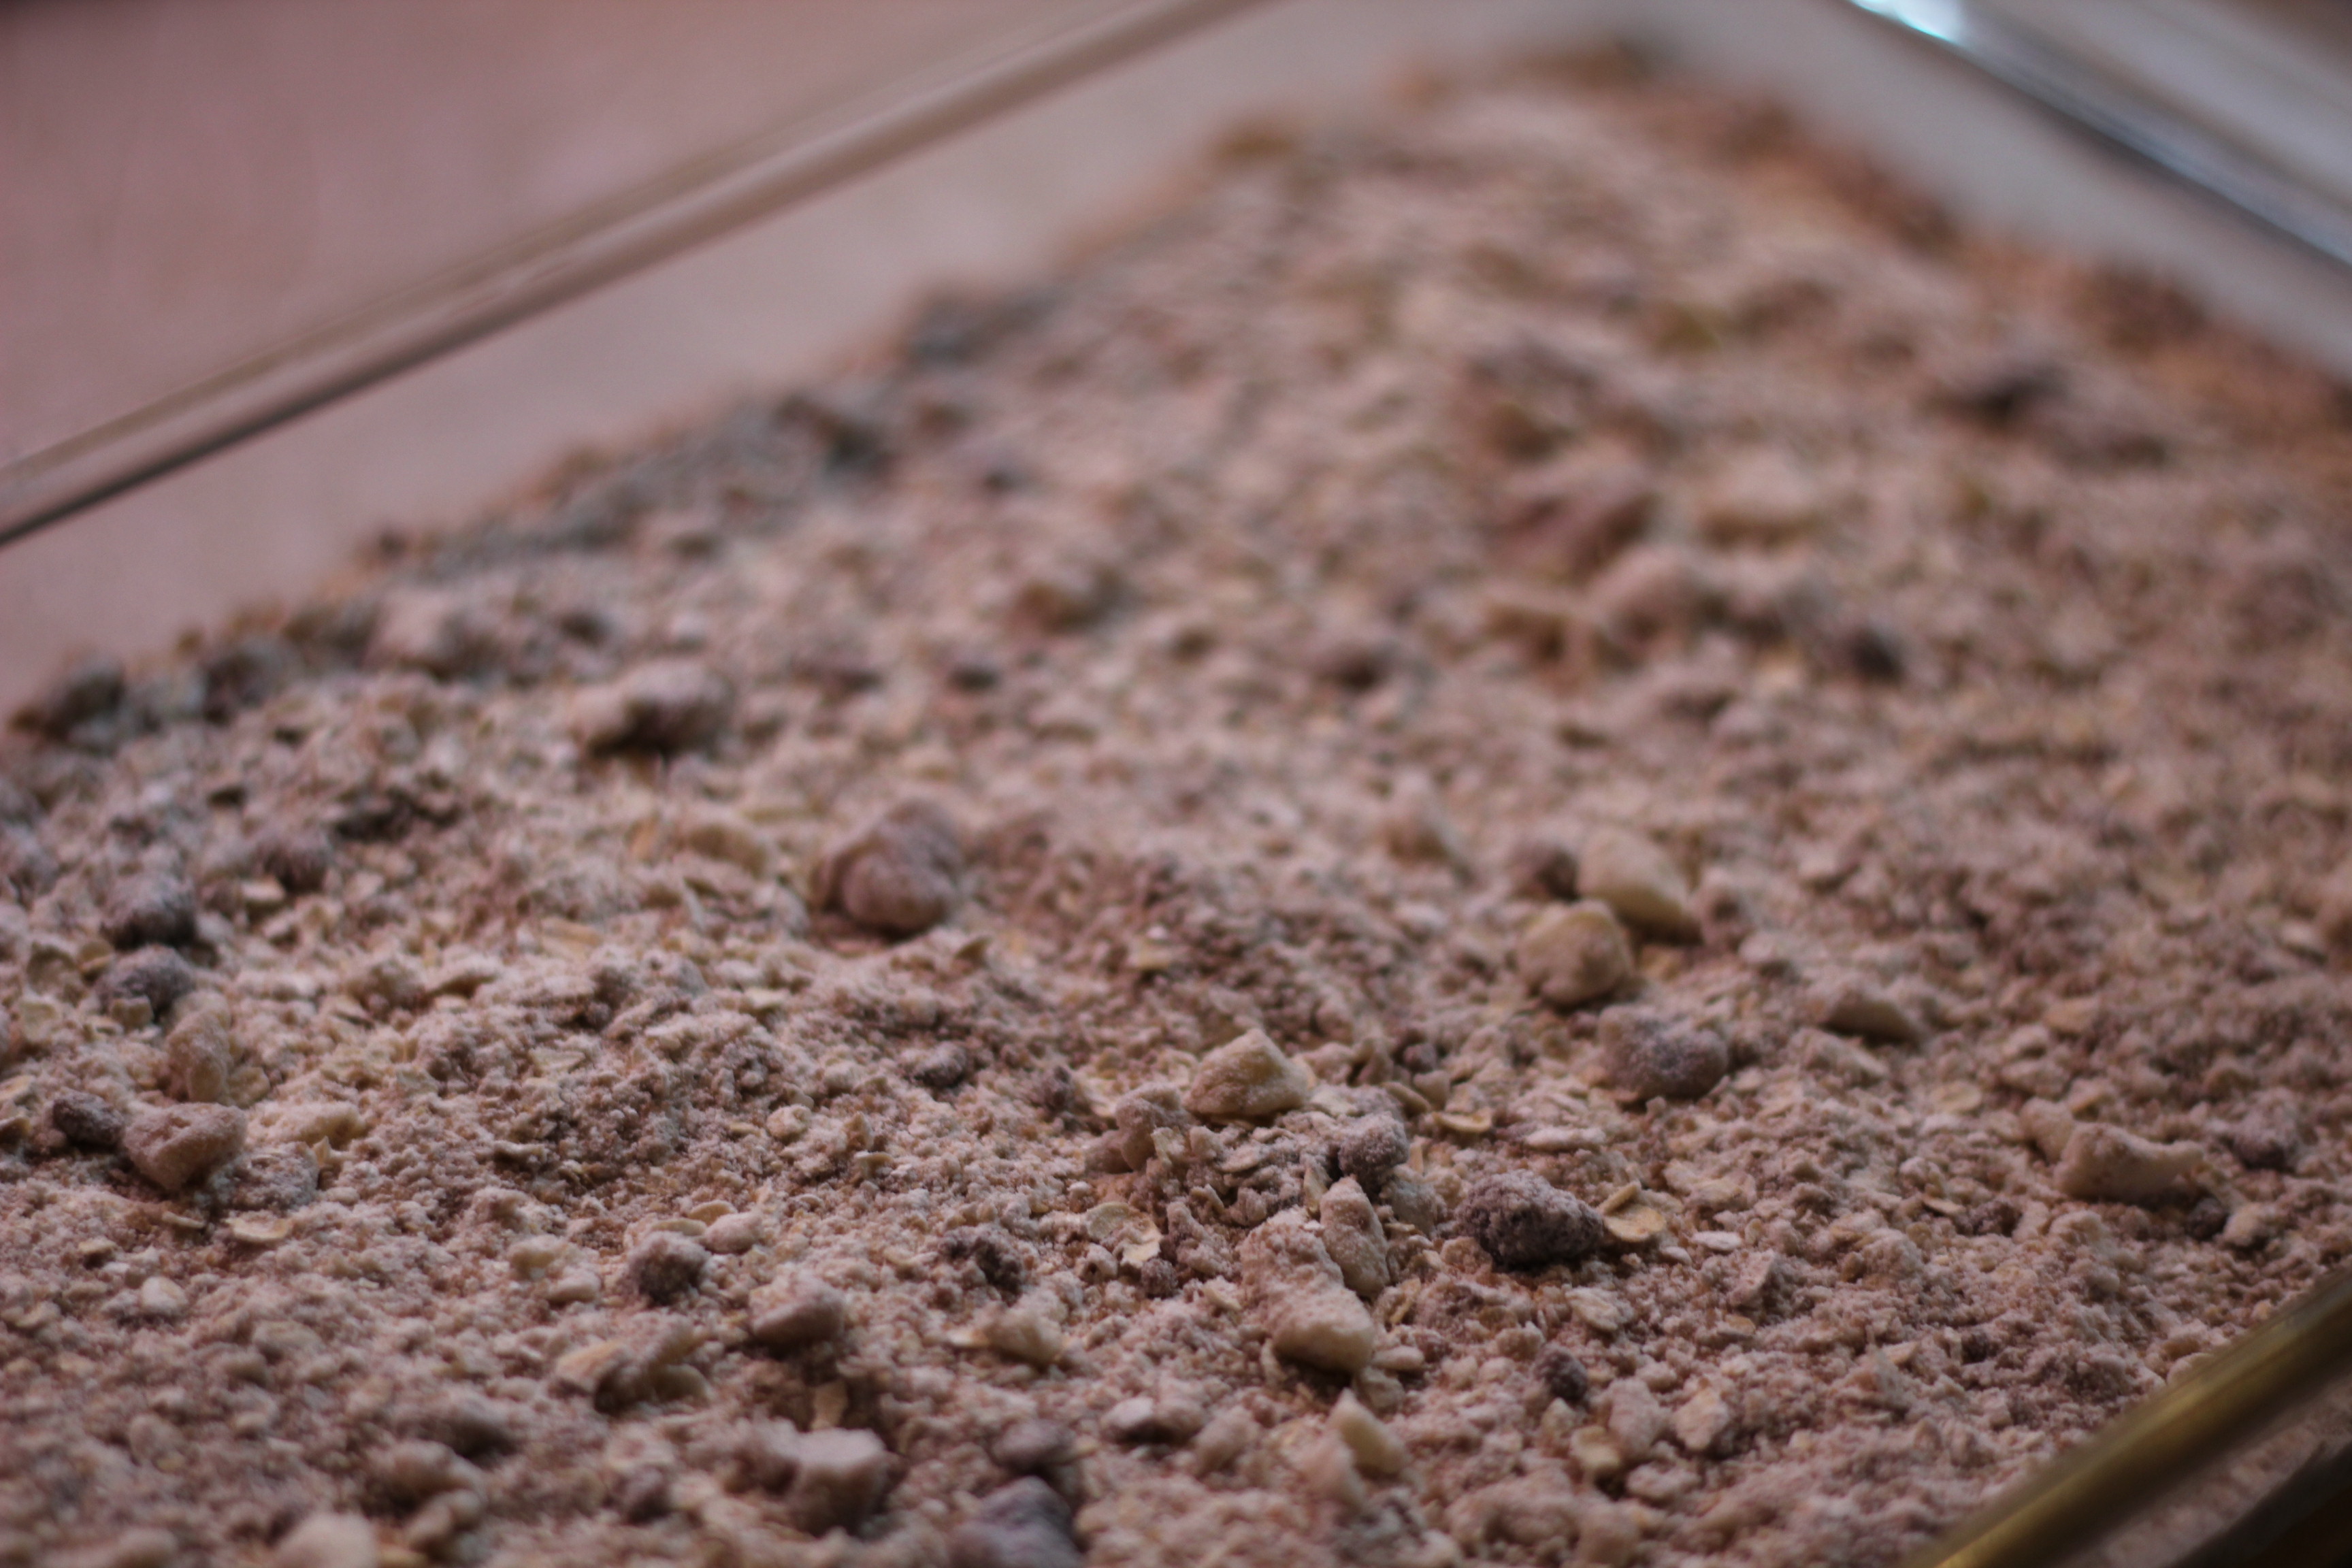
Sprinkle on the crumb topping.
8. Bake at 350* for 45 – 50 minutes. Test with a toothpick or cake tester for doneness.

Just out of the oven.
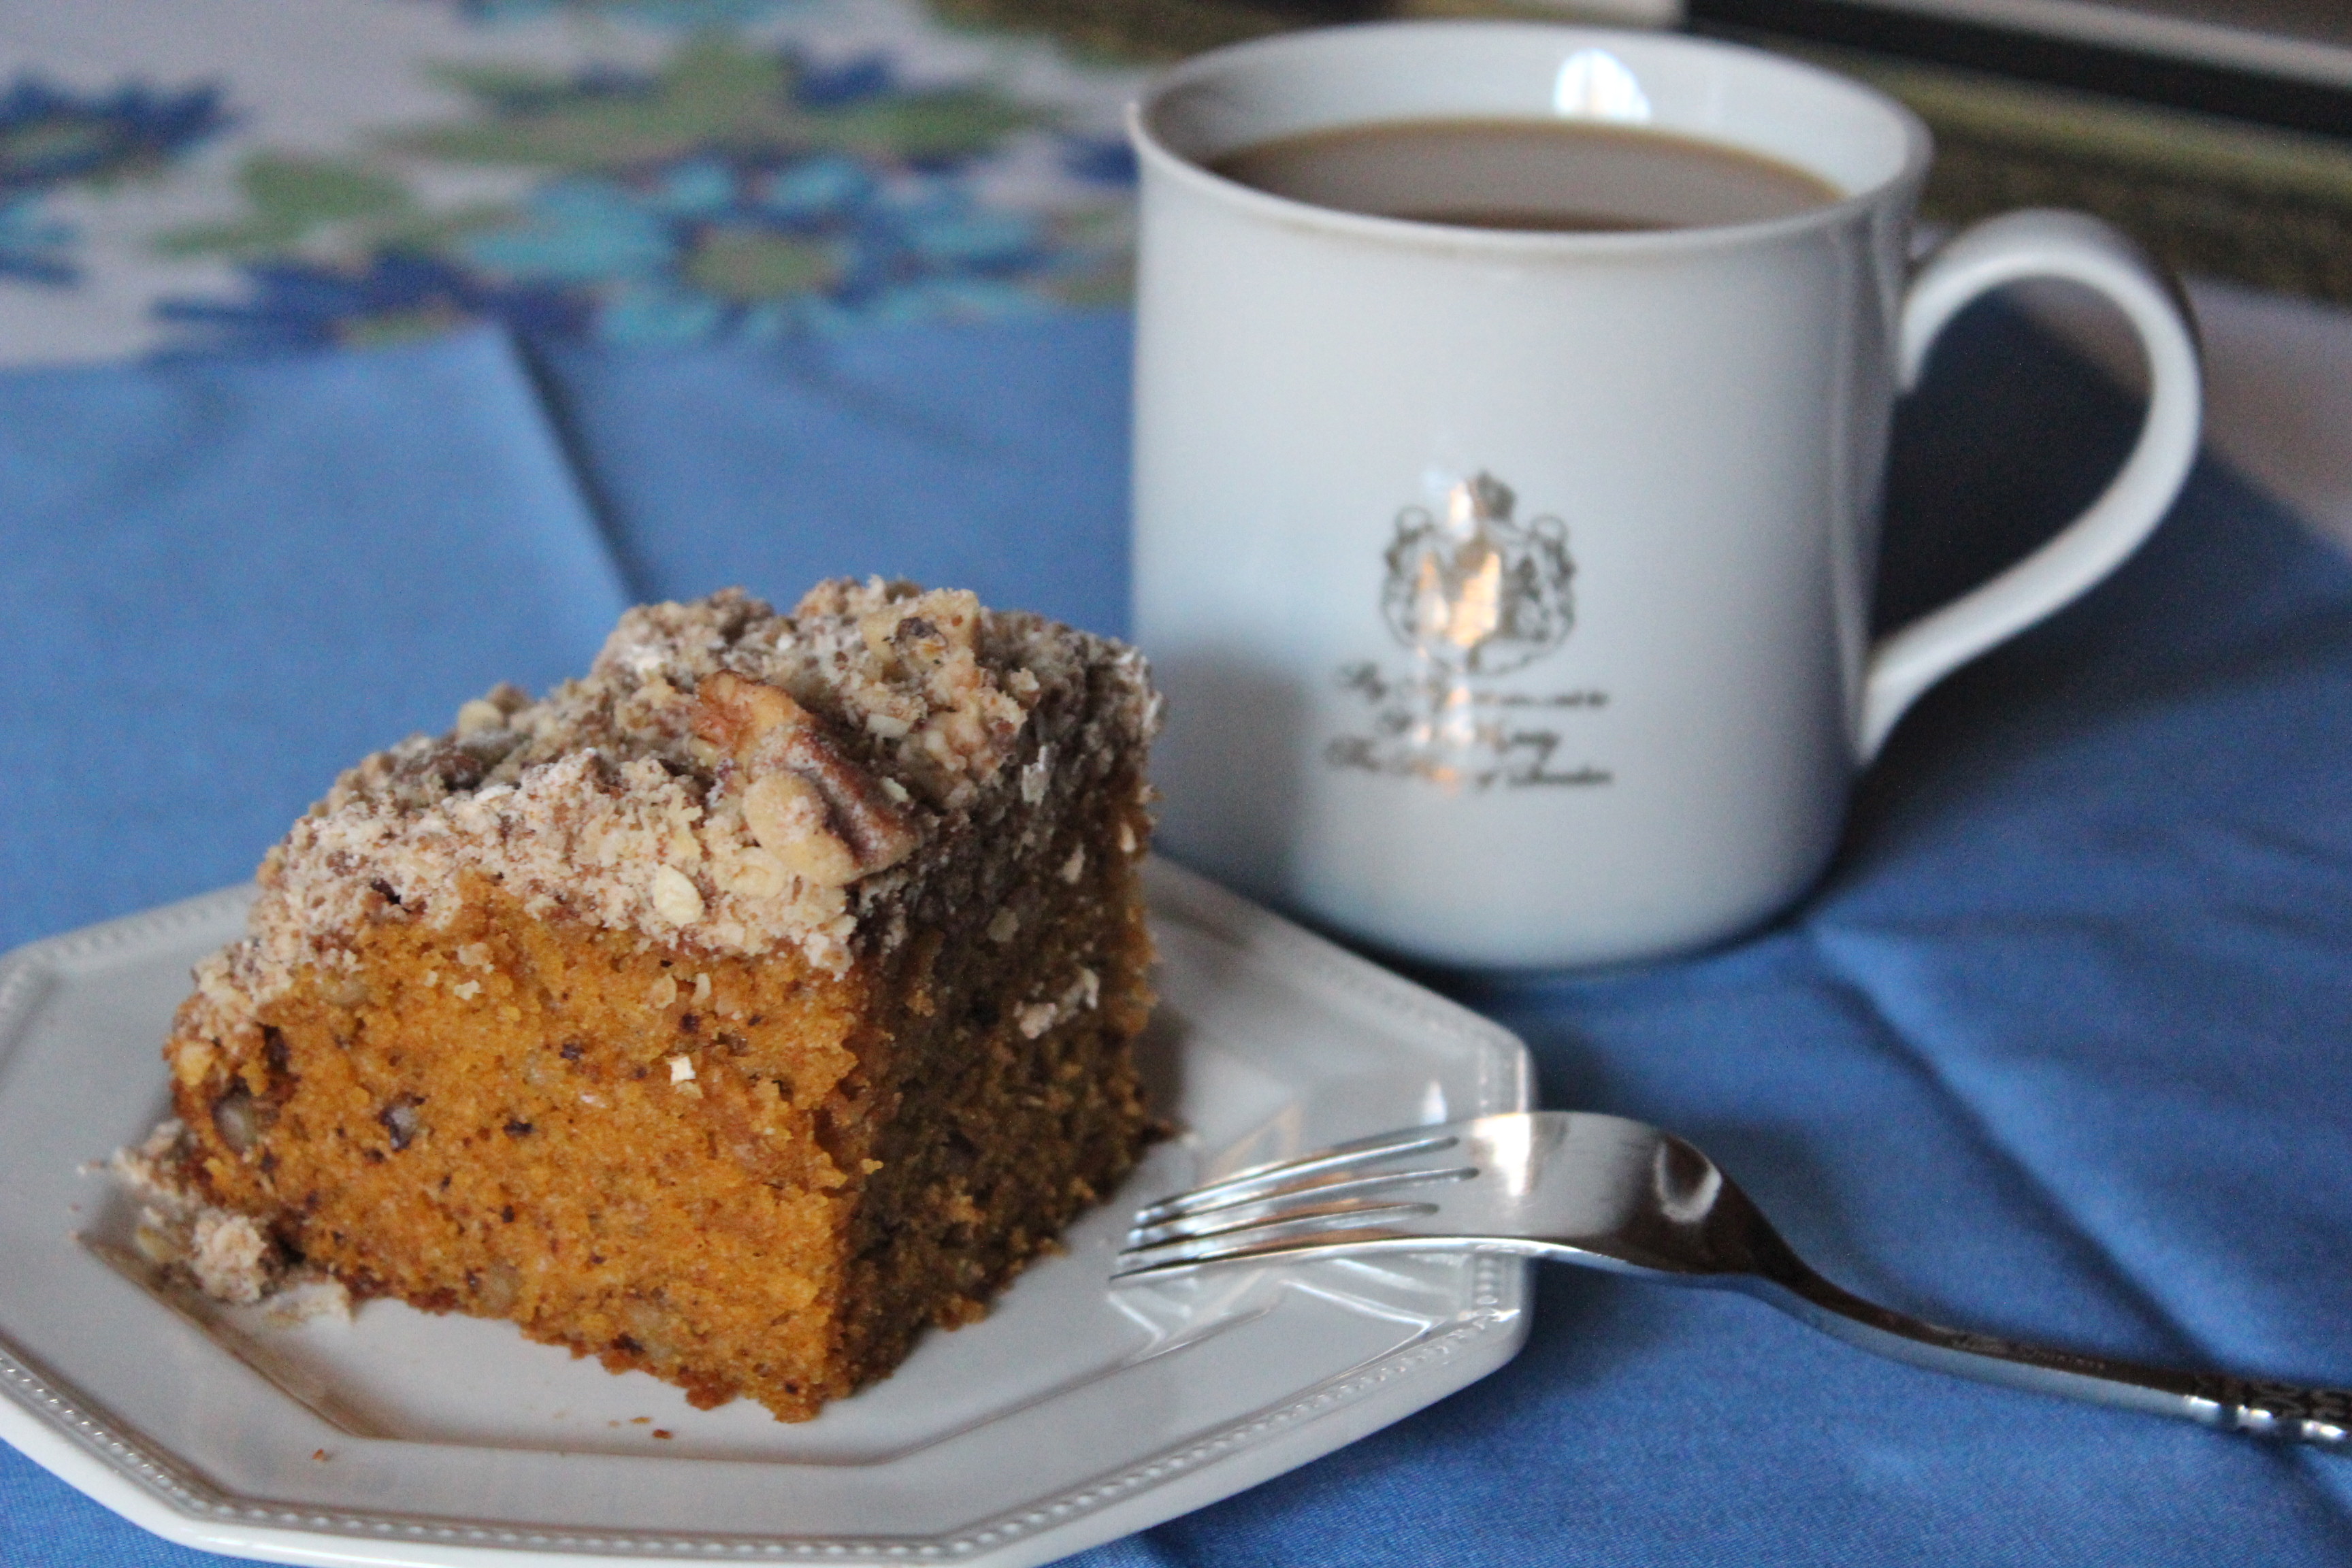
Please have a piece while it is still warm to fully appreciate this wonderful cake!

So good warm with a cup of coffee.