Corned Beef Hash with Eggs.
If I am lucky enough to have some corned beef left from our St. Patrick’s Day meal, I like to make corned beef hash. I can remember back to when I was child visiting my grandmother, and she made this same meal in a black cast-iron frying pan. She kept the pieces of potato rather large, almost like home-fries, and they got brown and crusty, along with the meat. She also added any carrot that might be leftover and lots of onion. As she served it, she topped each serving with a poached egg. I loved, loved, loved it. Although I now have and use her cast-iron pan, I can’t seem to quite duplicate what she created. Perhaps over time, my memory has enhanced what it was like, but that is what I aim for whenever I make hash.
This year I was fortunate in having a good-sized piece of corned beef left and I cooked extra vegetables so I could make this hash dish.
CORNED BEEF HASH WITH EGGS
SERVINGS: About 4 servings
WHAT YOU NEED:
- 3 cups of cooked potatoes, cut into cubes, about 1/2 to 1 inch.
- 2 Tablespoons olive oil, Or 1 Tablespoon oil and 1 Tablespoon butter; I think it helps brown up the potatoes.
- 1 onion, chopped
- salt and pepper to taste
- 2 Tablespoons Horseradish
- 1 Tablespoon Worcestershire sauce
- about 1/2 pound corned beef, cut into pieces about the same size as the potatoes
- optional: left over carrots, sliced
- 1/4 cup heavy cream
WHAT YOU DO:
1. Heat oil in a heavy fry-pan, cast-iron, preferred. Add potatoes, cook until golden in color, 10 – 12 minutes.
2. Add onion, season with salt and pepper. Cook until potatoes and onions are browned, about 5 minutes

Browning the potatoes and onions.
3. Add horseradish and Worcestershire sauce. Stir in corned beef ( and carrots, if using).
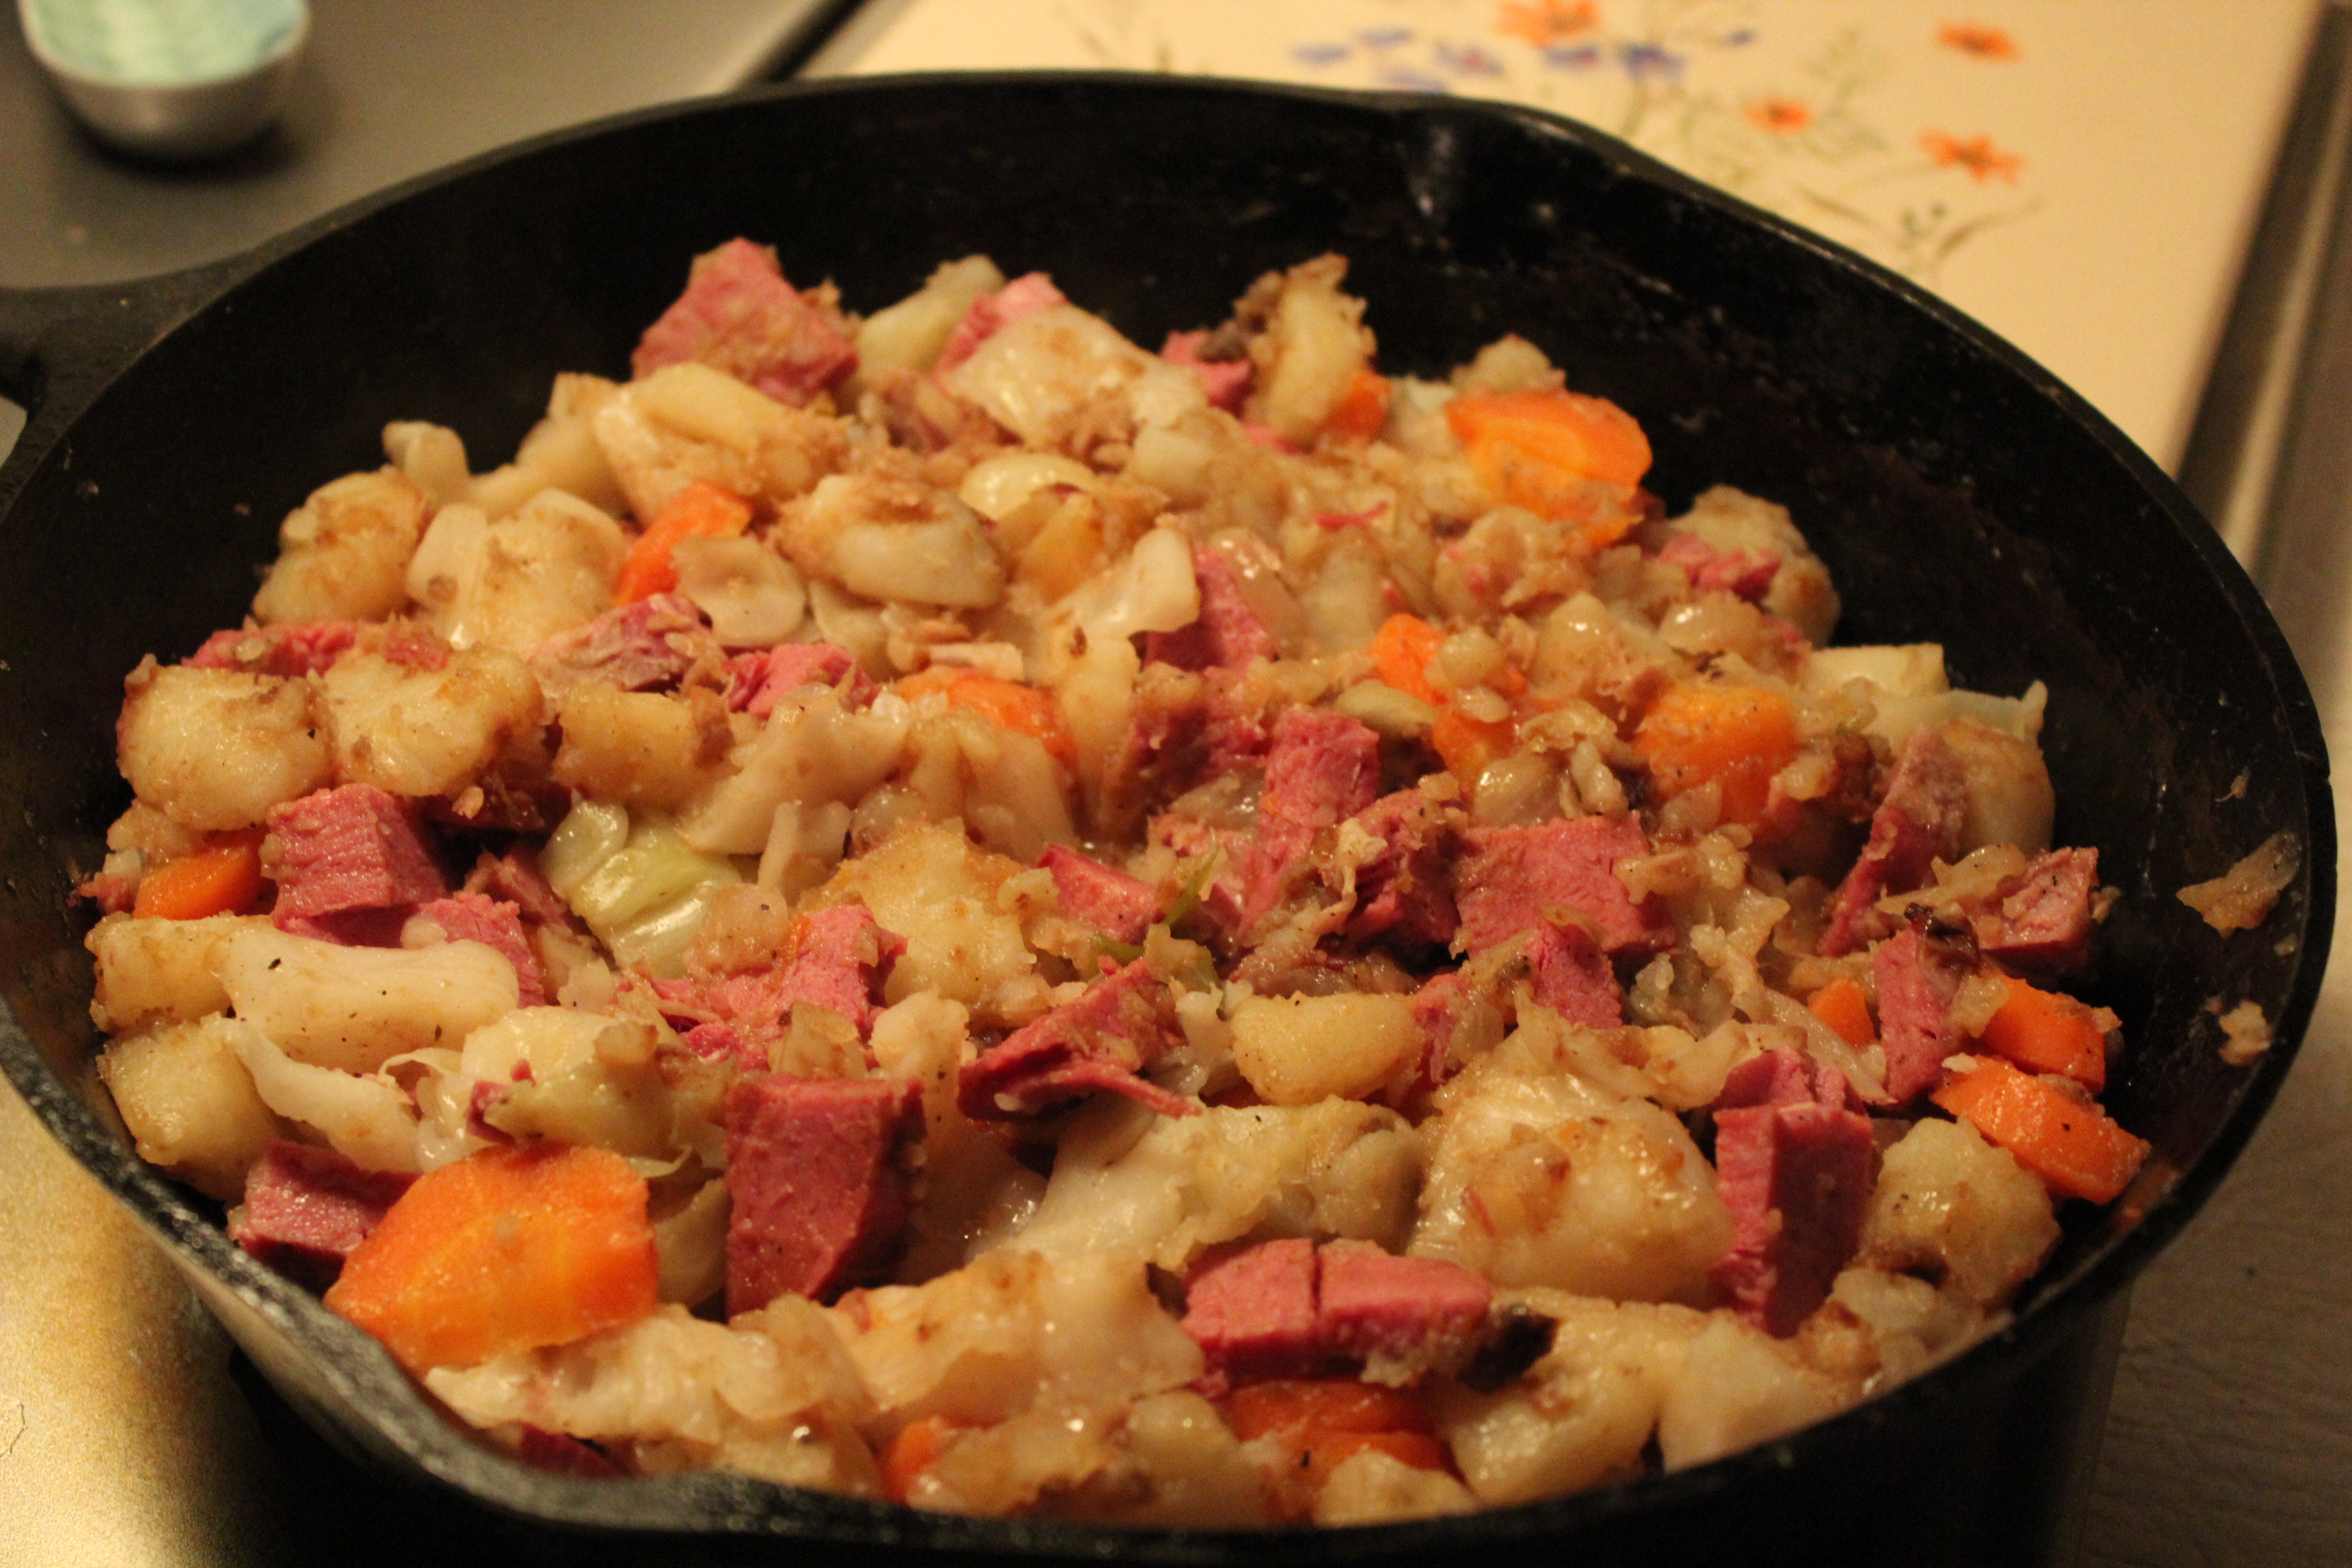
Add in corned beef and carrots.
Add cream, drizzling evenly over all.

Pouring in the cream.
Make 4 depressions in the mixture and break an egg into each one. Cover lightly and cook until egg whites are set.

Cook until eggs are set.
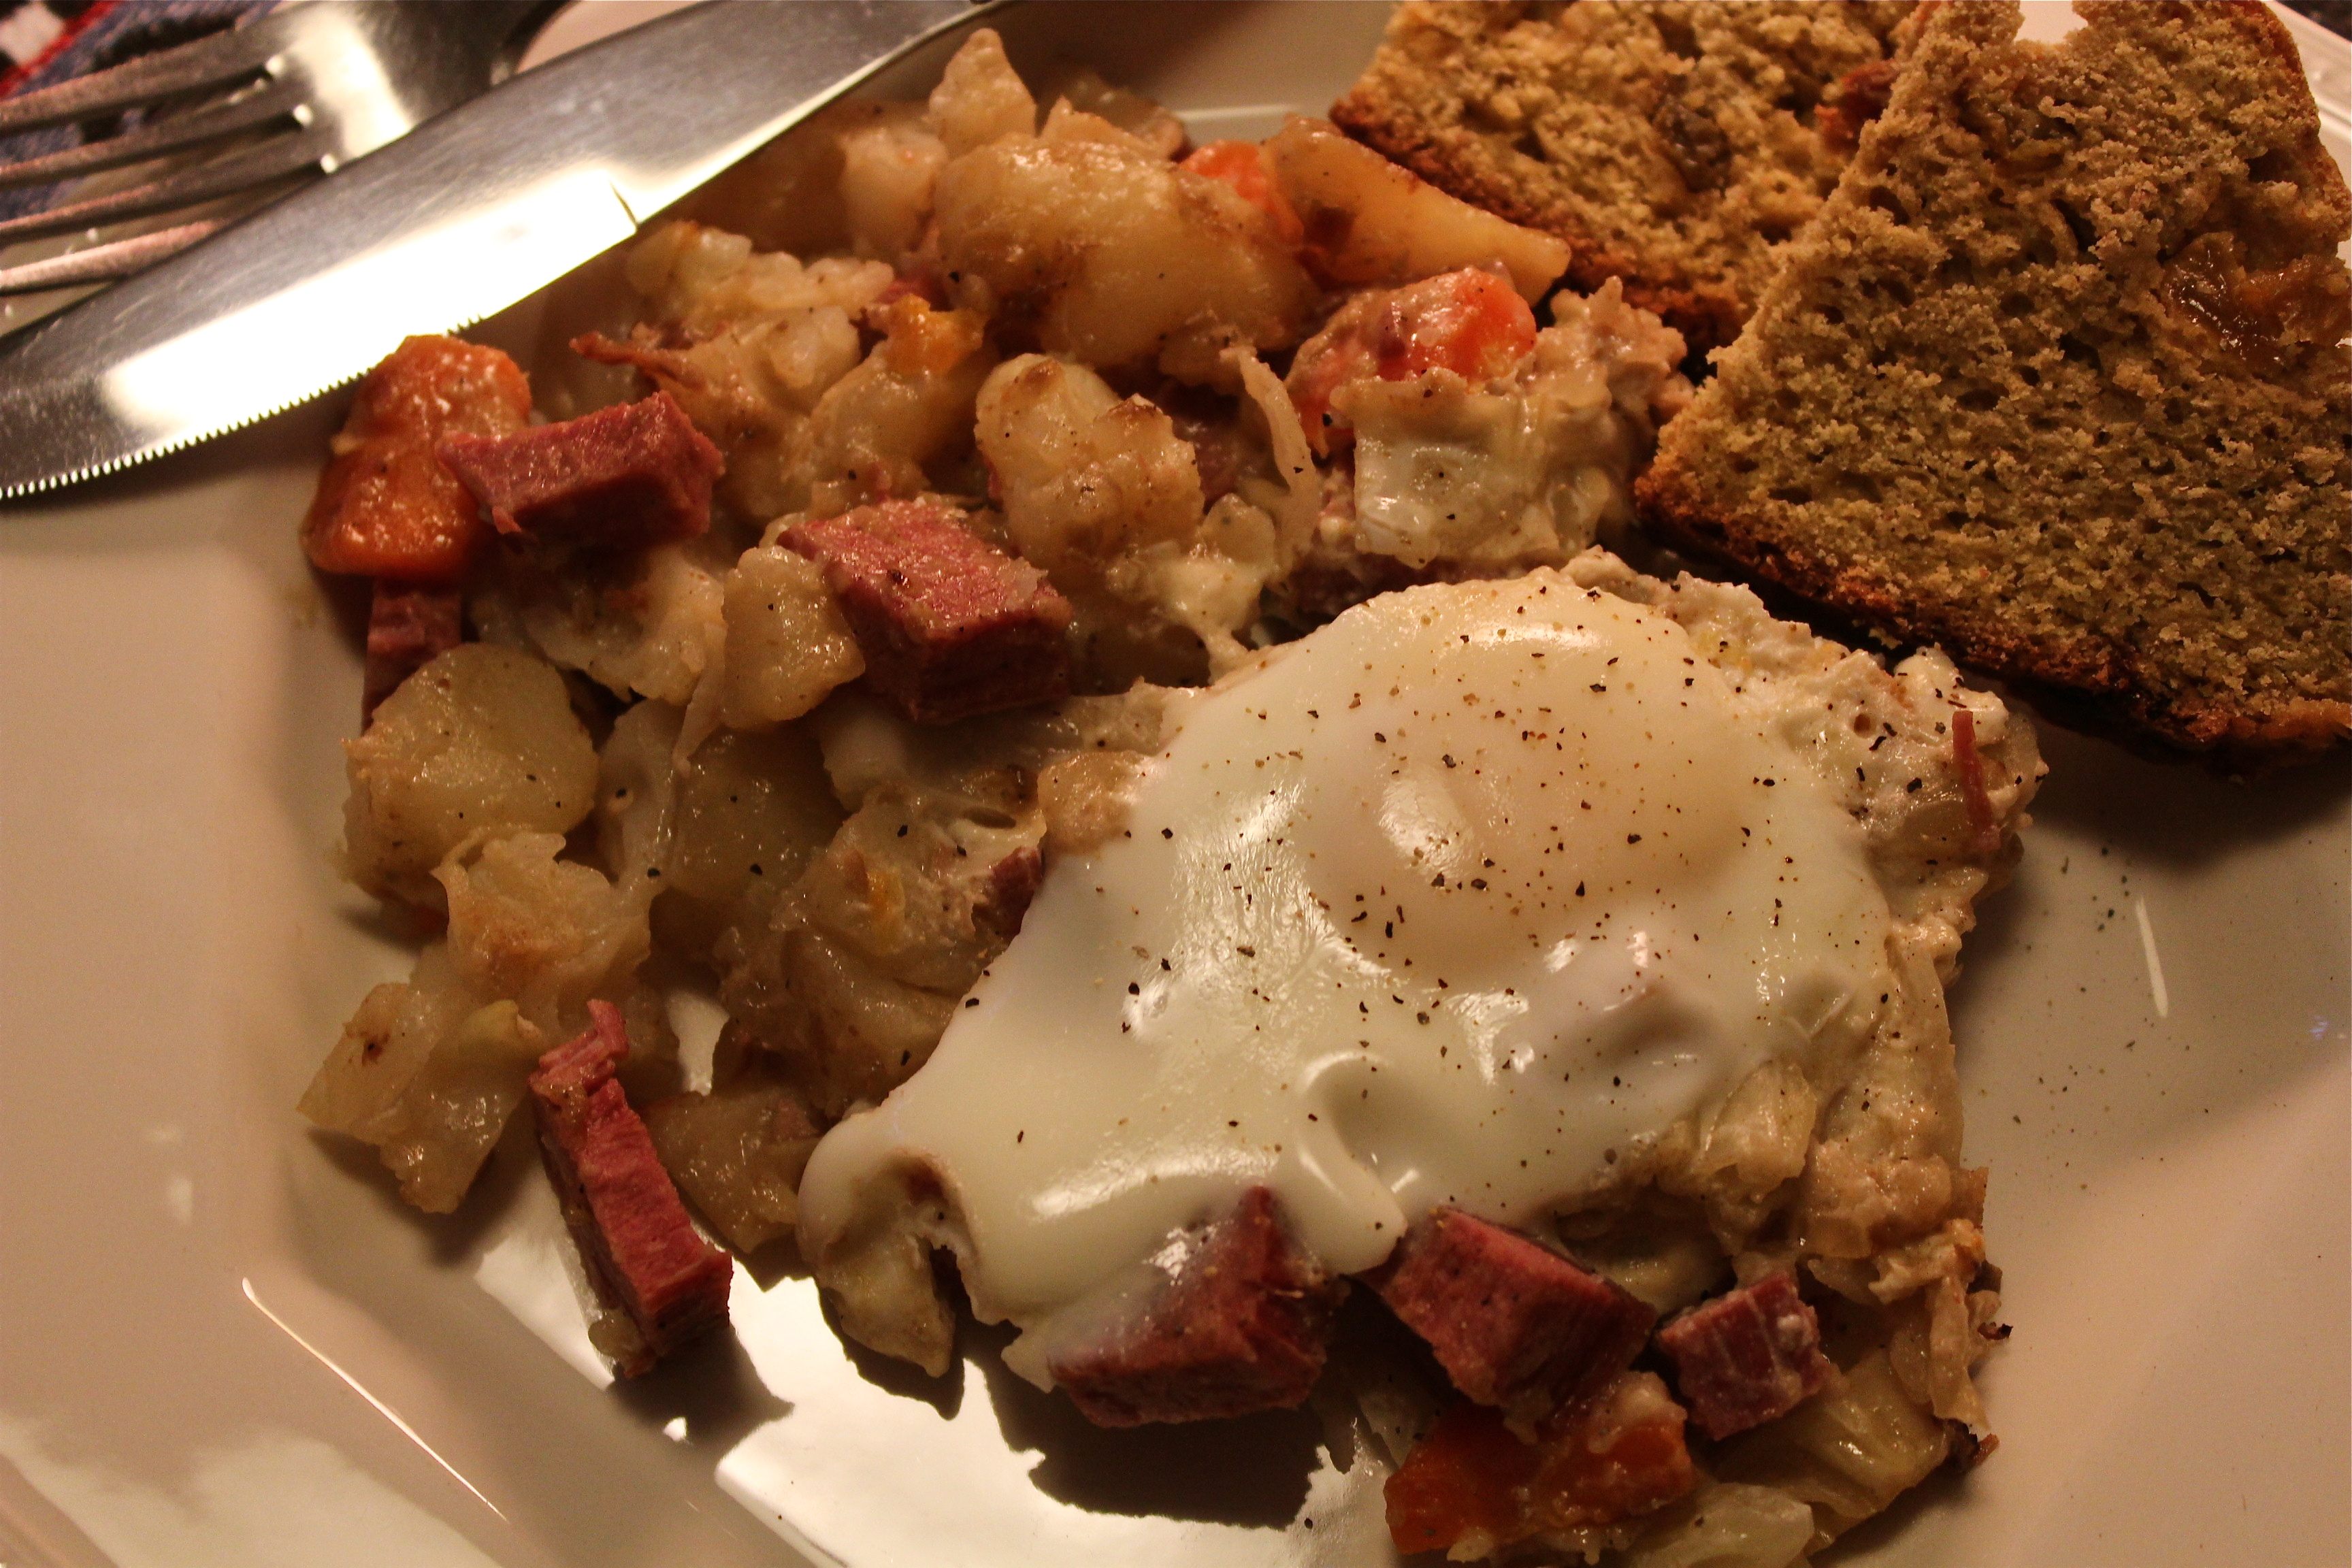
Serve each portion of hash with an egg.
SOURCE: Martha Stewart