Salmon with Roast Tomatoes and Onions
This recipe is from the archives, published back before I got a good camera, so the pictures didn’t do it justice. I cooked it again just recently, and appreciated once more what a great recipe it is, so here it is again, updated. The roast tomatoes and onions produce a tasty sauce that enhances the salmon and keeps it moist. It all gets baked together in the oven and makes a great weeknight meal.
Salmon is a fish that is highly recommended for our diet, because of all its heart healthy ingredients and so I try to include it quite often. The problem for me—because I’m someone who likes a lot of variety—is the few ways I know how to prepare it. And so I’m always on the look-out for new recipes that are easy, without a long list of ingredients, and taste good. The following recipe is one that meets all those criteria. Roasting the tomatoes and onions first brings out their sweetness, and creates a flavorful sauce that enhances the salmon. Serve it with couscous or rice and a green vegetable for a perfect entree.
Salmon with Roasted Cherry Tomatoes and Onions
SERVES 2
Ingredients:
- 2 cups cherry tomatoes

These are compari tomatoes that I roasted with sliced scallions. and garlic.
- 1 large onion, cut in wedges
- 1 1/2 teaspoon chopped fresh thyme, or 1/2 teaspoon dried
- 1 teaspoon olive oil
- 1/4 teaspoon salt
- 1/4 teaspoon black pepper
- 2 cloves garlic, minced
- 2 ( 6 0z.) salmon fillets, about 1 inch thick, or one large salmon fillet
- 2 tablespoons fresh lemon juice.
Directions:
- Preheat oven to 400 degrees. Spray a jellyroll pan or shallow baking dish with cooking spray.
- In a large bowl, place tomatoes, onions, and remainder of ingredients thru garlic. Toss to coat vegetables.
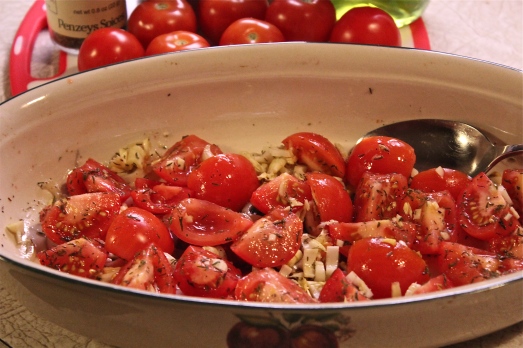
Tomatoes and seasonings ready for roasting
3. Bake at 400 degrees for 15 minutes, stirring once during that time.
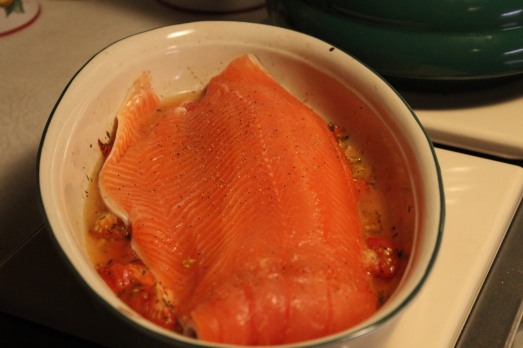
Lay salmon on top of tomato mixture.
4. Place salmon on top of tomato mixture, and bake an additional 10 – 12 minutes, until fish flakes easily with a fork.
5. Serve the tomato mixture over the fish. Drizzle with lemon juice.
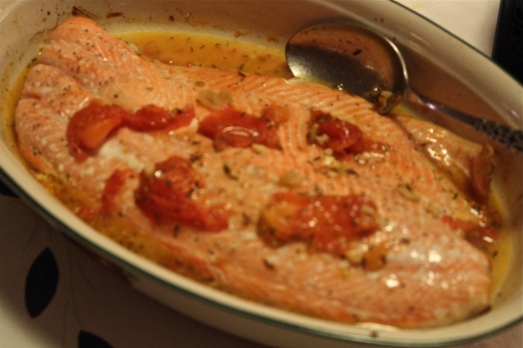
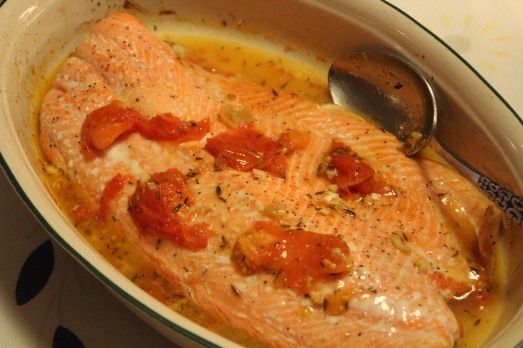
Serve salmon with tomato sauce spooned over the top.
SOURCE: Cooking Light Magazine