Cardamom Banana Bread with pistachios.
I like to use a variety of herbs and spices in my cooking. I love the way they enhance or give subtle flavor to a dish. They can turn the ordinary or mundane into something exotic and interesting at very little expense. So following on the heels of yesterday’s post on ginger, today I want to focus on cardamom.
Cardamom is a pod consisting of a pale outer shell which has tiny seeds inside it. It is the seeds that have an intense flavor, but they need to be crushed or ground before use. Ground cardamom is used mostly in baking where its flavor is readily recognized in the baked goods of Scandinavian countries, especially breads, stollen, cookies and buns.
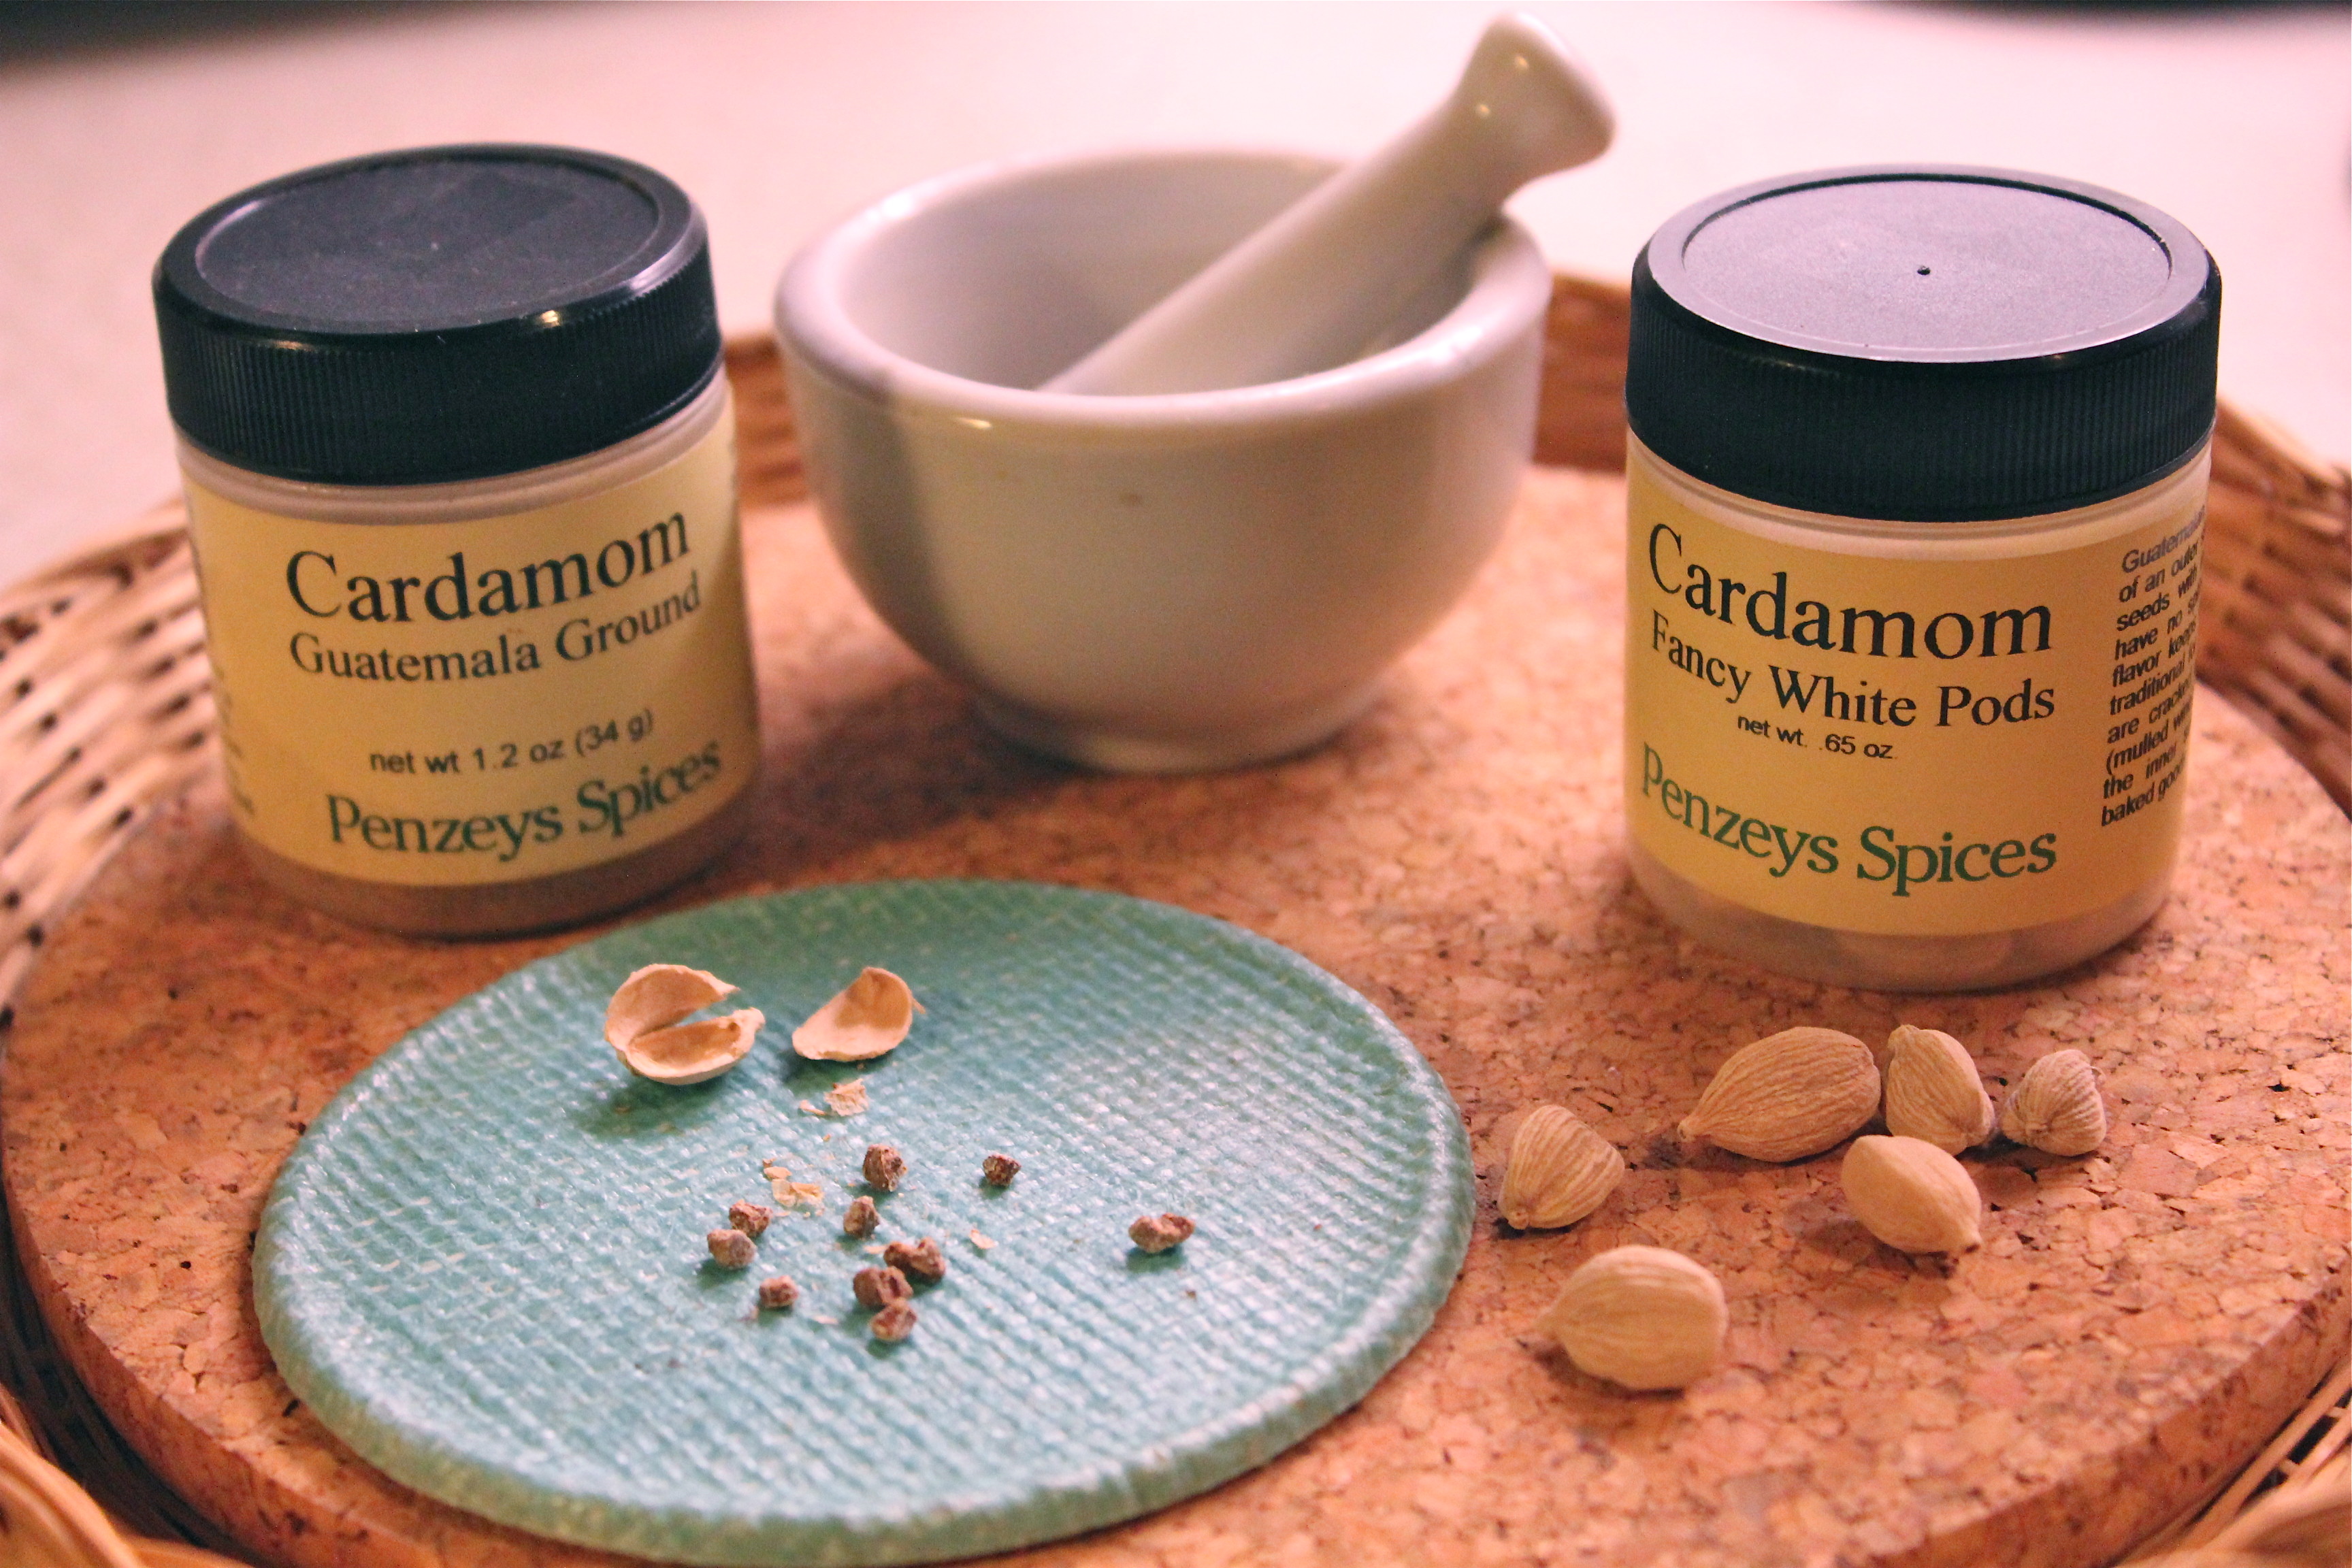
Two varieties of cardamom: whole pods and ground.
Cardamom is available in white, black and green forms. It is the white form that we are most familiar with and that which is commonly used in baked goods. In India, however, the black and green forms are important ingredients in meat and vegetable dishes. Black cardamom has a unique smokey flavor, and it is used mainly in curries.
If you have never used cardamom, this recipe will provide an introduction, without being overwhelming. The bread will taste like the banana bread you know, but the cardamom will be a stand-in for vanilla. Finely chopped pistachio nuts will provide the crunch. This bread is not a very sweet bread so it is pleasant with coffee or tea for breakfast. Keep this recipe in mind when you are faced with 2 or 3 really ripe (read, black ) bananas—the best kind for baking! I love this recipe because you can mix it all by hand….no need to get out the mixer. It’s so quick to mix up and pop in the oven while dinner is cooking, and be cooled and ready for a snack before bedtime. OOPS, I’m giving away my secrets!
CARDAMOM BANANA BREAD WITH PISTACHIOS
YIELD: 1 9″ x 5 loaf
INGREDIENTS
- 1 3/4 cups all-purpose flour
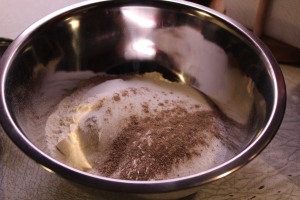
Mix together the dry ingredients.
- 1 cup to 1 1/2 cups sugar (I used 1 cup, but if you like a sweeter bread use the 1 1/2 cups)
- 1/2 teaspoon ground cardamom If you like cardamom, this amount can be increased up to 1 teaspoon.
- 1/2 teaspoon baking soda
- 1/2 teaspoon baking powder
- 1/2 teaspoon salt
- 2 eggs
- 1/4 cup canola oil
- 1/3 cup reduced fat sour cream
- 1 cup mashed ripe banana
- 1/3 cup finely chopped pistachio nuts

1. Preheat oven to 350* Lightly grease or spray a 9″ x 5″ loaf pan.
2. In a large bowl combine the first six ingredients. ( flour through salt )
3. In another bowl whisk together the eggs, oil, sour cream and banana.

Everything in two bowls; mix by hand.
4. Add the wet ingredients to the dry ones and mix partially. Add in the pistachios and finish mixing, without over mixing. This keeps the bread light instead of heavy and dense.
5. Pour batter into the prepared pan and bake at 350* for an hour or until a toothpick inserted in the center comes out clean. Cool for about 10 minutes in the pan, then remove from pan and finish cooling on a wire rack.
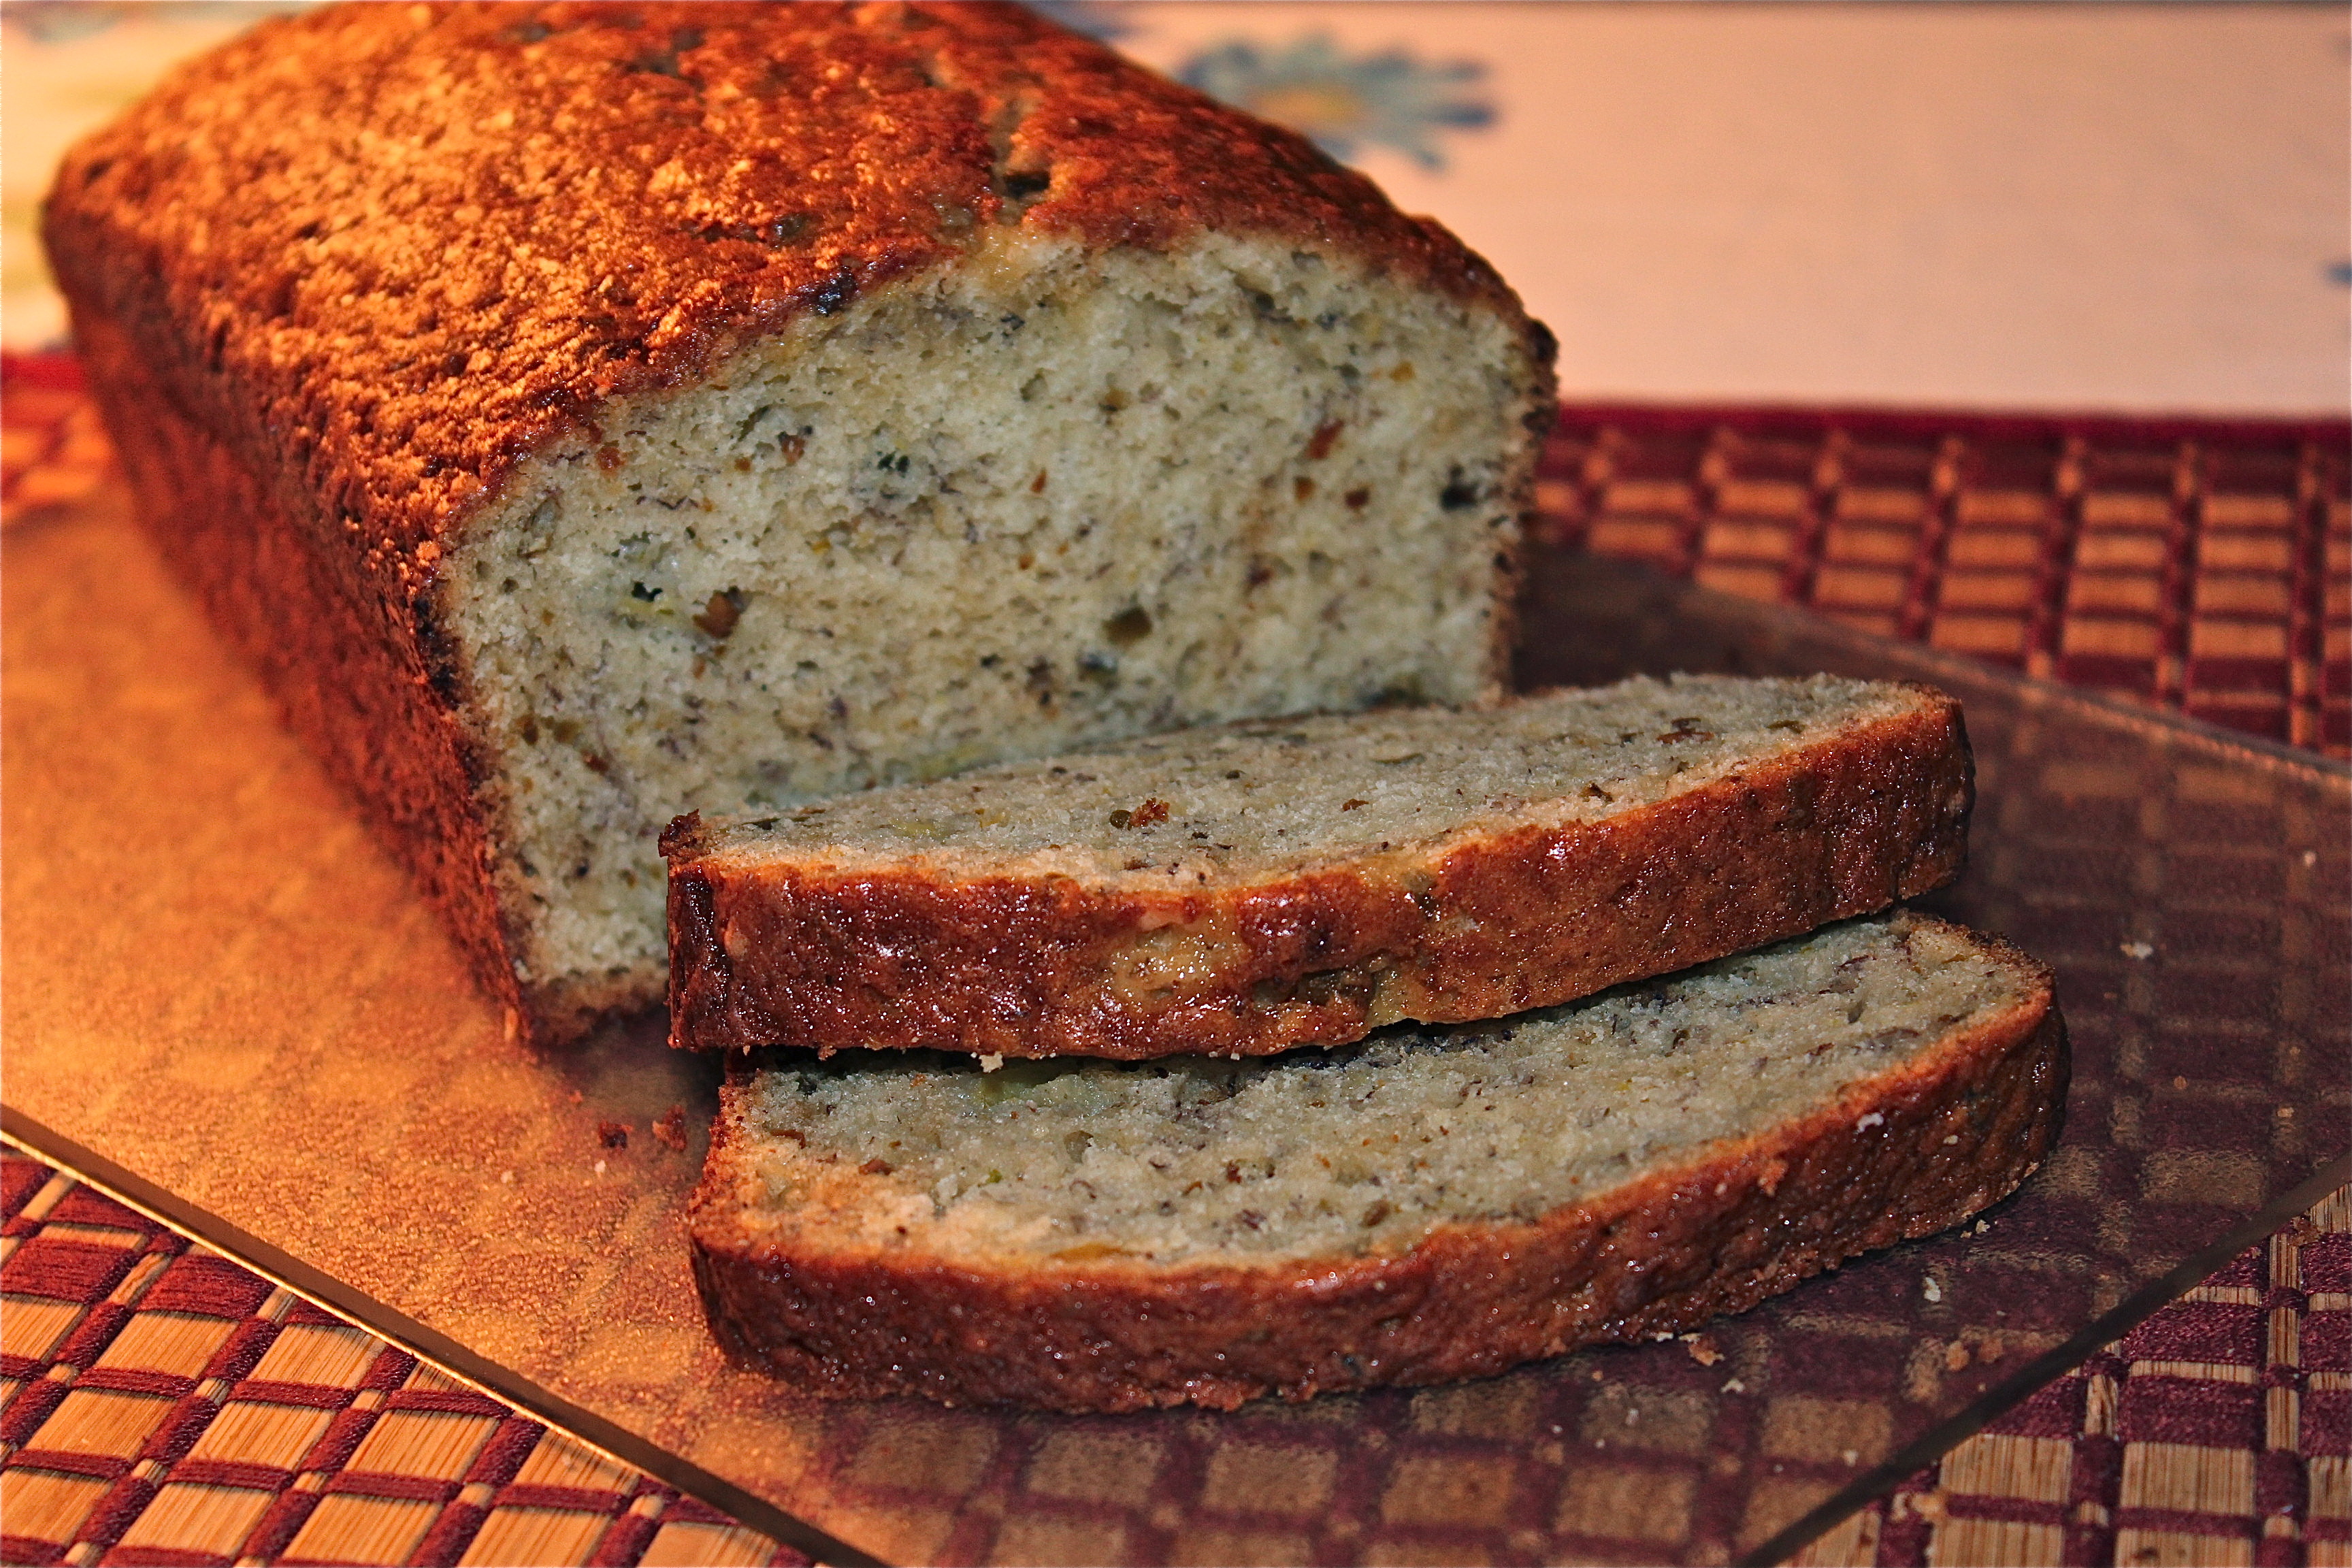
Banana bread, perfect with a cup of tea or coffee.
SOURCE: adapted from a recipe in Cooking Light.