Vietnamese Tilapia with
Turmeric and Dill
Tilapia is one of the most consumed fish species in the U.S. It has become one of our favorites, and I cook it frequently. Turns out tilapia has a lot going for it. It’s pretty inexpensive, especially if purchased in quantity (like 2 pounds or more), as filets that are individually flash frozen and vacuum sealed. I like that I can remove just the quantity I need for a specific recipe.
Sustainably farmed versions are easy to find, an important consideration, since so many wild fish species are threatened around the world. Flavor-wise, tilapia has a very mild, white, flaky flesh that, I think, is a virtue. It’s a great starter fish for kids or anyone who thinks that all seafood is too “fishy”. Cooks can take advantage of its neutral flavor by using it as a base for many flavor approaches, ranging anywhere from South American, to Mediterranean to Southeast Asian.

Tilapia is a lean, low-calorie source of protein that’s low in saturated fat, so it’s a good choice for healthy eating. Although it’s not an omega-3 powerhouse like salmon, a 3-ounce portion of cooked tilapia still has 10% of your daily omega-3 needs.
This mild white fish holds up well to sautéing, breading, steaming, or whatever you can think to do with it. It won’t fall apart on you in the pan. It is one of the easiest, most versatile fish to cook with and it can stand whatever heat your kitchen can dish out!
If you have never cooked with tilapia this recipe will introduce you in a big way; the fish loves flavor and color. A killer marinade of shallots, fish sauce, toasted sesame oil, garlic and turmeric penetrates the fish and gives it a beautiful golden color. When you sear the fish in a hot-hot pan (cast iron is best) it gets fantastically browned. This was a new way to prepare it for me and one that I won’t forget. We loved the Southeast Asian flavors. Serve it with rice and a green vegetable for an unforgettable meal.

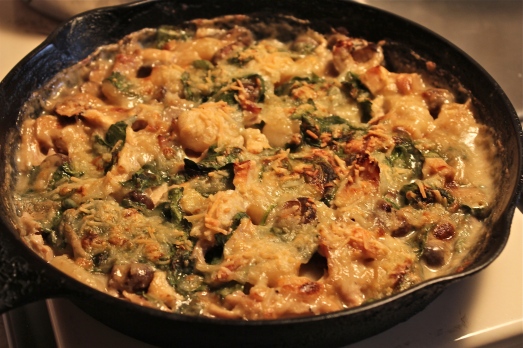
An unforgettable meal.
VIETNAMESE TILAPIA WITH TURMERIC AND DILL
Yield: Serves 4
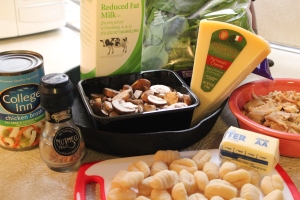
Ingredients:

Southeast Asian seasonings provide big flavor.
- 1/4 cup sliced shallots
- 1 tablespoon chopped fresh dill
- 1 tablespoon minced garlic
- 1 tablespoon grated peeled fresh ginger
- 2 tablespoons fish sauce
- 1 tablespoon dark sesame oil
- 1 teaspoon ground turmeric
- 1/2 teaspoon freshly ground black pepper
- 4 (6-ounce) tilapia fillets,
- 2 tablespoons peanut oil
- cooking spray
- 4 cups vertically sliced sweet onion
- 1/2 cup torn fresh dill, divided (In the absence of fresh dill, I used dry in small amounts)
- 4 green onions, cut into (2-inch) pieces
- 1 tablespoon lower-sodium soy sauce
- 2 teaspoons sugar
- 1/4 cup unsalted, dry-toasted peanuts, crushed ( I omitted these.)
- lemon wedges, for serving
Directions:
1. Combine first 8 ingredients in a large bowl, stirring with a whisk to combine well. Add fish; toss to coat. Cover and chill for 2 hours.

Turmeric gives it a golden color.

Marinate fish in the mixture.
2. Remove fish from marinade; discard marinade and solids. Combine fish and peanut oil in a bowl, tossing to coat.

Remove from marinade and coat with peanut oil.
3. Heat a large heavy skillet over high heat. Coat pan with cooking spray. Add onion, 1/4 cup dill, and green onions; stir fry 1 minute.

Stir frying the onions, green onions and dill.
Arrange onion mixture on a platter.

Arrange onion mixture on a platter. Smells wonderful!
Return pan to high heat. Add the fish fillets to pan; cook 3 minutes. Turn fish over; cook 1 minute or until fish flakes easily when tested with a fork. Place fish on the platter over the onion mixture. Sprinkle with remaining dill and peanuts. Serve with lemon wedges.

Arrange fish fillets over onions and serve.
SOURCE: Cooking Light