Speculoos Buttons

Speculoos Buttons

Speculoos Buttons

Speculoos, or Speculatius, are lightly spiced little cookies that are often made with a special rolling pin, that imprints a design on the cookie.  In this version the dough is formed into a log, then sliced; thus making them small and round like a button.  To keep this idea going I put only a small round disc of frosting on the top of each one and sprinkled colored sugar or pearls on it.  These cookies are quite small and dainty, with their edges sparkling with sugar, and the dab of frosting on top, each one is just a quick little bite of deliciousness.

IMG_5977

I modified the original recipe to include a more elaborate mix of spices that make a nice blend with the light brown sugar and mild-flavored light molasses.  You might wish to make these little gems somewhat larger than I did, if you wish to decorate the top surface with piping or add more colored sugar.

IMG_5973

SPECULOOS BUTTONS

Yield:  About 8  dozen cookies

Ingredients:

A nice blend of spices give these cookies their yummy flavor.

A nice blend of spices give these cookies their yummy flavor.

  • 2 cups all-purpose flour
  • 1 tsp. ground cinnamon
  • 1/2 tsp. ground cardamom
  • 1/4 tsp. ground nutmeg
  • 1/8 tsp. ground cloves
  • 1/4 tsp. ground mace
  • 1/2 tsp. salt
  • 1/2 cup (1-stick) unsalted butter, softened
  • 1/2 cup packed light brown sugar
  • 1/4 cup granulated sugar
  • 2 Tbsp. mild-flavored (light) molasses
  • 1 large egg, room temperature
  • 1 tsp. vanilla extract
  • 1 egg white
  • sanding, or other decorative sugar

    Decorative sugars to roll the logs in.

    Decorative sugars to roll the logs in.

Glaze:

  • 1  1/2 cups powdered sugar
  • sprinkles, colored sanding sugar, or dragées

Directions:

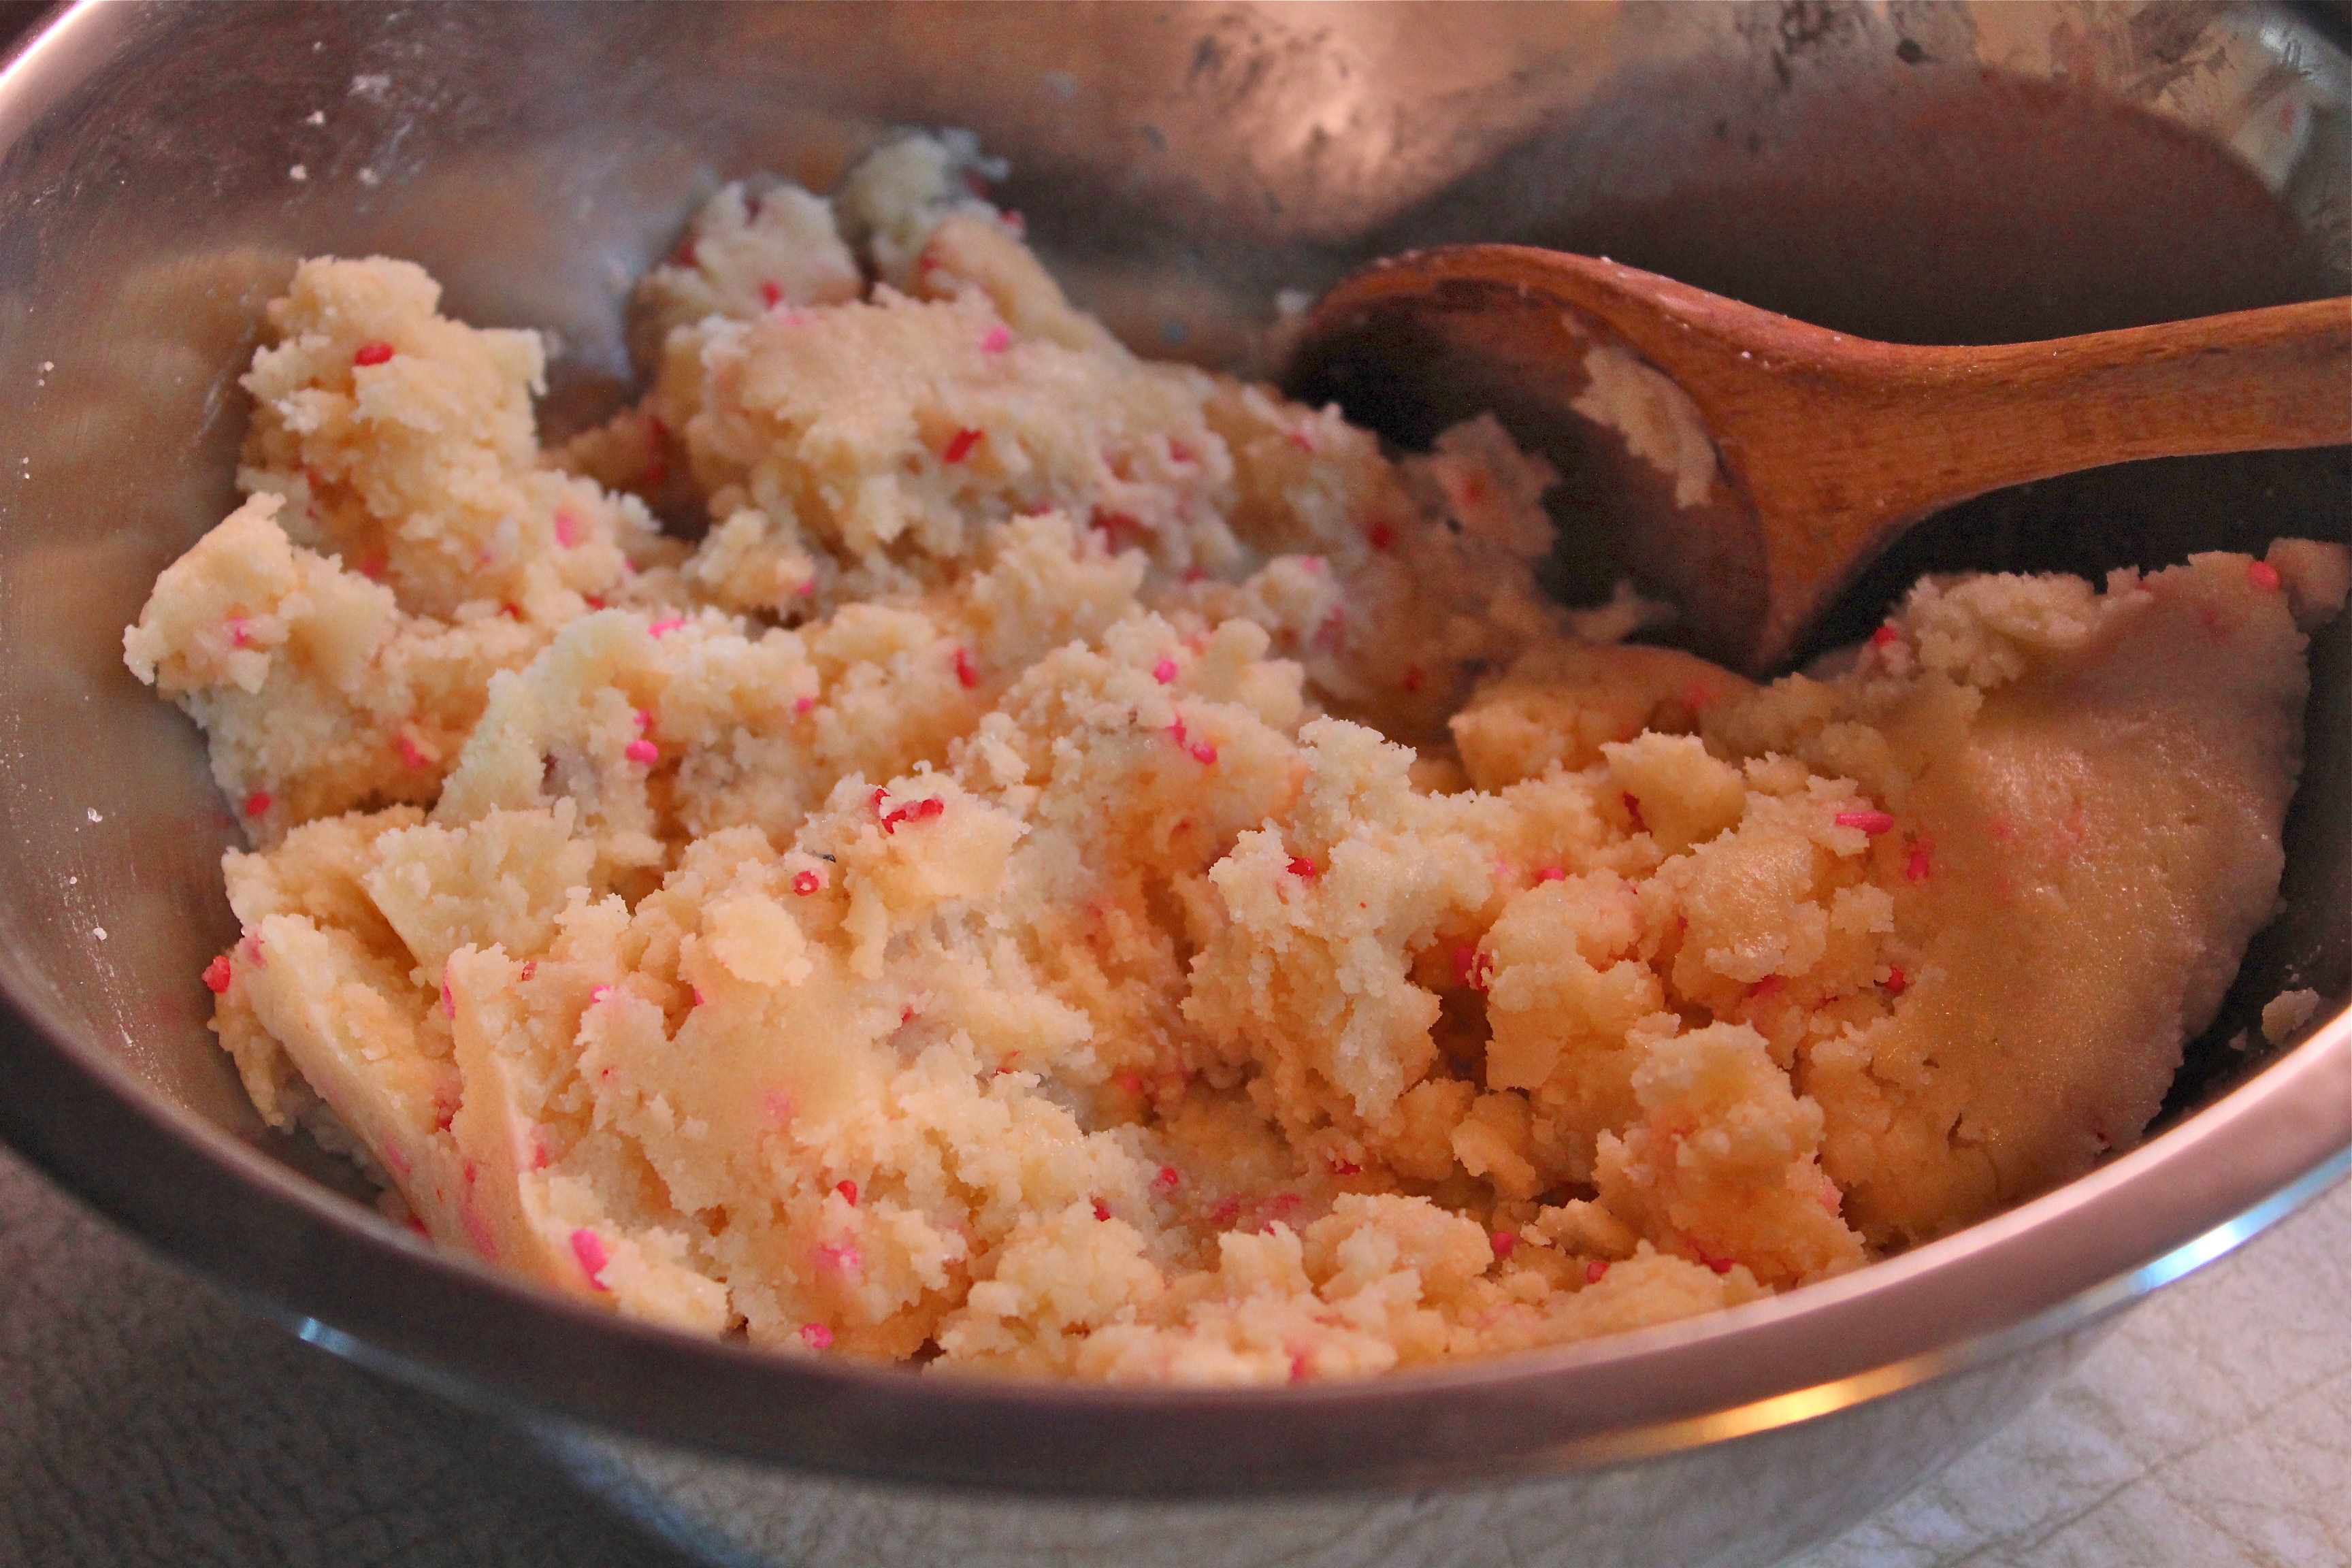
1.  Whisk the dry ingredients (flour through salt) in a medium bowl; set aside.  Using an electric mixer at medium speed, beat butter in a medium bowl until smooth, about 2 minutes.  Add both sugars and molasses; continue to beat until mixture is smooth and creamy, about 3 minutes.  Beat in egg and vanilla, mix for 2 minutes.  Reduce speed to low;  add dry ingredients and mix to blend well.

2.  Scrape dough from bowl and divide into thirds.  Using your palms, roll each piece of dough into an 8″ log.  Wrap logs tightly in plastic or parchment paper and freeze for at least 3 hours.

Roll the dough into 3 logs, wrap in plastic wrap and freeze.

Roll the dough into 3 logs, wrap in plastic wrap and freeze.

I left mine overnight before baking.  For neater edges, remove logs from freezer after 1 hour and roll on counter.   Do Ahead:  These cookies can be made up to 2 months ahead. Keep frozen until ready to bake.

3.  Preheat oven to 375*F.  Line 3 baking sheets with parchment paper or silicone baking mats.

4.  Whisk egg white in a small bowl to loosen, lightly brush all over 1 log.  Sprinkle with (or roll in) sanding sugar.  Using a long slender knife, slice off a sliver of dough from each end of log to make ends flat. Cut log into 1/4″-thick rounds.  Transfer to baking sheet, spacing 1/2″ apart;  place in freezer while you cut the next log.  (The cookies hold their shape better if you bake when dough is cold.)  Repeat with remaining dough.

Slice the logs into "coins" before baking.

Slice the logs into “coins” before baking.

5.  Bake the cookies for 11 – 13 minutes, until tops are golden brown and centers are almost firm.  Transfer cookies to wire racks and let cool.  Repeat with all of the baking sheets.  Do Ahead:  Cookies may be baked up to 2 days before glazing.  Store airtight at room temperature.

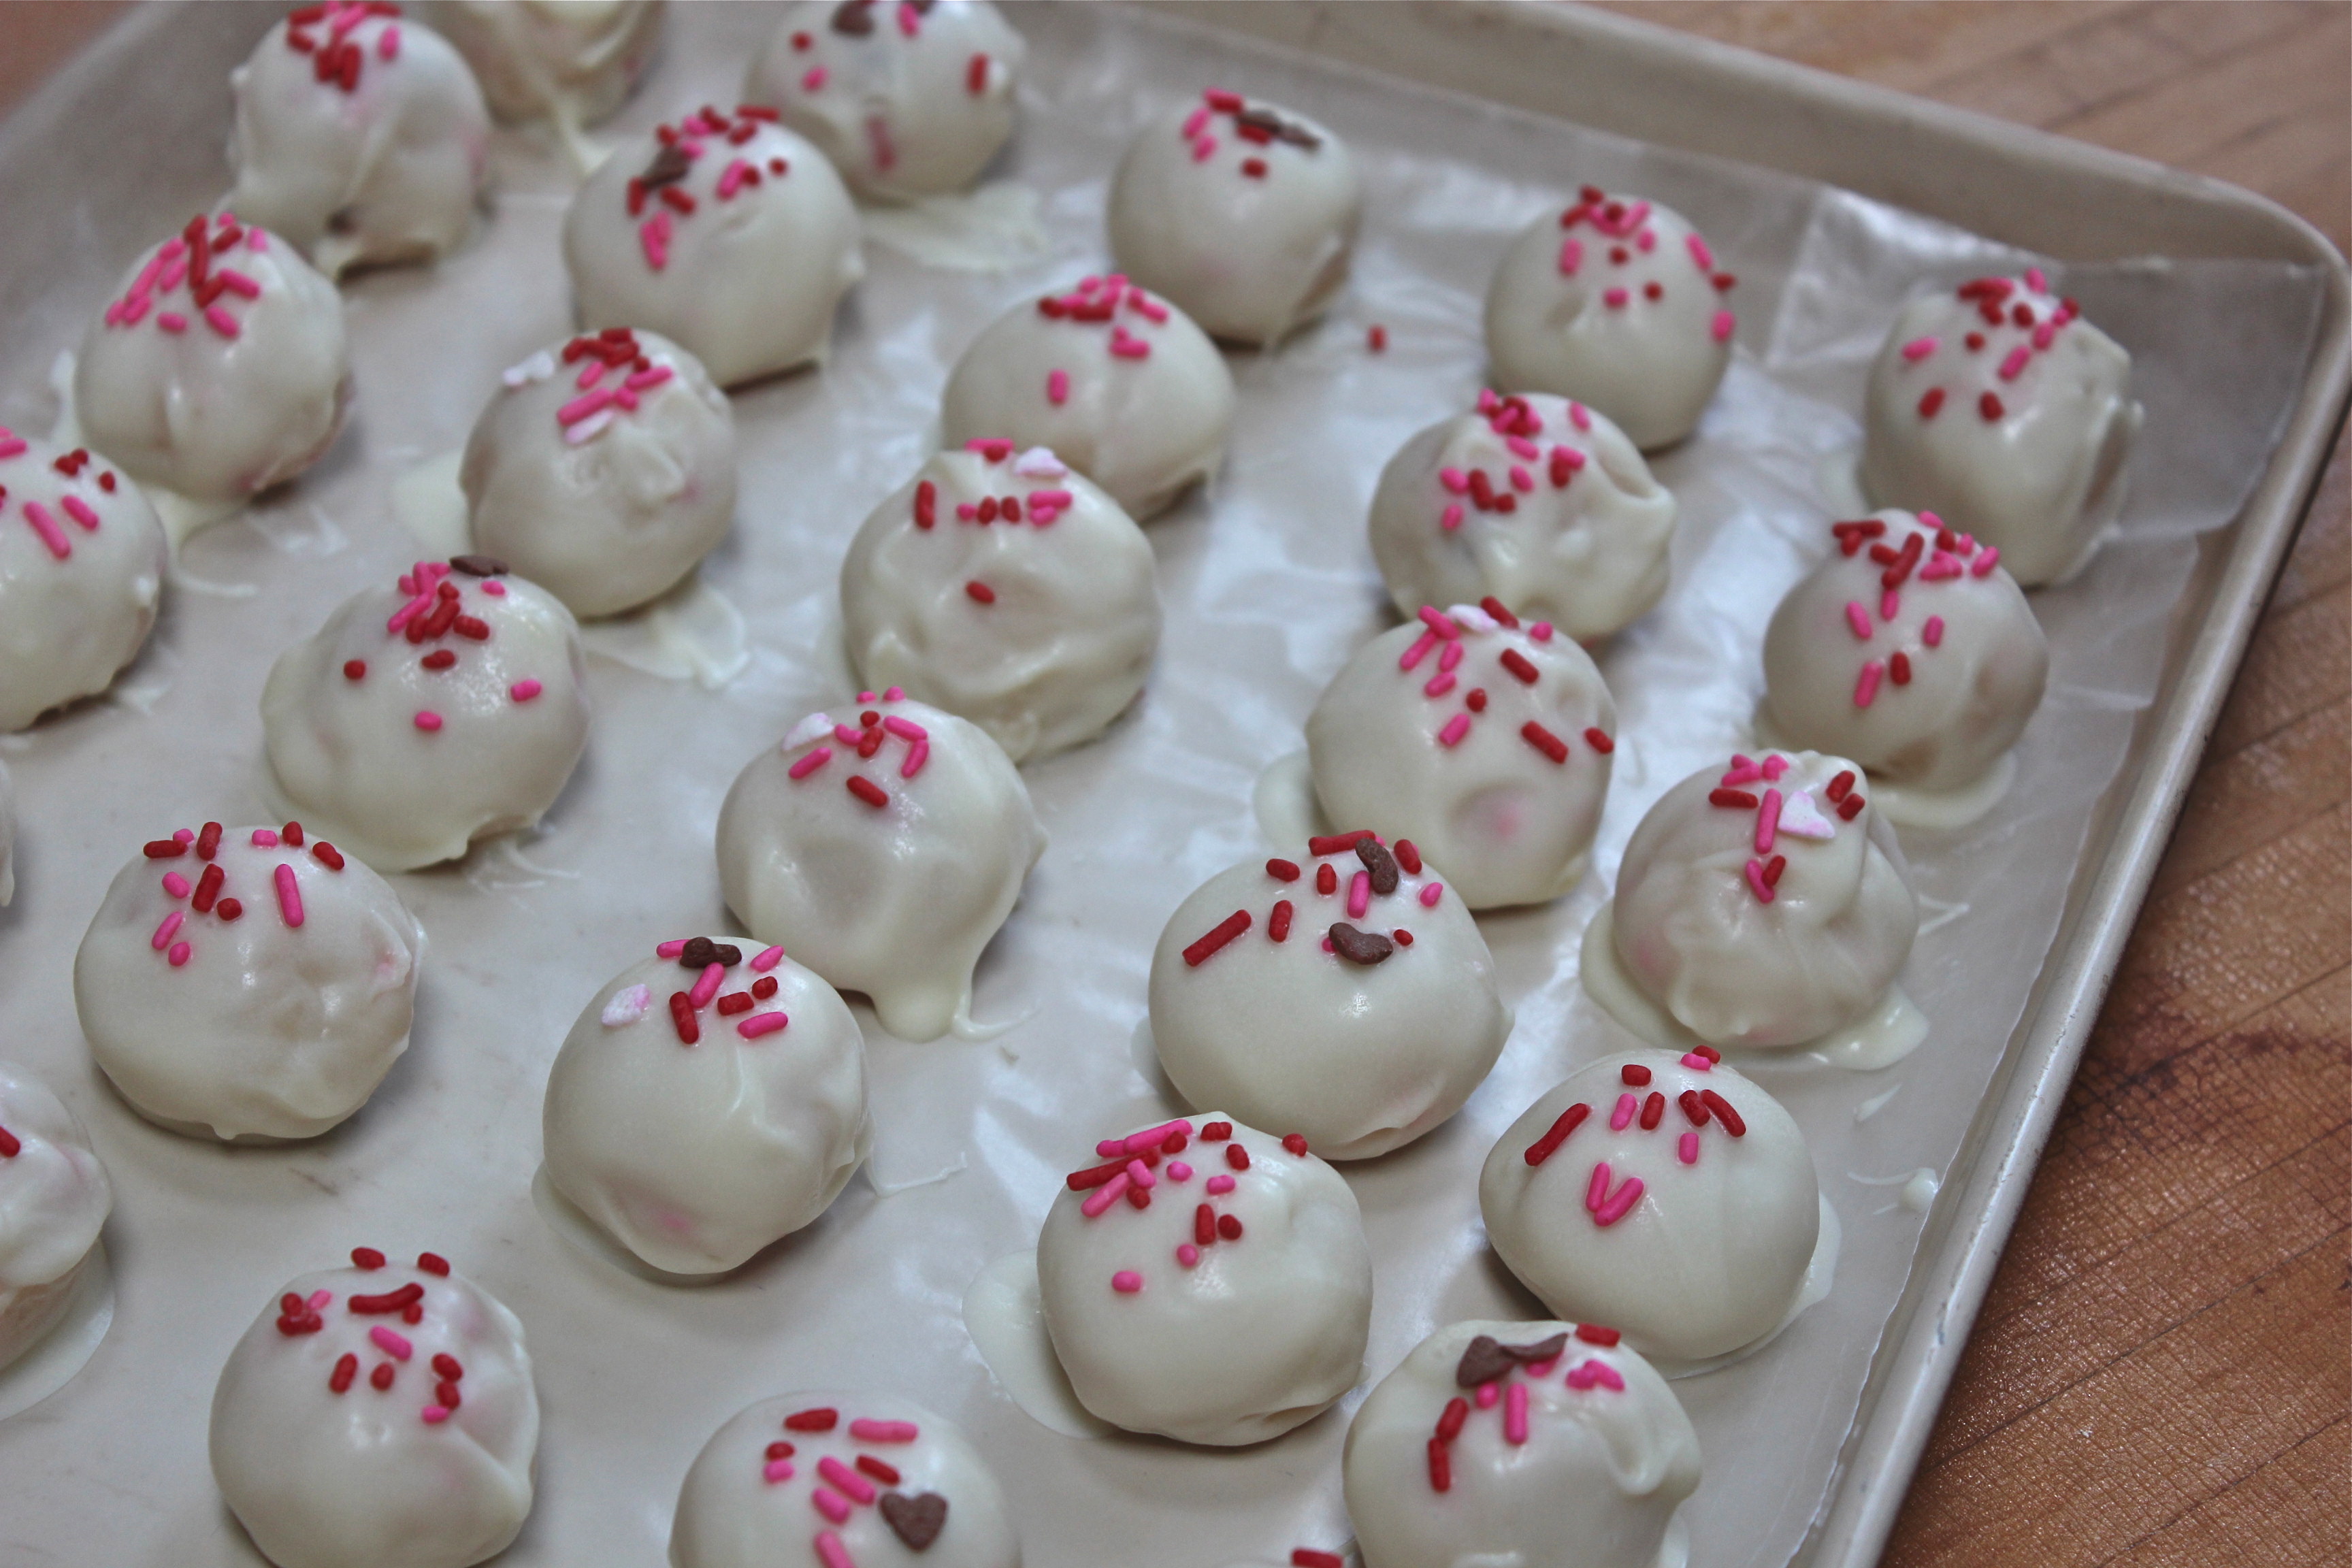
6.  Glaze:  Mix powdered sugar and 1 – 2 teaspoons cold water in a medium mixing bowl.  Add more water a little at a time if needed.  Glaze should be quite thick.  You may spoon about 1/2 tsp. glaze onto each button, or fill a resealable plastic bag with glaze and cut a small hole in 1 corner, and pipe an even circle onto the cookies.  Decorate with sprinkles, colored sugar, or dragées, if desired.

Decorate each cookie with a little glaze and some colored sugar.

Decorate each cookie with a little glaze and some colored sugar.

Let stand on rack at room temperature for at least 30 minutes for glaze to set.  Cookies may be stored at room temperature in a tightly sealed container.

IMG_5972

SOURCE:   Slightly modified recipe from Dorie Greenspan, via Bon Appetit.com

Cocoa Thumbprints

Cocoa Thumbprints

Cocoa Thumbprints

Today, because I don’t already have enough browned, crisp, sugary, buttery thoughts swirling around in my head, I’m going to talk about chocolate, thumbprints, white sugar, sprinkles and all sorts of other decorative garnishes.  So just let me get suited up in my mask, and super-woman cape and gallop into my kitchen with a sense of urgency.  Not so fast, time, I’m coming, I’m coming. Wait for meeee…….

IMG_5971

Something would be noticeably absent if I didn’t include a chocolate cookie in my gifts and platter of Christmas cookies.  I have too many such recipes to count, but if you’ll remember I’m trying to keep my cookie choices to ones that are simple to make, yet have great texture and outstanding flavor.  So this great recipe got my vote this year.  At this point, I’ve made them and we’ve eaten a few, and I can say for certain they get a “standing ovation”.  You can mix them up by hand, no electric mixer to get out, butter is melted so you don’t have to take it out in advance to soften, and once they come out of the oven they are finished and ready to eat.  If you’re in a hurry, these are perfect!

Thumbprints are easy to make and traditionally filled with jam, but these are much more fun.  Even though the cookies are all the same, they look different due to the variety of garnishes I used in the centers.  Try chocolate kisses, crushed candy canes or a dollop of frosting.  Colored sprinkles, mini marshmallows,  M&M’s, or dried fruit would work out nicely as well.  Let your imagine go wild, use what ever you have on hand.  They will be delicious no matter how you decorate them.

COCOA THUMBPRINTS

Yield:    Makes about 3 dozen cookies

Ingredients:

Dutch process cocoas makes a nice dark cookie.

Dutch process cocoa makes a nice dark cookie.

  • 1  1/2 cups all-purpose flour
  • 3/4 cup granulated sugar, plus 1/2 cup for rolling
  • 1/2 cup unsweetened Dutch-process cocoa powder
  • 1 tsp. baking powder
  • 1/2 tsp. salt
  • 6 Tbsp. unsalted butter, melted
  • 2 large eggs, lightly beaten
  • 1/2 cup confectioners’ sugar
  • various decorative sprinkles, nuts, mini marshmallow, candies etc. for filling

Directions:

1.  Whisk the flour, 3/4 cup granulated sugar, the cocoa powder, baking powder and salt in a medium bowl.  Add the melted butter and eggs and stir until combined.  Cover and refrigerate the dough until firm, about 30 minutes to 1 hour.  If you’re really in a hurry I think you could shape these without chilling, but the cookies may spread more while baking.

2.  Preheat the oven to 325*F.  Line 2 baking sheets with parchment.  Place the confectioners’ sugar and the remaining granulated sugar into 2 separate small bowls.  Roll scant tablespoonfuls of dough into balls;  roll in the granulated sugar and then in the confectioners’ sugar.

Roll first in regular sugar, then in powdered sugar.

Roll first in regular sugar, then in powdered sugar.

Place 1 inch apart on the prepared baking sheets.  Lightly flatten each ball with your fingers and make a deep 1/2-inch wide indentation in the centers with your thumb.  (TIP:  use a cork to make perfect indentations, taking care not to press all the way to the bottom of the cookie.)

3.  Place your choice of filling in the indentations.

Red and green glacée cherries fill these cookies.

Red and green glacée cherries fill these cookies.

4.  Bake cookies until puffed and slightly cracked, about 10 minutes.  Let cool 3 minutes on the baking sheets, then transfer to racks to cool completely.

Cocoa Thumbprints with various fillings.

Cocoa Thumbprints with various fillings.

SOURCE:   Food Network Magazine, Dec. 2011

Oatmeal Ginger Cream Cookies

Oatmeal Ginger Cream Cookies

Oatmeal Ginger Cream Cookies

These large sandwich cookies made their way onto my cookies-to-give list.  The moist filling and the soft oatmeal cookie are both delicious separately, but when you put them together they become sublime.  I chose to include them in my cookie collection this year because they are BIG, not some little dainty cookie that’s gone in two bites.  (Although I love those, too!)  I think guys will really like them because they’re “manly”.

These are generously sized cookies, with a cream cheese filling that has bits of crystalized ginger in it.  (Did you notice what happened there?  I found another way to sneak in some ginger. :P)  The cookie part is a nice soft, oatmeal that’s got lots of spices in it.  The oats are toasted in the oven before incorporating them into the batter, making them crispier and toasting the oats also brings out their nutty flavor.  When two oatmeal cookies are sandwiched together with the ginger cream filling the flavors fuse and compliment each other so well.  Mr. D. described them as YUMMO!!IMG_5676

The recipe expects you to get 12 cookies, but I must have made mine a little smaller, because I got 15 sandwich cookies, and they were plenty big for my taste.  They are not low in calories, but I tried to reduce the fat and calories somewhat by using low-fat cream cheese.  These are definitely cookies that guys will like.

Without the filling these are still very good oatmeal cookies, and I think the addition of raisins in that case would really enhance them.

OATMEAL GINGER CREAM COOKIES

Yield:  Makes 12-15 sandwich cookies

Ingredients:

  • 1  1/2 cups rolled oats

    These cookies are nicely spiced.

    These cookies are nicely spiced.

  • 1 cup all-purpose flour
  • 3/4 tsp. baking powder
  • 1/2 tsp. baking soda
  • 1/2 tsp. cinnamon
  • 1/4 tsp. ground nutmeg
  • 1/4 tsp. ground ginger
  • 1/4 tsp. salt
  • 1 stick butter, at room temperature
  • 1/2 cup granulated sugar
  • 1/2 cup packed light brown sugar
  • 1 large egg
  • Ginger Cream  (recipe follows)

Directions:

1.  Preheat oven to 350*F.  Position racks in the top and bottom levels of the oven.  On a baking sheet, bake oats on the top rack, shaking the pan intermittently to prevent burning, until lightly browned, 10 minutes.  Transfer pan to a wire rack to cool, leaving oven on.

Begin by toasting the oats on a baking sheet.

Begin by toasting the oats on a baking sheet.

2.  Meanwhile, in a medium bowl, whisk together flour, baking powder, baking soda, cinnamon, nutmeg, ginger, and salt.  In a large bowl, using an electric mixer on medium speed, beat butter and sugars until light and fluffy….

Cream butter, sugars and egg.

Cream butter, sugars and egg.

Beat in the egg.  Add the flour mixture, beating until just combined.  Stir in the toasted oats.

This is a thick dough.

This is a thick dough.

3.  Line 2 baking sheets with parchment paper.  Roll dough ( about 2 tablespoons/cookie), into balls, or use a #30 (1-ounce) ice cream scoop.  For each baking sheet, drop 12 balls 2 inches apart.  With dampened hands, flatten each ball to 1/2-inch thickness.

Flatten dough balls prior to baking.

Flatten dough balls prior to baking.

Using the bottom and top racks, bake until cookies are lightly browned around the edges and set, 12 minutes, switching the baking sheets from top to bottom and rotating them from front to back halfway through baking.  Remove from the oven and let cool for 5 minutes on baking sheets, then transfer cookies to a wire rack to cool completely.

After baking, browned but not crispy.

After baking, browned but not crispy.

4.  Frost the bottoms of 12 cookies with Ginger Cream, then top with the remaining 12 cookies.

IMG_5674

For Ginger Cream:IMG_5670

  • 8 ounces cream cheese, at room temperature (low-fat cream cheese is OK)
  • 1/3 cup confectioners’ sugar
  • 1/4 cup finely chopped crystallized ginger

In a medium bowl, using an electric mixer on medium speed, beat the cream cheese and sugar until smooth.  Beat in the ginger.

IMG_5675

IMG_5678

SOURCE:  The Beekman Boys via Country Living Magazine

Ginger Snaps

Ginger Snaps

Ginger Snaps

Ginger is always a must in my Christmas baking.  Sometimes it appears in more than one item.  Since I’m keeping it simple this year I settled on ginger snaps for my ginger fix instead of anything more elaborate.

I can remember making these cookies with my mother when I was young and just wanting to help in the kitchen.  I always had the sense of excitement and anticipation when my mother was baking, so that is where I wanted to be also.  Often my job was “prepping”, i.e., chopping nuts, or fruits, or in this case cutting up the candied ginger.  I never minded this because, you know, I got to taste everything in advance.  That’s how I come by my love of candied ginger, and to this day I still have to eat a piece or two while I’m cutting it up.

IMG_5915

If store-bought ginger snaps are the only kind you have ever had then you will be very surprised by these.  They are not in the least bit dry, or crunchy.    You won’t need to dunk them into coffee or milk to soften them up.  They are kind of hard to describe;  a little crispy at the edges, but still soft and chewy inside.  Spicy and gingery, but not overly so–just a good blend of spices.  The outside is sugary, because  you form the dough into balls and roll in sugar.  Everything is better with a little sparkle, right?

These are great for gifting or make a fabulous go-along for your cup of coffee, tea, or hot cocoa.  I hope you love them as much as I do!

IMG_5923

GINGER SNAPS

Yield:   about 3 dozen

Ingredients:

  • 2 1/2 cups all-purpose flour
  • 1 tsp. baking soda
  • 1 1/2 tsp. ground ginger
  • 1/2 tsp. cinnamon
  • 1/4 tsp. ground cloves
  • 1/4 tsp. salt
  • 2/3 cup canola oil
  • 1 cup packed brown sugar
  • 1/3 cup molasses
  • 1/4 cup finely diced crystalized ginger (optional)
  • 1 large egg
  • 1/2 – 1 cup coarse/sparkling sugar

Directions:

1.  Preheat oven to 325*F.  Line baking sheets with parchment paper or silicone baking mats.  In a medium bowl, combine the flour, baking soda, ginger, cinnamon, cloves and salt.  Whisk to blend.  Stir in the ginger if using.

2.In the bowl of an electric mixer, combine the oil, sugar, molasses and the whole egg.  Mix on medium speed until well combines.  With the mixer on low speed, mix in the dry ingredients just until incorporated and a dough forms.

3.  Shape small portions (about 1 Tbsp) into 1 to 1 1/2-inch balls.   Place the sparkling sugar in a small dish, and roll each ball of dough in the sugar so that it is covered in an even layer.  Repeat with the remaining dough balls.

Roll dough balls in sugar.

Roll dough balls in sugar.

4.  Place the coated balls on the prepared baking sheets about 2 to 3 inches apart.  Bake,  just until the tops of the cookies are set and beginning to crack, about 15 – 17 minutes.  Let cool on the baking sheets a few minutes, then transfer to a wire rack to cool completely.  Store in an airtight container in a cool place.

Cooling after baking.

Cooling after baking.

IMG_5921

IMG_5922

Note:  The cookies will become more firm as they cool, but if you prefer a softer cookie for eating, warm in the microwave for 10 seconds.

SOURCE:  my mom’s recipe box

Limoncello Glazed Ricotta Drops

The baking marathon has begun!!. This week my oven is going into overdrive, and I’ll be all about holiday baking. These cookies are the first ones I’ve made, and the reason I chose them is because they make use of the limoncello I also just made.  What a coincidence that I should find this recipe, and I think it’s a super-good one.

Limoncello-Glazed Ricotta Drops

Limoncello-Glazed Ricotta Drops

The cookies are light and cake-like with a definite lemon flavor, and the glaze is made with limoncello so that carries the lemon flavor throughout the cookie.  I tasted one and found it hard to stop at just one.  The ricotta cheese is not detectable in the cookie, but contributes to the tender soft texture.  These would be delightful served at any time of year, but I like to add some yellow color to my plate of Christmas cookies, so these worked in very nicely, since I decorated them with yellow sugar and yellow sprinkles.

Yellow decoration suggests the lemon flavor.

Yellow decoration suggests the lemon flavor.

LIMONCELLO-GLAZED RICOTTA DROPS

YIELD:   Makes about 36 -40 cookies

Ingredients:

  • 2 cups flour

    My own Limoncello, lemon extract and lemon zest give the cookies a definite lemon flavor.

    My own Limoncello, lemon extract and lemon zest give the cookies a definite lemon flavor.

  • 2  1/2 tsp. baking powder
  • 1/2 tsp. baking soda
  • 1/2 tsp. salt
  • 1/2 cup butter ( 1 stick), softened
  • 1 cup sugar
  • 1 egg
  • 1 cup ricotta cheese
  • 1/2 tsp. vanilla extract
  • 1/2 tsp. lemon extract
  • 1 Tbsp. limoncello liqueur
  • 1 tsp. lemon zest

Glaze ingredients:

  • 3/4 cup confectioners’ sugar
  • 2 Tbsp. limoncello
  • grated lemon zest (optional for garnish)

Directions:

1.   In a medium bowl, whisk together the flour, baking powder, baking soda, and salt.

2.  In the bowl of an electric mixer, place butter and sugar.  Blend on medium speed to cream.  Add egg and continue beating.  Add vanilla, lemon extract, limoncello, and lemon zest.  Add ricotta cheese and blend well.

3.  Gradually add the dry ingredients and mix on low speed to incorporate.

4.  Spoon dough into a smaller bowl and refrigerate for 30 – 45 minutes for easier handling.

5.  Preheat oven to 350*F.  Line baking sheets with parchment paper or spray with non-stick spray.

6.  Drop dough by Tablespoons onto prepared baking sheets.  Bake for 12 – 13 minutes.  Edges should be light brown and bottoms evenly browned.  Cool on pans for about 5 minutes, then transfer to wire cooking racks to cool completely before glazing.

7.  Make glaze by mixing together the sugar and limoncello.  Stir till smooth, adding a drop or two of water to reach glazing consistency.  Spread lightly on cooled cookies and sprinkle with lemon zest to garnish, or sprinkle with decorative sugar.

 Glaze and decorate cookies.


Glaze and decorate cookies.

IMG_5931

Enjoy with coffee, tea or cocoa.

Enjoy with coffee, tea or cocoa.

SOURCE:   My Gourmet Connection

A Day for Giving Thanks

To all my readers:   I’m busy cooking for my family today, and later we will sit down to our Thanksgiving feast remembering all we have to be thankful for.  I wish you all a wonderful day today however you may be celebrating it.  Just be sure it includes family, friends, and, of course, good food.      Carolyn

IMG_5749

Chocolate Festival, 2013

Visitor are greeted by this cheerful sight on the grand piano.

Visitors are greeted by this cheerful sight on the grand piano.

In the small town of Portland, Ct. the first Saturday of February is now well-known as Chocolate Festival day.  We are “the little church that could”, because we accomplish big things.  There is a spirit of togetherness, cooperation, and fun in all that we do.

This was our sixteenth time producing this annual event, and each time it seems to get better and better.  The people come early and stand in line outside in the cold until the doors open, and then swarm inside trying to get to their favorite booth(s) for baked goods or candy or gifts.  Some folks head right to the “Chocolate Moose Cafe” for a choice seat and first dibs on the mouth-watering desserts being served fresh and warm from the kitchen.

Chocolate Moose Cafe

Chocolate Moose Cafe

If you asked me what my favorite part of it is, I wouldn’t be able to choose.  Just walking into the room makes you smile and you feel happy and warm, because everything is so brightly decorated, and the booths are filled with gifts that are unique, and beautifully presented. The colors of red, pink and white are everywhere, even the people working there are dressed in these colors.

Gifts for all ages.

Gifts for all ages.

Grab bags for children.

Grab bags for children.

Greeting Cards

Greeting Cards

The greeting cards are all hand-made from actual photographs;   a bargain at 3/ 5.00,   centers are blank for your own message.

This event is the main fund-raiser of the year put on by the Women’s Fellowship, but many men also join in and contribute their services by helping with setting-up, taking down, clean-up, parking cars, and other services as needed.  So many people pitch in to create this wonderful day,  a lot of work, but so rewarding.

Over view of the candy booth.

Over view of the candy booth.

For my part,  since the very first year, I have made truffles for the candy booth and I help to package them in their hand-made decorative boxes. Below are some pictures of our specialty candies and “pops”.

Ice cream cone pops

Ice cream cone pops

Dump truck  pops

Dump truck pops

Rose bud pops

Rose bud pops

Rosebud bouquets

Rosebud bouquets

I also bake several different items for the baked goods booth.

Cardamom Breads

Cardamom Breads

These cardamom breads are one of the earliest baked items to sell out.  They are baked by a gentleman member, who looks forward to making them for us each year.

George's famous chocolate chip cookies.

George’s famous chocolate chip cookies.

Another gentleman provides us with chocolate chip cookies,  recipe closely guarded,  that are out-of-this-world!

Swedish breads and coffeecakes.

Swedish breads and coffeecakes.

Another of our specialties are the Swedish breads and coffeecakes.  Pies and cakes, brownies, cookies, jams, crunchy snacks, etc, etc.  We never know what we will have, but regardless, it all sells out.

This year I made two kinds of cookies.  The pink sandwich hearts that I posted here yesterday, and some cookies made with Nutella that will be coming up on the blog very soon. So watch for them, they are scrumptious!    Compared to what many others do my part is relatively small, but I enjoy the whole event immensely, especially those chocolate desserts that the kitchen crew creates and serves in the cafe.

Team leader in the kitchen, making hot chocolate sauce.

Team leader in the kitchen, making hot chocolate sauce.

Raspberry ripple cheesecake.

Raspberry ripple cheesecake being cut.

Not everything sold or served is chocolate.  This is a raspberry ripple cheesecake being cut with dental floss.  Did you know that dental floss makes nice clean cuts for perfect servings?

Last, but not least, are the raffle baskets.  Many people take on the task of creating a basket of theme-related items, and these baskets are raffled off at the end of the day.  Here are a few of the baskets that were on display.

Go, UCONN Huskies!

Go, UCONN Huskies!

At this time of year, Huskie fever runs high, so we always have a UCONN Huskies basket.

Cupcake in the Kitchen basket.

What’s up, Cupcake?  basket.

All things "Cat"

The Cat’s Meow, devoted to all things “cat”

Over 20 raffle baskets were on display.

Over 20 raffle baskets were on display.

So many baskets to take a chance on.  Which one would you choose if you could?  At the end of the day I received a phone call telling me that I had won the “Bucket of Books” basket.  I was so happy,  I love to read and a BIG bucket filled with books is just great.

I do hope you have enjoyed this glimpse of a wonderful day, and if you live within driving distance perhaps you can think about coming next year.  Remember:  the first Saturday in February.   Mark you calendar, now!   For further information, please e-mail me.  ( see Contact page, above.)     XOXO

Sandwiches, Sweet and Pink!

Now what kind of sandwich is sweet and pink?  I’ll give you some hints:  Valentine’s Day,  hearts, sugar cookies.  You got it!  A heart-shaped sugar cookie sandwich tinted pink and filled with butter cream.  WOW!  Does that sound fabulous or what?  Here’s a first look at how they turned out.

Pink heart sandwich cookies with cream filling.

Pink heart sandwich cookies with cream filling.

This recipe is from the current issue of Martha Stewart Living magazine, and it met my needs exactly because I am baking cookies for the Chocolate Festival that I mentioned last week in the post on Funfetti Truffles.  These cookies are so cute I just had to make them..  Since I have a set of heart cookie cutters I made them in two sizes;  the small ones are the cookies sandwiched together with cream filling, as the recipe describes, the larger ones I made with a heart cutout “window” in the top cookie with a layer of raspberry jam over the cream.  Then I sifted powdered sugar over all of them.

Jammy heart cookies.

Jammy heart cookies.

I love Valentine’s Day with all the lacy trims, sentiments, and especially vintage valentines.  I have a sizable collection of all things vintage related to V-tines Day and I get them out each year to celebrate and enjoy all month.  I thought you might like to see a few things from the collection.

A small part of my collection of vintage valentine memorabilia.

A small part of my collection of vintage valentine memorabilia.

This display is on a console table in our foyer.  Hanging on the wall is a valentine quilt that I made.

Vintage valentines and an old vase.

Vintage valentines and an old vase.

The heart-shaped vase is just the right size for a bouquet of roses.

Candy box and a February angel.

Candy box and a February angel.

The heart box opens at the top where it is tied, to reveal a pocket for some candy or a handkerchief.  The little angel has such a sweet face, and even though the paint on her heart is half gone, she is no less dear. Her base is printed with the words, “February Angel”.  I hope you enjoyed this glimpse of my valentine treasures from the past.

PINK HEART SANDWICH COOKIES

YIELD:  depends on size of cookies.  I got  44  1 1/2 -inch cookies, and  6   2  1/2-inch cookies.

  • 2  cups all-purpose flour, plus more for rolling out cookiesIMG_2862 
  • 1/2 teaspoon baking powder
  • 1/4 teaspoon salt
  • 1  stick unsalted butter, softened
  • 1 cup sugar
  • 1 egg
  • 1 teaspoon vanilla extract
  • red and pink food coloring
  • cream filling—recipe follows

1.  Whisk together the flour, baking powder and salt.  In mixer bowl, beat together the butter and sugar on medium speed until pale and fluffy, about 3 minutes.  Beat in egg and vanilla.  Reduce speed to low and gradually add flour mixture beating until just incorporated.

2.  Divide dough into as many pieces as you will color, depending on how many shades of pink you would like your cookies to be. Working with one piece of dough at a time, add food coloring, 1 drop at a time, mixing and kneading to combine until desired shade is reached.  Flatten each piece of dough into a disc and wrap in plastic wrap.  Refrigerate until firm, at least 1 hour or up to over night.  Bring back to room temperature, about 10 minutes, before rolling.

3.  Preheat oven to 325*.    Prepare baking sheets by lining with parchment.  Roll out each disc of dough on a lightly floured surface to just under 1/4-inch thick.  Cut out cookies using various sizes of heart cutters ( if you have them), making sure you have an even number of each color and size.   Place cookies 1 – inch apart on prepared baking sheets and freeze until very firm, about 15 minutes.

4.  Bake until barely golden brown around edges, about 8 minutes for 1  1/2- inch cookies, 10-minutes for 2  1/2 inch cookies.  Let cookies cool completely on baking sheets set on wire racks.

Cooling on the baking sheet.

Cooling on the baking sheet.

5.  Spread or pipe filling onto bottom side of half the cookies, and sandwich with remaining cookies, pressing gently.  Cookies can be stored in an air-tight container at room temperature up to 1 week.

Making the sandwiches with cream filling.

Making the sandwiches with cream filling.

CREAM FILLING

YIELD:  about 1 1/4 cups,  enough to fill one recipe of the above cookies.

  • 1/2 stick unsalted butter, softened
  • 1 1/2 cup confectioners’ sugar
  • 1/4 cup granulated sugar
  • 1 teaspoon vanilla extract
  • 1 – 2 Tablespoons milk, if needed

1.  Beat butter with a mixer on medium speed until light and fluffy, about 3 minutes.  Reduce speed to low, and gradually add the sugars, beating until thoroughly combined.  Beat in vanilla.  Add milk as needed to make mixture a spreading consistency.

IMG_2865

IMG_2875

So pretty and festive,  just  right for a sweet gift.


IMG_2872

SOURCE:   Martha Stewart Living Magazine, Feb. 2013

Funfetti Truffles

Funfetti Truffles for Valentines Day.

Funfetti Truffles for Valentines Day.

It’s that time of year again when the church we belong to hosts a Chocolate Festival.  This will be our 16th. year doing this, and over the years it has grown and become known and looked forward to by many people.  In fact we get visitors from out of state who come every year.  Of course a chocolate festival would not be complete without a candy booth.

IMG_2796

Since the very first year, a group of us makes truffles that we package in pretty boxes.  They sell “like hotcakes”.  Since I first began making truffles I have made quite a few different kinds, and this year I found this recipe for Funfetti Truffles.  They were different from anything we’ve had before and I thought that with their white chocolate coating they would look really pretty in amongst the dark chocolate ones.

This is another of those recipes that starts with a cake mix, and turns into something else.  In this case, candy.  They were very easy to make, and lend themselves to different holidays by changing the sprinkle colors that you use.  This recipe makes about 24 truffles.  I doubled everything and got a total of 54 truffles.  One box of white cake mix is enough to make a double recipe and still have some cake mix left over.   Here’s what you do:

FUNFETTI TRUFFLES

YIELD:   about 24

Just a few ingredients needed.

Just a few ingredients needed.

INGREDIENTS

  • 1 cup of white cake mix
  • 1/2 cup flour
  • 1/2 cup sugar
  • 1/4 cup butter, melted
  • 1/2 teaspoon vanilla
  • 2 Tablespoons milk
  • 1 Tablespoon sprinkles (match color to holiday or occasion )
  • 1 1/2 cup white chocolate chips or vanilla almond bark for coating

In a large bowl, whisk together the cake mix, flour, and sugar.  Stir in the melted butter, vanilla, milk, and sprinkles.  Mix well so all the dry ingredients are moistened.  It should stick together and hold its shape when formed.  If necessary, add milk in small amounts until this is achieved.

A dough that  sticks together.

A dough that sticks together.

Use a small cookie scoop or teaspoon to form even balls.  Roll between hands to shape.  Place on a wax paper lined baking sheet.  Refrigerate for 20 – 30 minutes.

Roll  into balls and place on lined baking sheet.

Roll into balls and place on lined baking sheet.

Meanwhile, melt white chocolate or almond bark, in a double boiler.  Drop each truffle into the chocolate and roll around to coat.  Tap off the excess.  Place on a wax paper-lined baking sheet.  Top with a few sprinkles,  the same ones used in the dough.

Dip into melted white chocolate, decorate with sprinkles.

Dip into melted white chocolate or almond bark, decorate with sprinkles.

Place in a cool place to harden.  These will keep for a long time if kept cool.  Makes a nice addition to a plate of cookies or by themselves in a candy dish for Valentines Day.

Pretzels dipped into white chocolate and decorated.

Pretzels dipped into white chocolate and decorated.

I had enough melted white coating left after dipping the truffles, so I also dipped some pretzels and decorated them with sprinkles and M & M’s.

IMG_2788

Sweets for your sweetie!

Sweets for your sweetie!

SOURCE:      laurenslatest.com

Holiday Good Wishes

IMG_1828

I want to wish all of my readers the best and happiest Holiday.   In whatever way  you celebrate it make sure it contains Family, Friends and of course, Food.

The picture above is a Father Christmas from my collection of porcelain “Gift Givers”, all hand made by me at an earlier time.  I hope you enjoy it.  He joins me in hoping you get all that you wish for at this wonderful time of year.