Banana Scones
Weekends are great for having a lovely leisurely breakfast (or brunch) so I’m getting you ready for the weekend with this recipe for some great tasting banana scones. The flavor of banana is unmistakeable and enhanced by cinnamon and a little nutmeg. A little like warm comforting banana bread but not so sweet. I think they are perfect just as they are, but the original recipe I found included a Brown Butter Glaze to put on them after they are baked. This could elevate them to a dessert if you are so inclined. We enjoyed them plain, so no glaze for us, but I am including the full recipe here.
The scone dough is tender and lightly seasoned. It includes mashed banana and yogurt as the moisture source in the dough. The recipe produces a large yield ( I got 30 small-sized scones), but they freeze well, so you could bake half and freeze half to be baked at a later time, or just make half the recipe for a reduced number of scones. If you do freeze them, remember to add about 5 minutes to the baking time. You will have some lovely breakfasts to look forward to in the weeks ahead.
BANANA SCONES WITH BROWN BUTTER GLAZE
YIELD: about 14 – 16 large or 25 -30 small scones
INGREDIENTS:

Just a few ingredients, including yogurt or sour cream.
For the scones:
- 2 1/2 cups all-purpose flour
- 2 1/2 cups white whole wheat flour*
- 1/2 cup sugar
- 1 Tablespoon baking powder
- 2 teaspoons cinnamon
- 1 teaspoon salt
- 1/4 teaspoon ground nutmeg
- 8 Tablespoons ( 1 stick ) cold butter, cut into small pieces
- 1 1/2 cup mashed banana ( about 3 – 4 bananas)
- 1 cup low-fat greek yogurt or sour cream
- Buttermilk, if needed, plus more for brushing the tops
For the glaze:
- 8 Tablespoons, (4 oz.) butter
- 1 1 /2 – 2 cups confectioners’ sugar
- 3 Tablespoons milk, plus more as needed
DIRECTIONS:
1. Preheat the oven to 400*F. Line baking sheets with silicone baking mats or parchment paper.
2. In a very large bowl, combine flours, sugar, baking powder, cinnamon, salt and nutmeg. Whisk to blend. Stir in the pieces of cold butter and cut into the dry ingredients using a pastry cutter or two knives until the mixture resembles coarse meal and the largest pieces of butter are the size of peas.
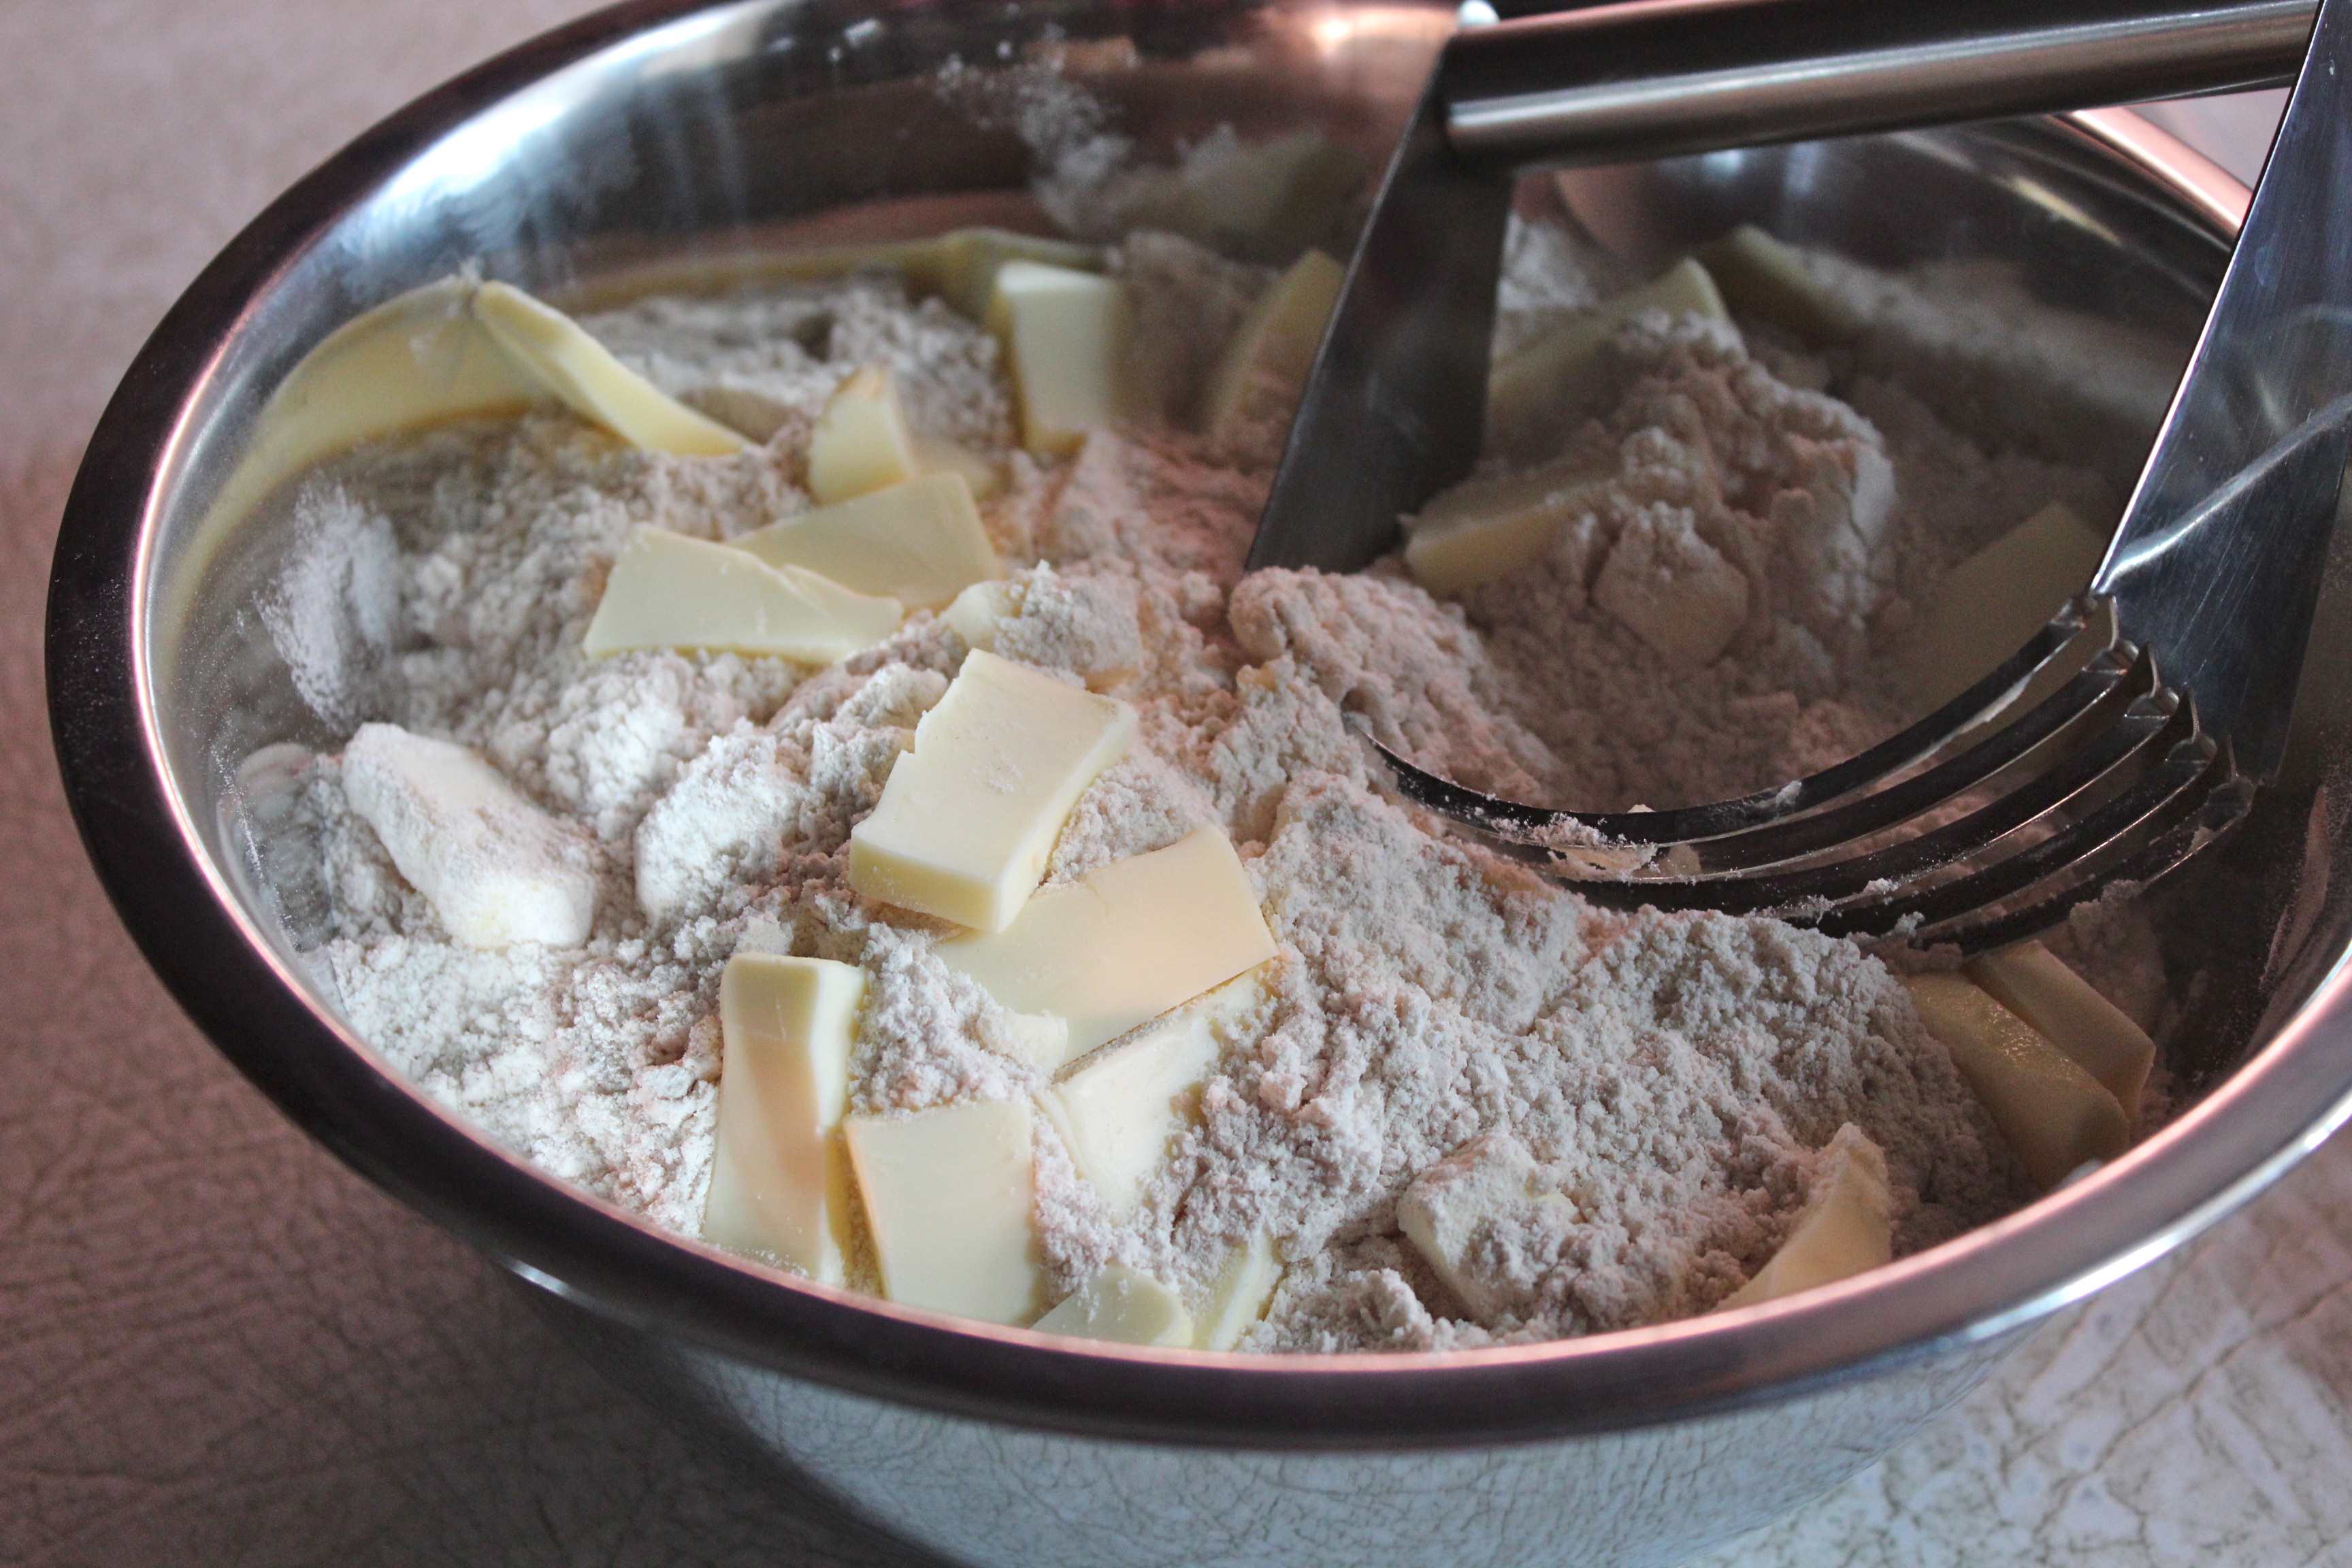
Cut butter into the dry ingredients.
3. In a second bowl, combine the mashed banana and yogurt and stir to blend. Add the banana mixture to the bowl with the dry ingredients.

Fold banana mixture into dry ingredients.
Fold together gently with a spatula until a dough begins to come together. (Be careful not to over mix, as it will result in tough, dense scones.) If some of the dry ingredients are not incorporating into the dough, add a bit of buttermilk 1 tablespoon at a time just until all dry ingredients are moistened and incorporated.
4. Turn the dough out onto a lightly floured work surface. Gently knead a few times to ensure even mixing. pat the dough out into a slab about 3/4 -to-1-inch thick. Cut out rounds of dough using biscuit/doughnut cutters (about 3 1/2-inch diameter for large scones or 2 1/2 inch diameter for smaller scones.) Place dough rounds on the prepared baking sheet at least an inch or two apart. Lightly brush the tops with buttermilk.**
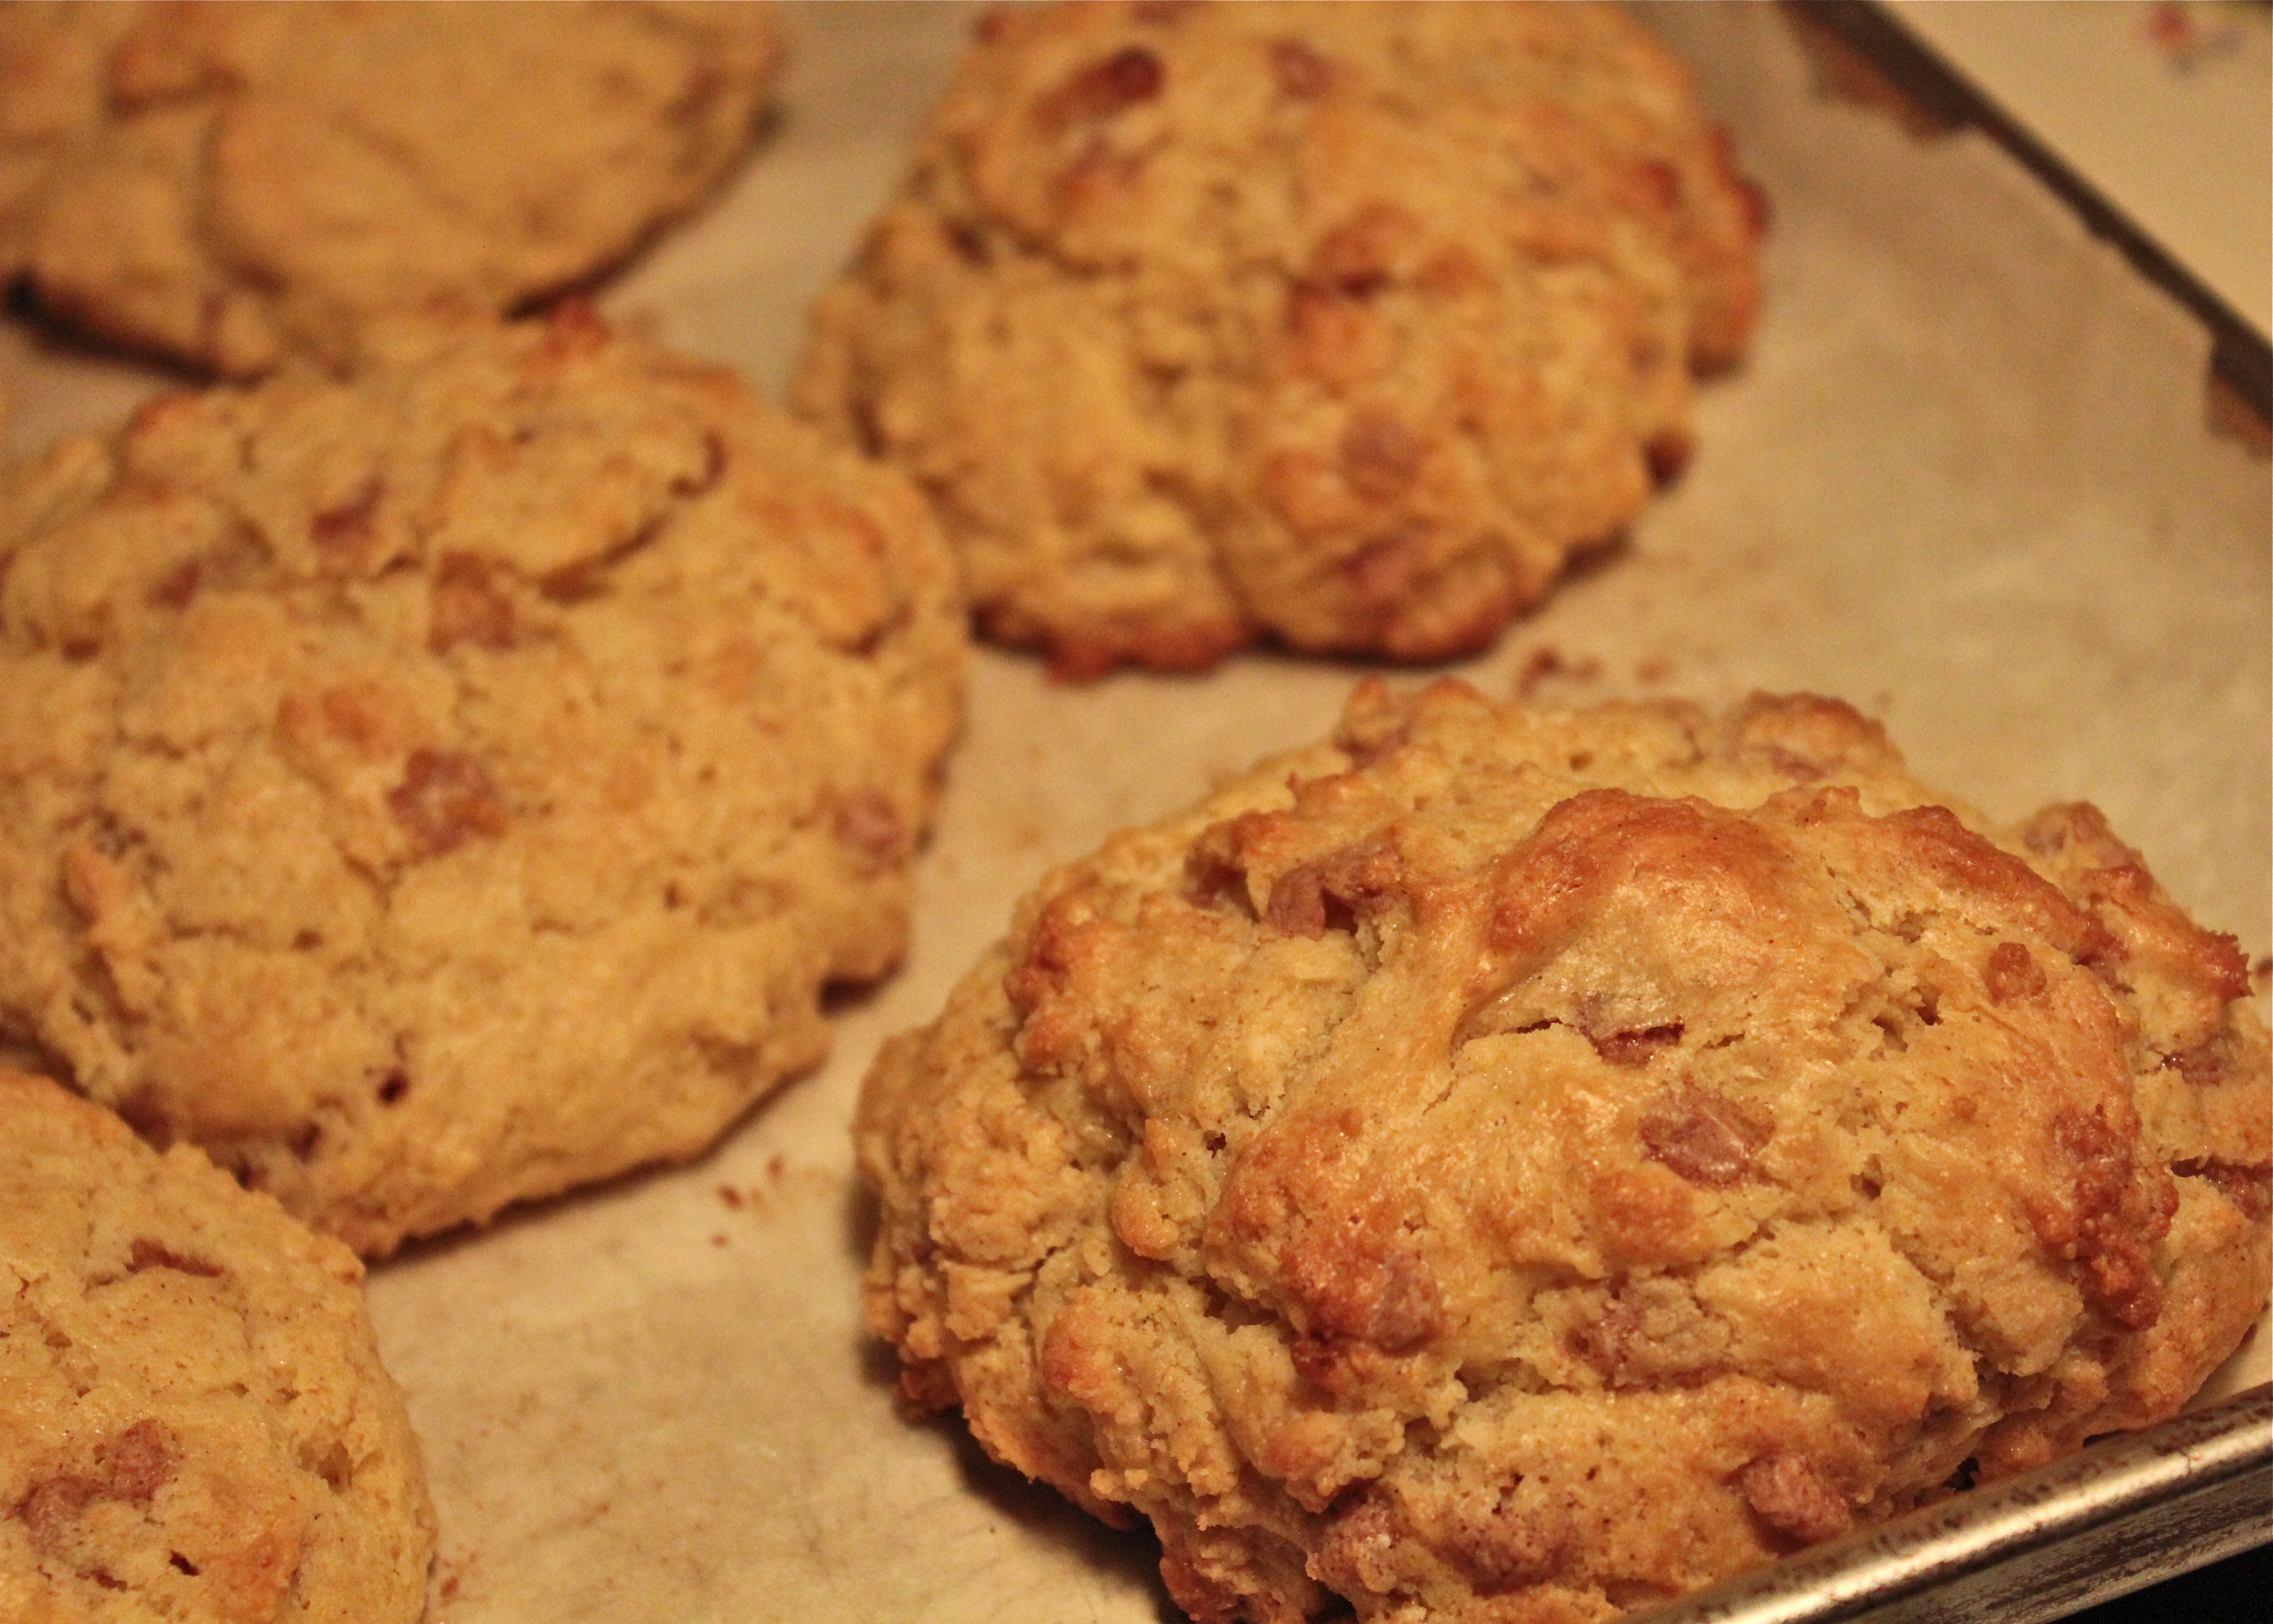
5. Bake the scones until the tops are golden brown and scones are just set, about 16 – 18 minutes for large scones and 14 -15 minutes for smaller ones. Let cool on a wire rack.

Don’t they look tender and light?
6. While the scones are cooling, make the glaze. Heat the butter in a small skillet over medium heat. Let melt and continue to cook, swirling occasionally, until the butter is a deep golden brown color, being careful not to burn it. Set aside to cool slightly. Transfer the browned butter to a bowl and whisk in the confectioners’ sugar. Whisk in the milk a little at a time until the mixture is smooth. Spoon or drizzle the glaze over the scones and let set before serving.
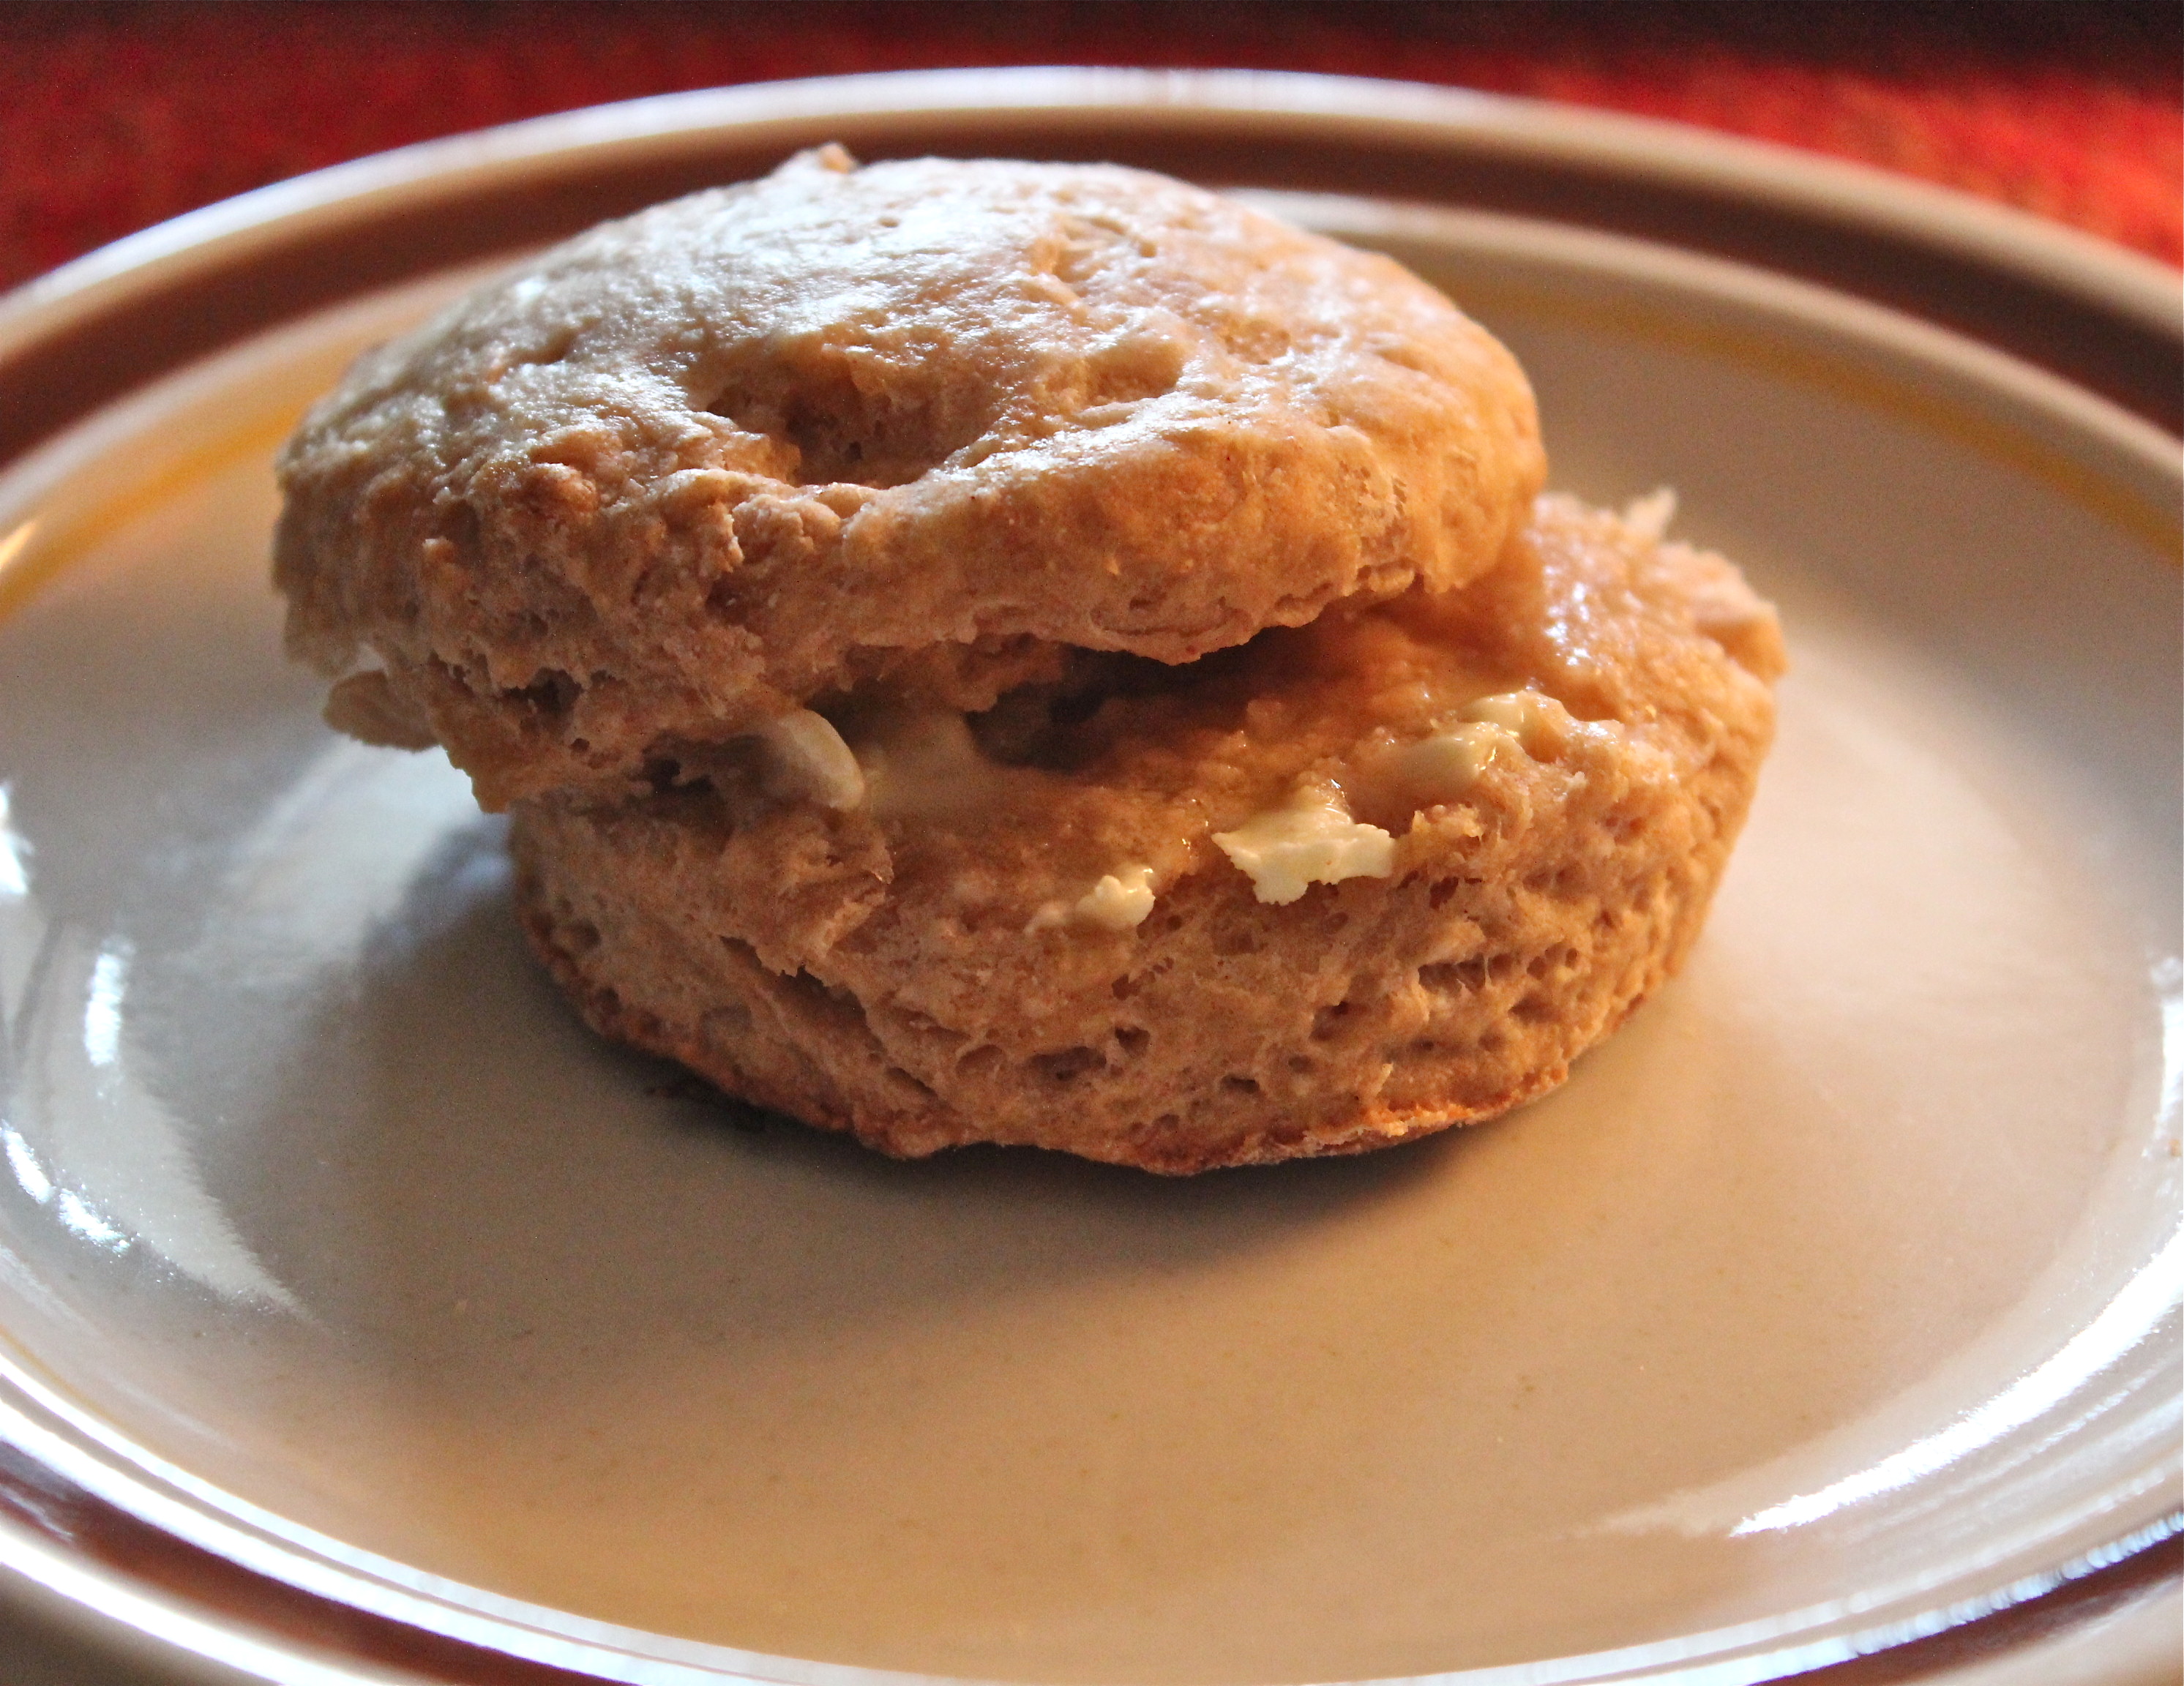
Scrumptious with a little butter on a warm scone.
* I prefer using half white whole wheat flour in as many baked goods as is feasible, but you can use all all-purpose flour if you wish.
** At this point you can place the unbaked scones on a baking sheet, transfer to the freezer and freeze until solid. Then store in an air-tight container and save for later. To bake after freezing, just bake as normal but add a few minutes onto the baking time and check to be sure they are fully baked through.

SOURCE: Adapted from The Kitchen, via Annie’s Eats.