Buffalo Chicken Chili with Blue Cheese Chips
This recipe is a take off on the favorite appetizer Buffalo Chicken Wings. It contains all the same ingredients, but in different form. I’ve made this dish several times now and each time we seem to enjoy it more and more. I’ve made a few adjustments to the original recipe which came from Rachael Ray on her daytime T.V. show.
It goes together easily and can be made in less than an hour’s time. I’ve also made it in my slow cooker, by using less liquids, and it came out great. This is a variation on the traditional red chili, one I would call a white chili, even though it contains tomatoes. If you and your family like Buffalo wings, try this slightly different, mixed up version of the same flavors.

I think you will like this.
To make this into a low carbohydrate meal, you can omit the white beans. Whether you use the beans or not this chili is low-cal, it’s good and good for you. As Rachael would say, It’s Yum-O!
BUFFALO CHICKEN CHILI
SERVINGS: about 6
INGREDIENTS
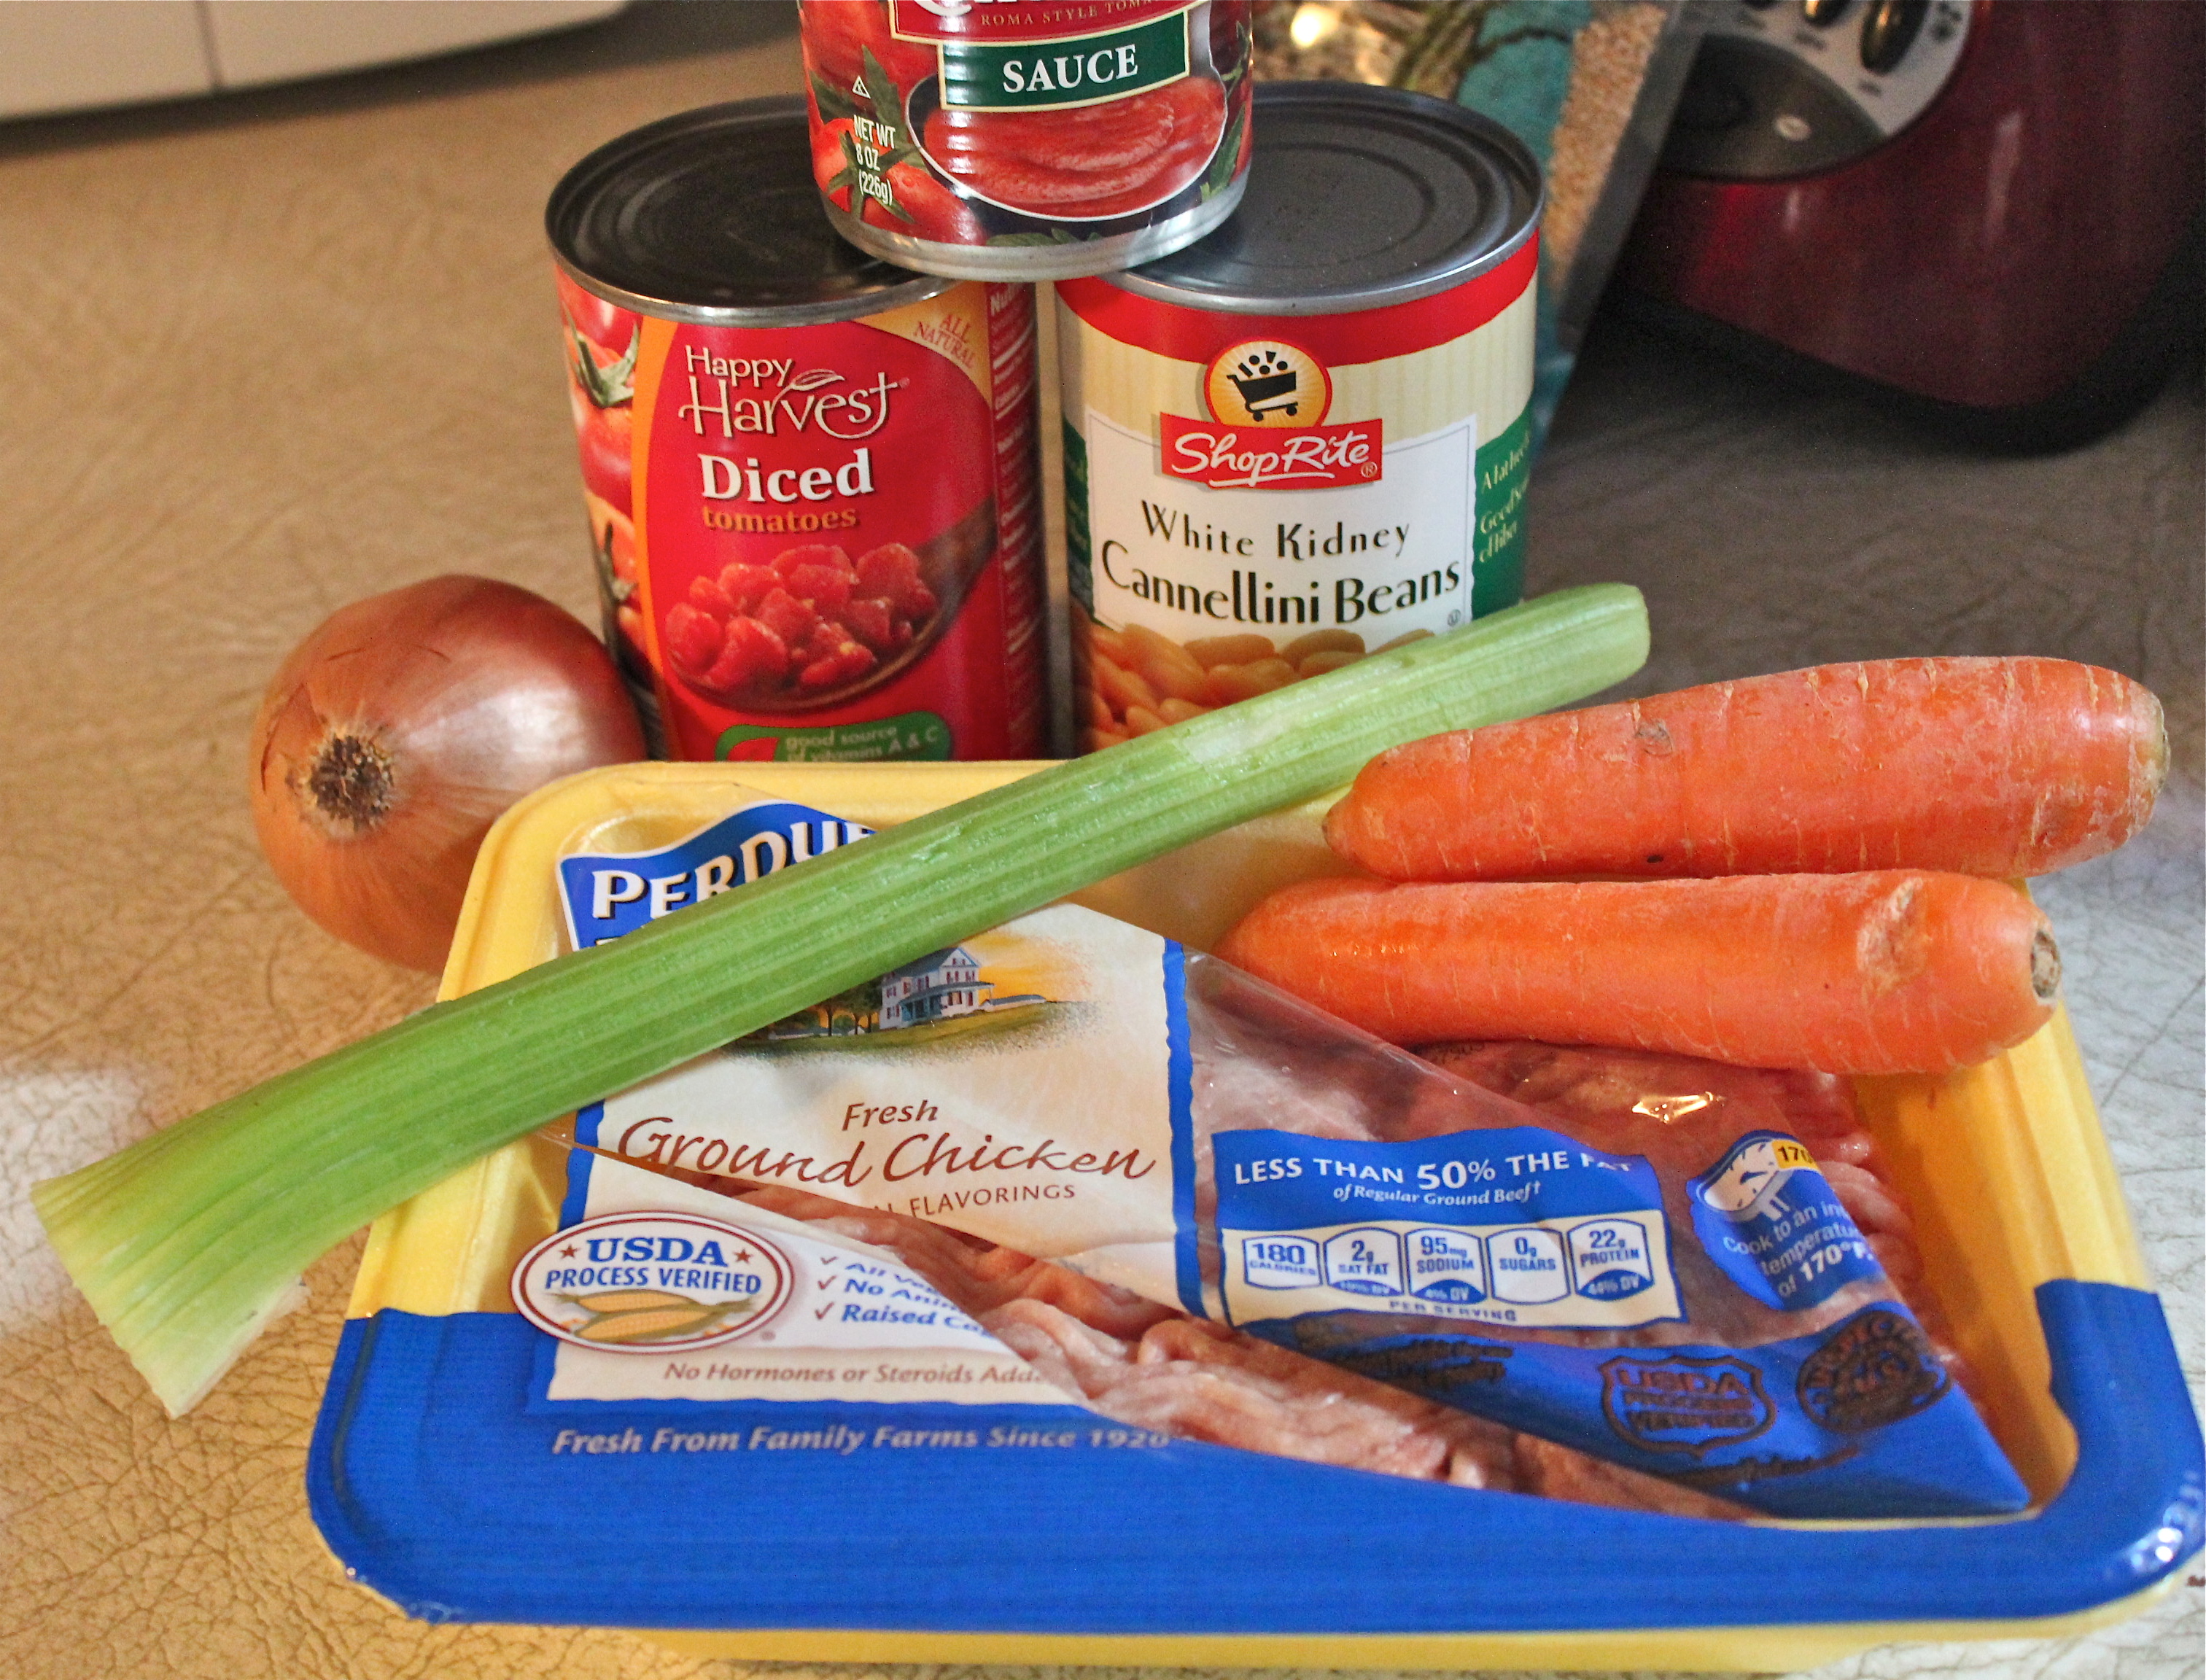
- 2 Tablespoons extra virgin olive oil (EVOO)

Just a few ingredients, you may already have on hand.
- 2 pounds ground chicken
- 2 large carrots, peeled and chopped
- 1 large onion, chopped
- 4 ribs celery with leafy tops, chopped
- 4 cloves garlic, chopped
- 1 Tablespoon smoked sweet paprika
- 1 tablespoon chili powder
- 1 bay leaf
- salt and pepper
- 2 cups chicken stock
- 1/2 cup hot sauce
- 1 can tomato sauce ( 15 ounces )
- 1 can stewed, fire-roasted or crushed tomatoes ( 15 ounces)
- 1 can ( 15 ounce ) canollini or other white beans, drained and rinsed (optional)
- 1 bag whole grain tortilla chips
- 8 ounces blue cheese, crumbled
- a handful flat-leaf parsley chopped, or dried parsley
PREPARATION
1. Place a large pot over medium-high heat with the EVOO, rotate the pan to spread the oil. Add the ground chicken and break it up, lightly browning it for 5 minutes.

Brown up the chicken.
2. Add the carrots, onion, celery, garlic, paprika and bay leaf and season with salt and pepper. Cook, stirring frequently, for about 7-8 minutes. Add the chicken stock and scrape up any brown bits on the bottom of the pot.
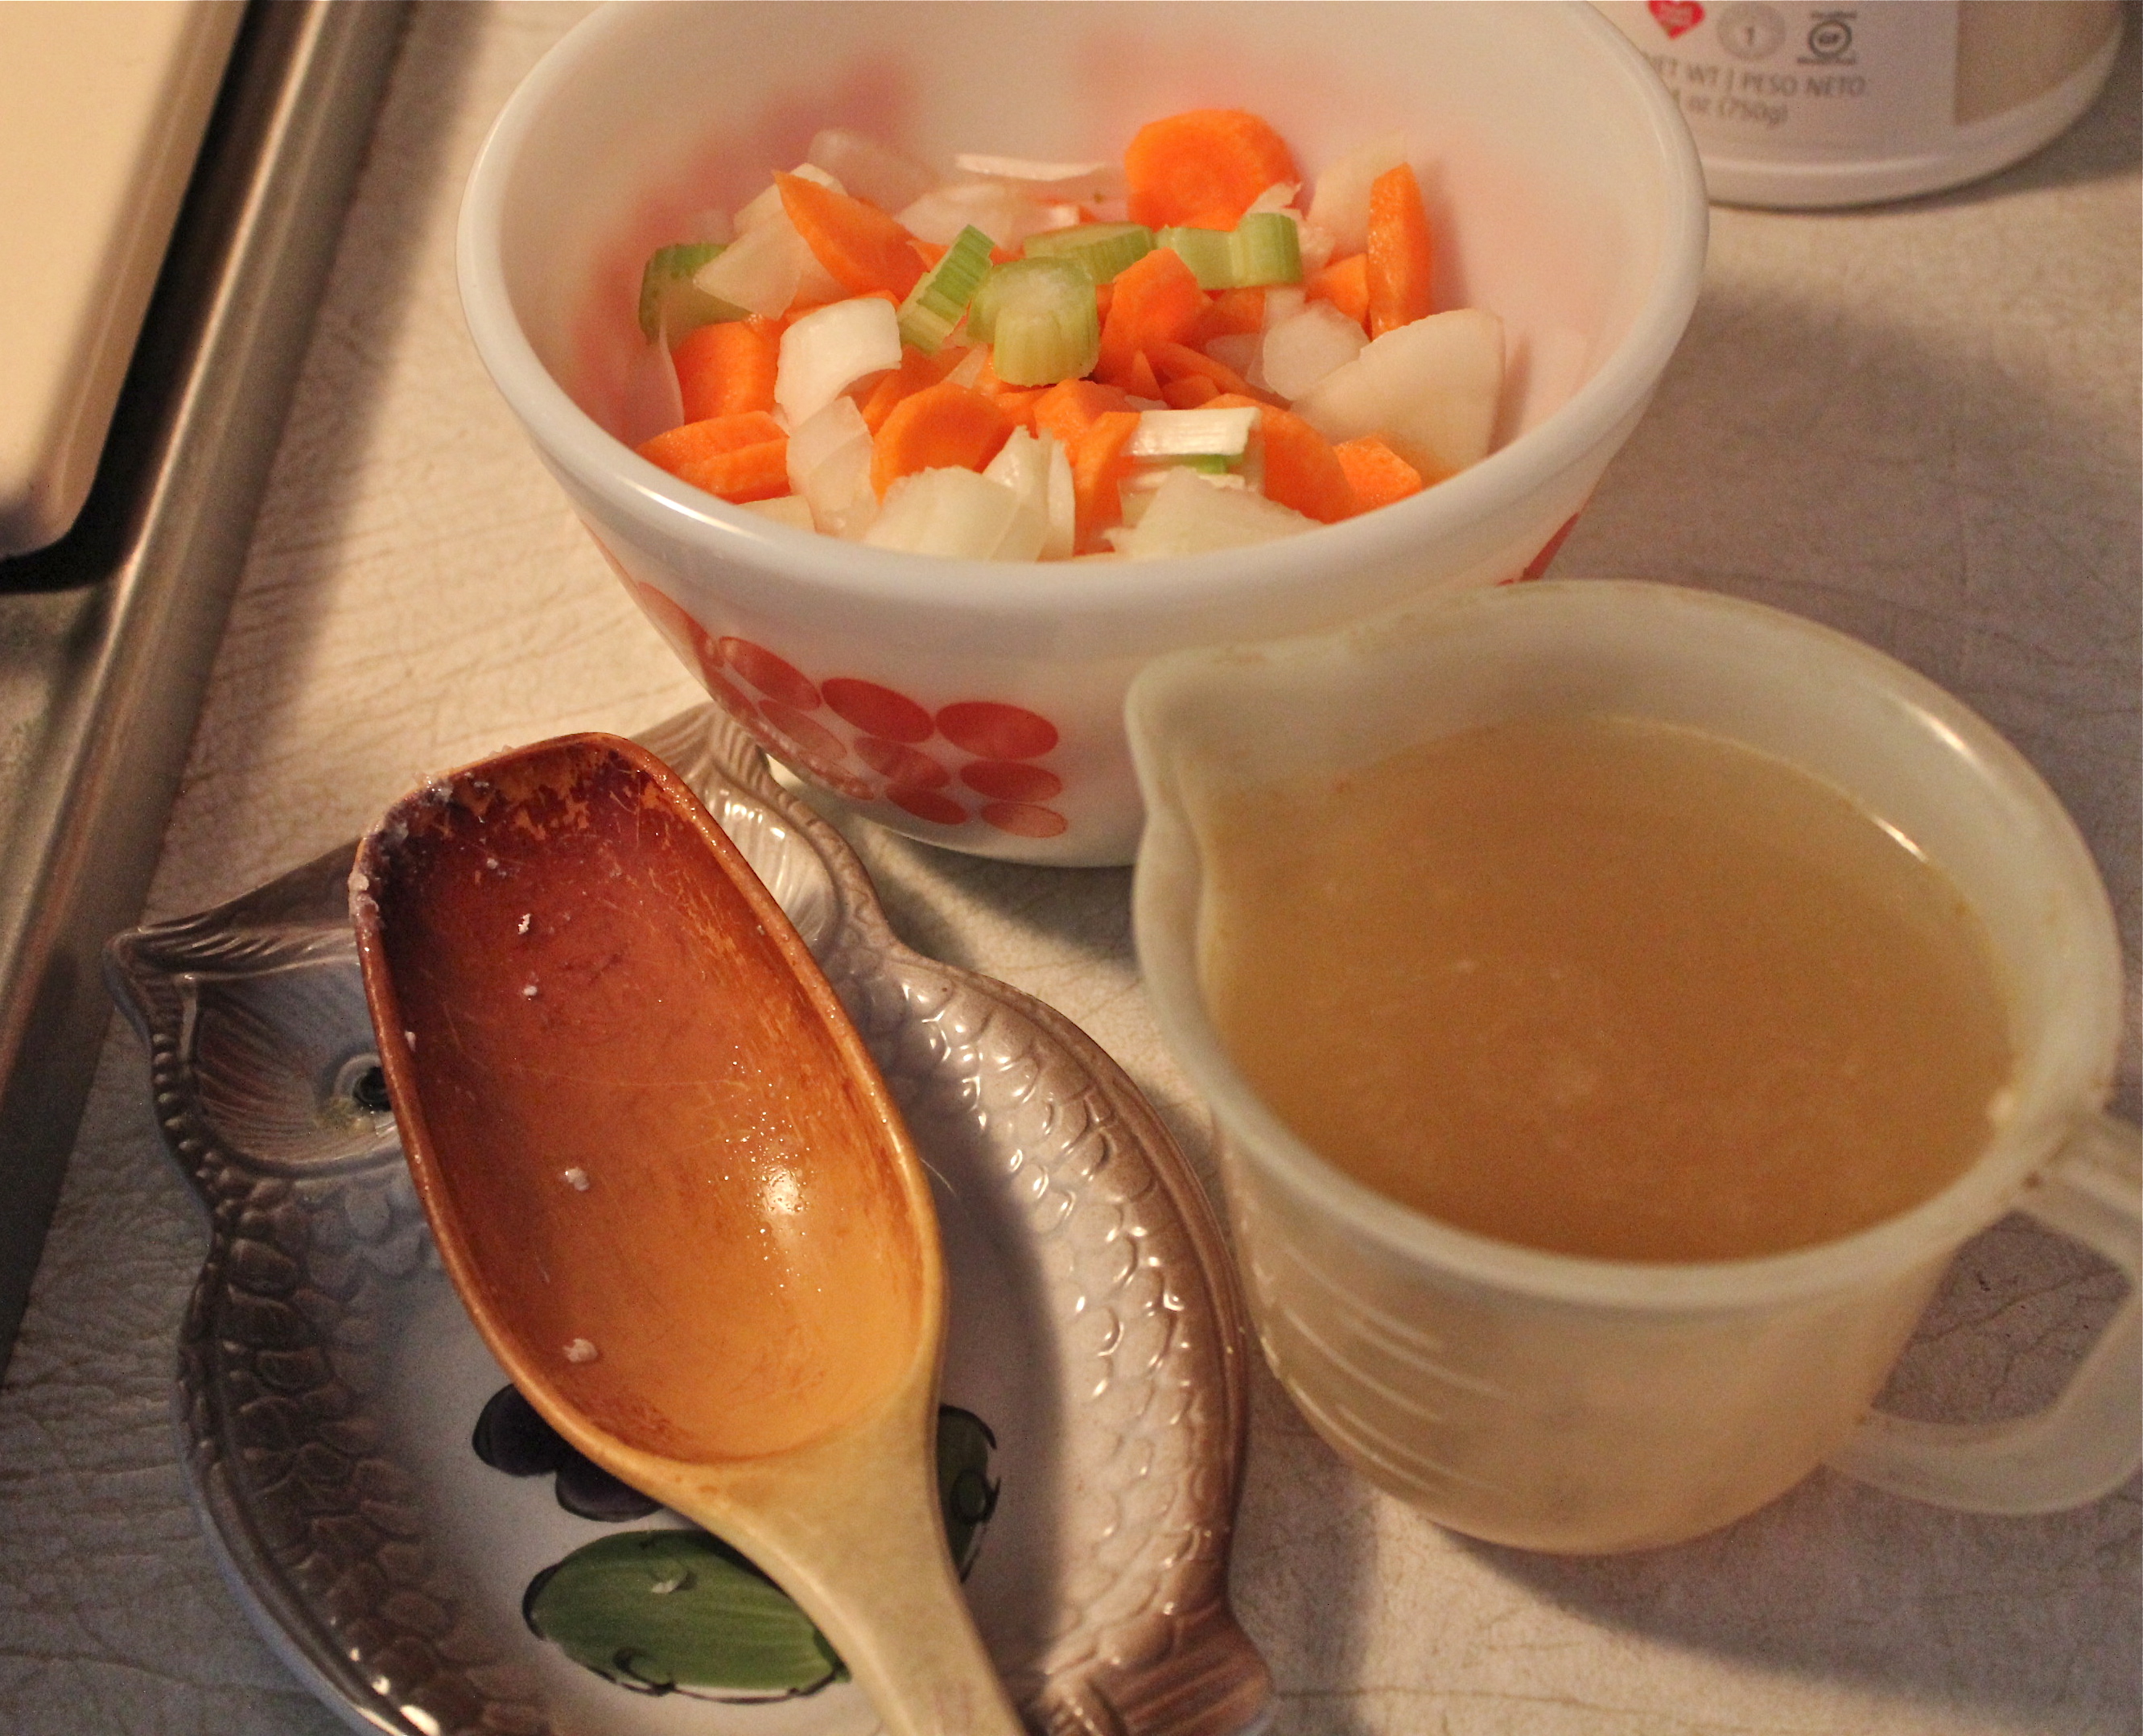
Chopped veggies and chicken stock waiting their turn in the pot.
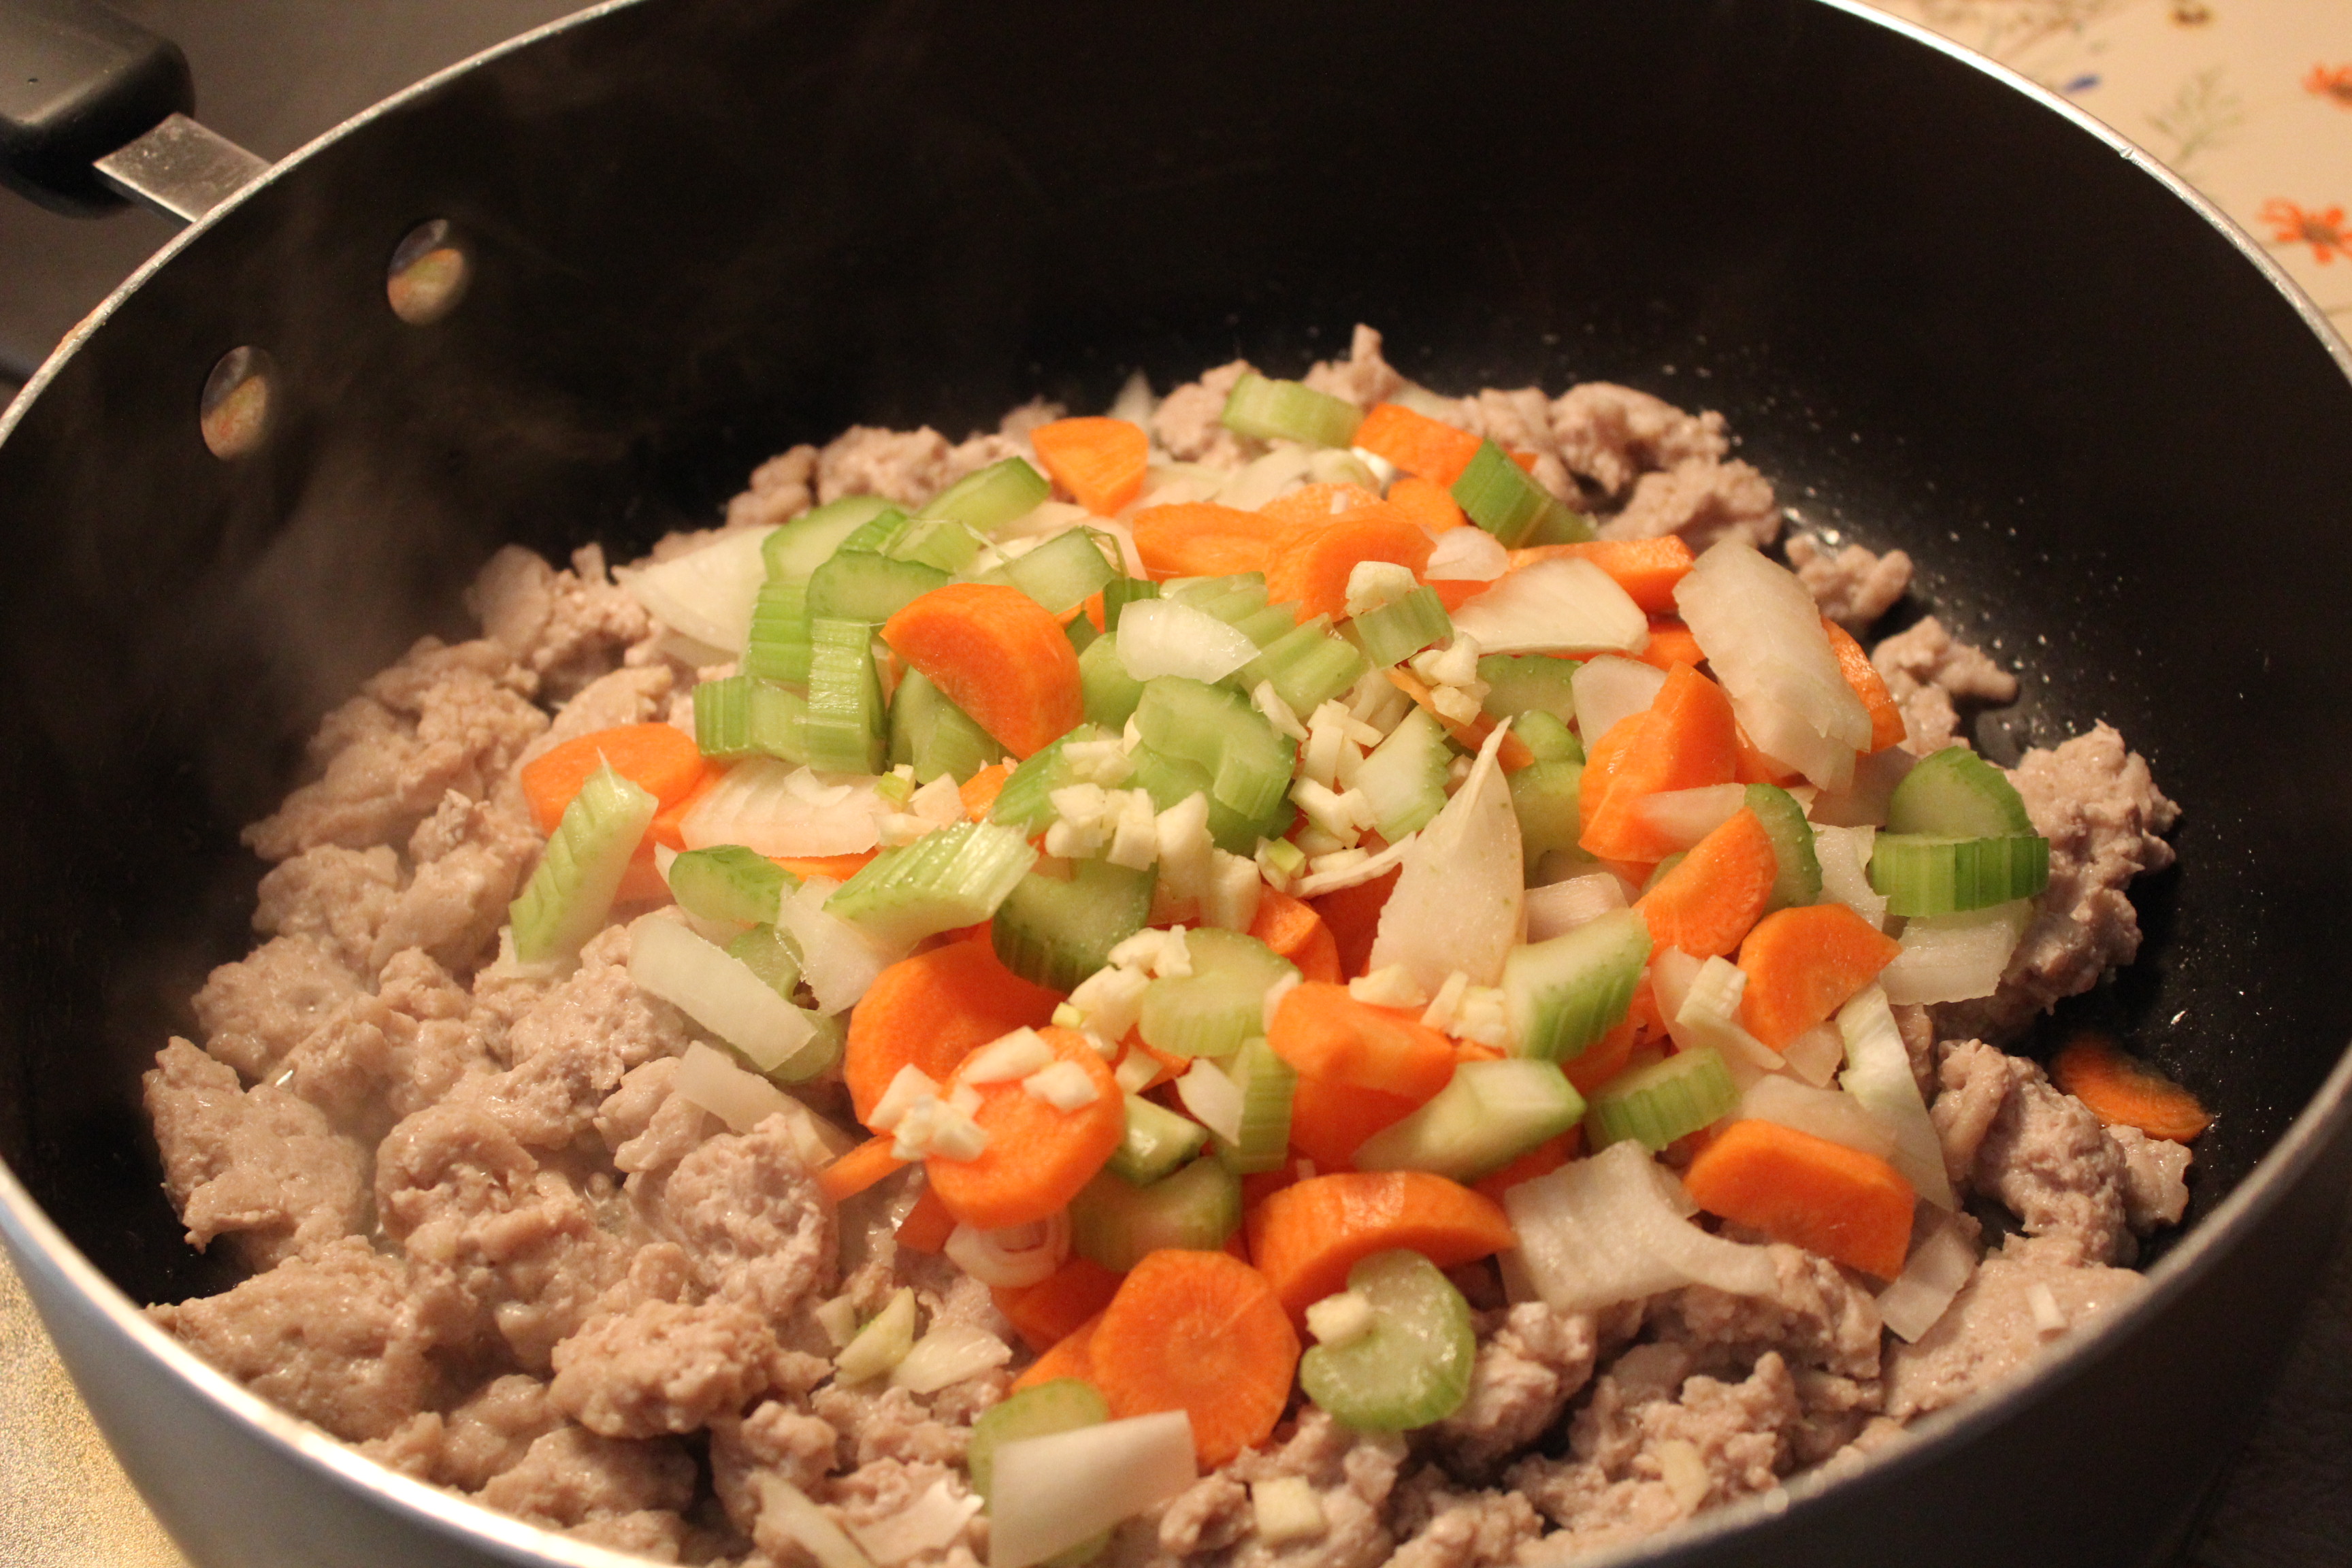
Add the veggies.
3. Add the hot sauce, tomato sauce, tomatoes, and white beans, (if using) to the chili and bring up to a bubble. Simmer for 8 – 10 minutes more to let the flavors come together.
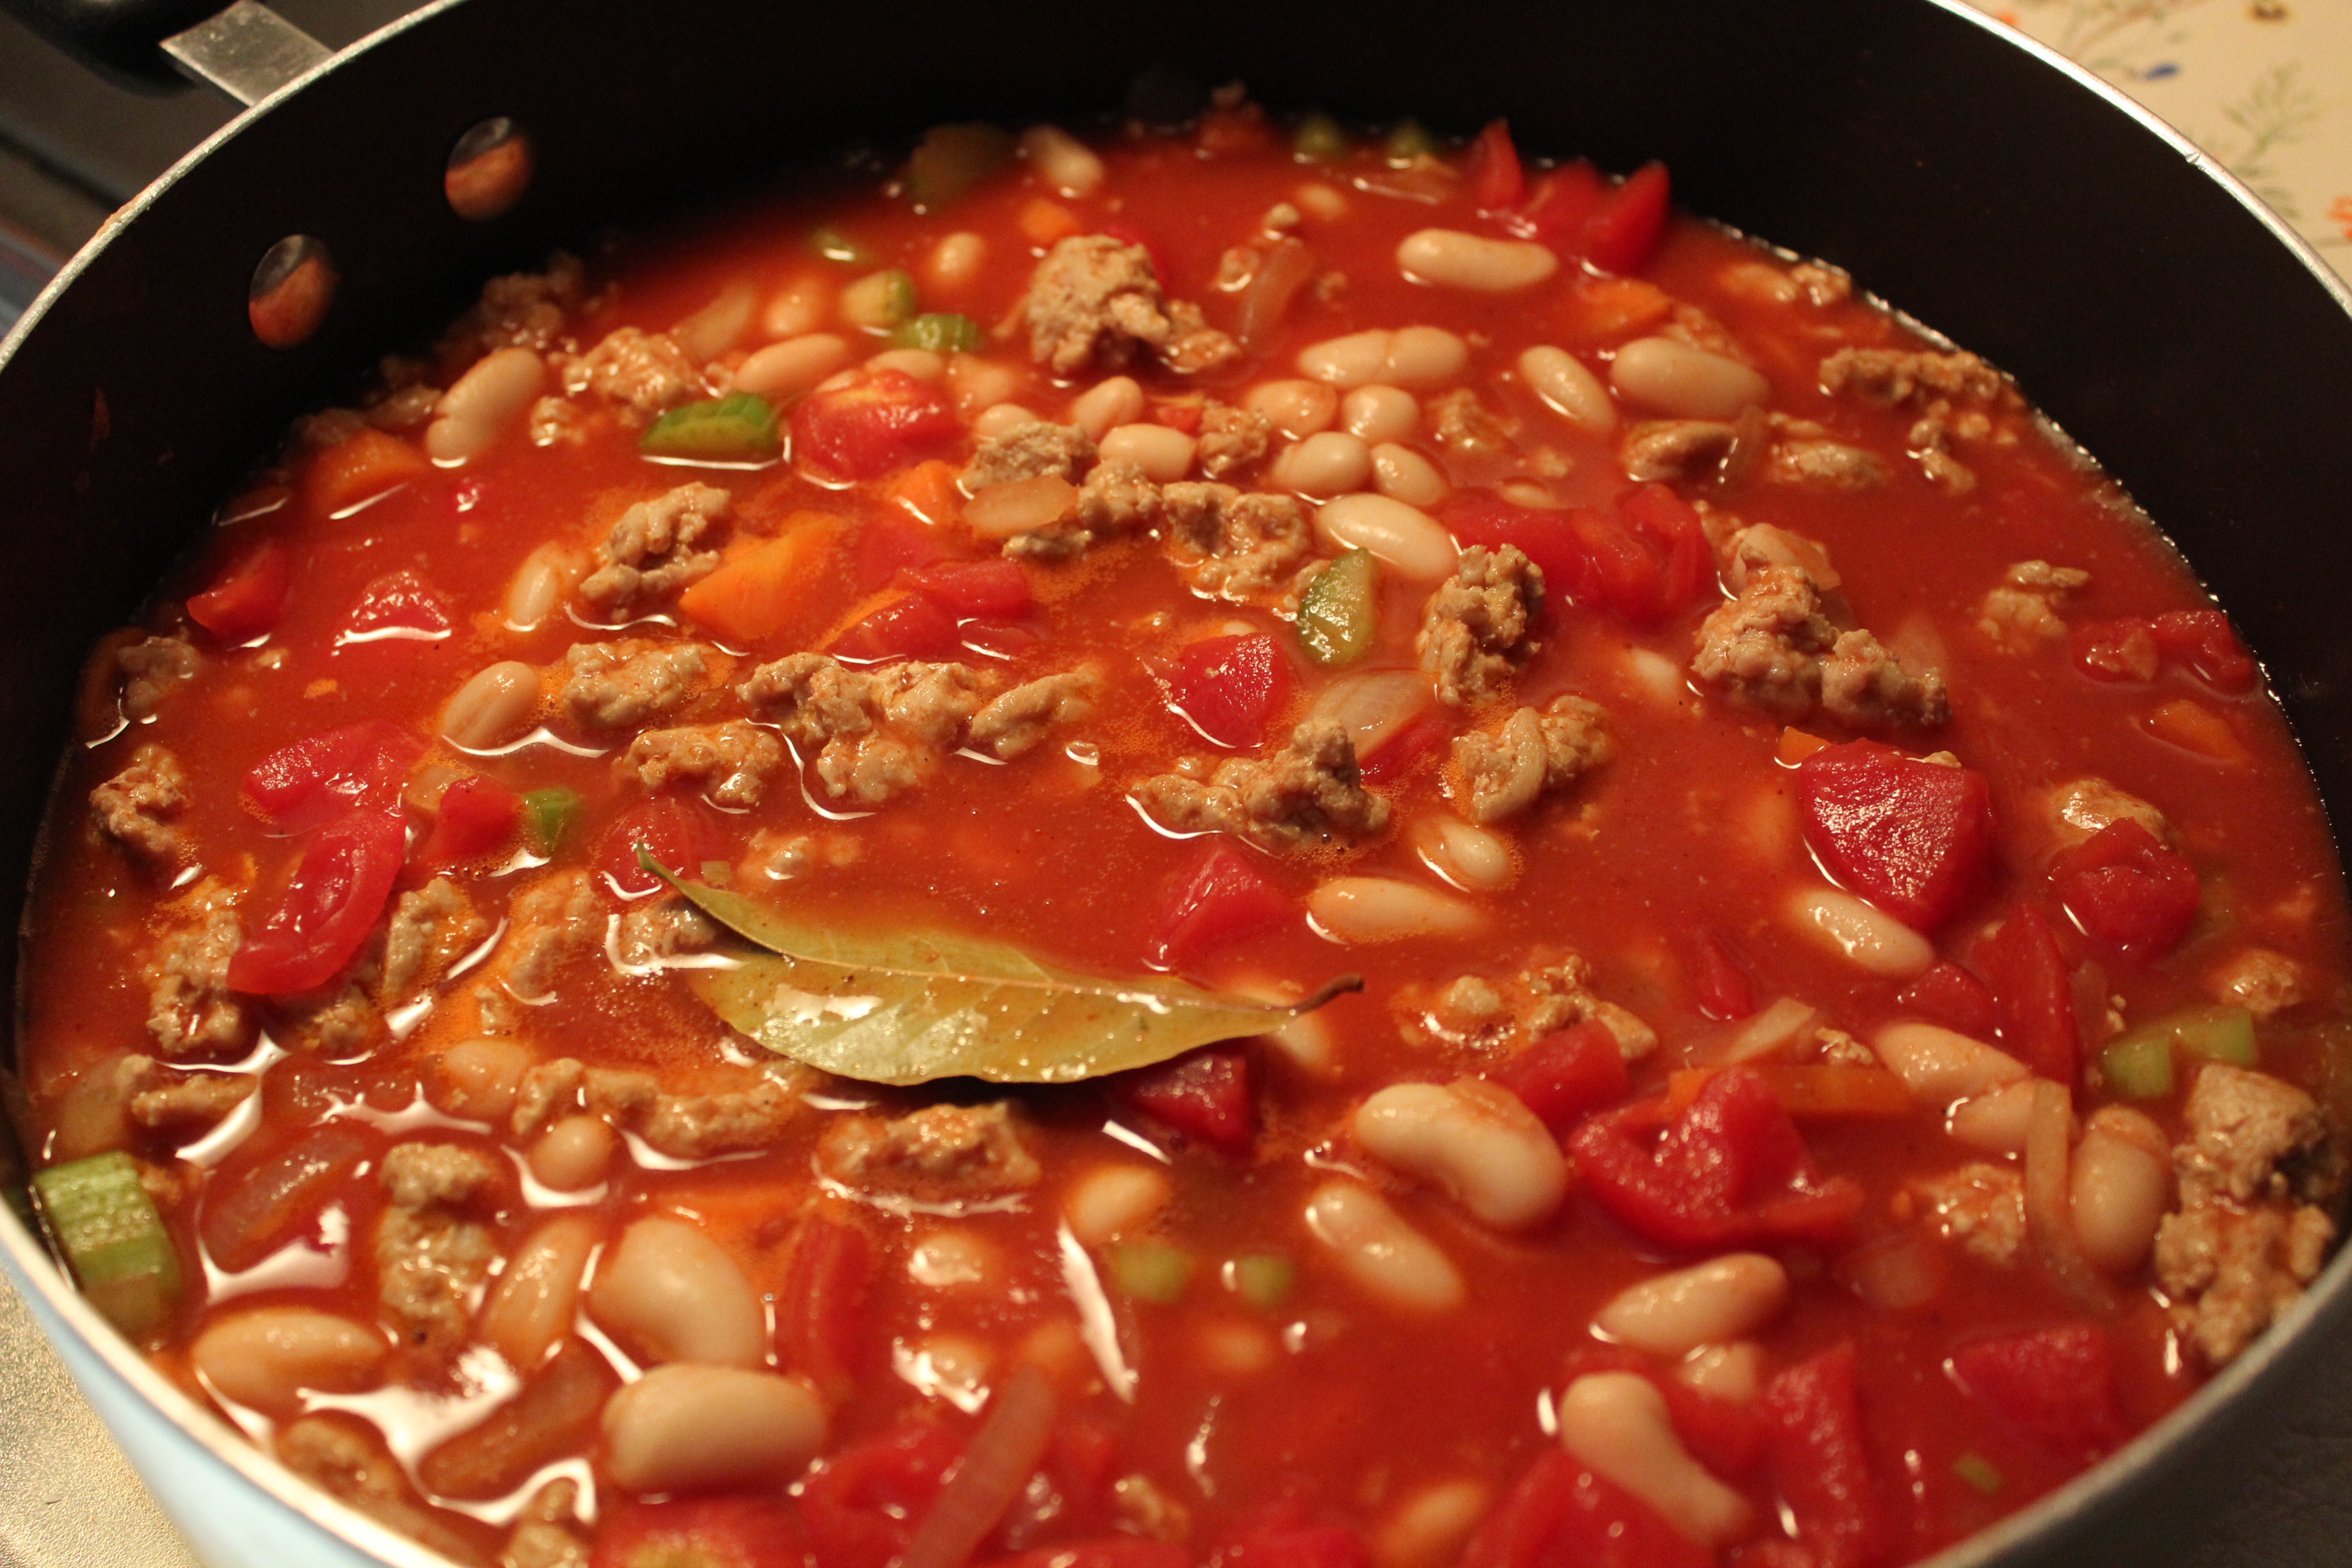
Tomatoes, sauce and beans added, plus seasonings.
4. While the chili is simmering, pre-heat the broiler. Spread the chips out on a cookie sheet. Top with the crumbled blue cheese and transfer to the oven to melt the cheese, 2 – 3 minutes. Remove from the oven and sprinkle with the chopped parsley.
5. To serve, spoon into bowls and top each serving with a few blue cheese chips, or serve along side.
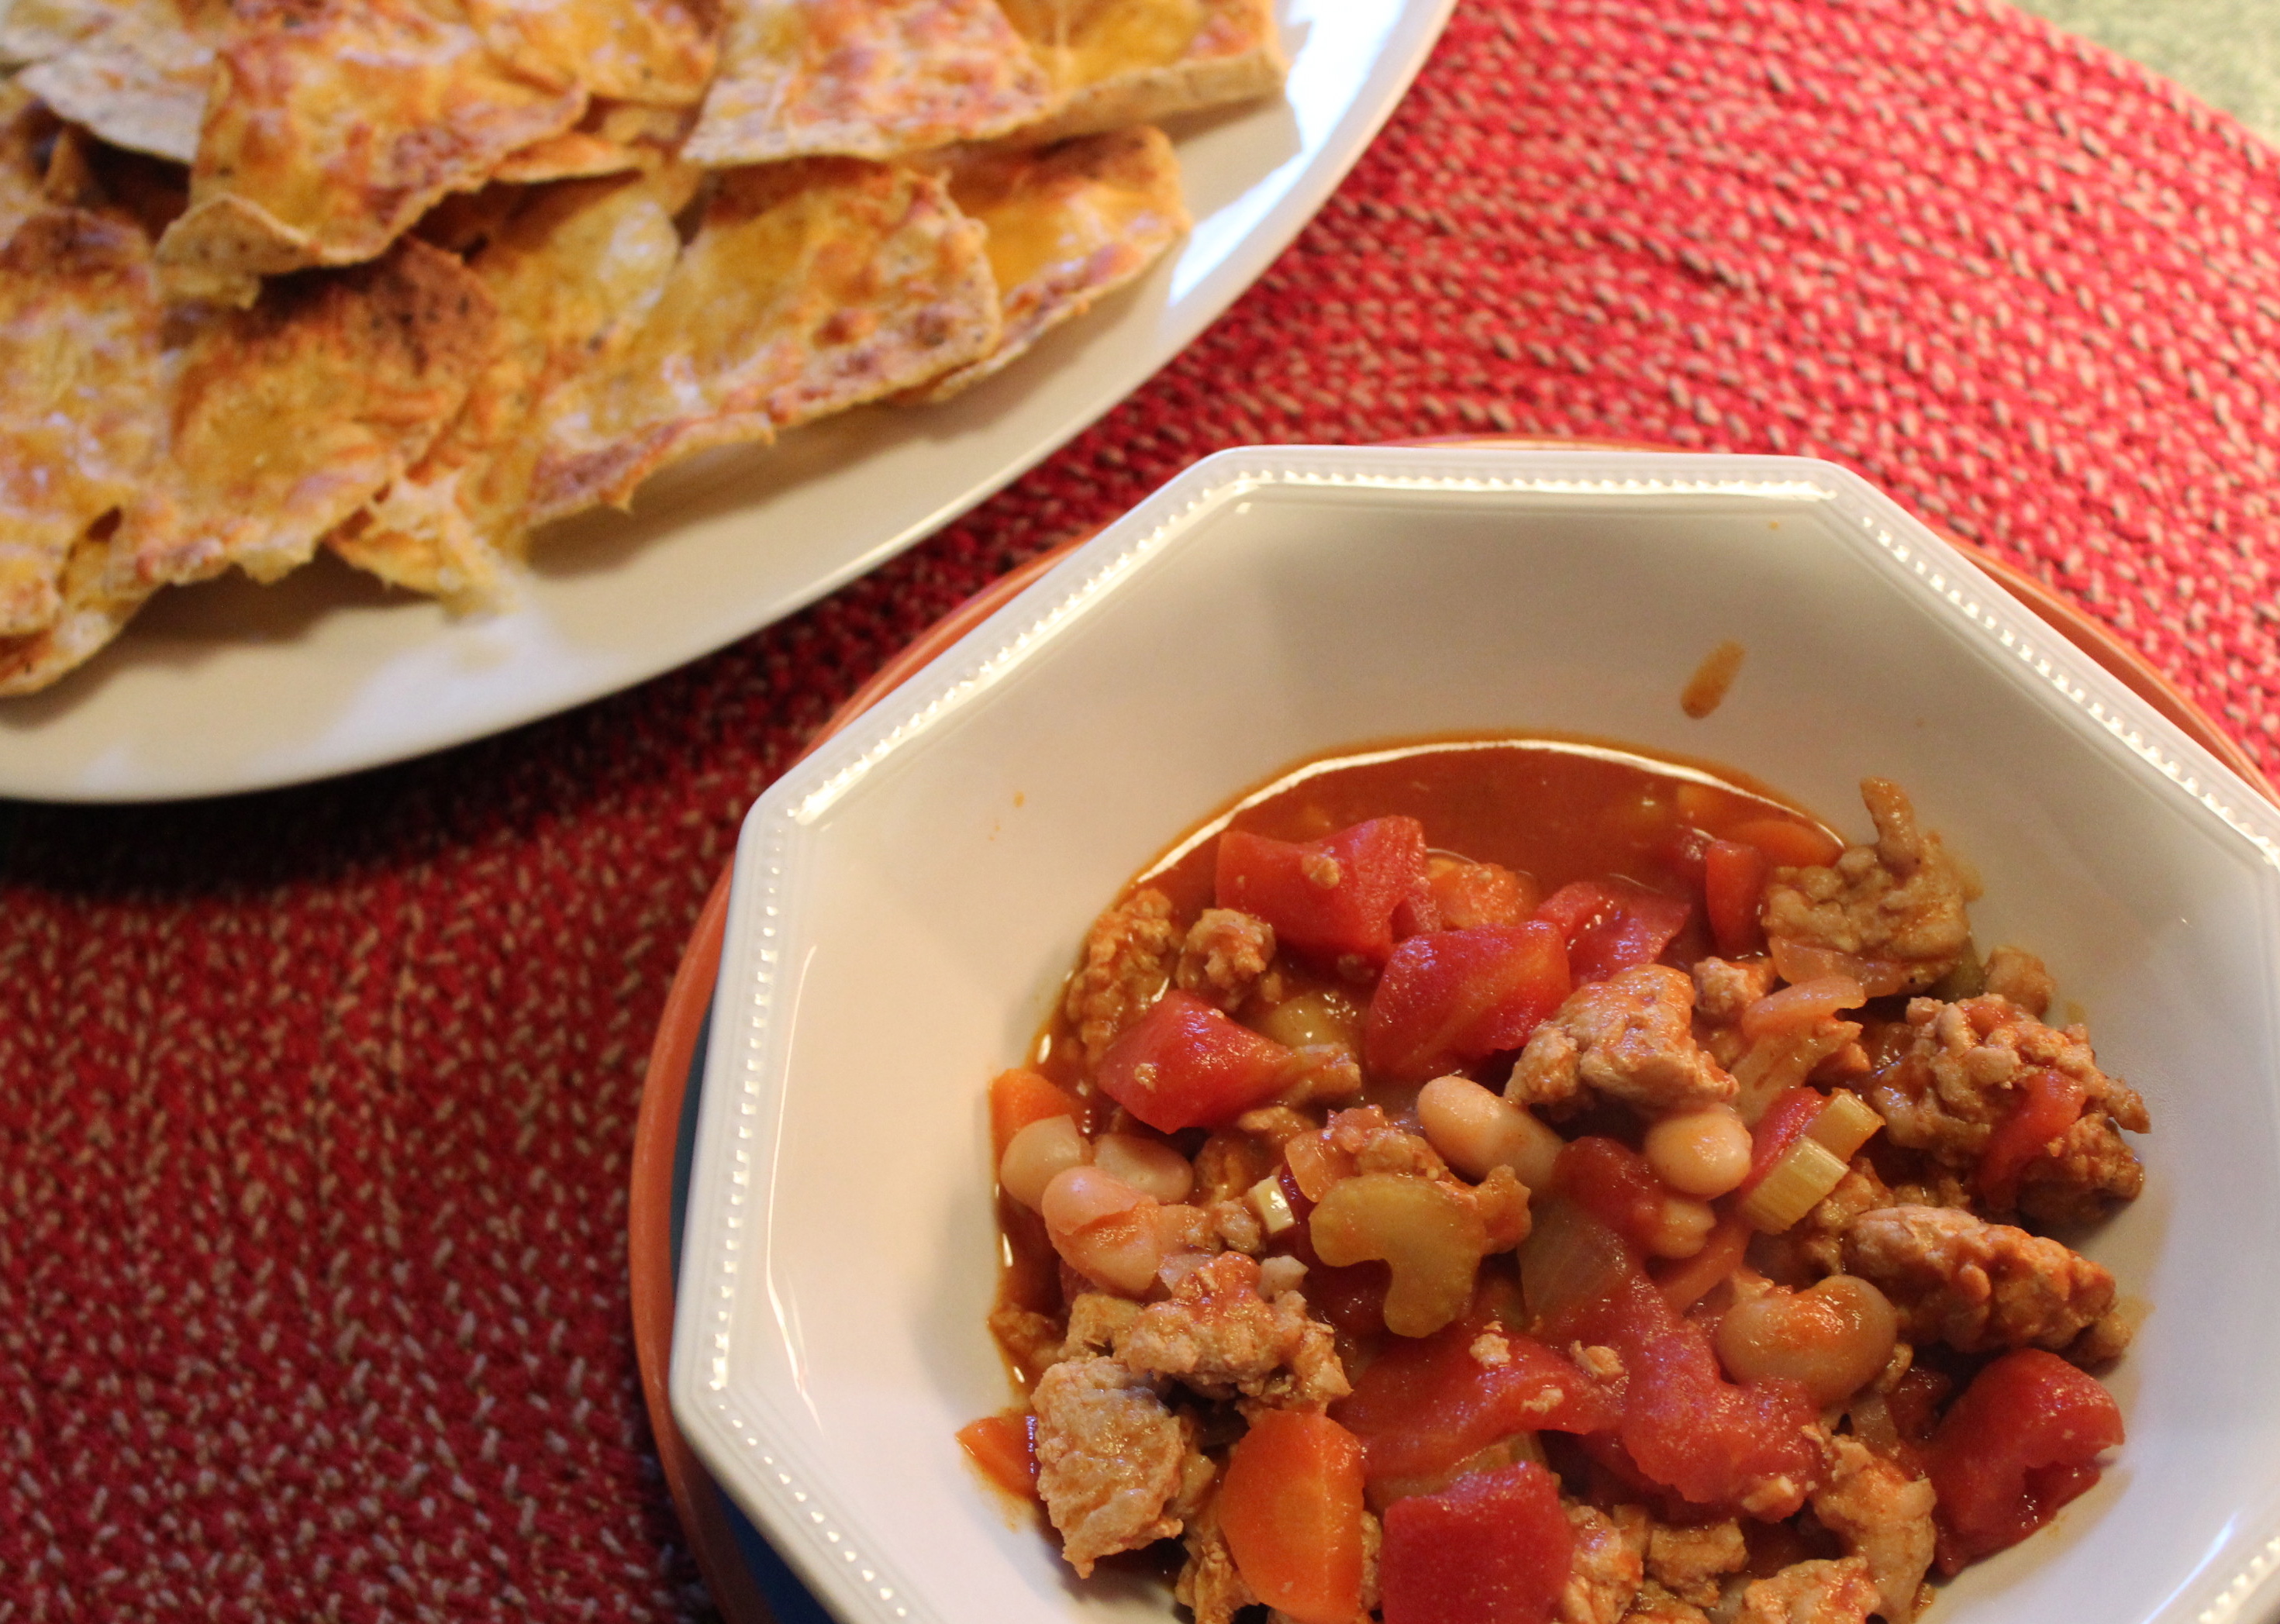
It’s YUM-O!
SOURCE: www. rachaelray.com/recipes