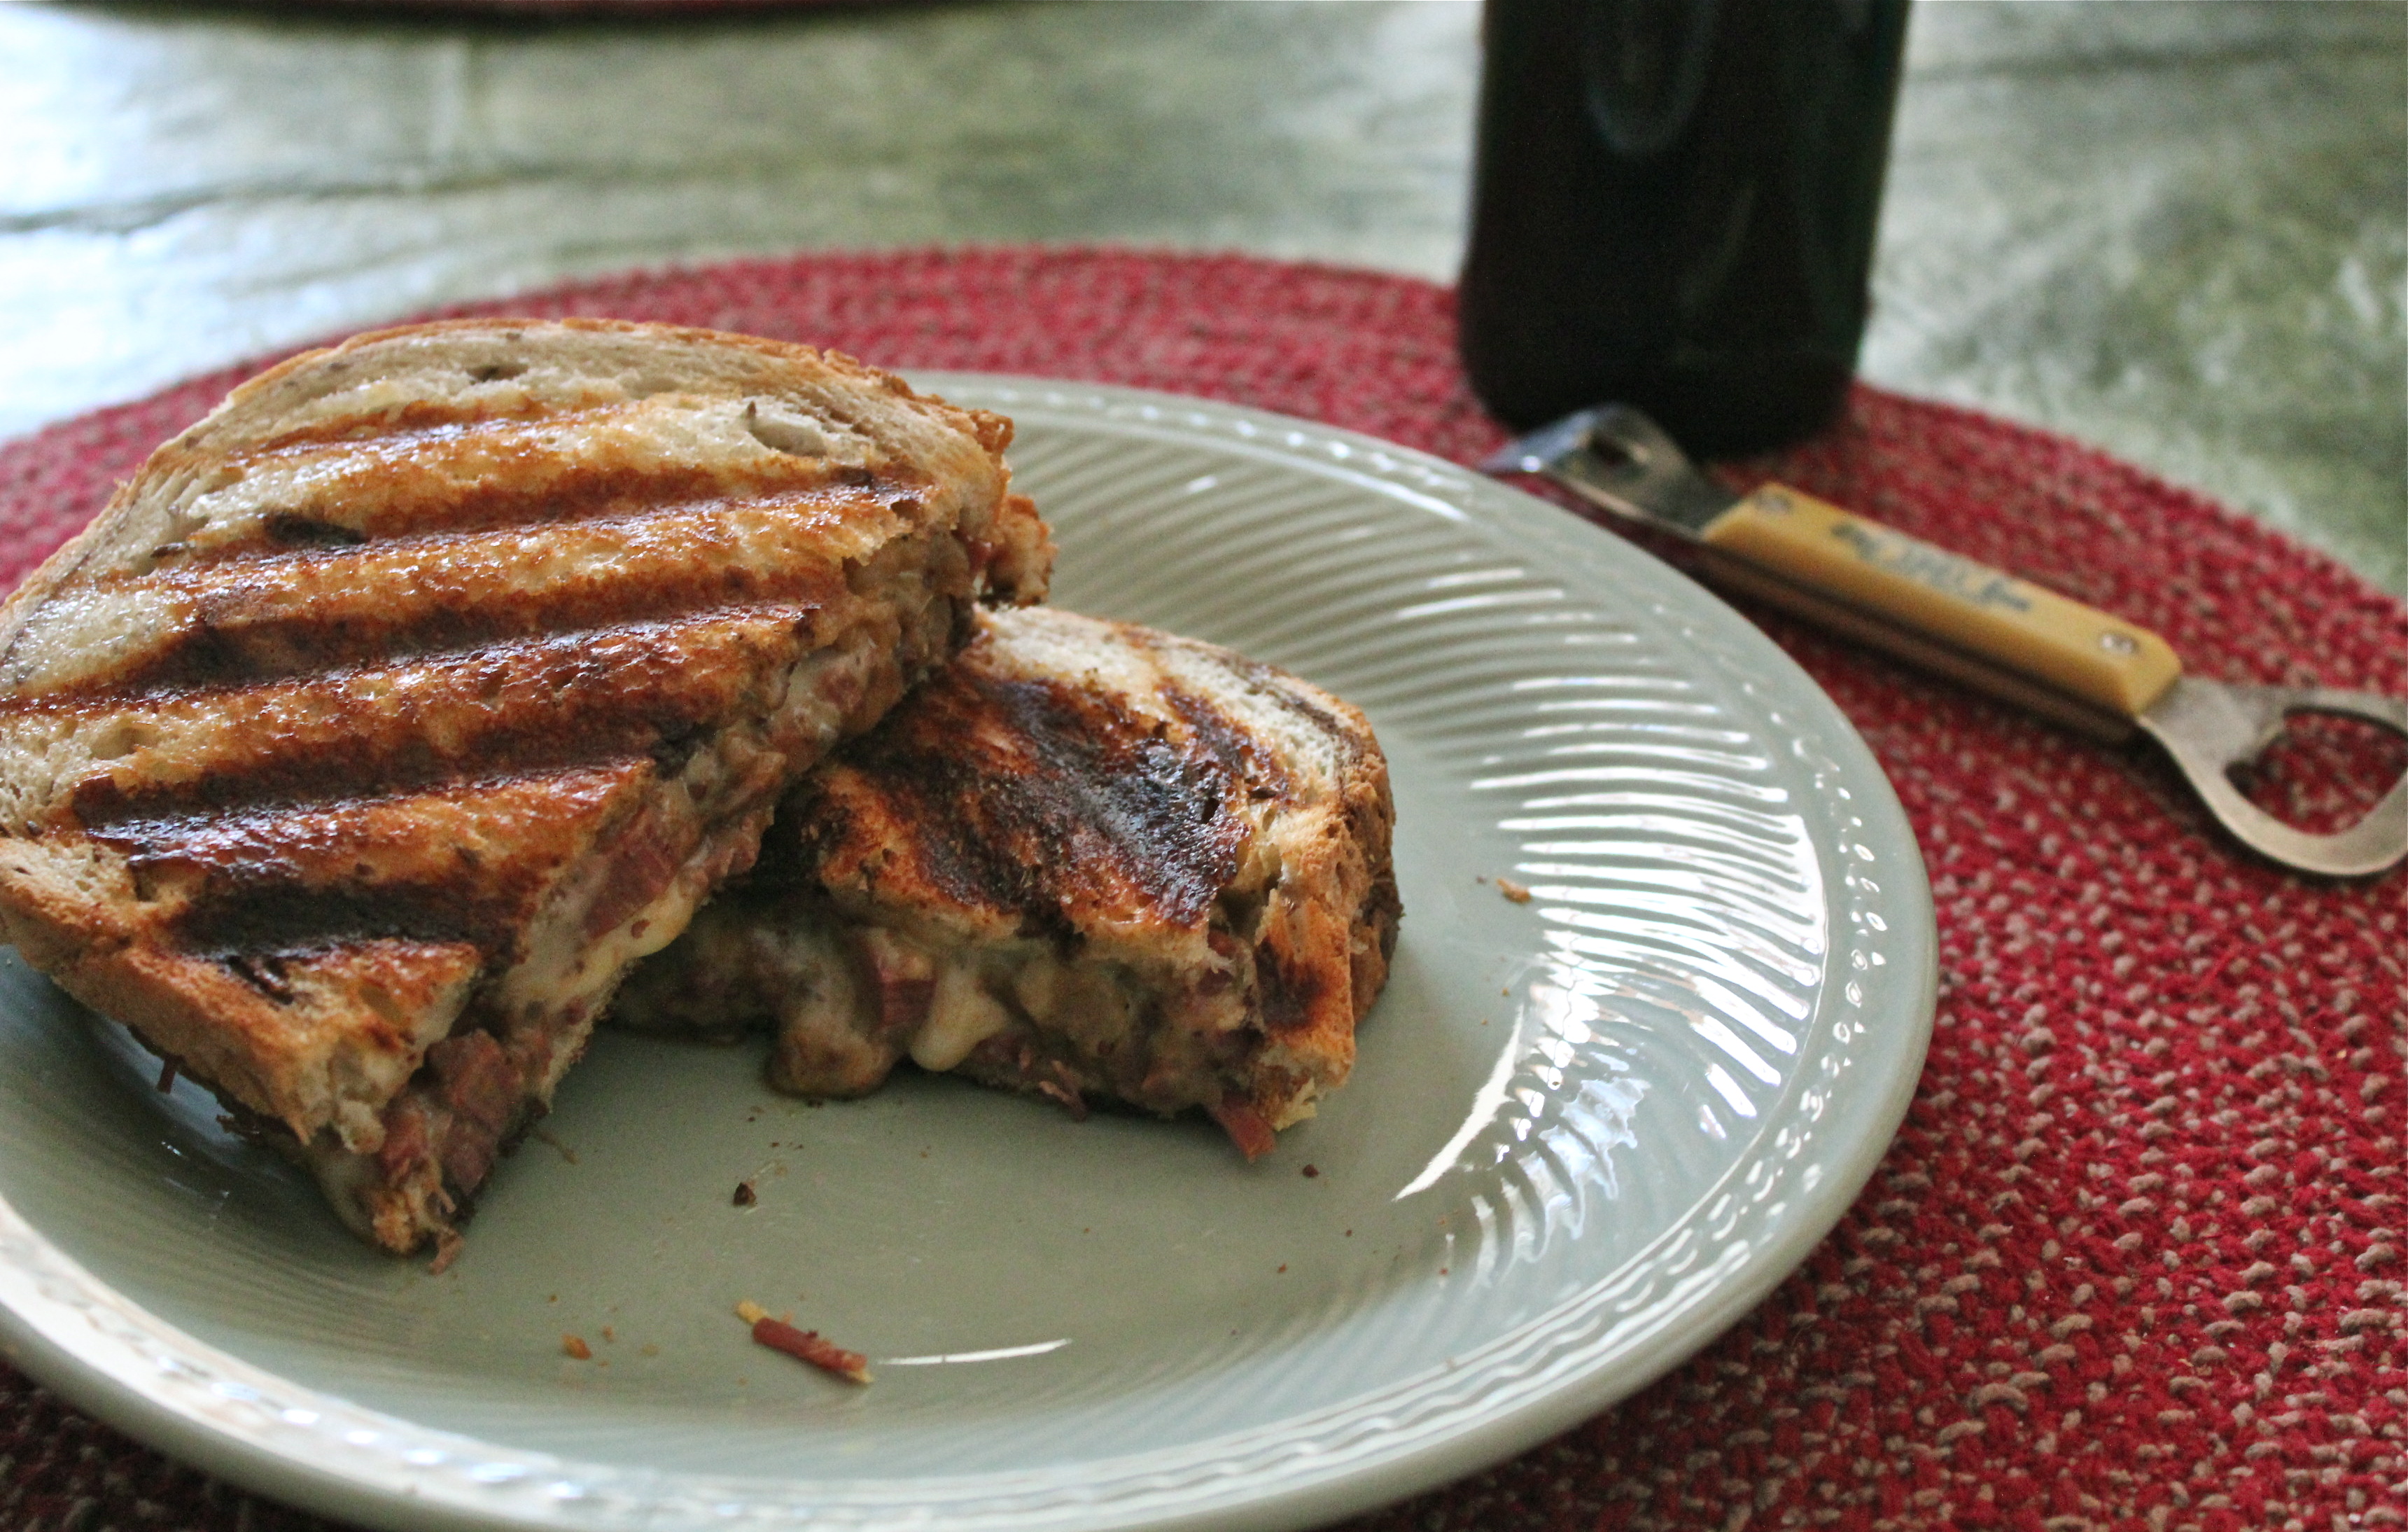
Grilled Corn Beef and Cheese Sandwich.
Did you know that everyday is some kind of National Food Holiday? And some days celebrate more than one kind of food. I don’t usually pay much attention to this sort of thing because some of them are just plain silly. For instance, you could get pretty tipsy if you celebrate National Mulled Wine Day, or bust a gut for National Nutella Day, or get really greasy fingers on National Fried Chicken Day. See what I mean?
However there is one that I could get into in a big way. I really love grilled cheese sandwiches, and if there was a day to celebrate them, I would eat them all day. Well, SURPRISE! Grilled cheese is so highly regarded it has not just a day, but a whole month devoted to it, and this is it. April is National Grilled Cheese Month. Yea, I am totally in.
If you like corned beef and you love grilled cheese sandwiches, then you are gonna love this sandwich that combines both along with some glazed onions cooked in dark beer. WOW! what a combination.
With some corned beef left from our Irish meal, I made these sandwiches for a weekend lunch. You can make the sandwich anytime using corned beef from the deli, but I used what I had on hand. You start by slowly cooking sliced onion in a little butter with some sugar, salt and pepper, then add dark beer such as porter or stout. Let that cook slowly to condense it into a syrupy liquid. Add the corned beef and heat it up. Then layer up the sandwich, and grill it. Rich, gooey, filling and soooo good.
CORNED BEEF GRILLED CHEESE SANDWICH
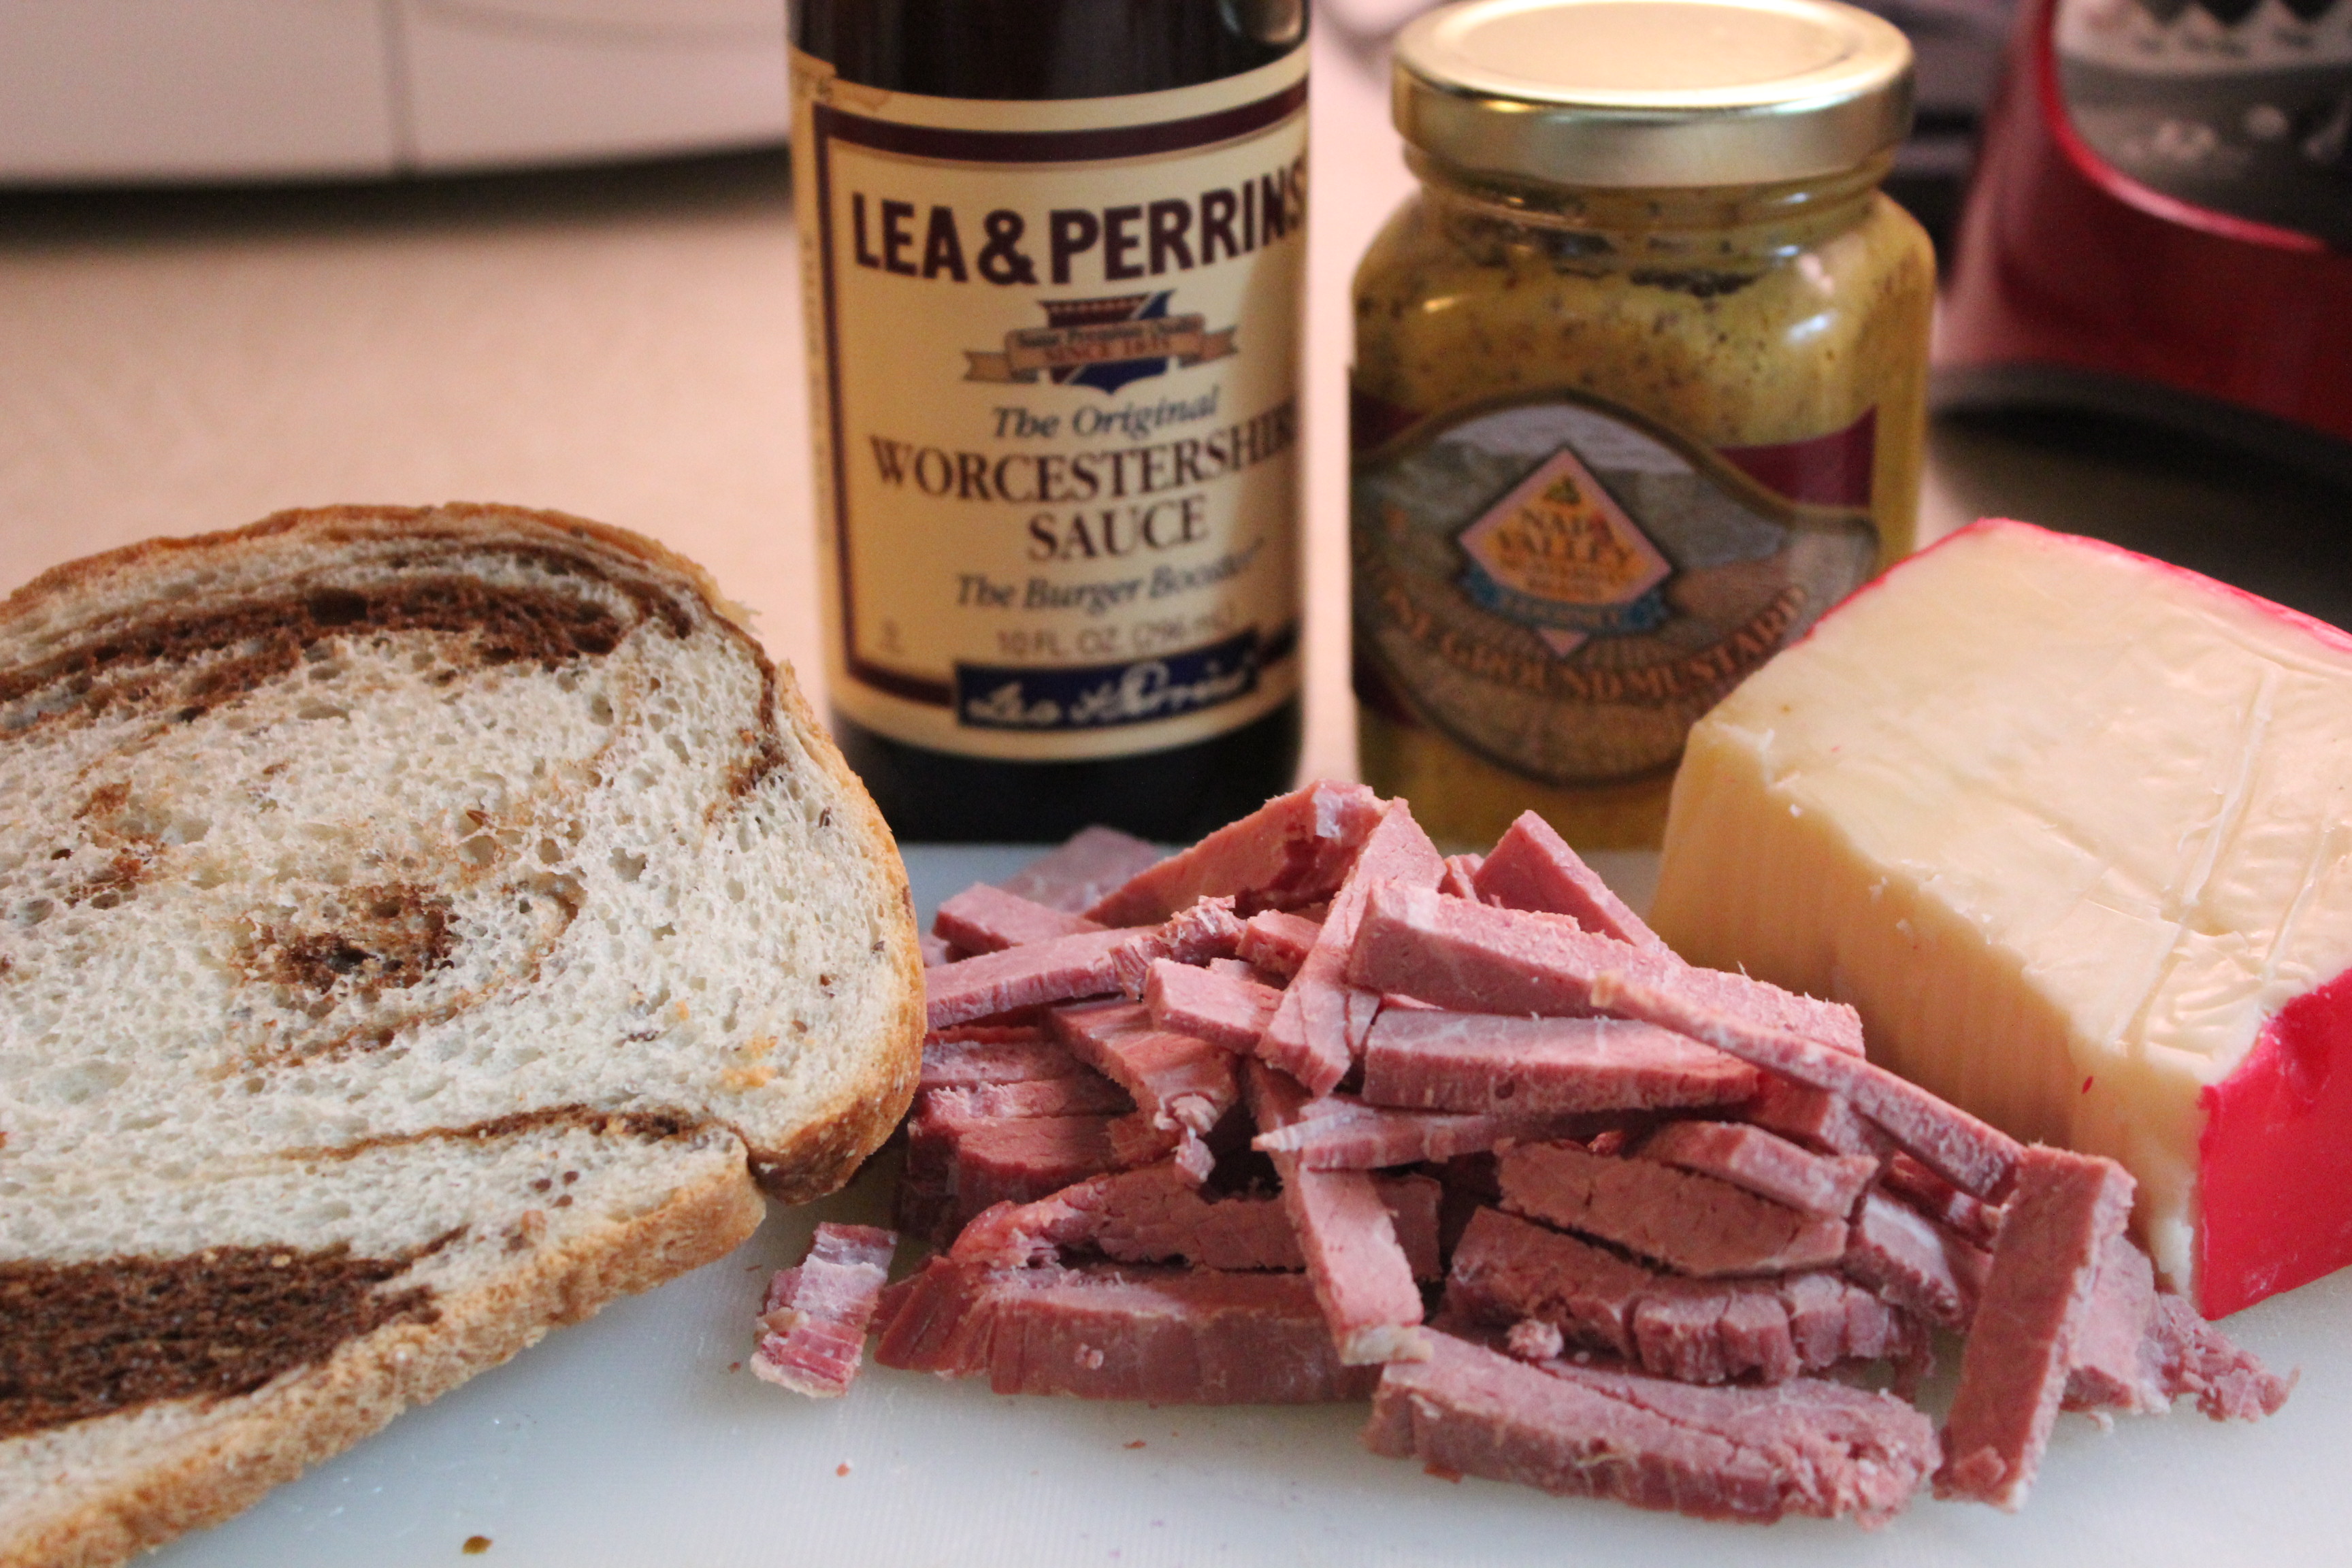
Worcestershire sauce and whole grain mustard contribute their flavors, too.
MAKES 2
- 1 1/2 Tablespoons unsalted butter
- 1 small onion, thinly sliced
- 1 Tablespoon sugar
- salt and pepper
- 3/4 cup dark beer, such as porter or stout
- 2 ounces deli sliced corned beef, cut into strips
- 2 teaspoons Worcestershire sauce
- 1 Tablespoon whole grain mustard
- 1 1/2 cups grated cheese
- 4 slices marble rye bread
1. Melt 1/2 Tablespoon butter in a large skillet over medium-high heat. Add the onion and sprinkle with the sugar, 1/2 teaspoon salt and pepper to taste. Cook, stirring occasionally, until soft and golden, about 10 minutes.

Cooking the onions with seasonings.
Add the Worcestershire sauce, mustard, and beer and continue cooking, stirring occasionally, until the onions are tender and the liquid is slightly syrupy, about 8 more minutes. Remove from heat and stir in the corned beef.

Corned beef added into the pan.
2. Divide half the cheese between 2 bread slices; top with the corned beef mixture, and the remaining cheese and 2 bread slices.
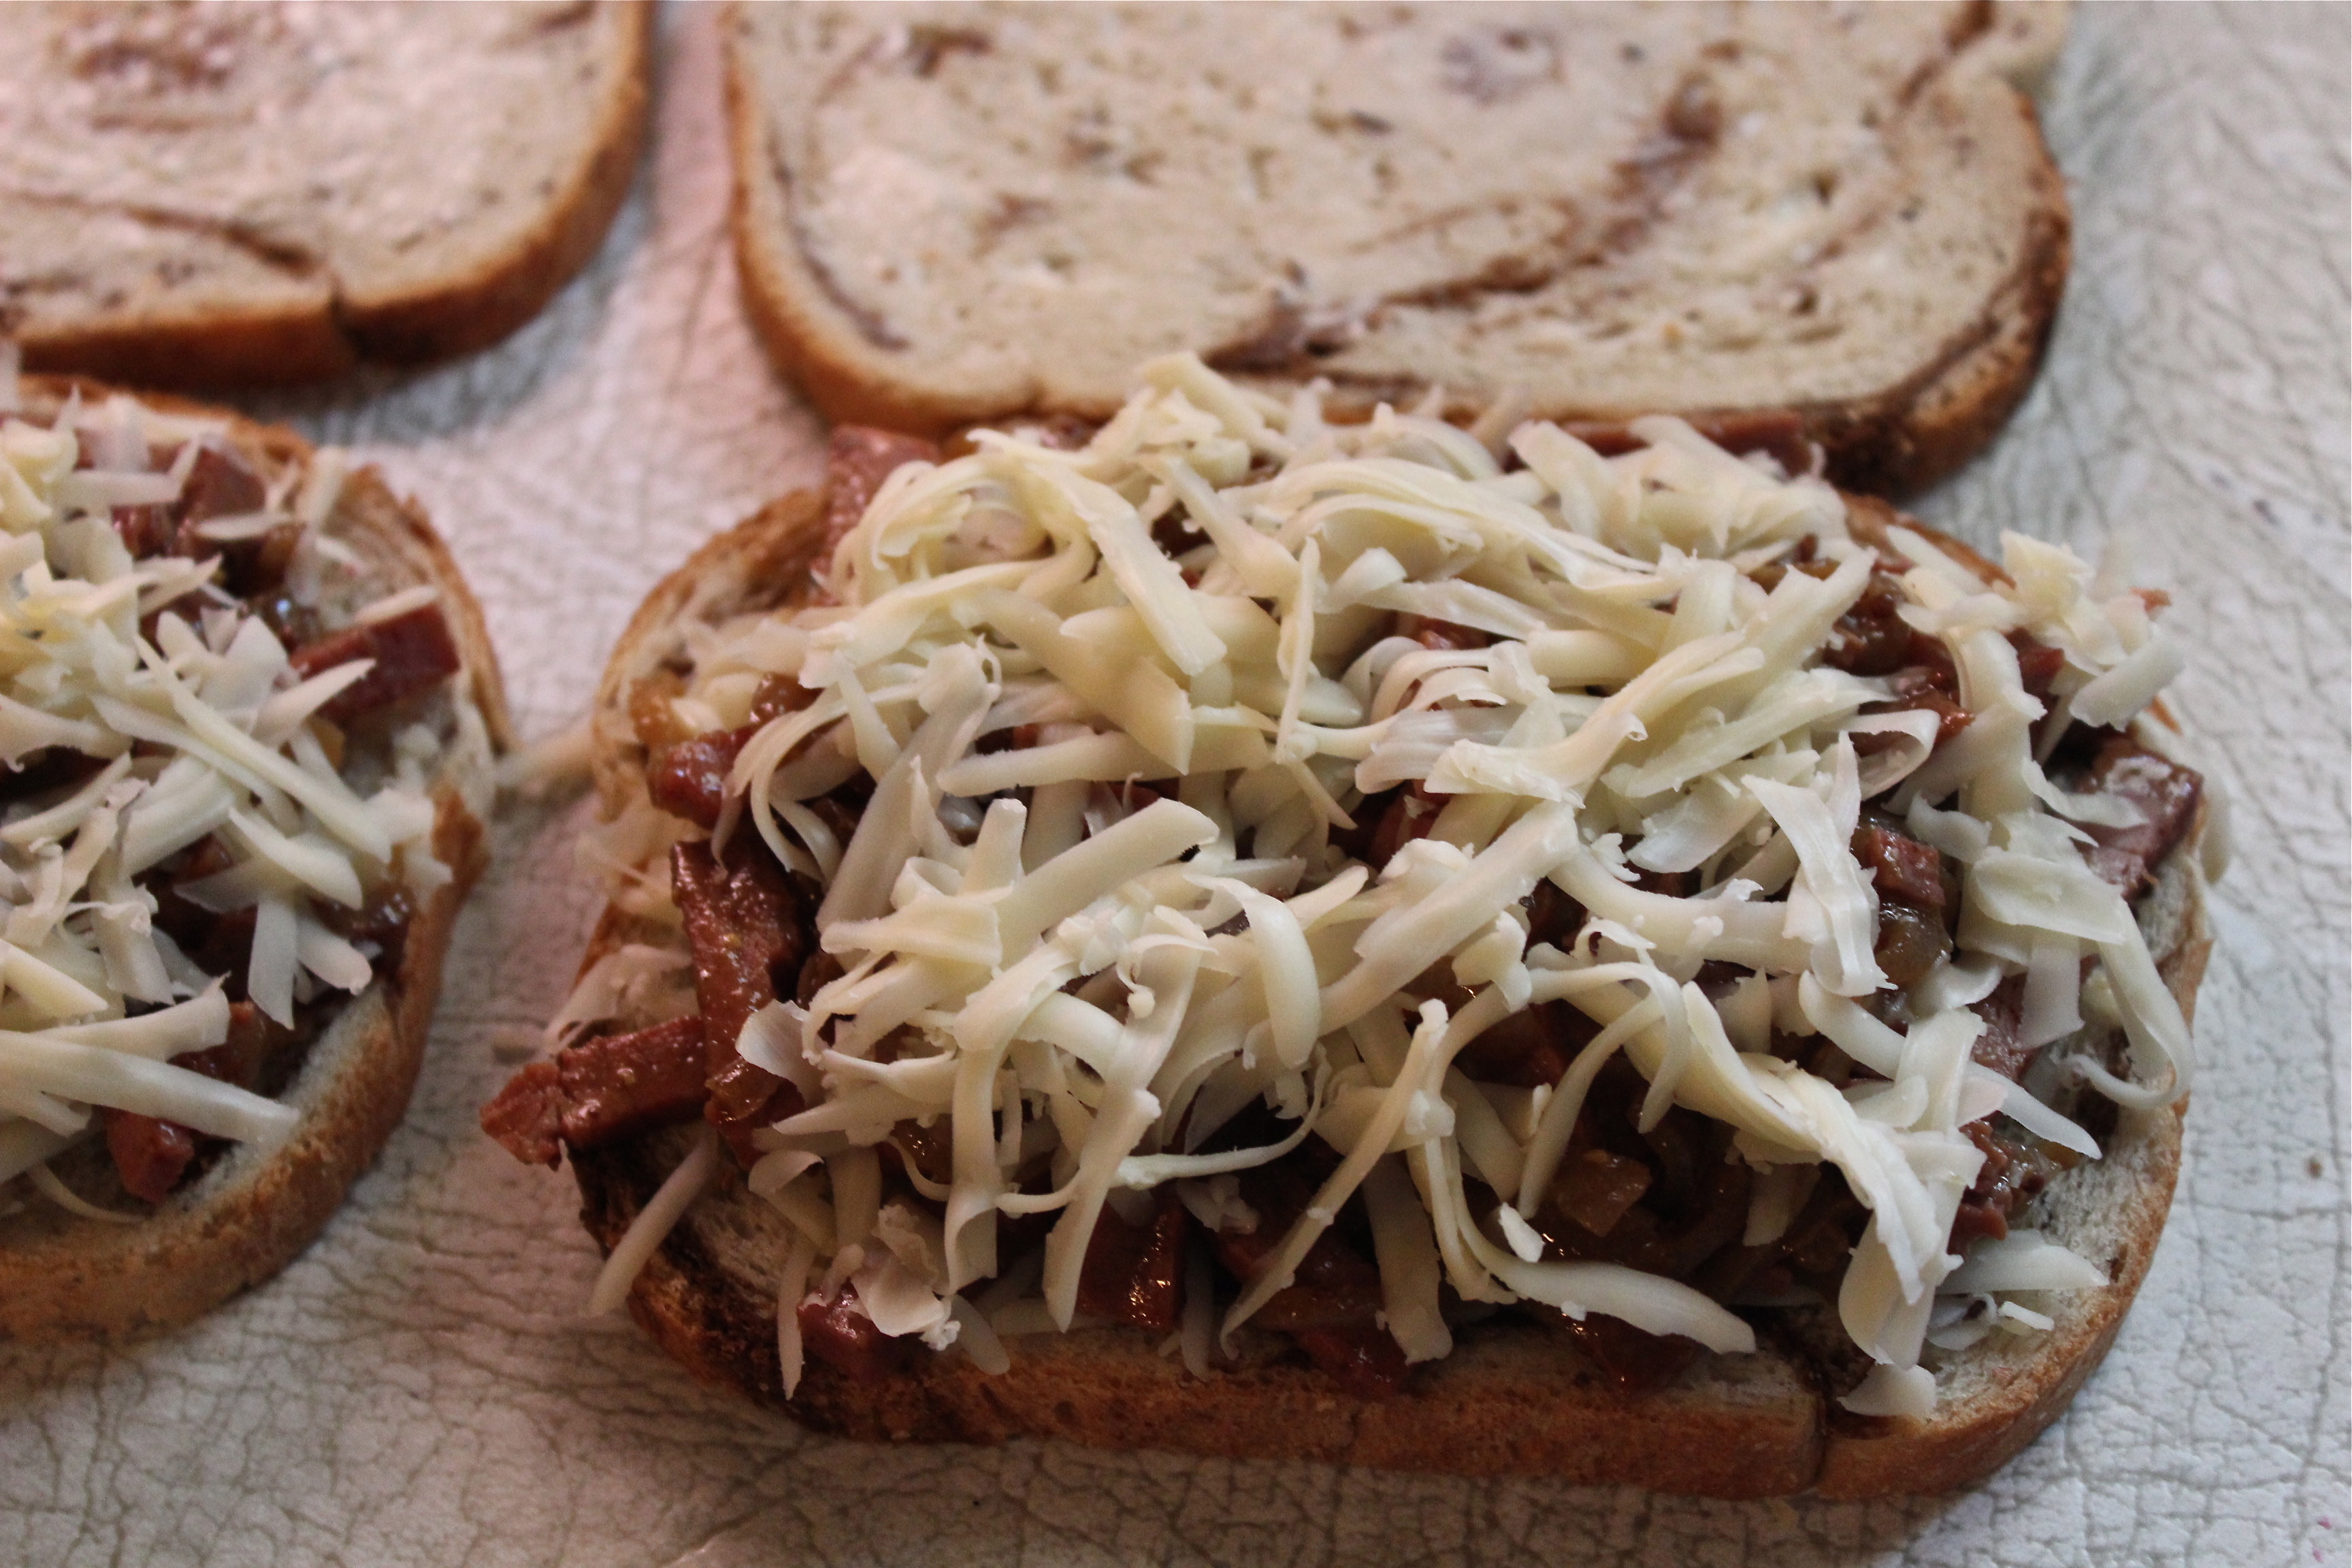
Layer up the ingredients on the rye bread.
3. Melt the remaining 1 Tablespoon butter in a large skillet over medium heat. Add the sandwiches and cook, pressing occasionally with a spatula, until the bread is toasted and the cheese melts, about 4 minutes per side, adding more butter to the pan if needed.***
*** I used my panini pan to grill the sandwiches, and instead of using butter to toast them, I spread mayonnaise on the outer sides of the bread. This makes a nice golden toasted sandwich. I read somewhere that chefs in restaurants use mayonnaise for grilled sandwiches, so now I do it, too.
Don’t let the remainder of that beer go to waste, enjoy it with your sandwich.
SOURCE: Food Network Magazine, March, 2013